Last week I decided to invite some friends over to mine for drinks, desserts, cheese, and some cheese related hors d’ oeuvres. It was my birthday you see, and what better way is there to celebrate one’s birthday than by feeding one’s friends and drinking with them? 🙂
I tried several new recipes out for this party, including three new types of chocolate truffles! Here’s one of my favourite ones: truffles with mint centers!

This was a modification of a basic truffle recipe that I came up with while fooling around with new flavours and textures; If you’d like to try it, read on!
Ingredients:
100 g dark chocolate (at least 70% cocoa solids) (the better this chocolate is, the better your truffles will taste)
1/2 cup heavy whipping cream
2 pinches of salt
5-6 tablespoons of icing sugar
5 tablespoons butter
1/4 to 1/2 teaspoon mint essence
3-4 drops green artificial food colouring
5-6 squares of dark chocolate for coating the truffles
Equipment:
4 Bowls and several spoons
1 large plate
A hand-held or stand-alone egg-beater/mixer
1 sheet of foil or butter paper
Method:
I began by heating the cream in a little pan to a gentle simmer. In the meantime, I chopped the chocolate into bits (you can also use a food processor), and placed the chocolate bits in a bowl.
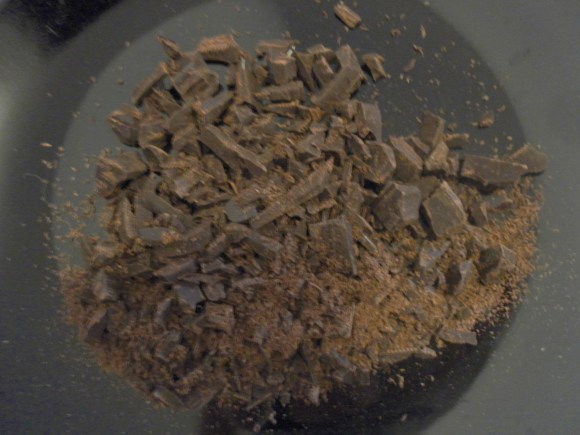
Once the cream began to simmer, I poured it over the chocolate and let it sit until the chocolate melted.
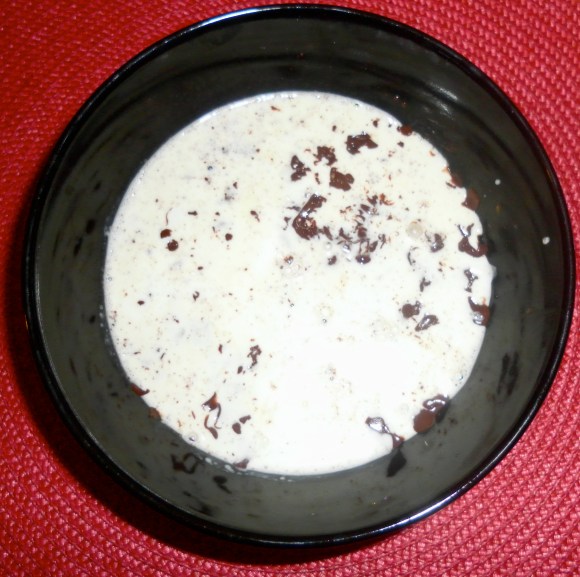
Once the chocolate was melted, I took a whisk and gently mixed the chocolate and cream into a smooth mixture adding a pinch of salt as I did this. This delicious ganache needed to cool and firm up, so I covered it up and placed it on the dining table. Once it reached room temperature, I transferred the bowl to the fridge.

While the ganache cooled, I placed the butter in a bowl and began whipping it up with a hand-held mixer (egg-beater). When it was creamy and softened, I added a pinch of salt, 2 tablespoons of icing sugar, 1/4 tsp of mint essence, and a few drops of green food colouring. I whipped all this up into a creamy smooth mix and then tasted it. I thought the mixture needed a little more sugar, so I added another 2 tablespoons. (You should also taste the mixture intermittently and see if it needs more sugar or mint essence; add as much as you think is appropriate.) Once it tasted just right, I covered up the bowl and placed it in the fridge.
Once both the ganache and mint-filling were firmed up in the fridge, I took them out and began working with them. I covered two baking trays with wax paper (you can also use baking paper or aluminum foil) and then began scooping large blobs of chocolate on one of the trays.
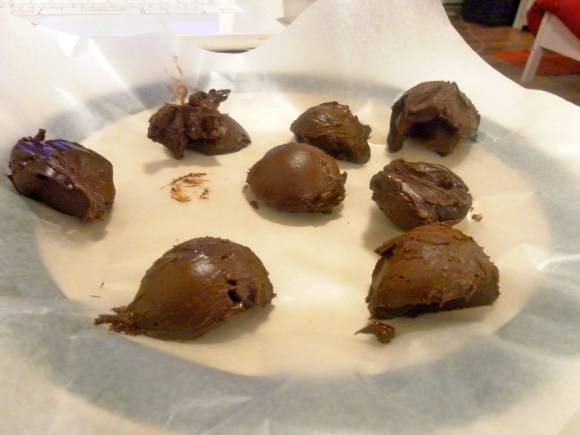
Once all the chocolate was divided into ‘large blobs’ on the first tray, I began scooping smaller portions of the mint-buttercream into my hand, shaping them into rough spheres and then placing them on the other tray.
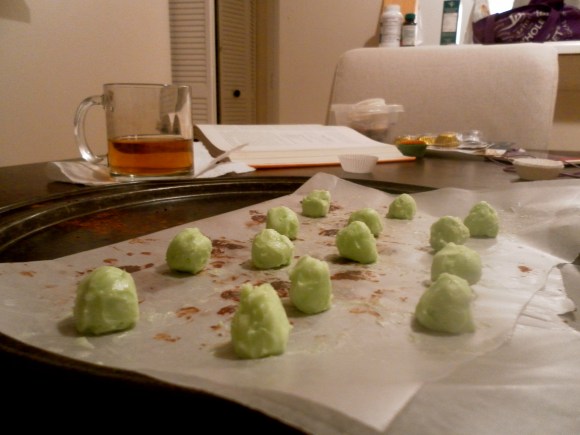
As soon as all the mint mixture was used up, I placed both trays in the freezer for about 15 minutes. Once the scoops and mint-spheres had hardened from the cold, I was ready to start shaping the truffles!
(When you’re trying this, make sure you have enough works-space on your kitchen counter. I like sitting down while I do this, because it takes some time, so I usually move over to the floor because I feel more comfortable sitting cross-legged. You could move over to the dining table if you prefer.)
Now I was ready for the fun part! I picked up one of the chocolate scoops and shaped it into a sphere in my hand. Then I flattened it out on my hand like a mini chapathi or tortilla.
 Step 1 in shaping chocolate cream cheese truffles
Then, I took one of the mint flavoured balls and placed it at the centre of the ‘chocolate chapathi’:
 Step 2 in shaping chocolate cream cheese truffles
and carefully rolled the chocolate layer over the mint centre, shaping the truffle into as perfect a sphere as possible. (I don’t have a photograph of the sphere-shaping bit because I needed both hands and by this time my other hand was covered in chocolate.)
 Step 3 in shaping chocolate cream cheese truffles
I repeated this until all the chocolate was used up:

Next, I melted 5-6 dark chocolate squares in the microwave. (When you do this, be sure to do this on a low setting as you don’t want to burn the chocolate. Ideally, you should melt the chocolate in a double boiler to avoid this, but I find that if I am careful, I can do it in the microwave. After, I let the chocolate cool a bit (it’s important not to let it harden), I picked up one of the truffles, and dipped it into the chocolate, coating it completely, as shown in the photograph below:
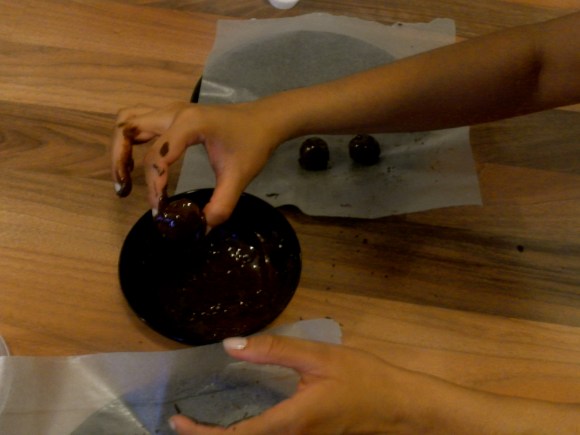
Then, I placed the truffle back on the wax paper to cool. I repeated this until all the truffles were coated. Finally, I let them all cool and then placed them in little green-coloured paper cups.
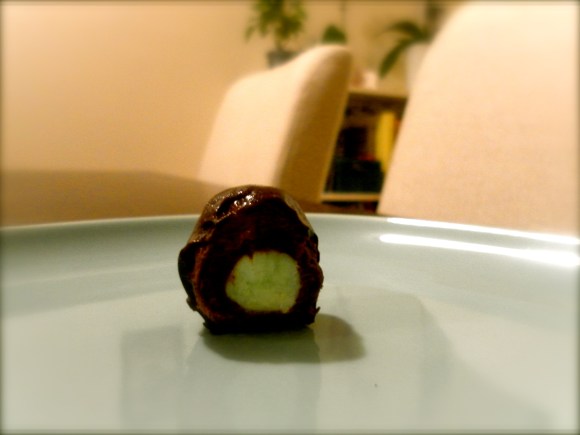
And Ta DA! They were ready to be devoured! Rich dark chocolate truffles with soft mint-flavoured butter-cream centers.
And then, all that was left was one lonely half-truffle. If it looks half-eaten, that’s because it is 😛 I did it for you all, so you can see what the centers look like 😉

9 replies on “Dark Chocolate Truffles with Mint-Buttercream Centers”
Fantastic recipe! The truffles look really good, and would make great gifts for the holidays! A touch of mint glaze drizzled on the outside wouldn’t be bad either!
Thanks 🙂
They look so rich and decadent, perfect for a birthday (or the holidays)! Save one for me! :]
Ha ha, thanks; they were!
Lovely recipe.. Will definitely try it!
Thanks! Let me know how it turns out 🙂
[…] choice given these criteria. So I decided to make some of my usual favourites: Cointreau truffles, mint butter-cream truffles and almond butter-cream truffles. But, I also wanted to be a bit adventurous and try something new […]
[…] sugar-coated truffles with orange-cream cheese centres, truffles with cream cheese centres, or truffles with mint butter-cream centres. Or look at this detailed post about how to make multiple flavoured truffles for a gift box. Have […]
[…] sugar-coated truffles with orange-cream cheese centres, truffles with cream cheese centres, or truffles with mint butter-cream centres. Or look at this detailed post about how to make multiple flavoured truffles for a gift […]