Categories
Cooking Food General Indian Cooking Recipes

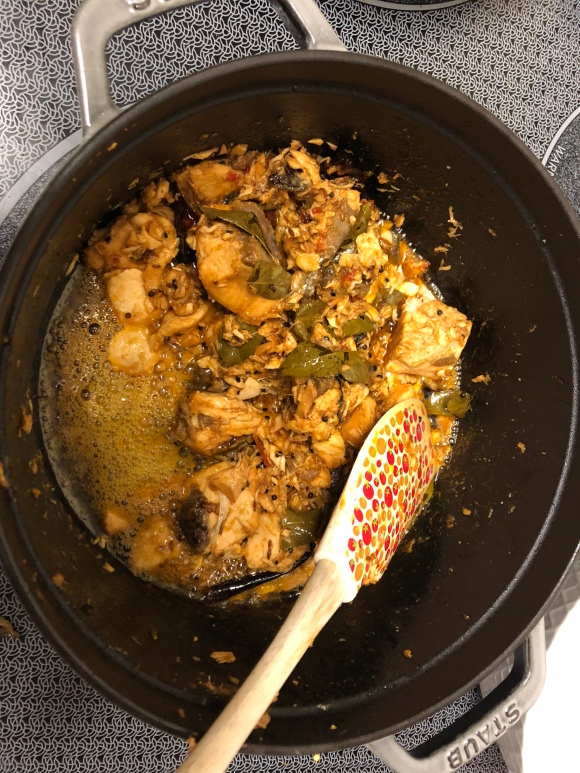
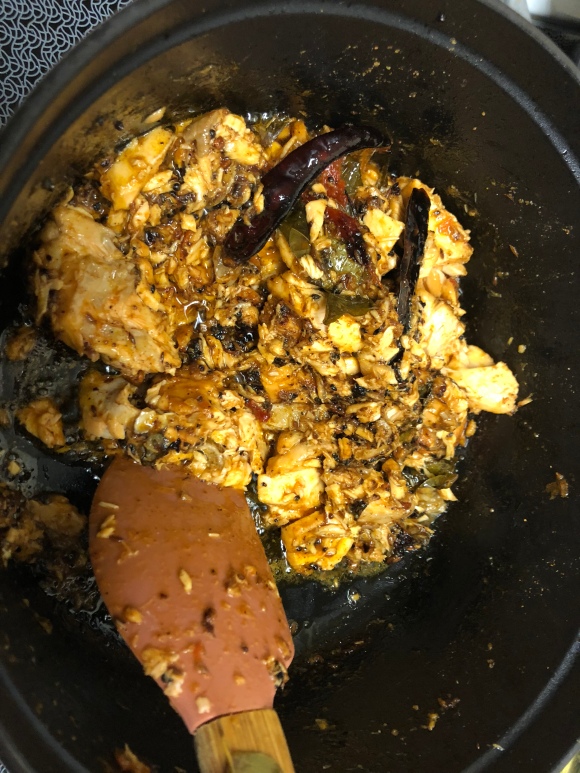
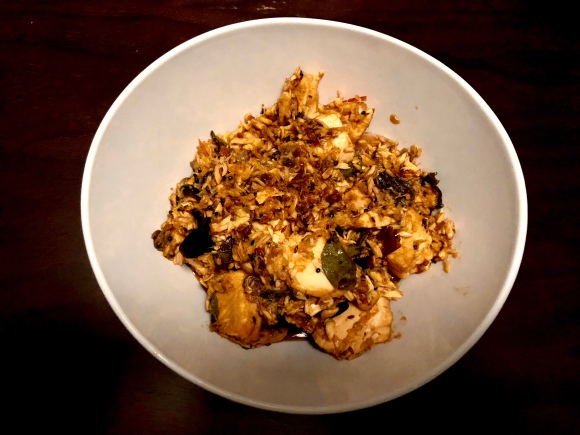
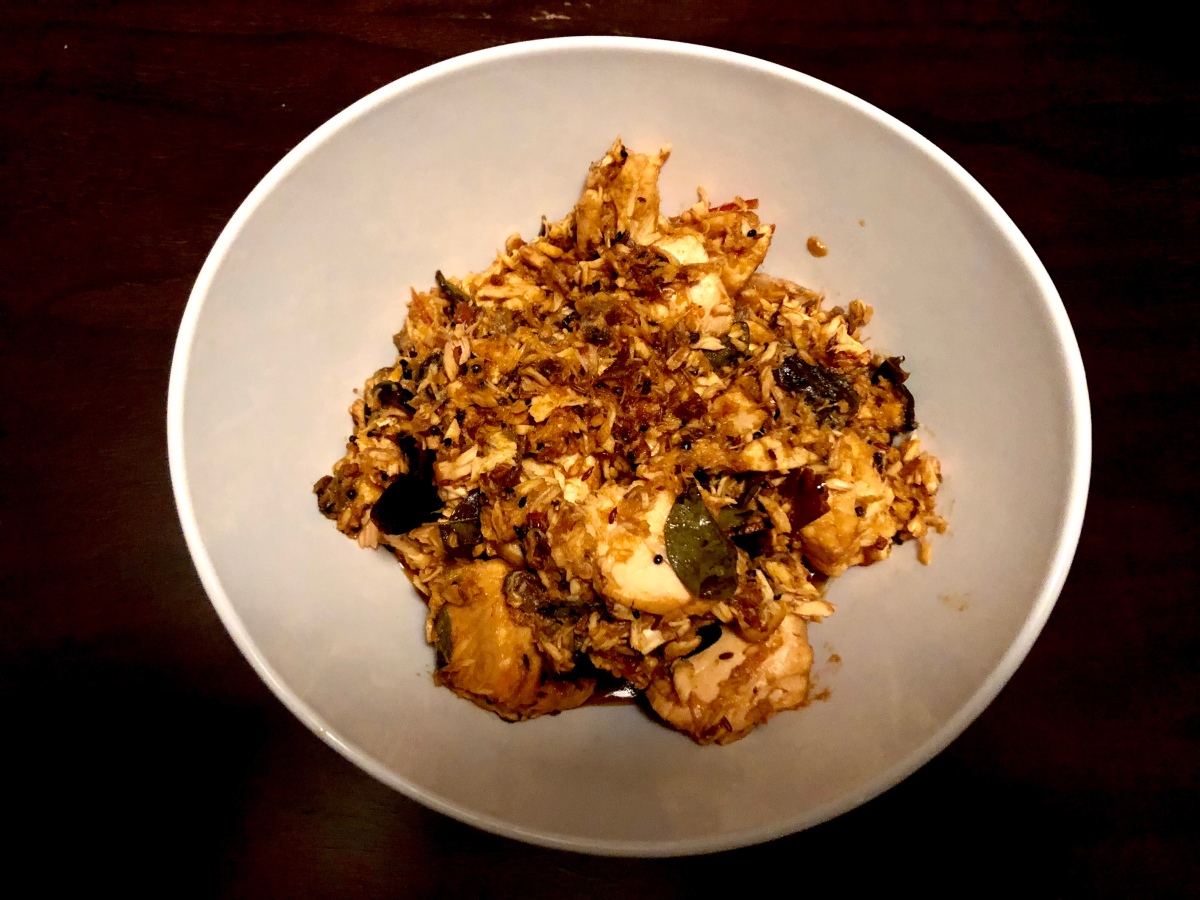
Hyderabadi Heat: How to make Achaari Salmon

In North America and Western Europe, while food from Northern India (and to a lesser extent, South Indian tiffin) is relatively widely available, authentic Hyderabadi food is difficult to find.

This is utterly befuddling to me, as Hyderabadi cuisine is one of the richest food traditions in the world. If Mexican food represents textural complexity at its best, Hyderabadi food represents the most wonderfully balanced and exquisite harmony of intense flavours that I have ever experienced.

If you are looking to explore this cuisine, there is no better introduction to Hyderabadi food than Achaari Murgh (meaning pickled chicken), although this claim is likely to be perceived as blasphemy by Biryani lovers!

Since I don’t eat chicken, I make Achaari salmon instead. When I first cooked this dish, I began by following Pratibha Karan’s recipe, from her book on Hyderabadi cuisine. Over time, I have adapted the proportions of the ingredients slightly to suit my own palate.

If you would like to serve the fish with wine, I wrote an article on pairing Hyderabadi food and wine that you might find interesting.

Now to the recipe!

Equipment:

A heavy bottomed pan

Knife

Cutting board

A large bowl

Spatula

Ingredients:

1 pound salmon

Juice of 2-3 lemons

A handful of curry leaves

2 maya habanero chillies (or any fresh chilli)

1 tsp crushed garlic

1 tsp grated ginger

2-3 tsp red chilli powder

1 tsp cumin powder

1 tsp coriander powder

Salt to taste

1/2 cup sunflower or avocado oil

2-4 dried red chillies

1 tsp cumin seeds

1/2 Mustard seeds

1/2 Nigella seeds

1/2 tsp Fenugreek seeds

Method:

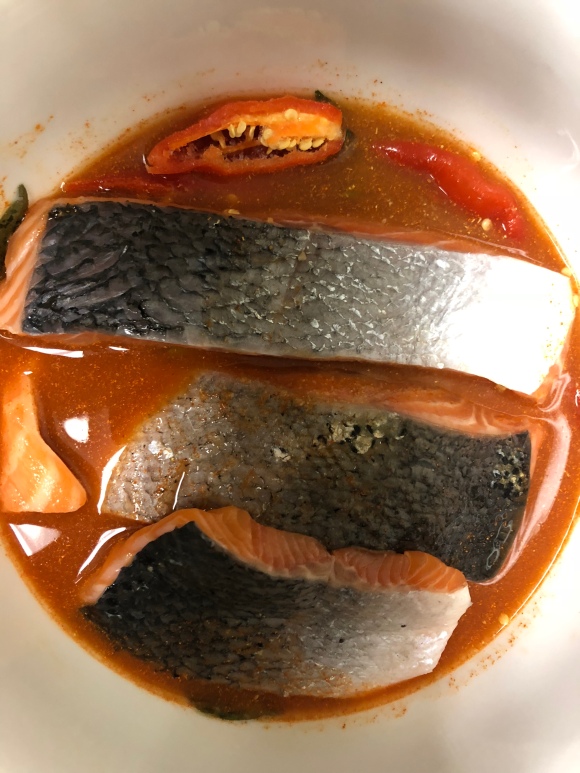
1. In a large bowl, combine the lemon juice, curry leaves, ginger, garlic, fresh chillies, red chilli powder, salt, cumin powder, coriander powder, salt, and fish. (Do not cut the fish into smaller pieces, just add it in as is.)

2. Let the mixture sit for 45 mins to an hour.

3. Pour the oil into a heavy bottom pan and turn the heat up to high. Once the oil is hot (you can test if it is by throwing in a single mustard seed and waiting until it sizzles), throw in the dried red chillies, cumin seeds, and mustard seeds. Once the seeds start to pop, toss in the Fenugreek and nigella seeds. Toss everything together and once the spices are fragrant and the red chilies darken, transfer everything marinating in the bowl into the pan.

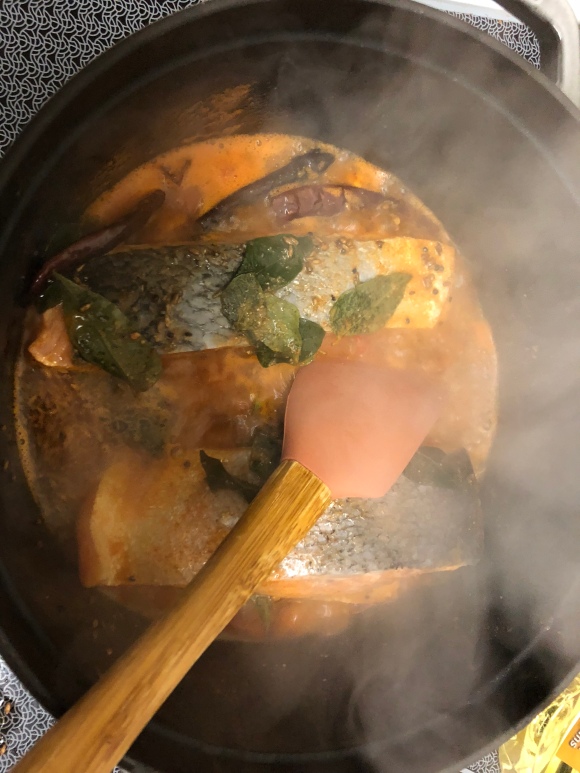
4. Cover and cook the fish on high for about 10 mins, checking on it and stirring every few mins. Then lower the heat and cook for at least 20 mins on low. Depending on the texture you like, you can cook it for a bit longer (cooking it longer will make the fish a little crisper, but also, a little drier). Check on it religiously during this time to make sure that the fish doesn’t burn or stick to the bottom of the pan.

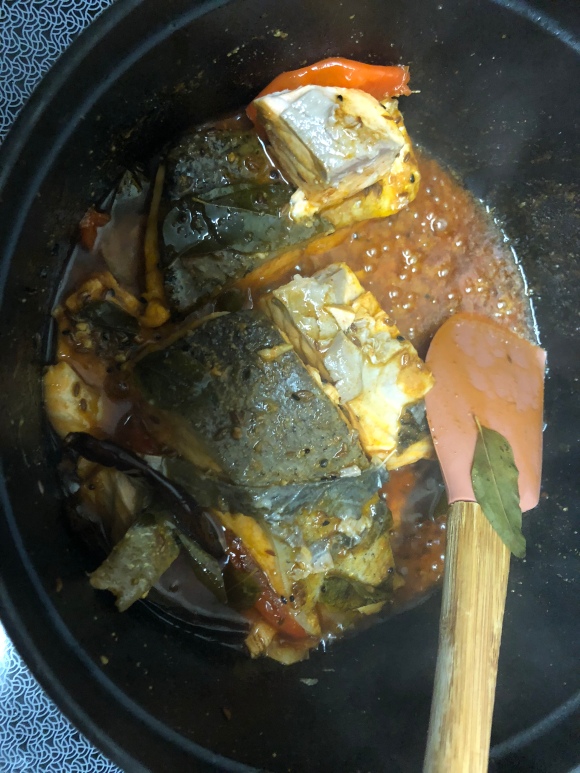
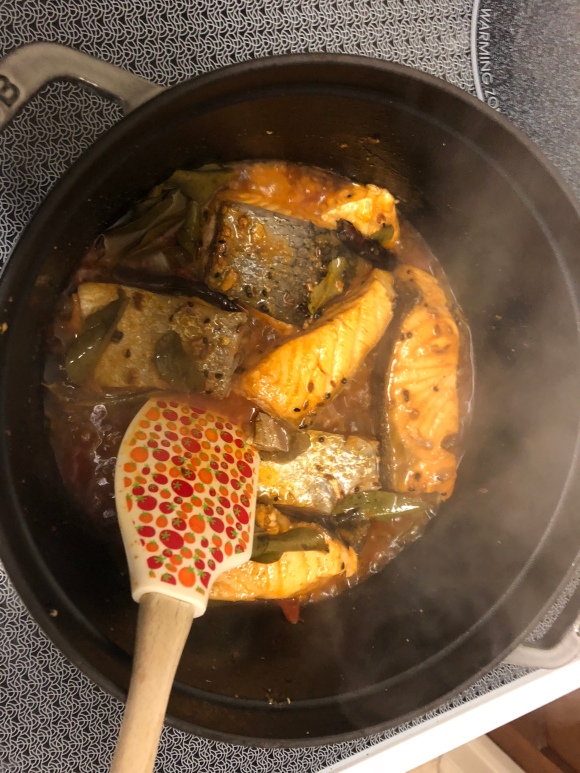
5. About half way through, start breaking the fish up a bit with a spatula. Again, break it up as little or as much as you want to, depending on your preferred texture. The fish is ready when most of the lime juice has evaporated and the fish is coated only in spices and oil.

6. Serve it with rice or roti and some yogurt! For wine pairing suggestions, go here.

Categories
Chocolate Cooking General Recipes

Buttermilk Waffles for Brunch!

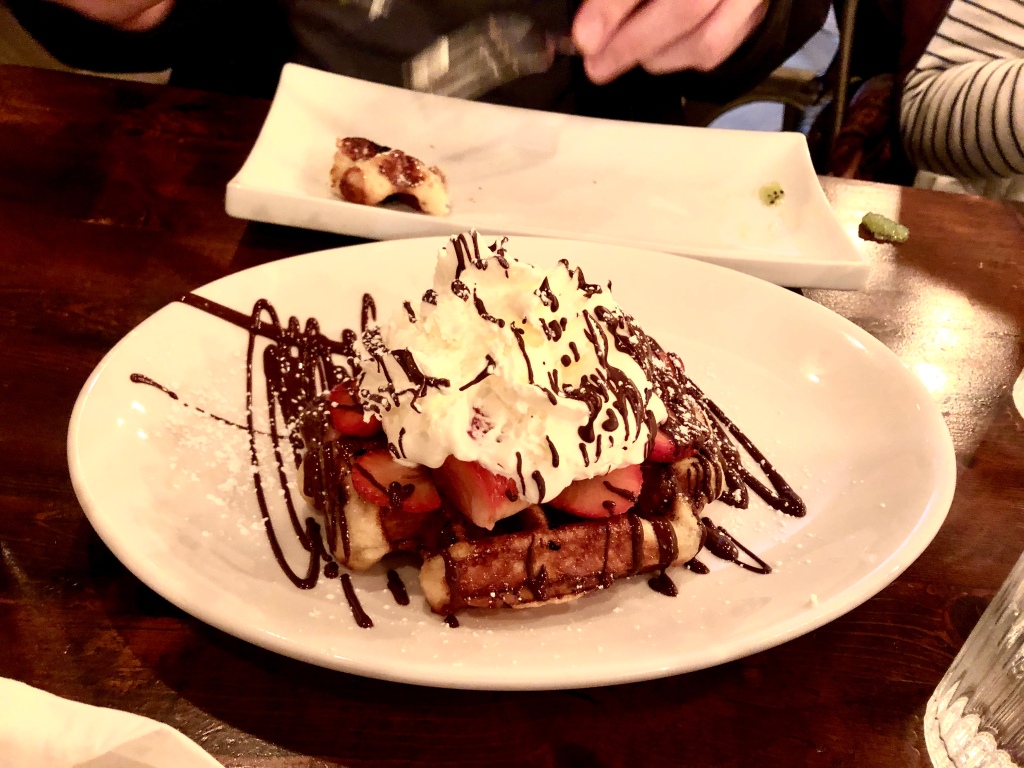
My favourite type of waffles are Belgian Liège style waffles (names after Liège, a city in Belgium). There is a little shop in Kenginston Market in Toronto that serves up some pretty delicious ones! It’s called “Wafles & More“. They also serve a a pretty good hot chocolate, should you feel like a rich, warm drink to accompany your already decadent breakfast 🙂

Wafles & More
Belgian Waffles

I woke up this morning craving some waffles and since it is New Year’s Day (and most places are closed), I knew I would have to cook some up myself. Given that Liège style waffles are made with a yeast-based dough and therefore, cannot be made on a whim, within the hour, I decided upon buttermilk waffles instead. They turned out pretty great!

Should you want waffles that are not too sweet, with just a hint of warm molasses and sourness, slightly crisp on the top, fluffy in the middle, and glowing with a caramel-coloured hue, then try this recipe!

Ingredients:

2 cups of flour

1/4 cup turbinado, light brown, or dark brown sugar (packed)

1 teaspoon baking soda

1.5 teaspoons baking powder

1 teaspoon salt

0.5 teaspoon ground cinnamon (optional)

114 g (8 tablespoons) cultured, unsalted butter (if you can’t find cultured butter, any unsalted butter will do)

2 cups whole buttermilk

3 eggs (separated)

1 teaspoon vanilla essence

Toppings (you could use any or all of these, or throw on any toppings that appeal to you):

Whipped Cream (Ideally, flavour it with some liqueur)

Berries

Bananas

Melted Chocolate

Maple Syrup

Chocolate Hazelnut butter (go here for a recipe)

Nutella

Peanut Butter

Jam

Method:

1. Place all the dry ingredients in a bowl. Mix and then sift them all into a large bowl.

2. Warm the butter and buttermilk to just slightly warmer than room temperature.

3. Mix the butter, buttermilk, egg yolks, and vanilla essence together in a bowl. Then add this mixture to the dry ingredients and gently mix them all together with a whisk.

4. Whip the egg whites until they form stiff peaks.

5. Turn on your waffle maker.

6. Gently fold the egg whites into the mixture from step 3.

7. The batter is now ready! Spoon some into the waffle maker and let it cook for about 3 minutes. You will have to figure out how much batter to add into the waffle maker, as well as precisely how much time to let the waffles cook, after a few tries (both these variables will be influenced by the type of waffle maker you have).

8. Your waffles are good to go! Throw on some toppings and enjoy!

9. Just a note, I think whipped cream is an absolutely essential topping for waffles. I recommend whipping some up right before you start making the waffles. I also suggest adding some liqueur to the cream before you start whipping it up. I used cherry liqueur!

10. Also, if you’d like, you can make a few extra and store them in the fridge. I have found that when you’re ready to eat them, it’s best to heat them up in the oven at 350 degrees Celsius, for 2 mins on either side, after basting them with some butter.

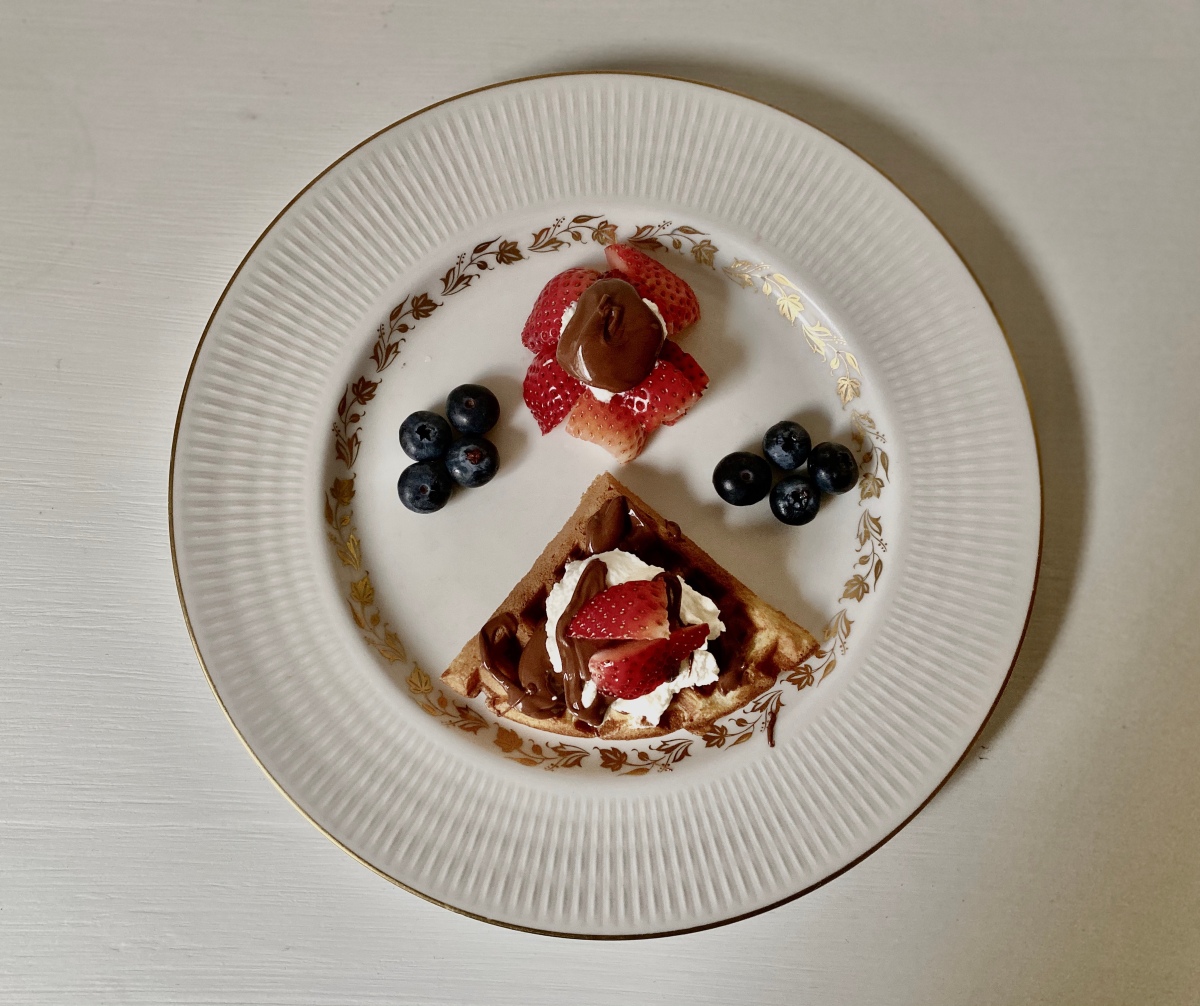
Neatly plated waffles 😊
Simple buttermilk waffles
Messy waffles 😝
Categories
Cooking Food General Indian Cooking Low FODMAPS Recipes vegan

Andhra-Inspired Mango Dal (Mango Lentils)

In my view, most fruit are pretty gross. This surprises people. The nicest honest description of my eating habits I have heard is from a friend of mine who called me “delightfully weird”. What really shocks people though, is the fact that I hate mangoes, despite the fact that every summer of my childhood, our house was almost literally inundated with hundreds of mangoes (this was because one of my uncles has a large mango orchard and also, because our house had one very prolific mango tree that I was very attached to)! Nearly, everyone in my family absolutely adores mangoes, and yet, I find these fruit almost inedible.

But now, I have found a way to enjoy them: by cooking them up in a dal! I used to eat mango pappu (the telugu word for dal) as a child and I’ve recently rediscovered how harmonious the combination of these two ingredients can be. It all happened almost by accident. My niece (who is vegan) was staying with us and I was running out of ideas in terms of what to cook for her. I’d already made three different types of dal that week! Then, I spied a mango in our fruit bowl. “Ah ha!”, I thought, “this could end up being a fun challenge in the kitchen: trying to make mangoes enjoyable!”

It turned out to be absolutely delicious and it is now my favourite dish! SO much so, that I’ve bought a tonne of mangoes, chopped them up, and flash frozen them, so that I can make myself some mango dal through the fall and winter, whenever I have a hankering for it 🙂

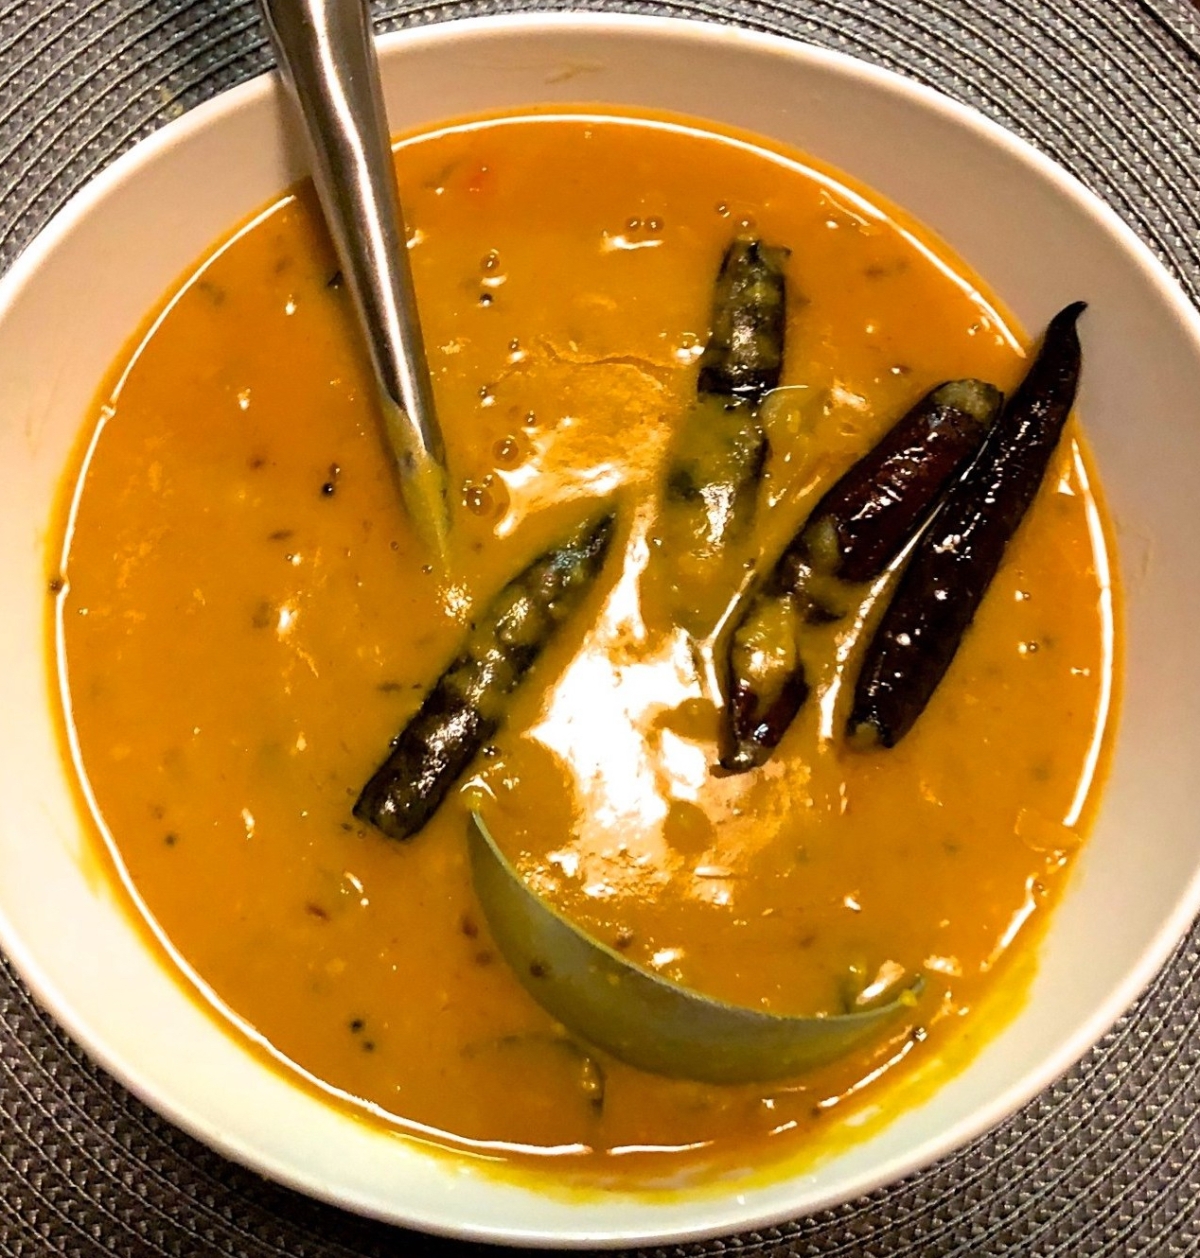
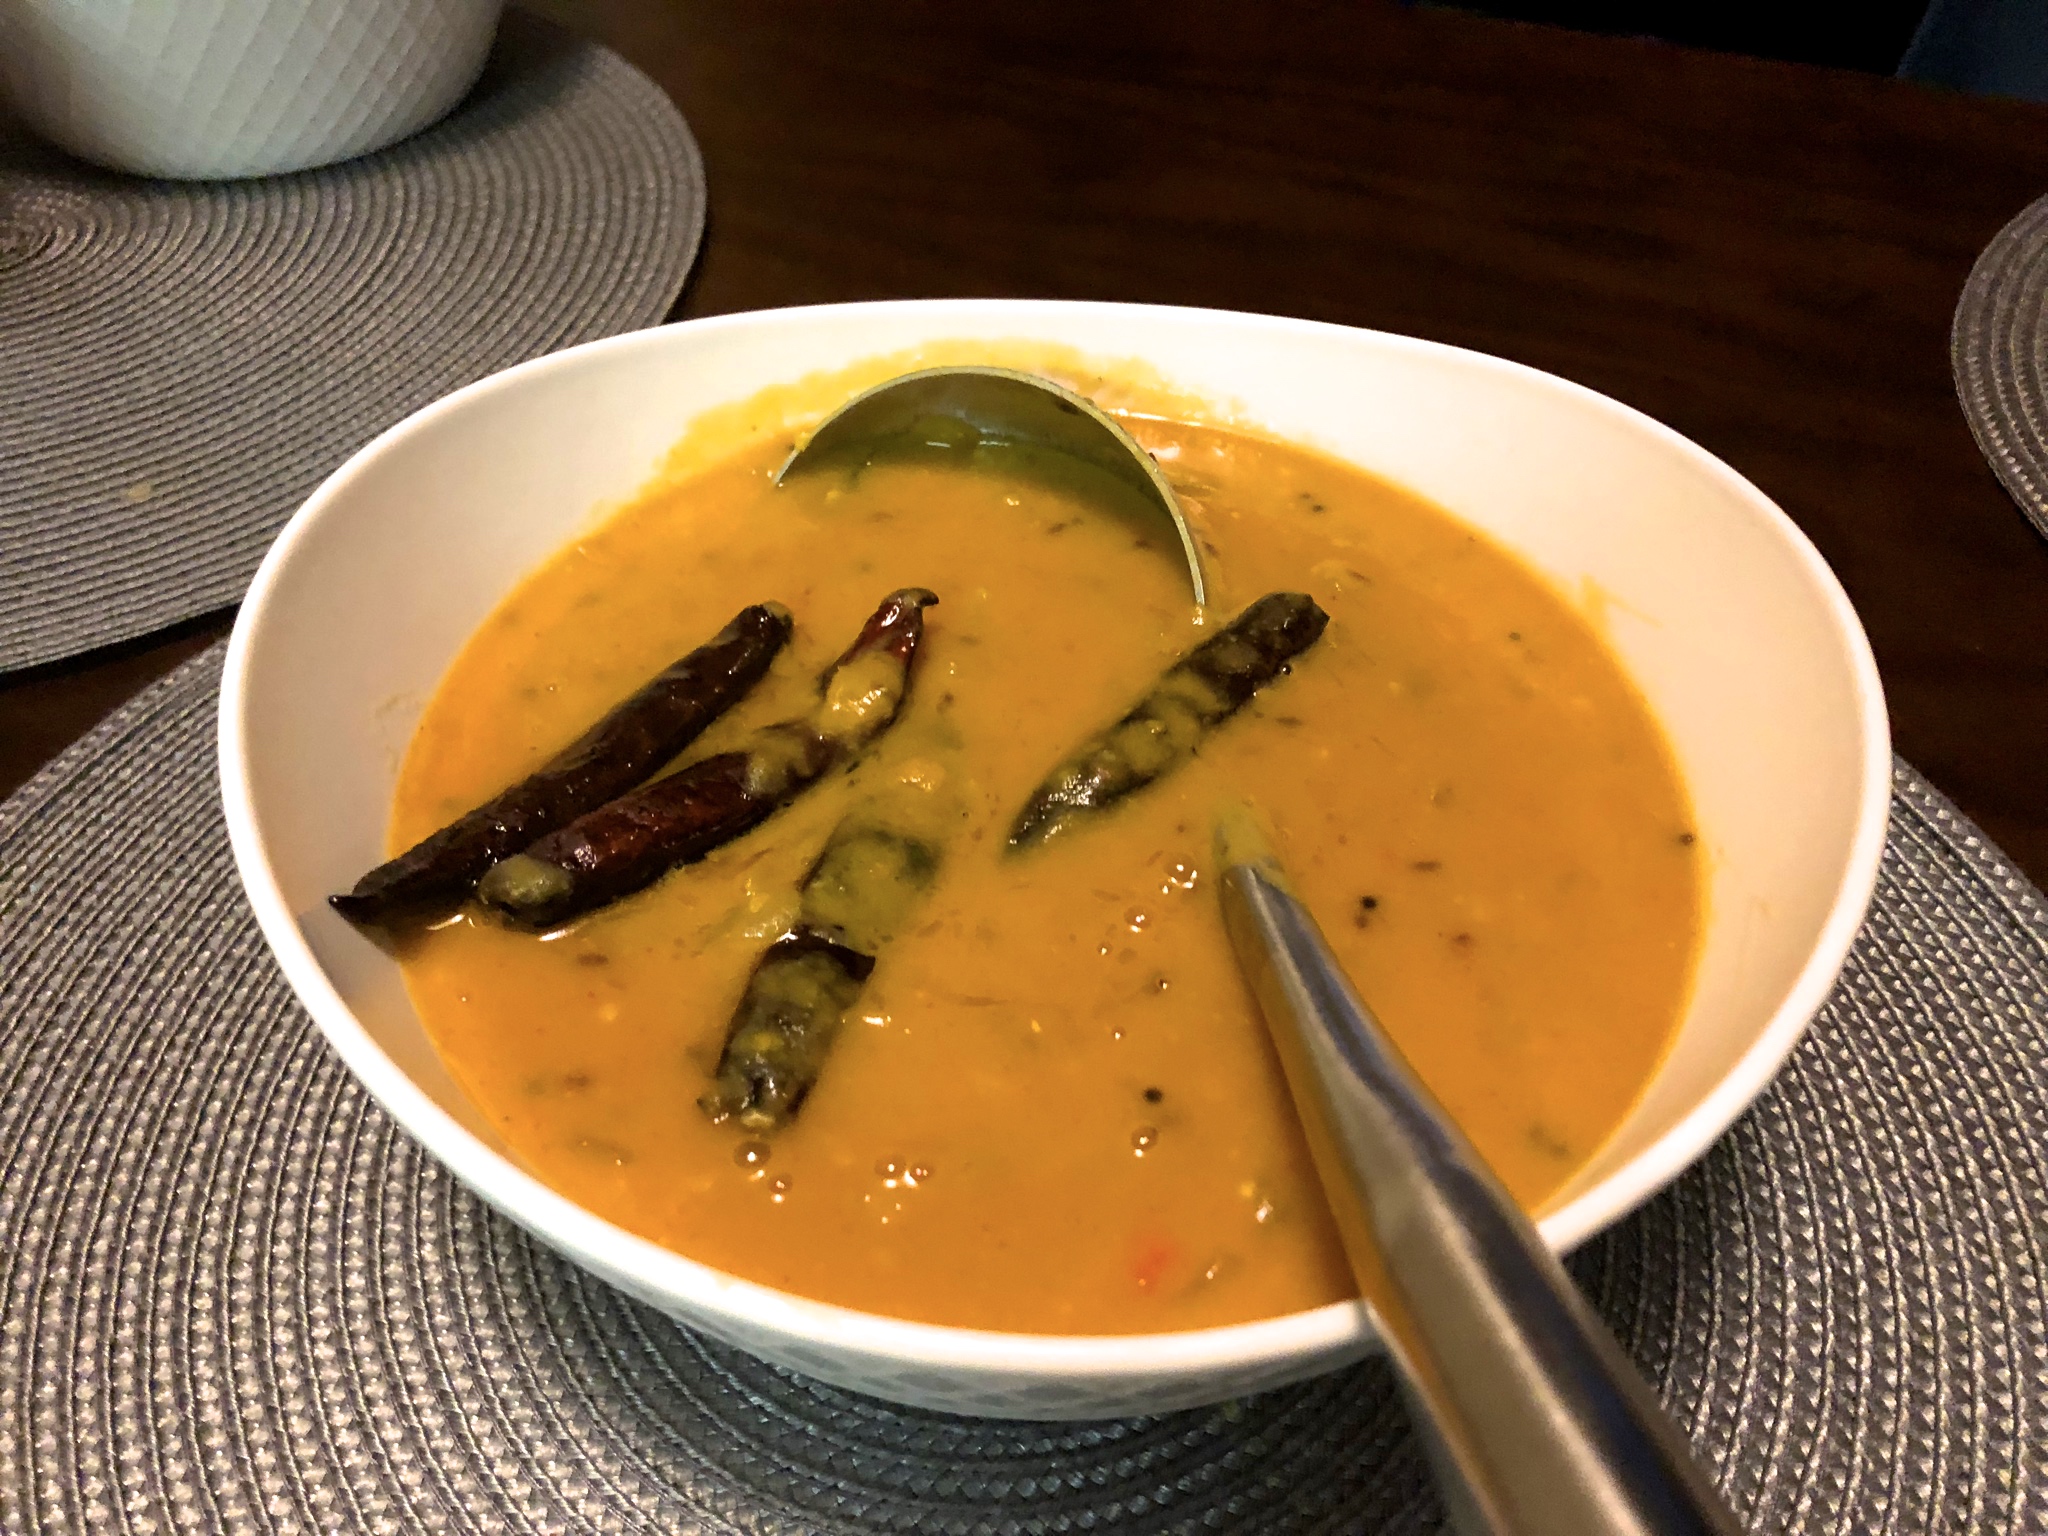
Indian cooking with Mango

If you think you’d like to try and sacrifice one or two of summer’s last few mangoes to an experiment, give it a go! I promise you it will turn out well, if you follow my instructions!

Ingredients:

(A quick note: You can adjust the level of spice easily. In the list of ingredients in the recipe below, I have provided a range of amounts for various spices; you can decide for yourself how much you’d like to use :))

1 cup lentils (I find that a mix of lentils is great for this recipe. I use Pesara Pappu (Moong Dal in Hindi); Toor Dal, and/or Masoor Dal)

1/2 teaspoon turmeric

3-4 cloves of garlic, skinned

1-2 medium mangoes (The number of mangoes you should use will depend on your preference as well as the flavour and size of the mangoes you’re cooking with: if you like a more intense mango-flavour, use two mangoes, otherwise, use less. Similarly, if the mangoes you have are small and/or not particularly tangy, you should use 2 mangoes. Also note that adding more mangoes changes the texture of the dal: it will become more pulpy with the addition of each mango)

2-3 tablespoons of oil (I use either avocado oil or sunflower oil)

1 medium-sized onions (red or yellow) chopped (I prefer red onions, they seem to have a nice balance of pungency and sweetness)

1 teaspoon grated ginger

3-6 fresh chilies, chopped or cut length-wise (You can reduce this amount if you don’t want the dal to be too hot/spicy)

1 – 3 teaspoons red chilli powder

Salt to taste

Ingredients for the popu/tadka/baghar:

1 teaspoon cumin seeds

1 teaspoon mustard seeds

3-12 dried red chilies, torn in half (depending on how hot you’d like the dal to be)

2-4 peeled garlic cloves, halved

A handful of curry leaves

2 pinches of asafoetida (optional)

2-3 tablespoons of oil or ghee (You can get ghee at an Indian store. However, I would recommend making your own, if you have the time. Here is my recipe, if you’re interested. If you don’t have ghee, or want to make your dal vegan, you can use sunflower oil, vegetable oil, or really any oil with a high smoking point. DO NOT USE BUTTER, it will smoke and burn before the spices are properly fried).

Method:

1. The first thing to do is to prepare the dal (lentils). Even if you don’t live in India, you should be able to get most lentils at an Indian store. I normally soak lentils for about 30 minutes, drain the water out, and add fresh water in, before I cook the lentils (this helps them cook faster and apparently helps to reduce bloating and gas: I am still looking for studies to back this up, which I will cite here when I find them). If you don’t have the time to do this, you can skip this step.

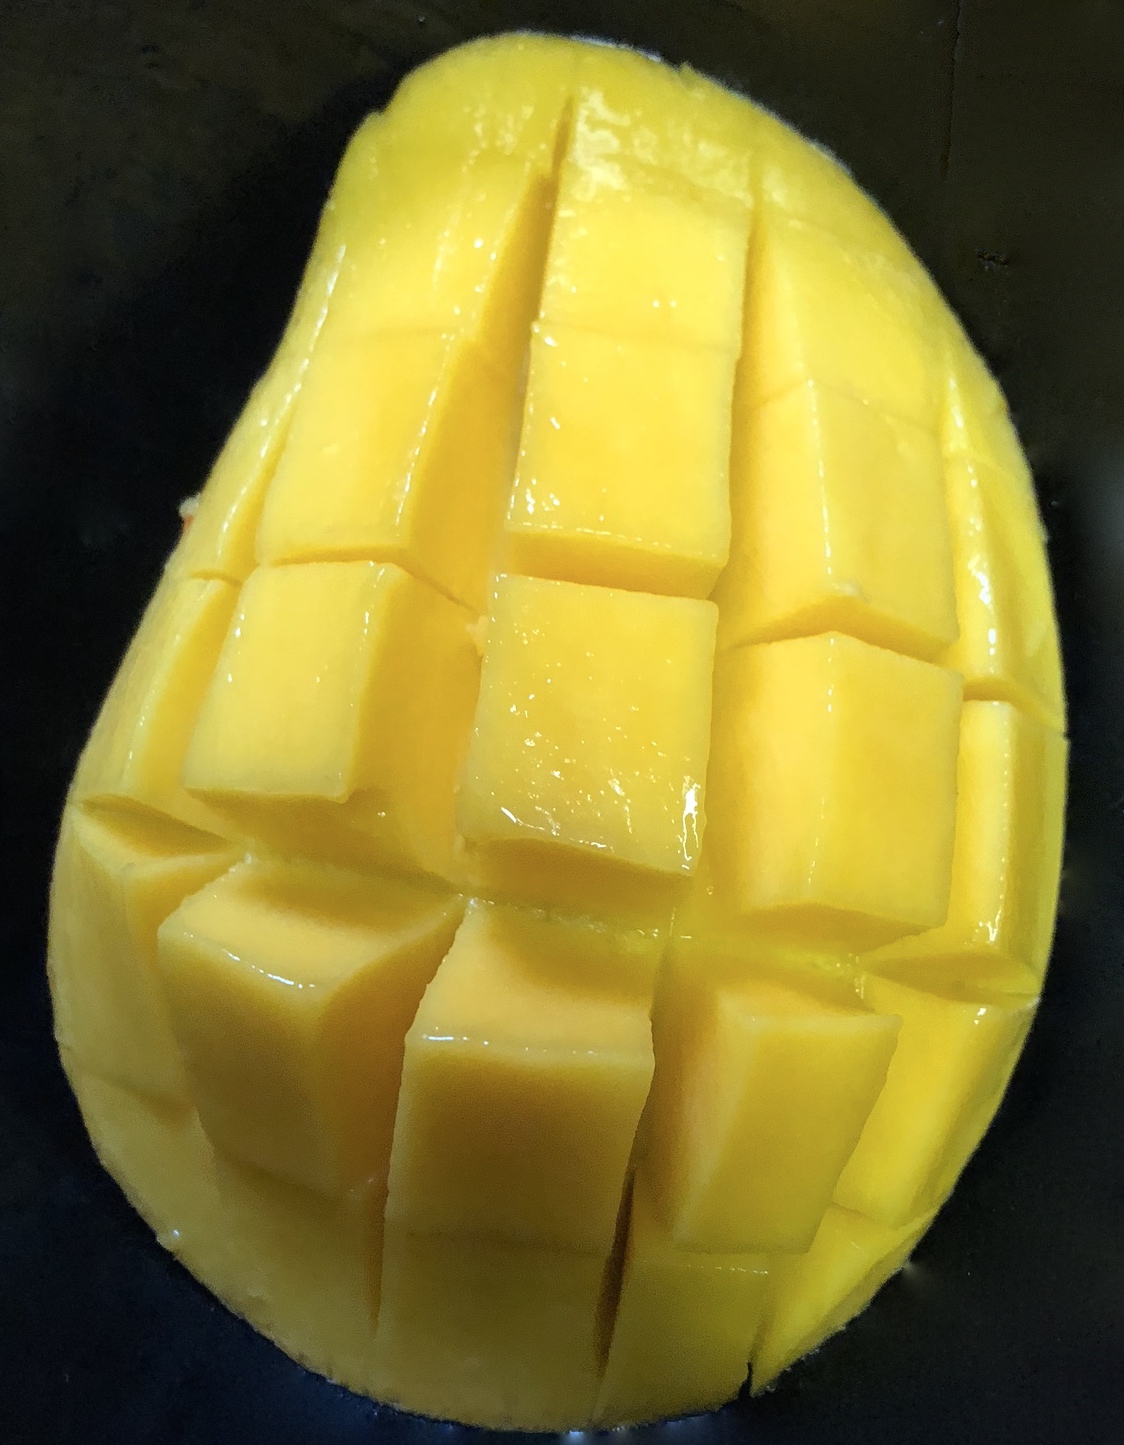
2. Next, cube and skin the mango:

Cutting a mango

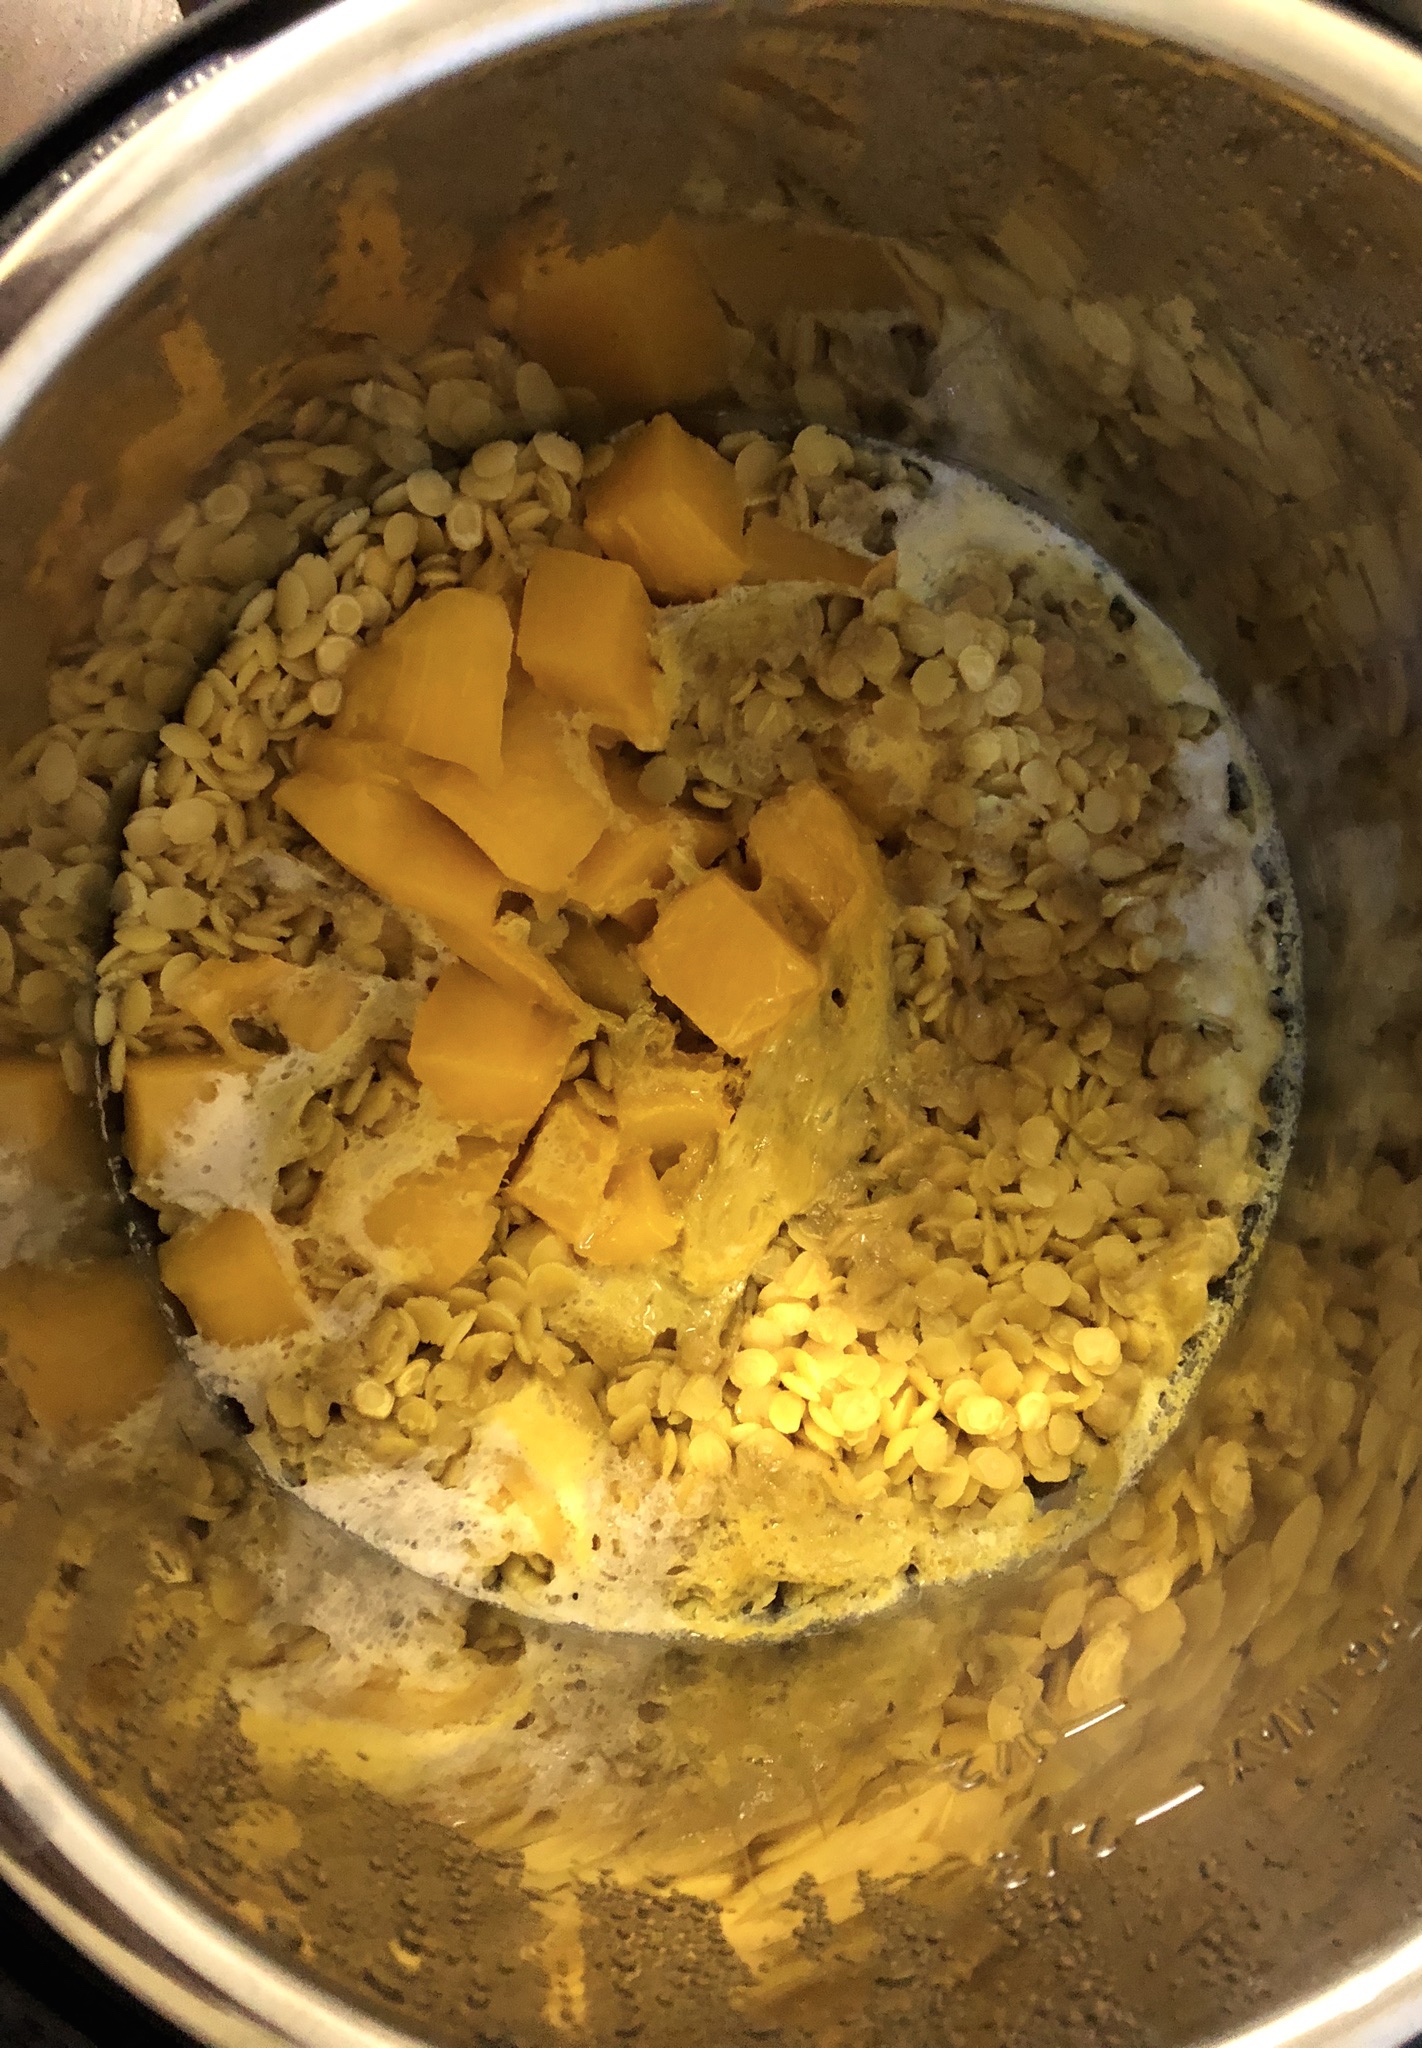
3. I tend to cook my dal in an instant pot. If you don’t have one, you can use a normal pressure cooker or boil the dal in water until it is cooked. Add a quarter teaspoon of turmeric, half a teaspoon of salt, 3-4 cloves of skinned garlic, and the mango cubes to the dal before you cook it.

IMG_9516

4. I like to purée the cooked dal-mango mixture in a food processor/blender/mixie in order to make it into a smooth paste. This makes the texture of the dal smoother and distributes flavour more evenly. This step is completely optional. You can skip it without much consequence to the taste of your dal if you do not have either the necessary equipment or the time.

Making dal at home

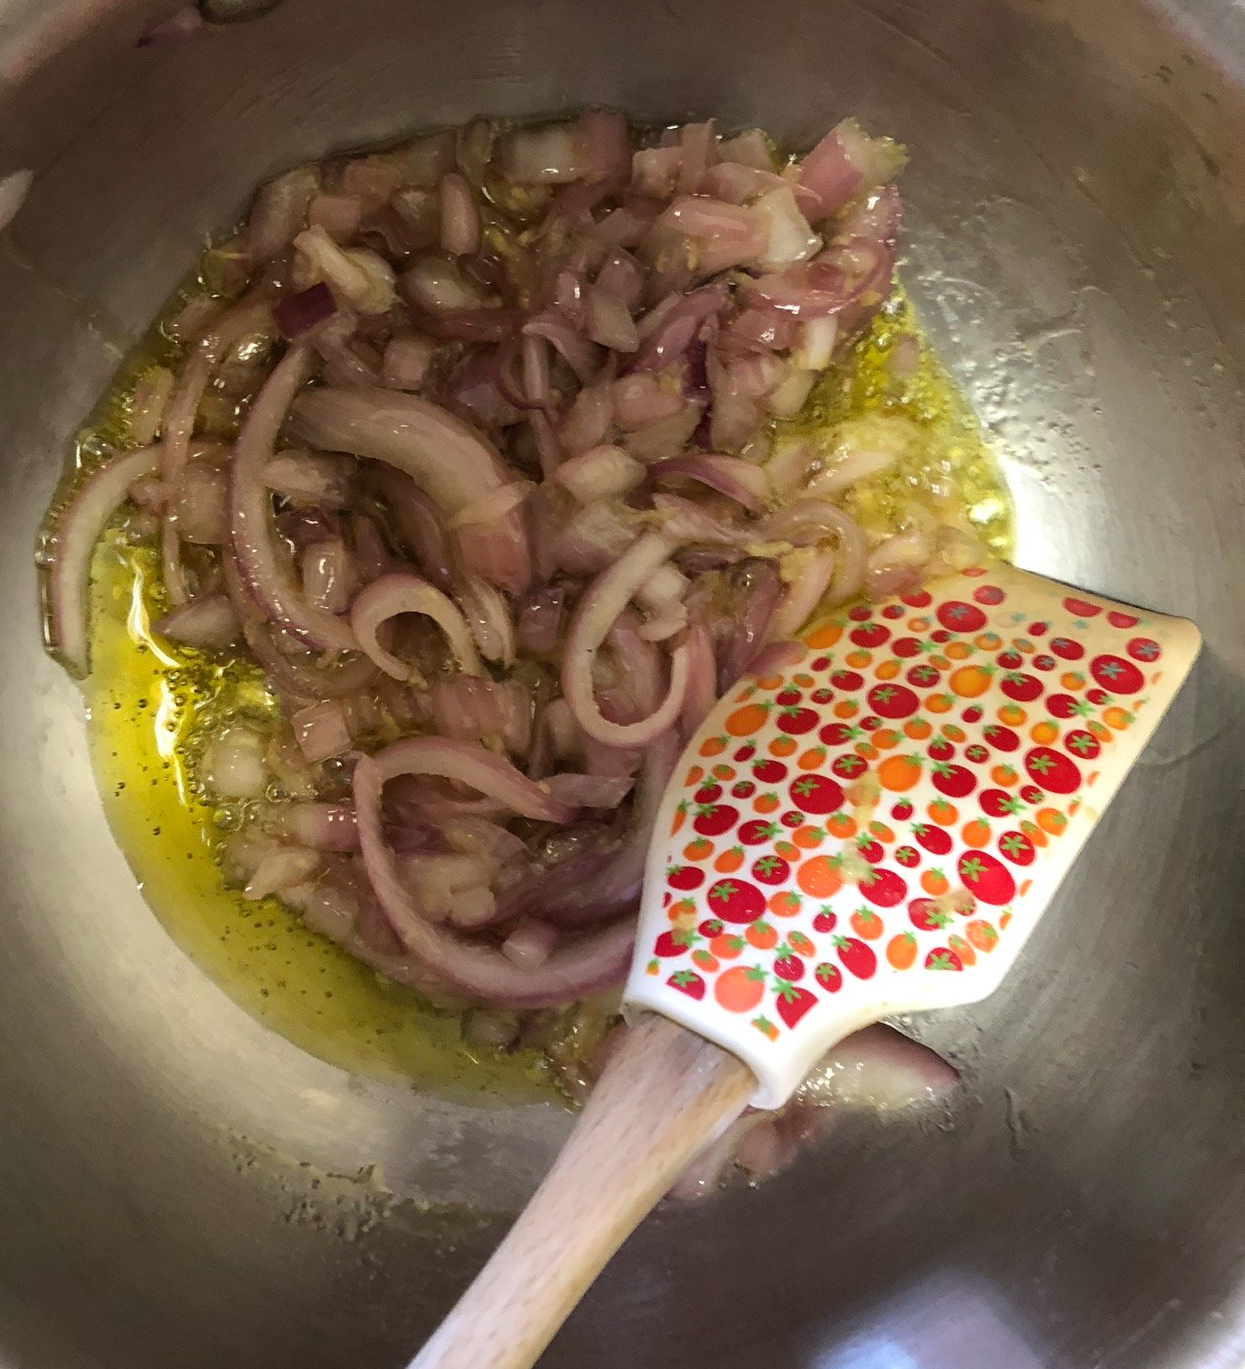
5. Next, heat 2-3 tablespoons of oil in a saucepan. When it’s hot add the chopped onions and sauté them until softened and lightly browned.

Cooking onions in Indian food
Cooking onions for Indian food Sautéing onions
Cooking onions for Indian food
Sautéing onions

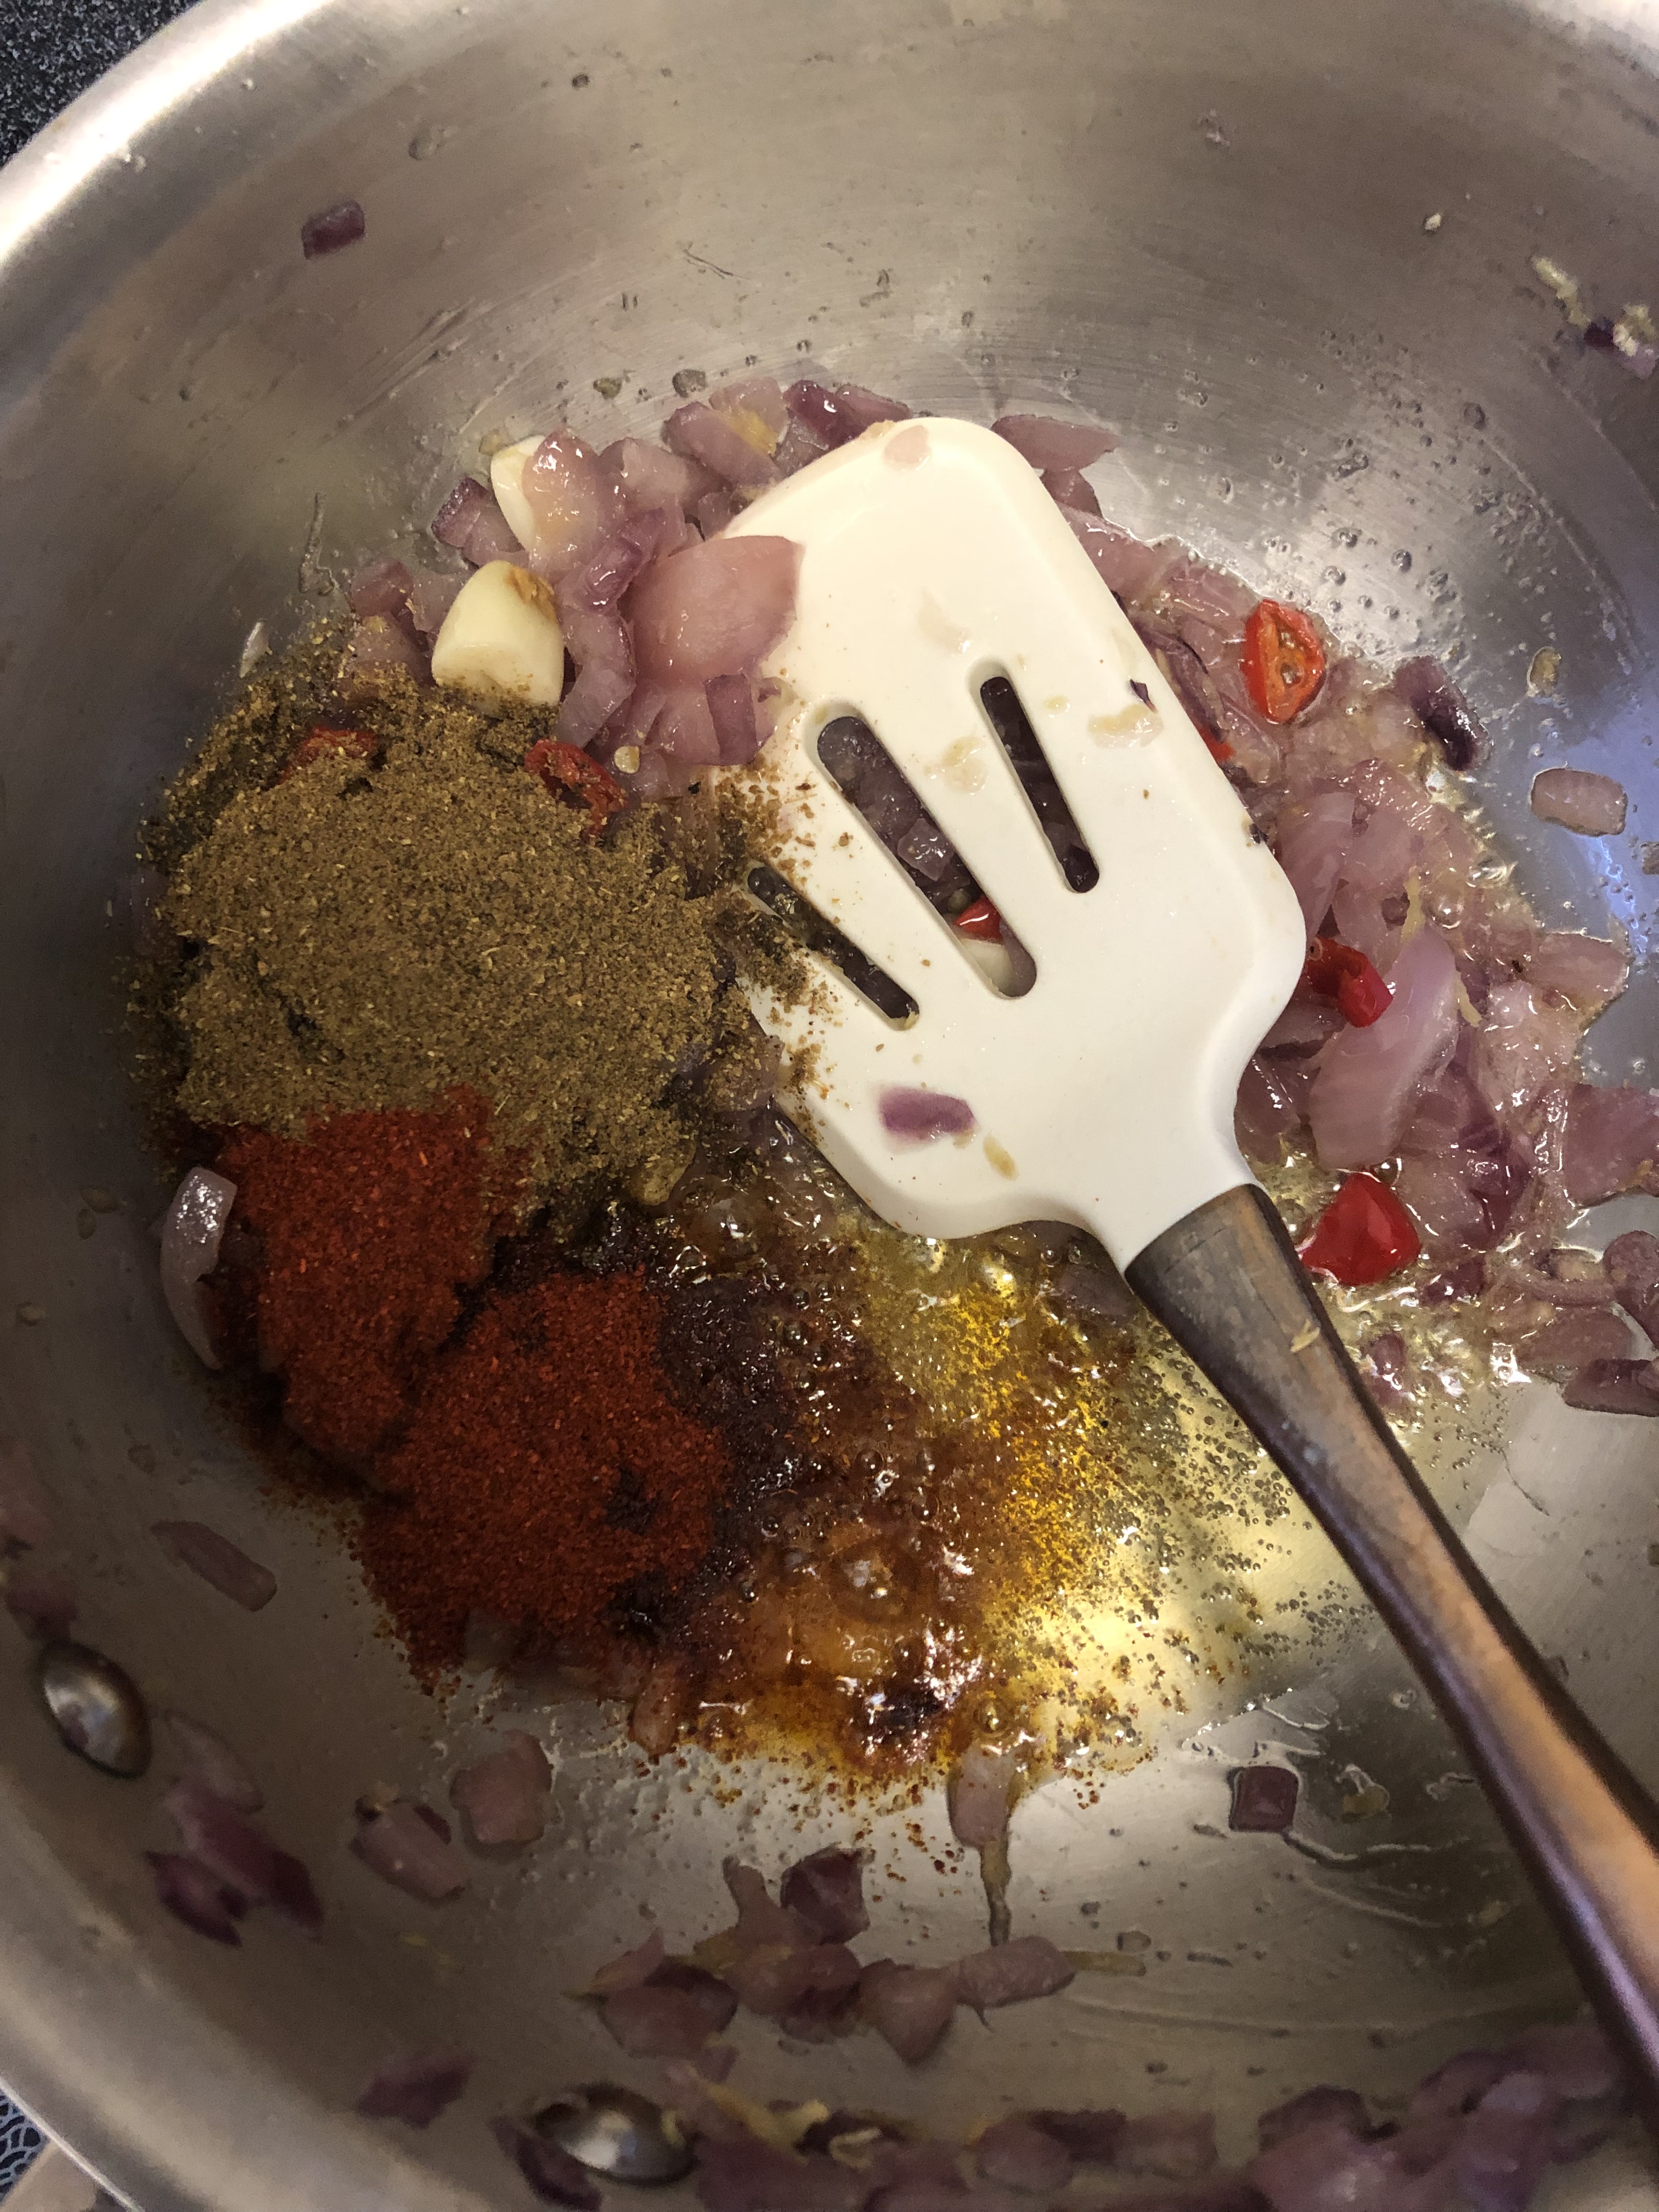
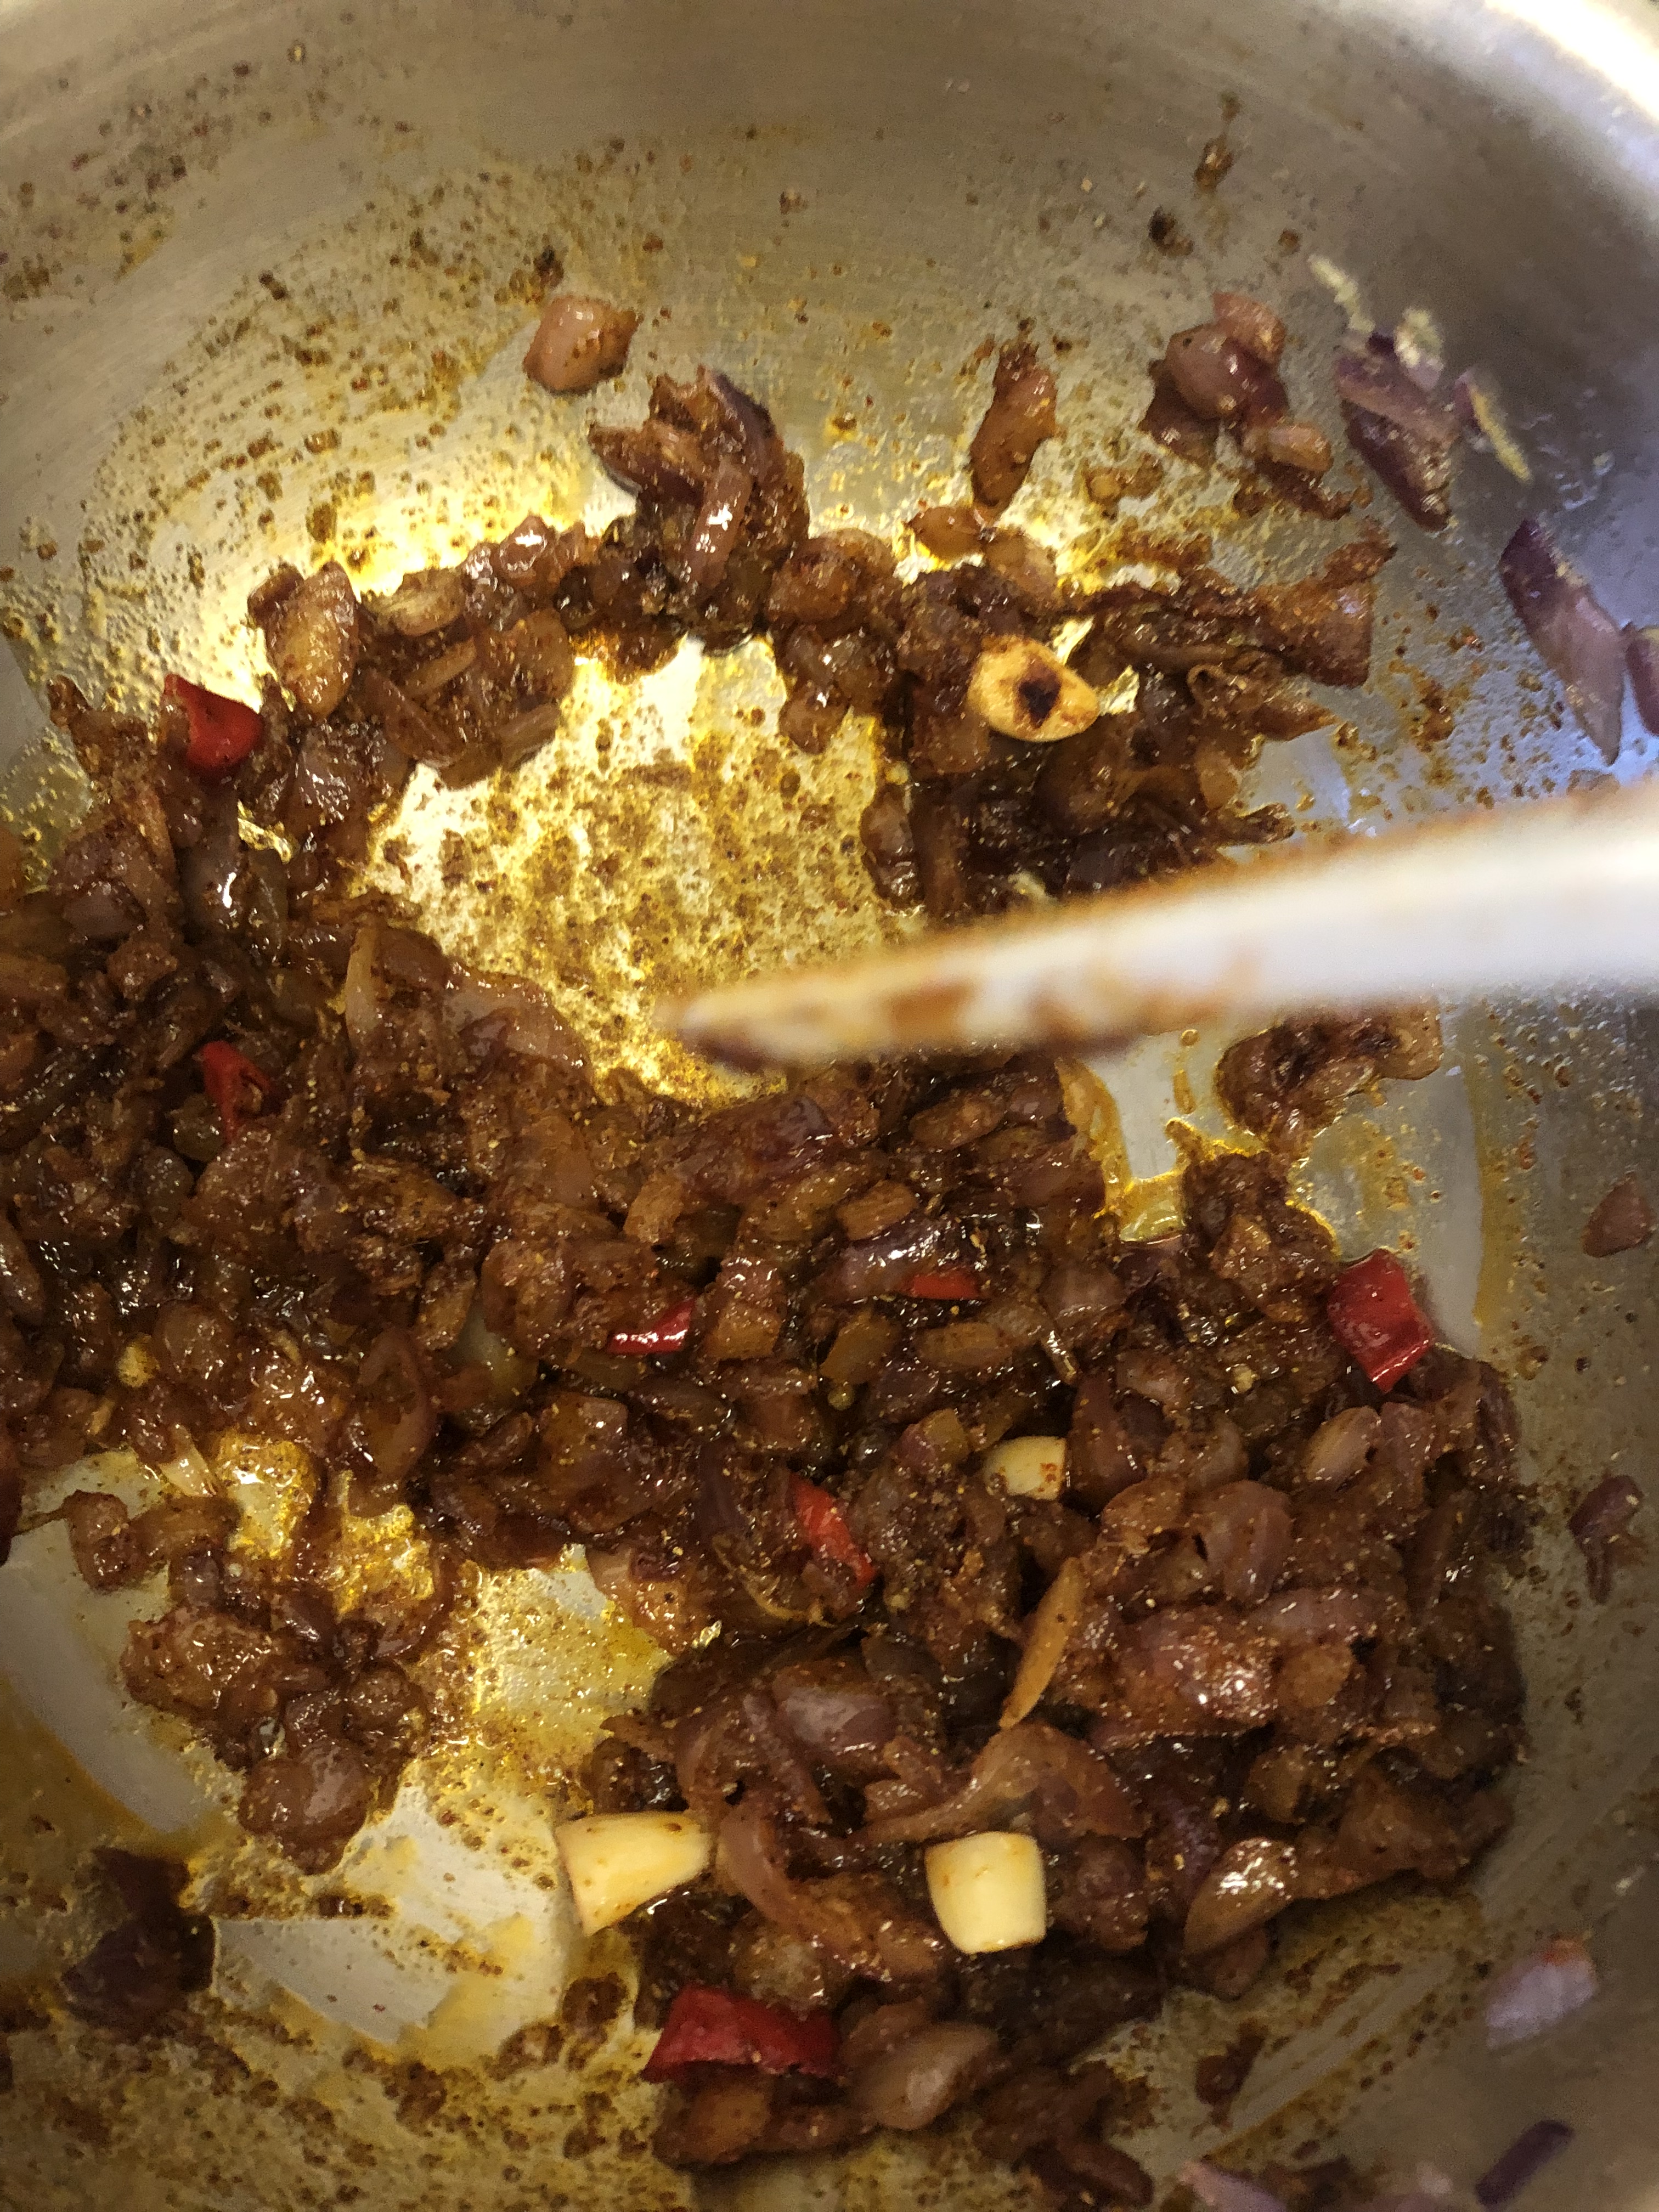
6. Now add the ginger and fresh chillies to the onions and sauté everything again until the ginger is cooked (it should no longer smell raw). Then, add the red chilli powder, the remaining turmeric, and half a teaspoon of salt to the sautéed onions-ginger-chilli-mixture (hereinafter referred to as “stuff” :P) and continue to sauté all of this for about 5 minutes on low-medium heat.

Onion-masala for dal

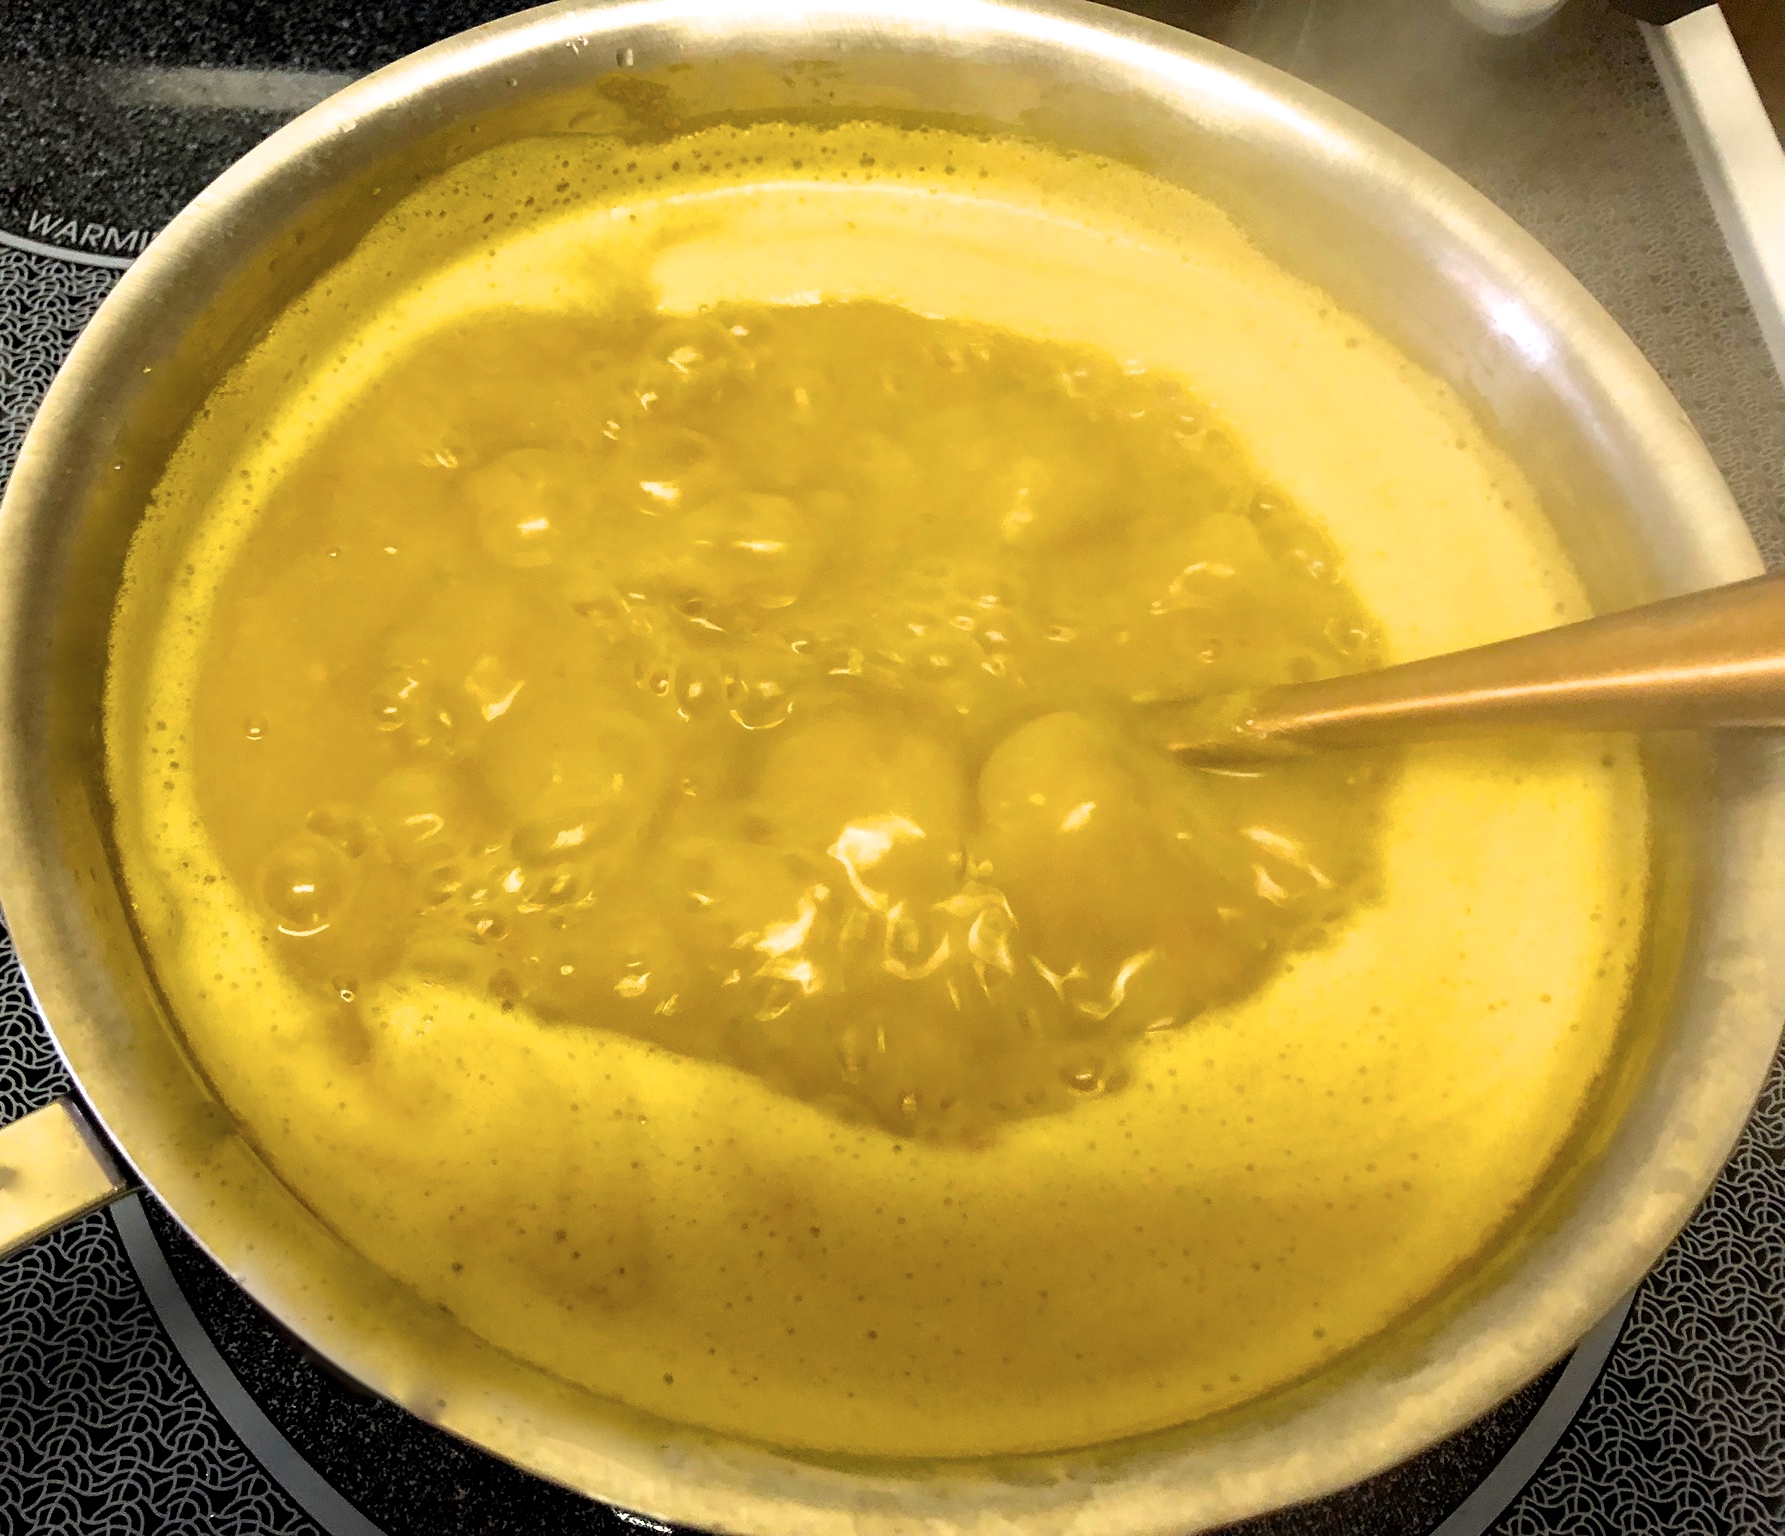
7. Add the dal-mango puree to the pan along with a cup or two of water, and bring it all to a boil. Let everything cook for about 8 minutes on high heat, stirring the pot intermittently to prevent the contents at the bottom from burning. You will see a foamy layer rise to the top of the dal.

IMG_0210

8. I like to scoop this out into a bowl and throw it out.

Reducing FODMAPS in dal; how to decrease bloating from dal

I have heard from some people who regularly cook with lentils in India that this helps reduce bloating and gas.

A note on FODMAPS for the lay person: FODMAPS can cause gastric discomfort in some of us. One may be sensitive to some or all FODMAPS to varying degrees. Symptoms can range from gas, bloating, abdominal pain and cramping, to, in my case, at least, acid reflux. For more general reading on this topic, this article is a great starting point.

The main FODMAPs that dal contains are oligosaccharides. Take a peek at this post about FODMAPS and how cooking legumes may help to reduce the FODMAP content in the food we eat. Of course, more research is needed to confirm this theory, but also, to determine the most effective/efficient ways of extracting FODMAPS from dal through cooking. I am not sure that my method of skimming the foamy parts off the top of the dal is effective in removing/reducing dissolved oligosaccharides from it. Anecdotally, though, I have found it helps. Therefore, I do it every time I cook dal.

In addition, onions and garlic contain fructans, which are also a type of oligosaccharide (see this article for more on this). If you are particularly sensitive to onions and/or garlic, you could sauté them in oil (in step 5 of the recipe, above) and then, remove the onions and garlic pieces, leaving just the oil in the pan. Subsequently, continue with step 6. Frying the onions and/or garlic in oil results in some of their flavour infusing into the oil. Since fructans are water-soluble not fat-soluble, by removing the onions and/or garlic, you are able to reduce the amount of fructans that end up in the dal (see this article for more on this). Also, remember not to add any garlic to the lentils whilst cooking them in step 3, above. In step 9 (below), you can add garlic to the tadka, but remember to remove it before pouring the tadka into the dal.

9. The baghar/popu/tadka:

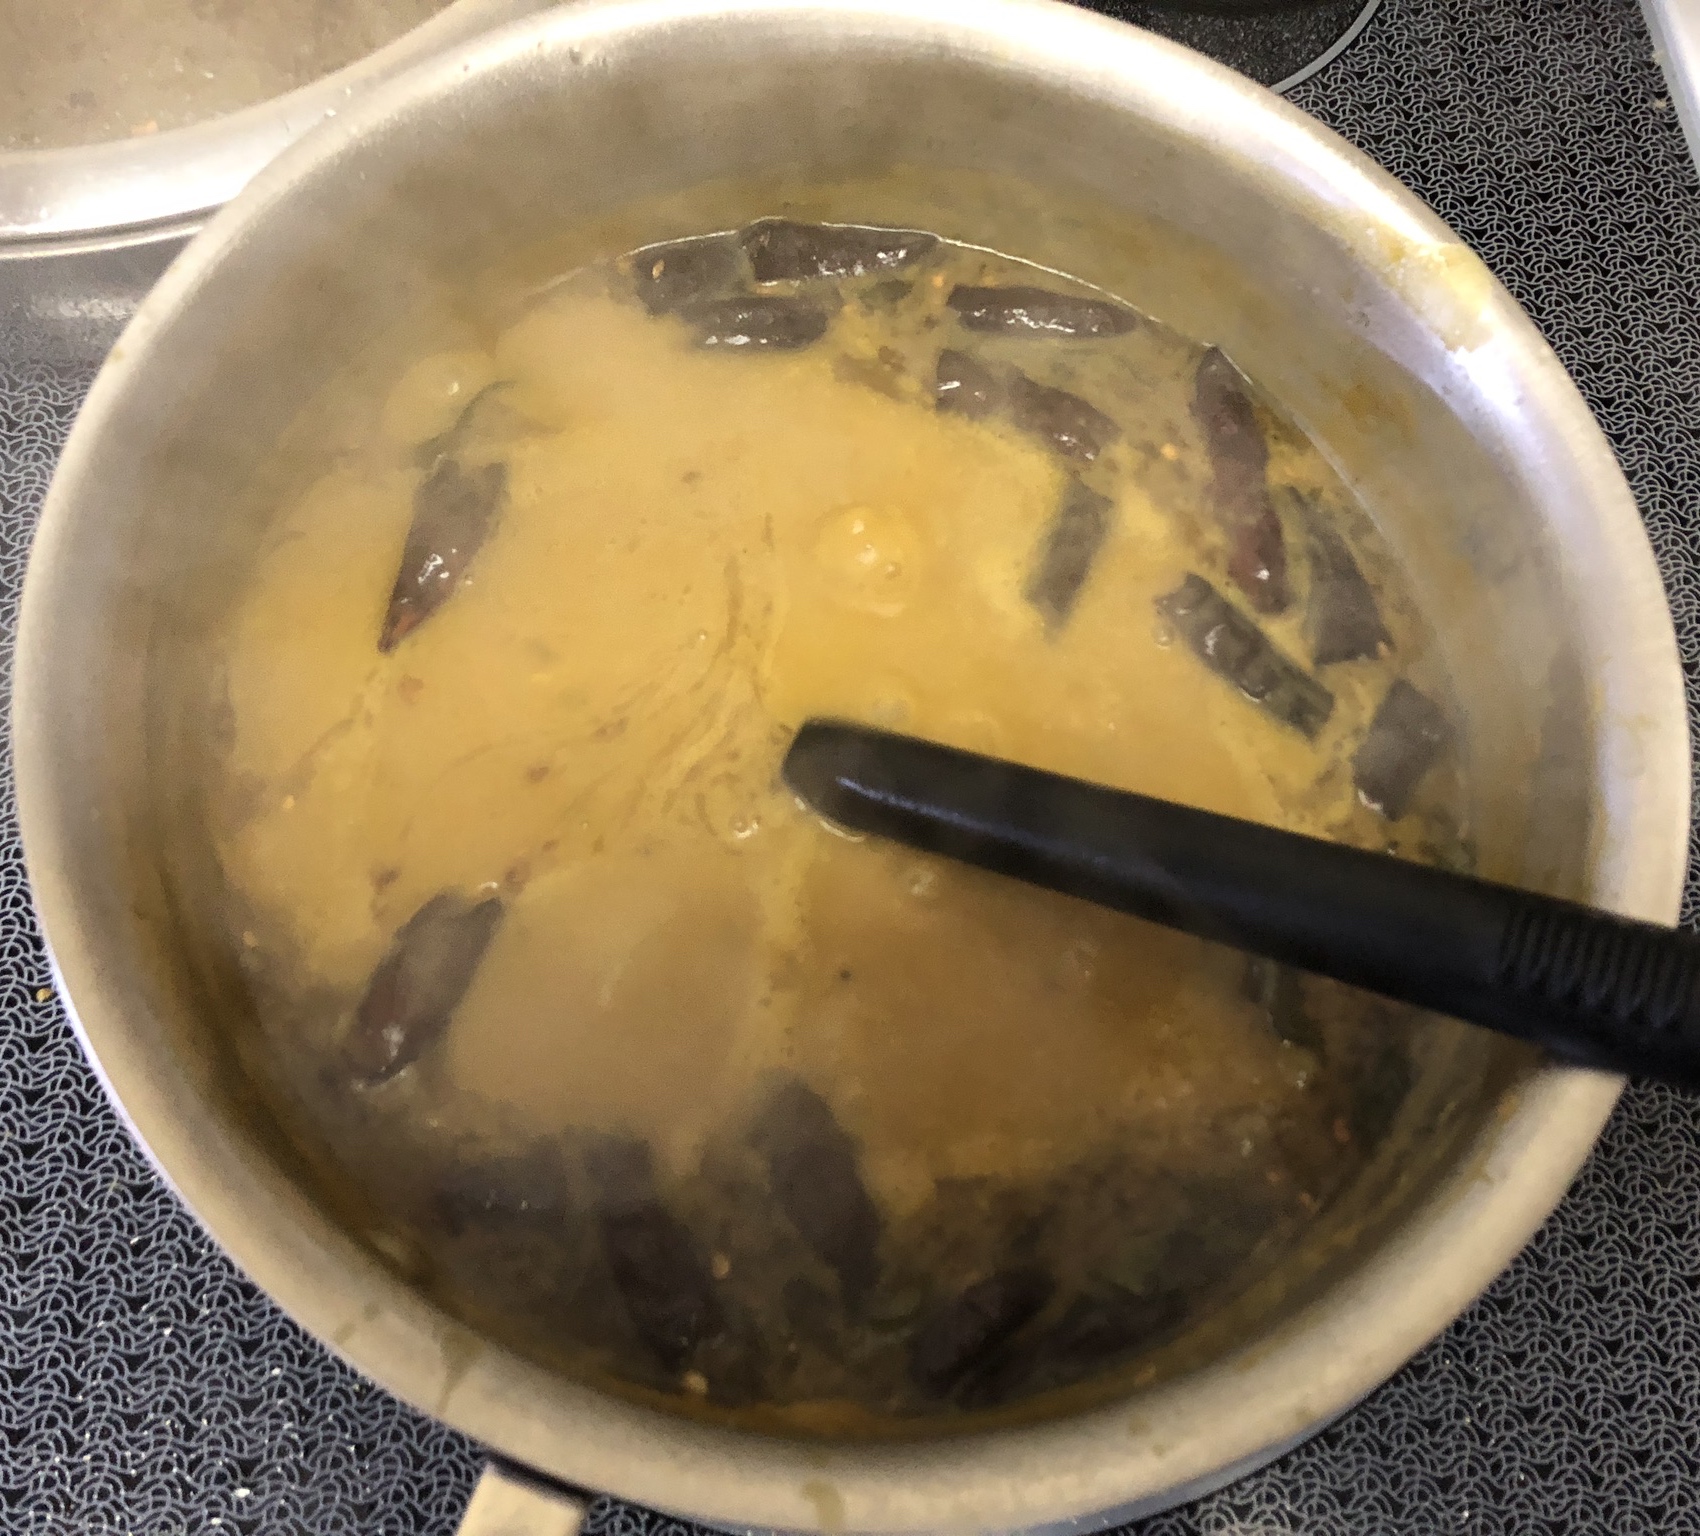
Heat a tablespoon or two of ghee in a little saucepan on high heat. Let the ghee get hot. To test if it’s hot enough, throw a single cumin seed into the pan. If it begins to sizzle, add the mustard seeds and the rest of the cumin seeds and stir them about until they start to pop. When they start to pop, add the asafoetida and red chilies, followed by the curry leaves and garlic cloves about 30 seconds later. Once the red chillies darken, add the baghar to the lentils. Immediately cover the pot.

IMG_9800

10. The dal is now ready! Taste it and add some salt to it if you like. Serve it with some hot rice and/or roti, Indian pickle, ghee, and any other accompanying curries or vegetable sauté. I like to eat it with brown rice (it’s more nutritious and has more fibre) and some dahi (Indian yogurt).

IMG_9523
Categories
Cooking Food General Indian Cooking Low FODMAPS Recipes vegan

Garden Fresh Palak Dal (Spinach Lentils)

We’ve had a very cool August this year, which has been disappointing. This has meant less paddle-boarding and fewer beach days. Moreover, our bougainvillea plants haven’t flowered quite as prolifically as they usually do.
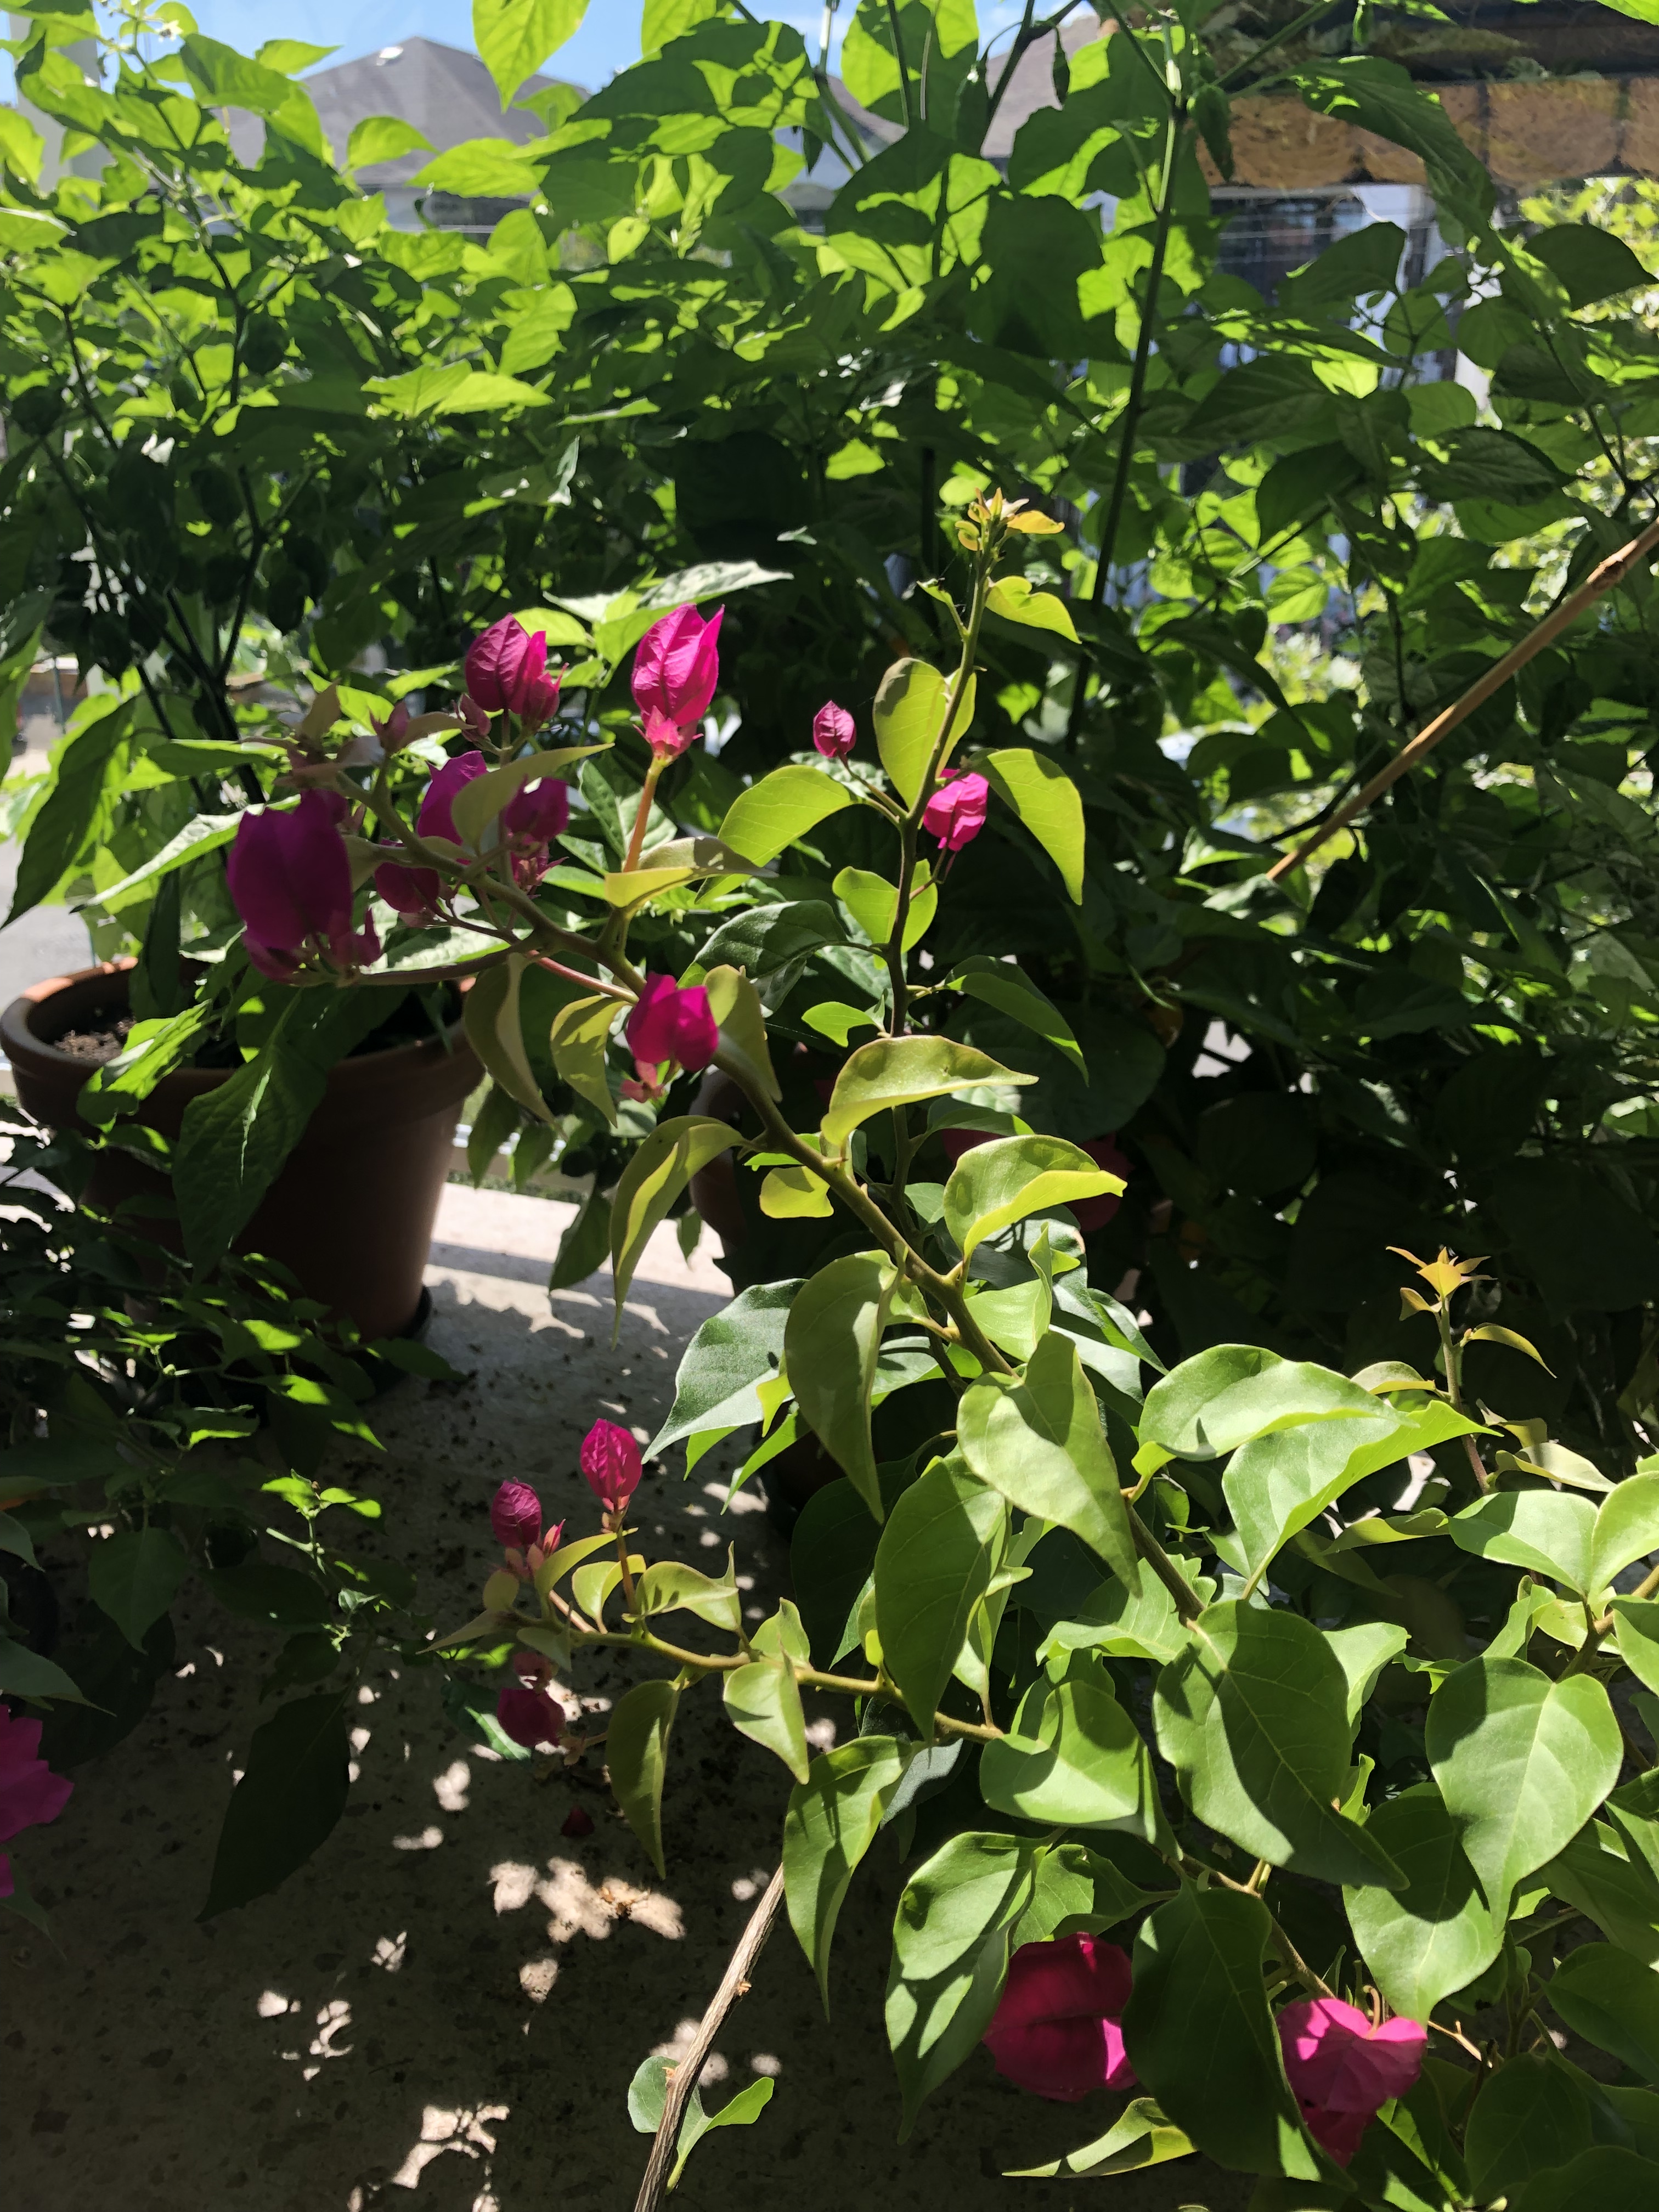
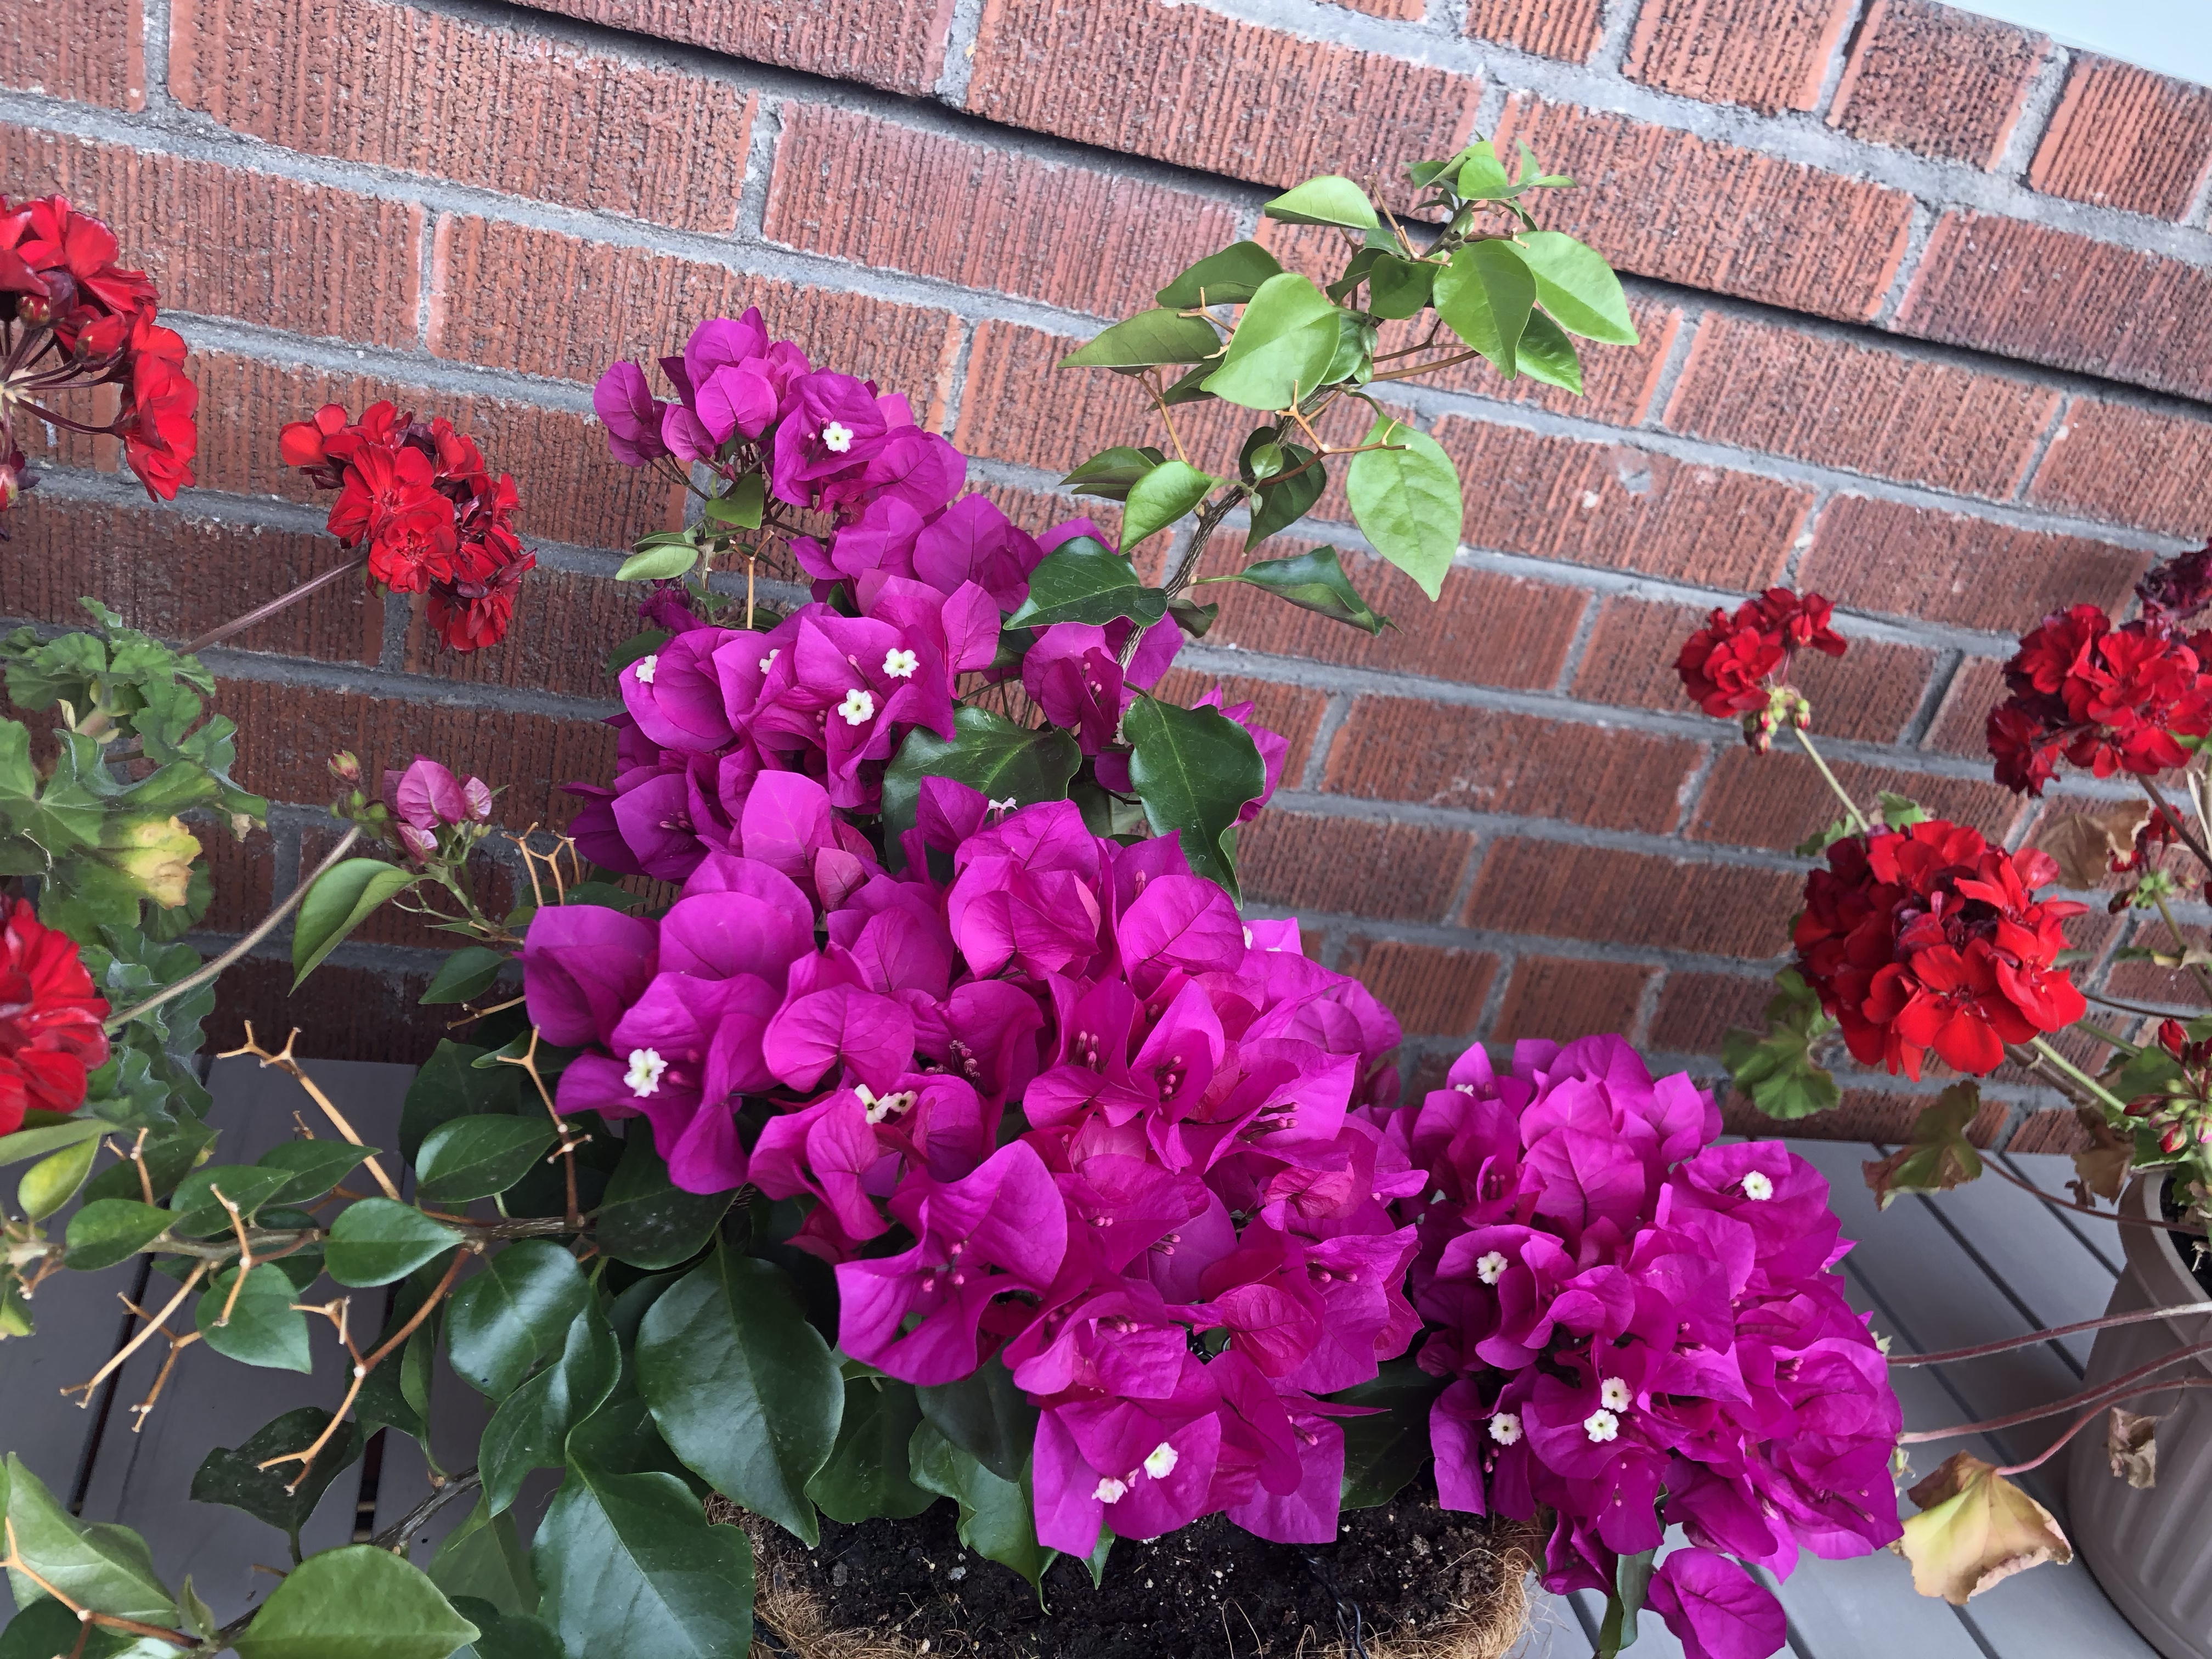
Tropical flowers in Canada: bougainvillea

On the upside, however, this has meant that the second box of spinach we planted late this summer has been doing really well!
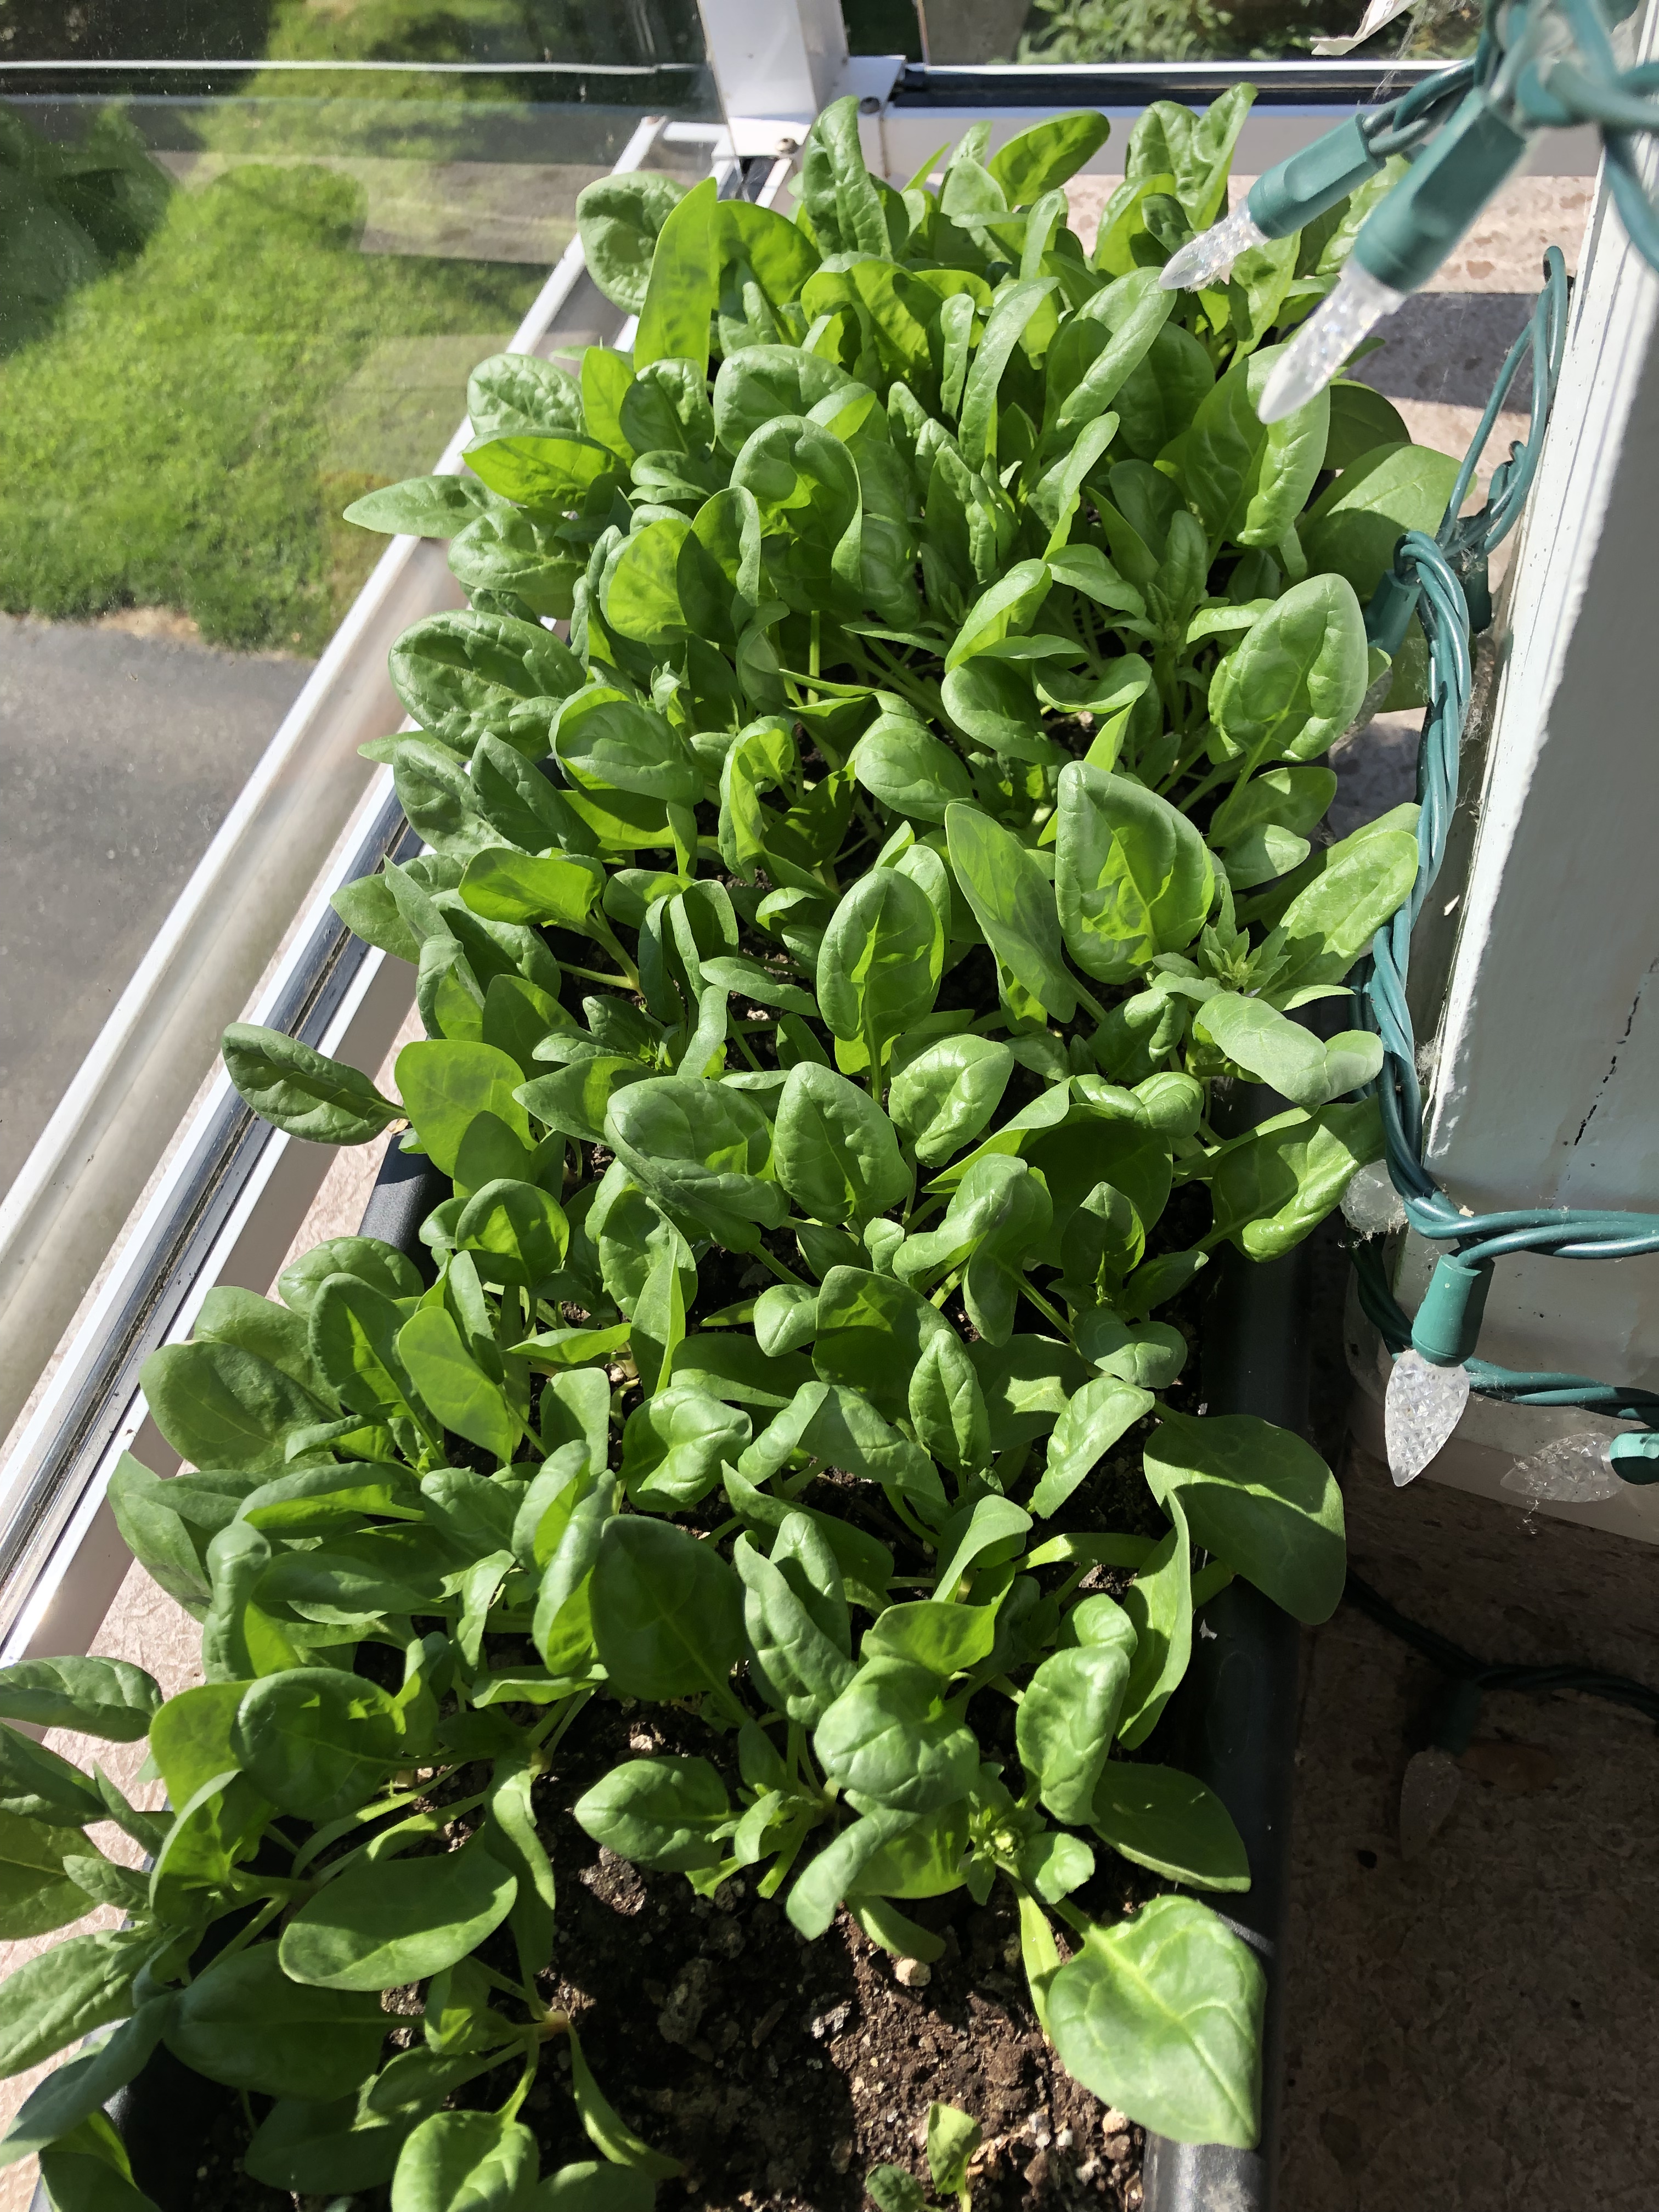
Growing your own food: spinach

I haven’t been cooking at all this week because on Tuesday, I had a fun adventure: I flew through an open door, towards a glass wall (I tripped on a sign right outside the door); my knee is what prevented me from crashing through the wall; as a result, it has been swollen and bruised. I am better today, though, so I thought that I’d cook up something delicious, using the “harvest” from our little urban deck “farm” and my partner as a sous chef.

Here is today’s produce:
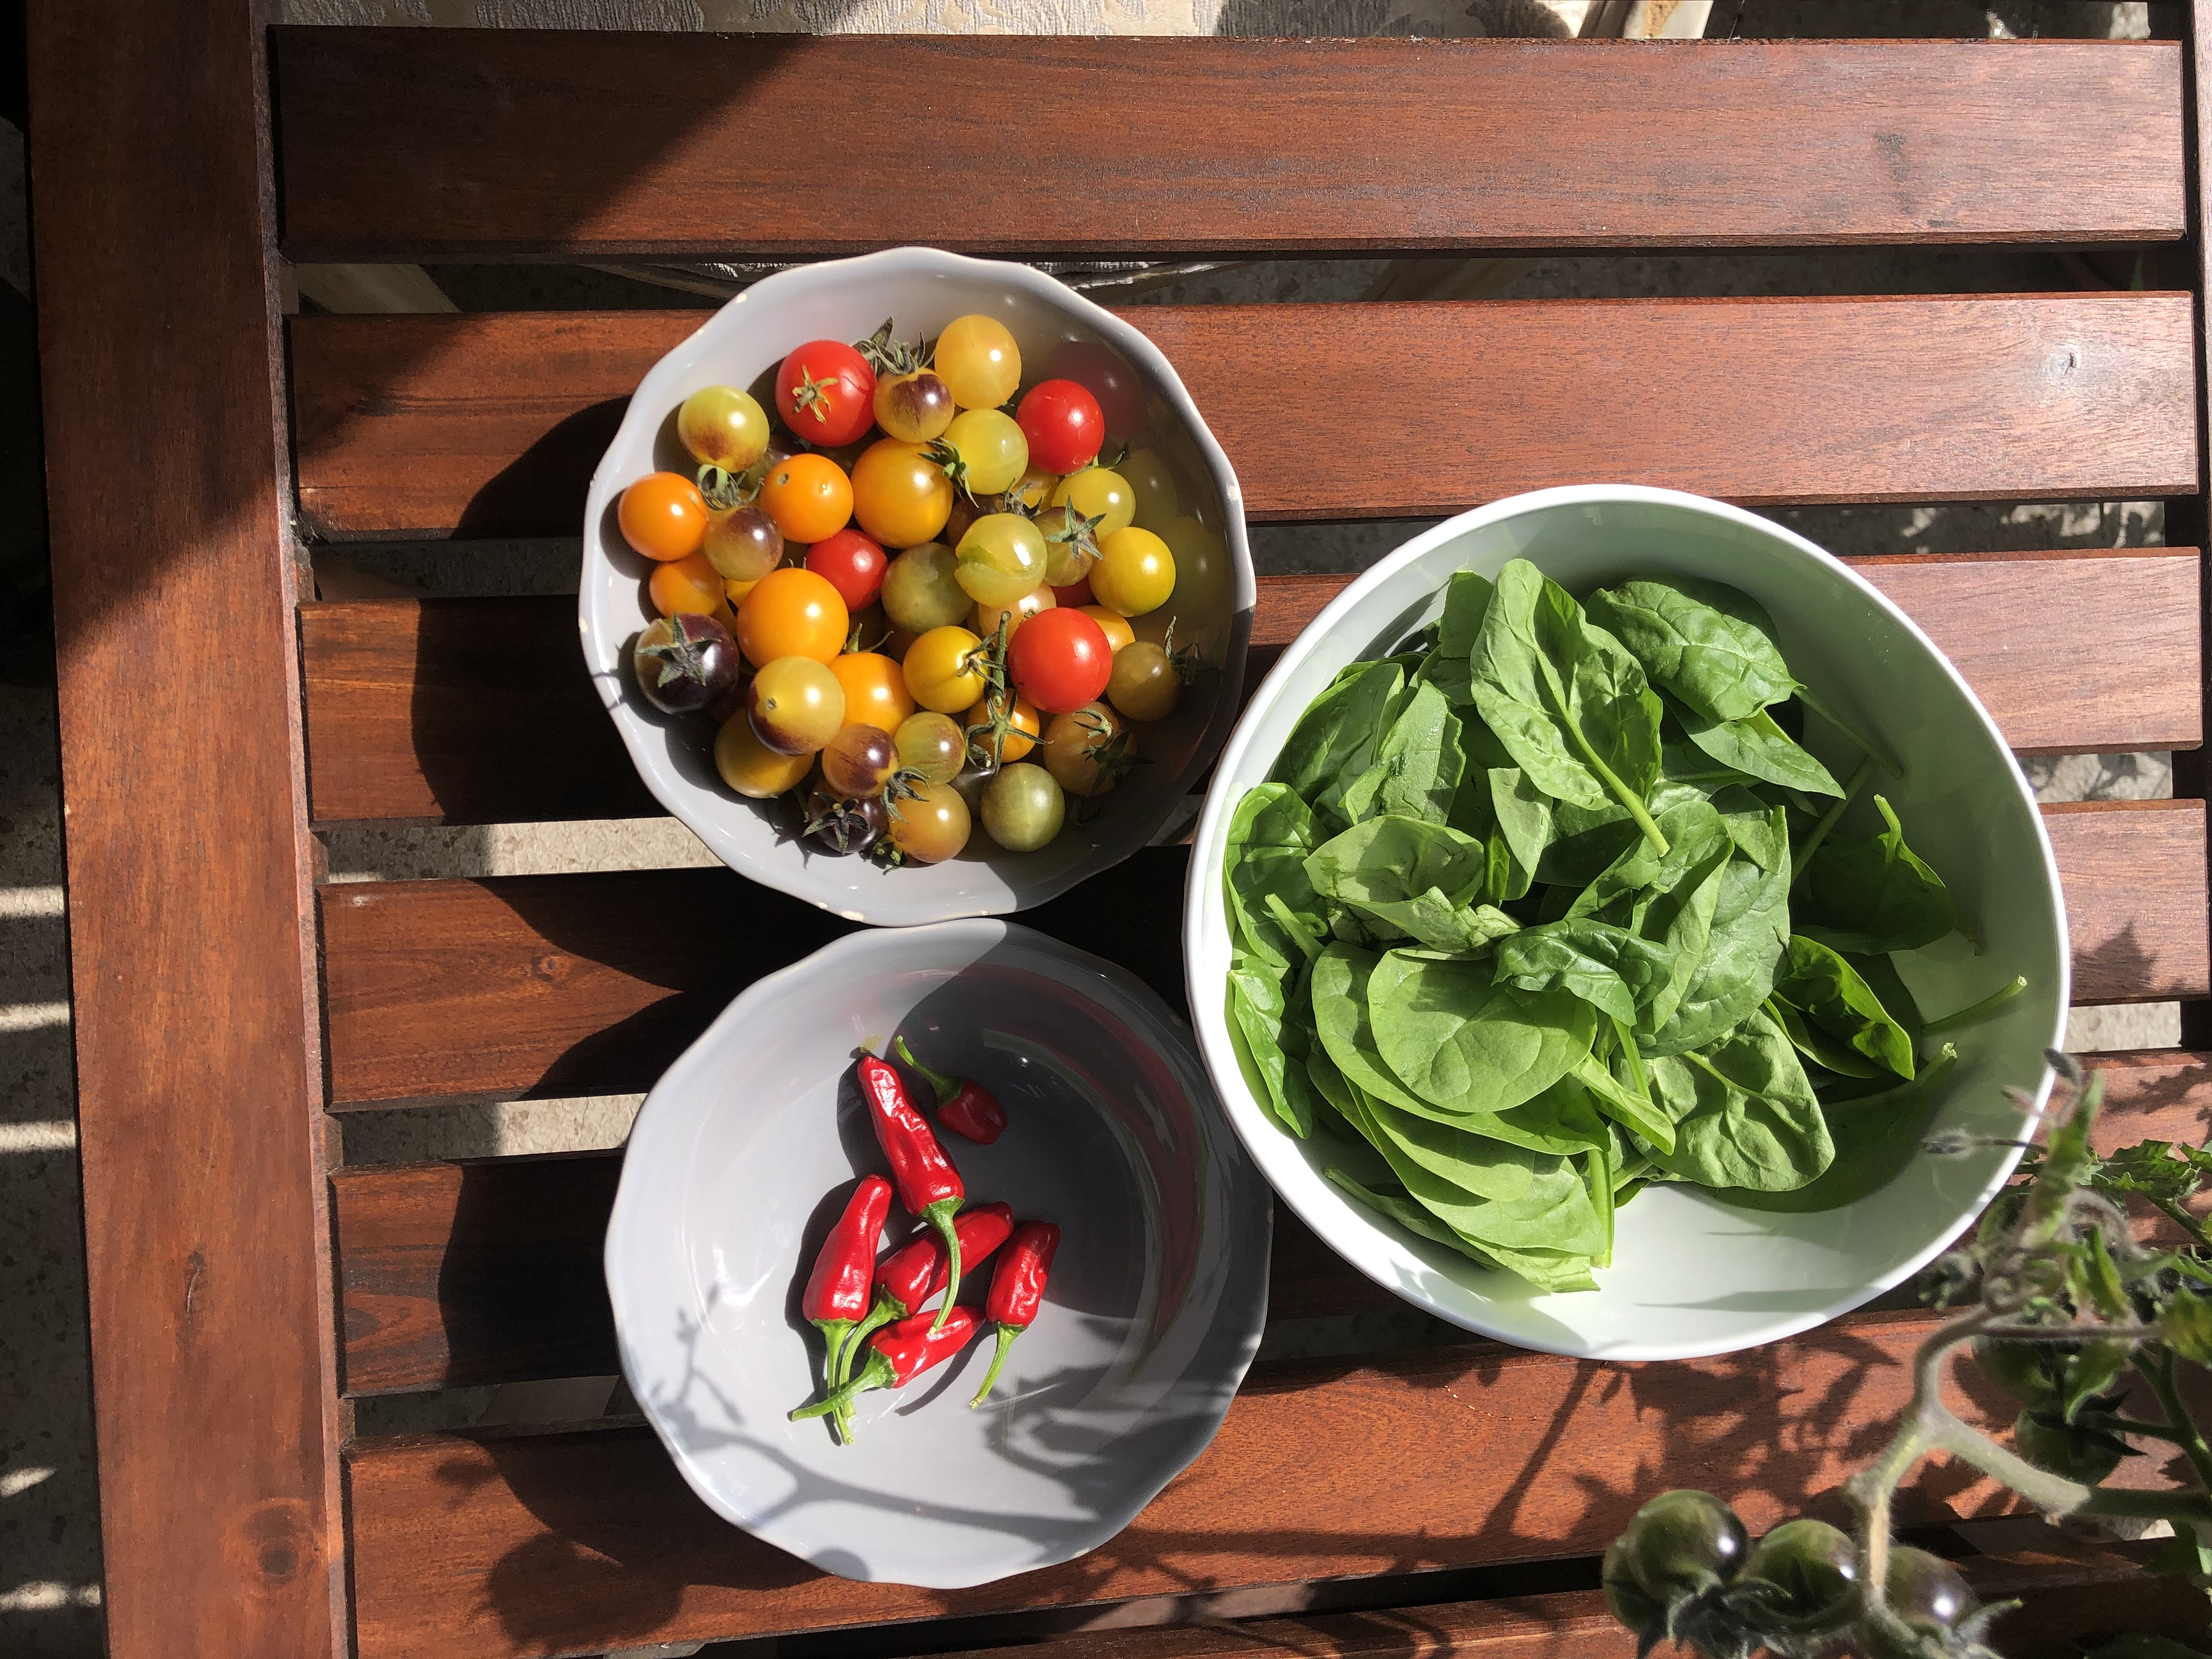
Cooking with food from your garden

Given my life-long love affair with chillies, new found appreciation for home-grown cherry tomatoes, and inexplicable tolerance for spinach (despite my general dislike for vegetables), this was a truly exciting collection of delights! “Palak dal!!!”, I thought to myself, excitedly. And so, I cooked us up a big pot of the stuff:
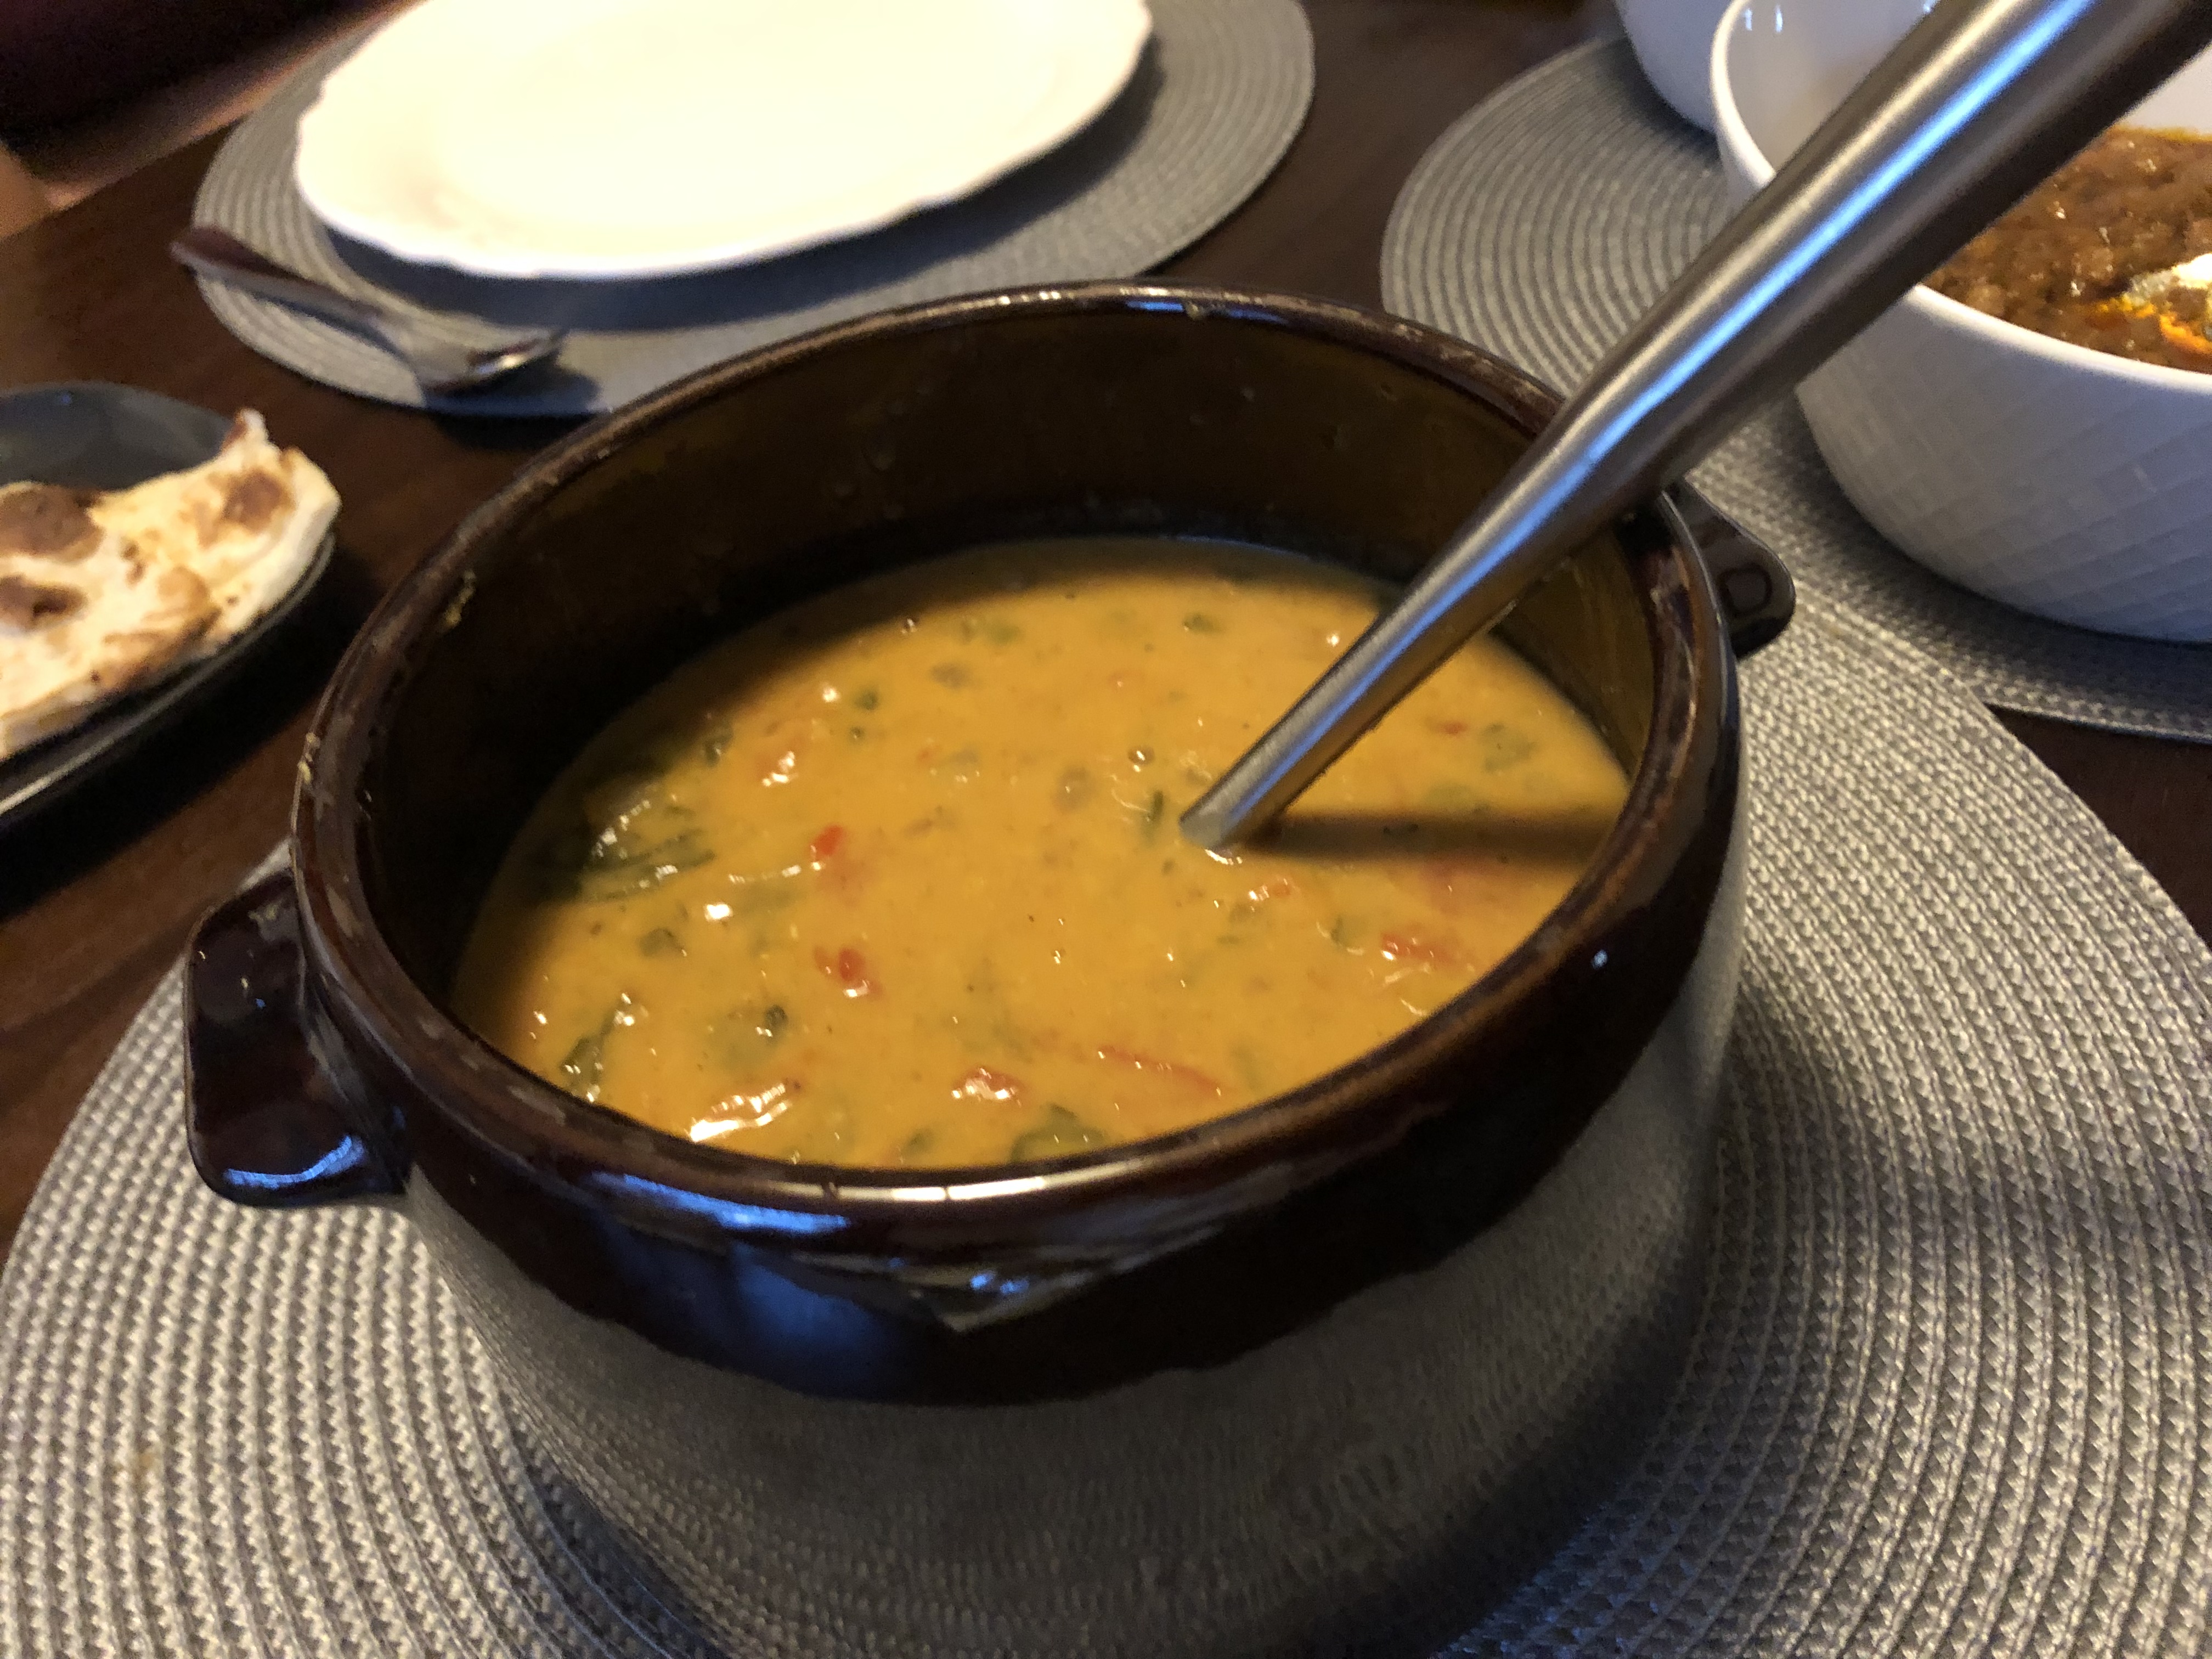
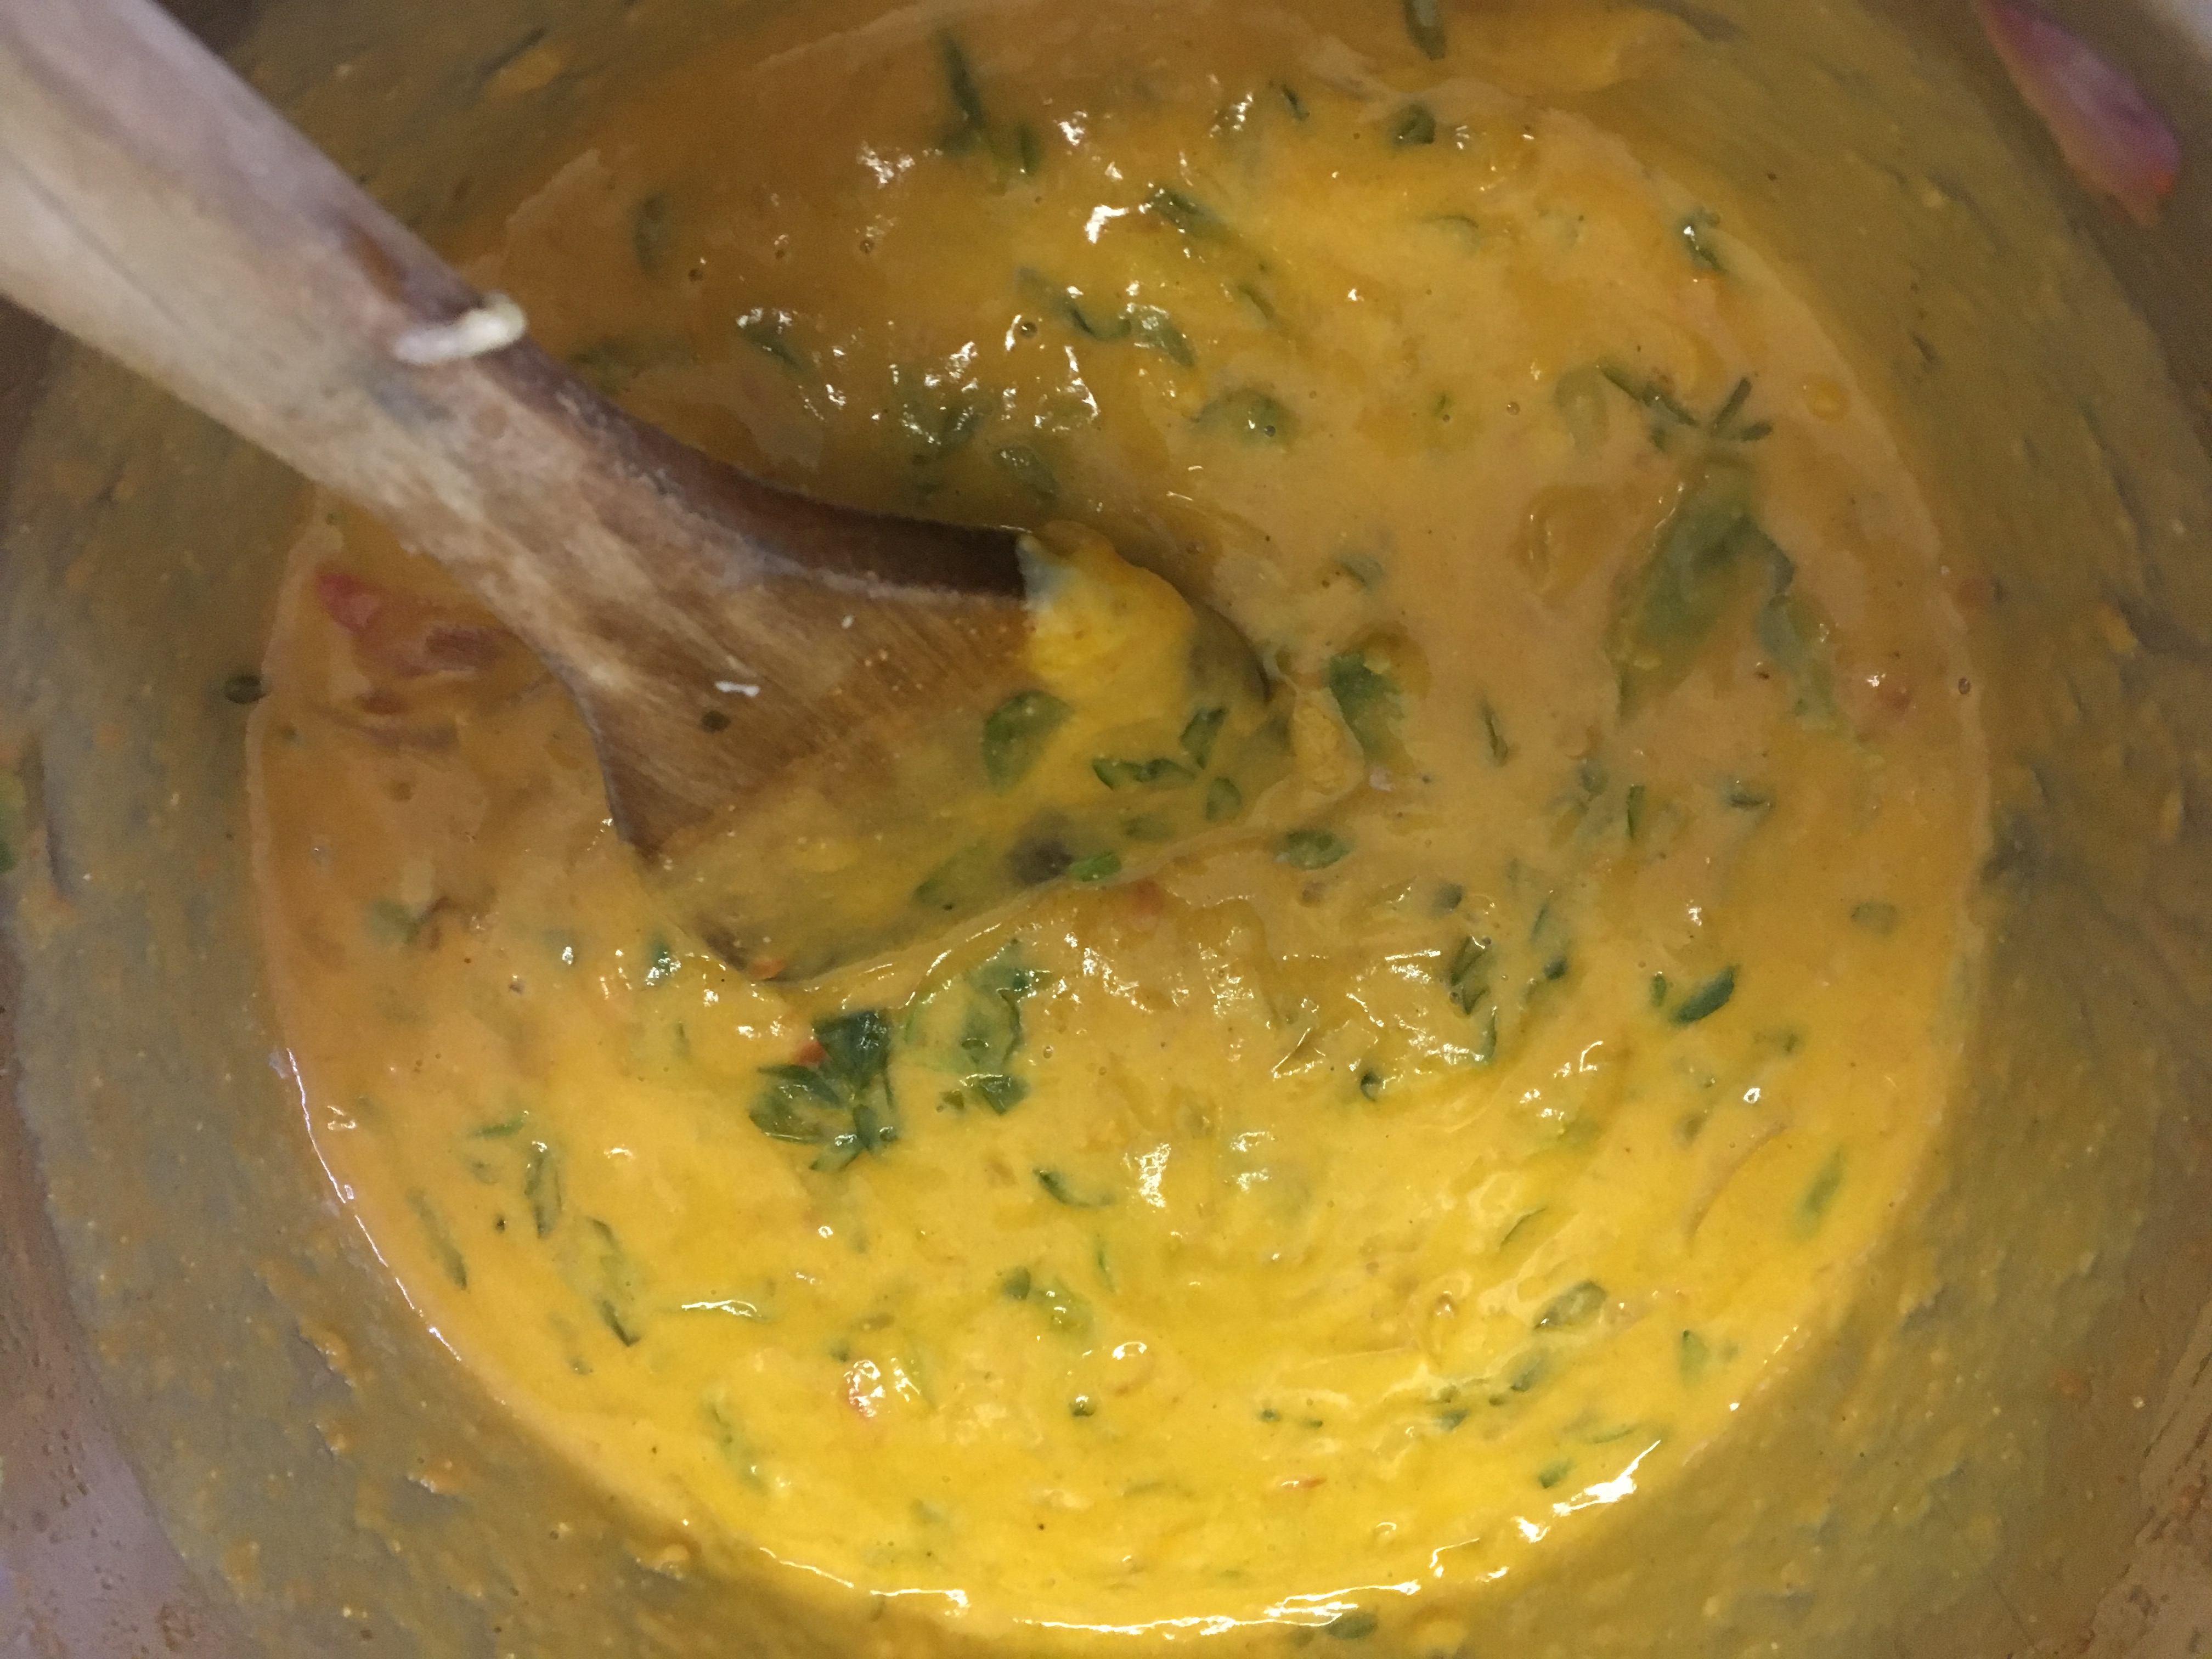
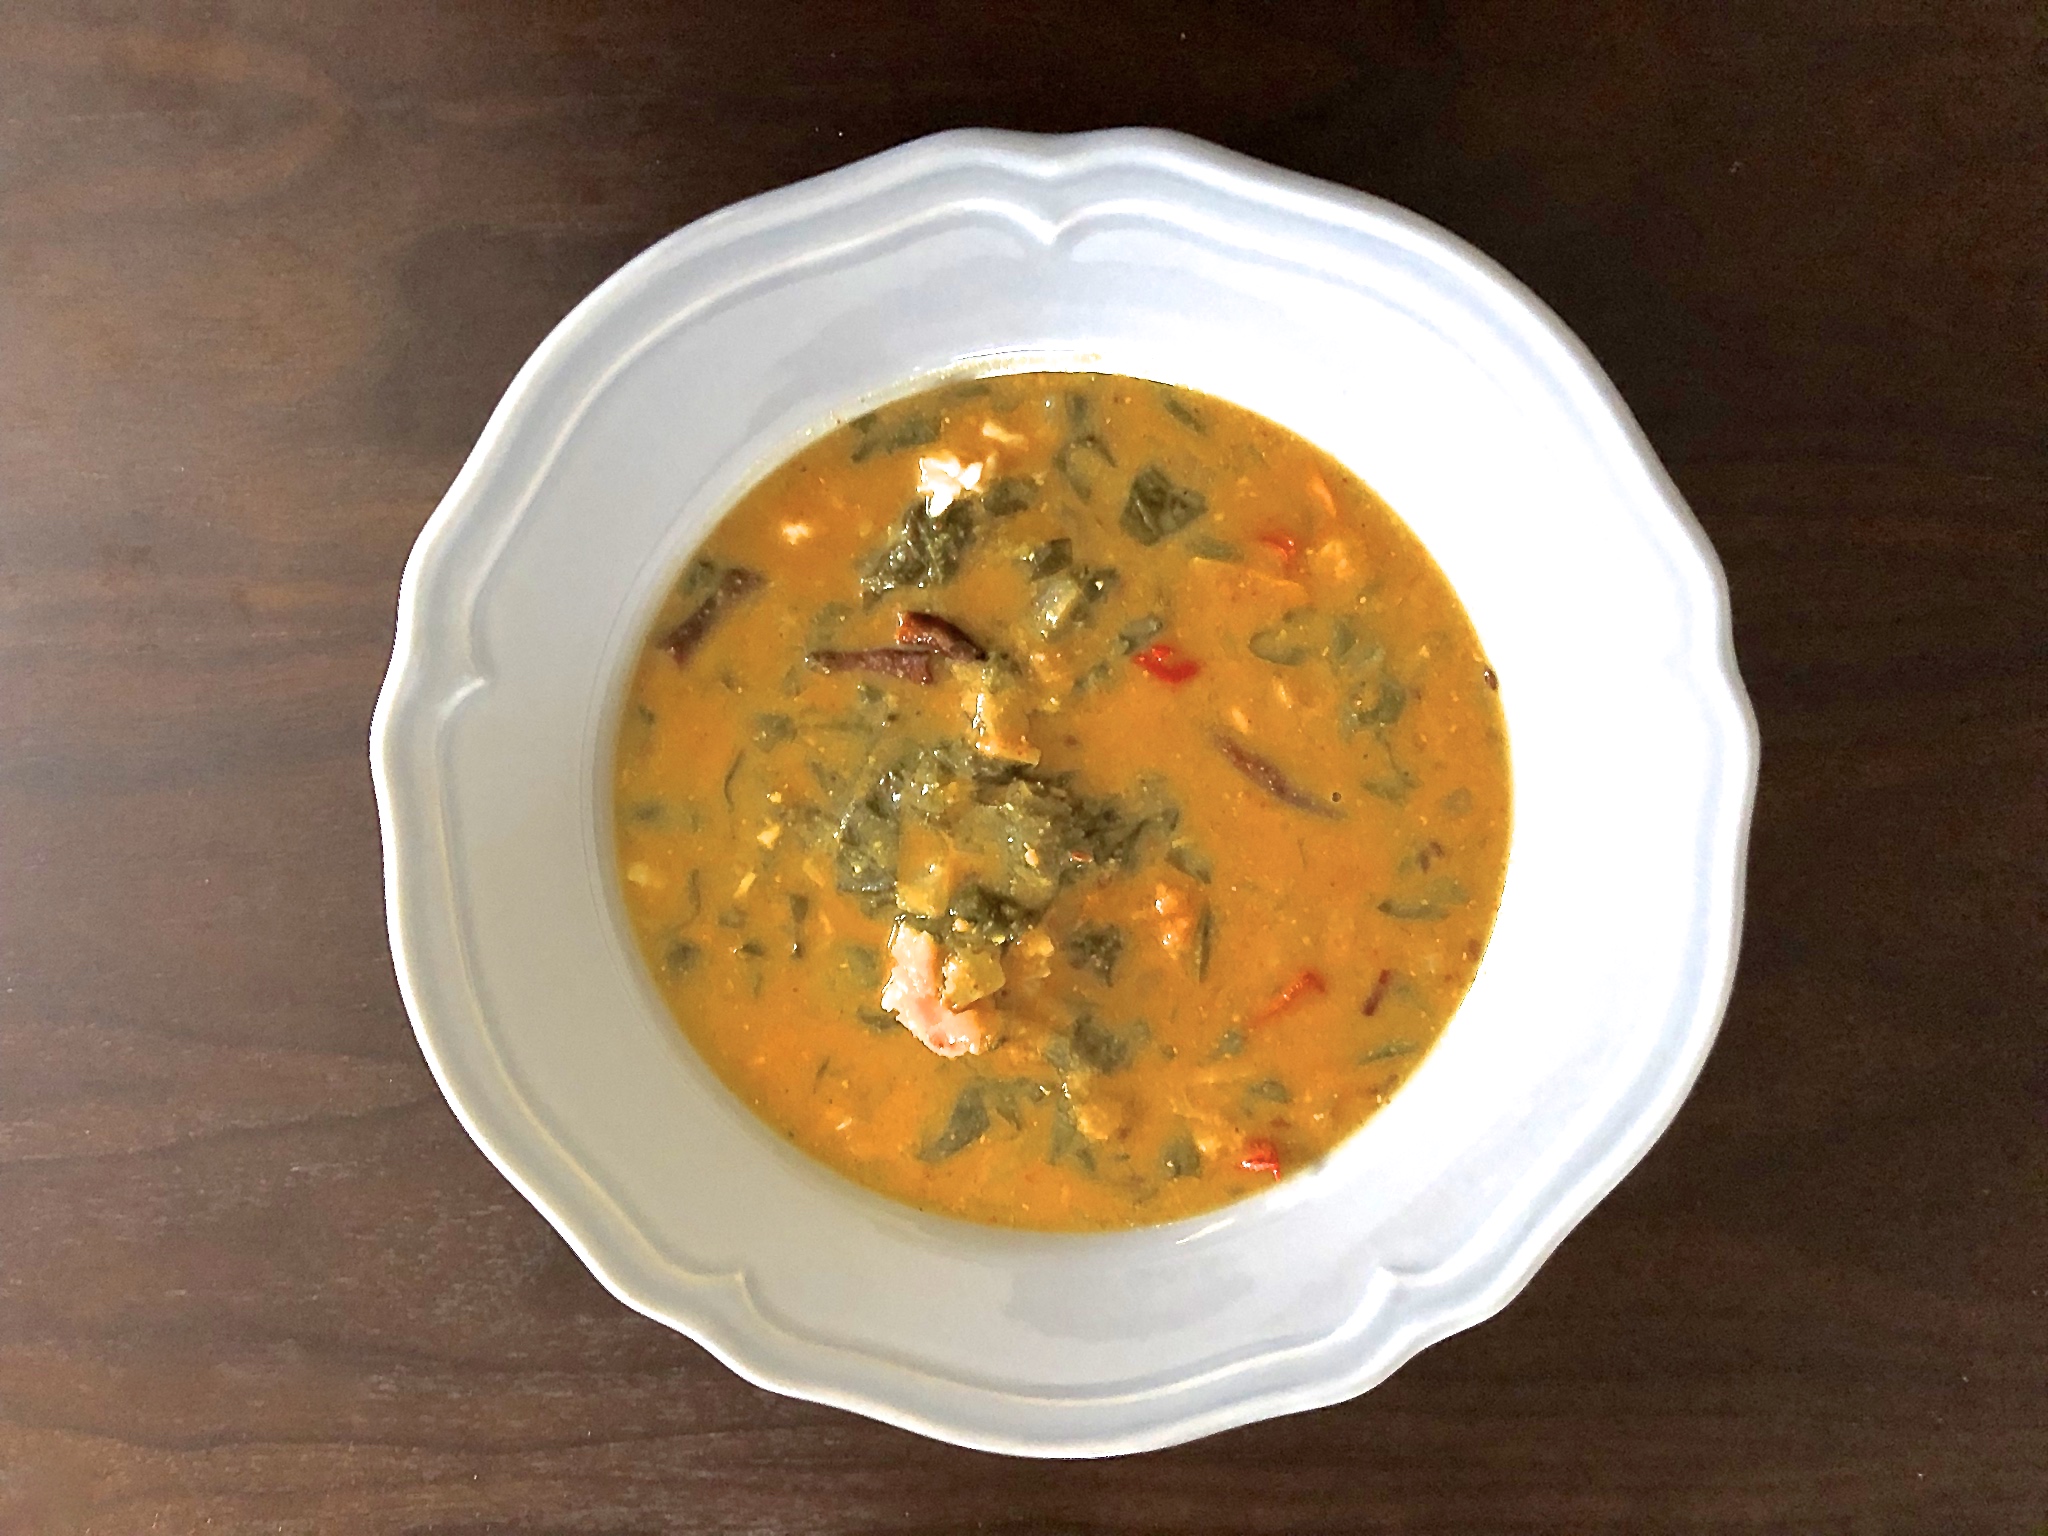
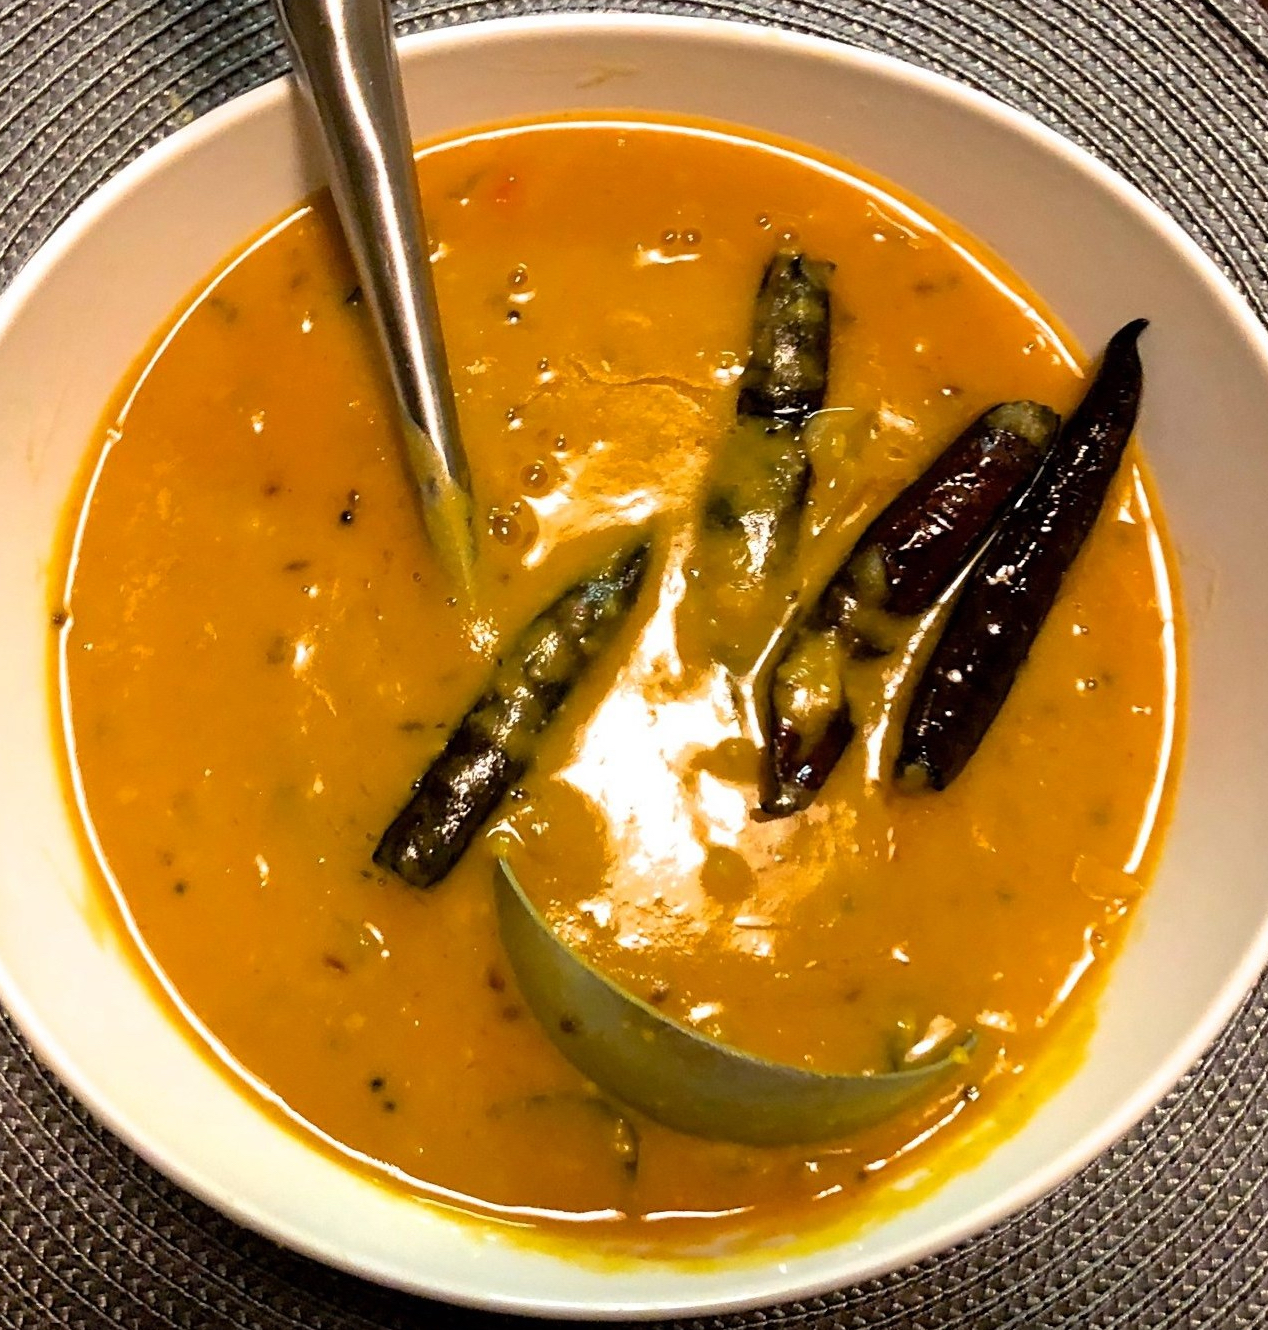
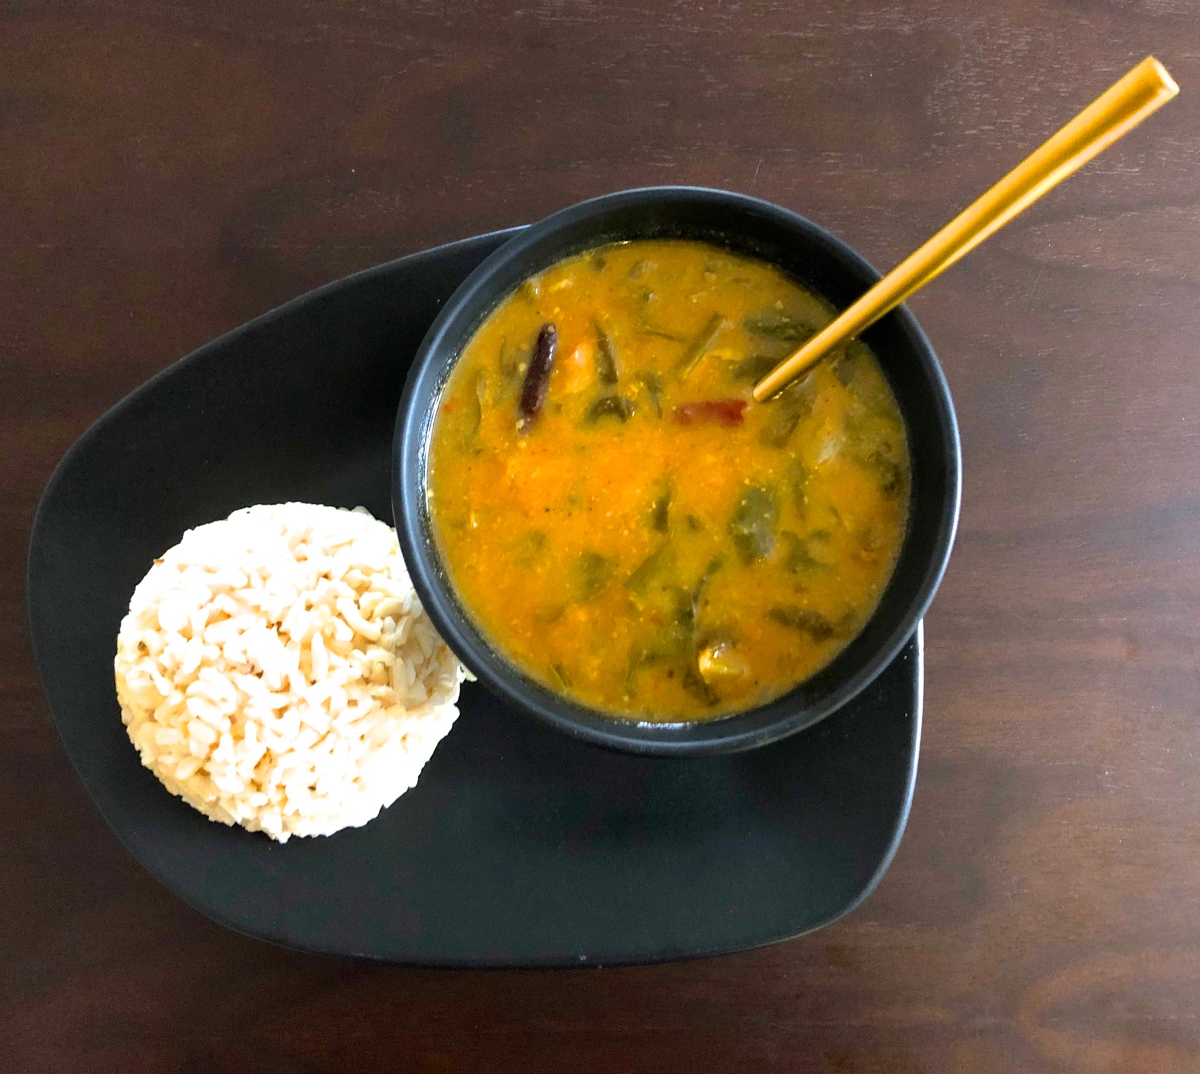
Homemade Palak dal

If you’d like to give it a go, here’s what you will need:

Ingredients:

(A quick note:  You can adjust the level of spice easily. In the list of ingredients in the recipe below, I have provided a range of amounts for various spices; you can decide for yourself how much you’d like to use 🙂)

1 cup lentils (I find that a mix of lentils is great for this recipe. I use Pesara Pappu (Moong Dal in Hindi); Toor Dal, and/or Masoor Dal)

1/2 teaspoon turmeric

3-4 cloves of garlic, skinned

2-3 tablespoons of oil (I use either avocado oil or sunflower oil)

1 medium-sized onions (red or yellow) chopped (I prefer red onions, they seem to be more pungent)

1 teaspoon grated ginger

3-6 fresh chilies, chopped or cut length-wise (You can reduce this amount if you don’t want the dal to be too hot/spicy)

1.5 – 2 cups of cherry tomatoes, halved (you can also use two medium sized tomatoes)

1/2 – 1 teaspoon cumin powder

1/2 – 1 teaspoon coriander (cilantro) seed powder

1 – 3 teaspoons red chilli powder

1/2-1 teaspoon of garam masala (optional)

2 cups of baby spinach (250 g)

Salt to taste

Ingredients for the popu/tadka/baghar:

1 teaspoon cumin seeds

3-12 dried red chilies, torn in half (depending on how hot you’d like the dal to be)

2-4 peeled garlic cloves, halved

2 pinches of asafoetida (optional)

2-3 tablespoons of oil or ghee (You can get ghee at an Indian store. However, I would recommend making your own, if you have the time. Here is my recipe, if you’re interested. If you don’t have ghee, or want to make your dal vegan, you can use sunflower oil, vegetable oil, or really any oil with a high smoking point. DO NOT USE BUTTER, it will smoke and burn before the spices are properly fried).

Method:

1. The first thing to do is to prepare the dal (lentils). Even if you don’t live in India, you should be able to get most lentils at an Indian store. I normally soak lentils for about 30 minutes, drain the water out, and add fresh water in, before I cook the lentils (this helps them cook faster and apparently helps to reduce bloating and gas: I am still looking for studies to back this up, which I will cite here when I find them). If you don’t have the time to do this, you can skip this step.

2. I tend to cook my dal in an instant pot. If you don’t have one, you can boil the dal in water until it is cooked. Add half a teaspoon each of turmeric and salt, as well as 3-4 cloves of skinned garlic to the dal before you cook it. Once it’s cooked it should look like this:

Cooked moong dal

3. I like to purée the cooked dal in a food processor/blender/mixie in order to make it into a smooth paste. This makes the texture of the dal smoother and distributes flavour more evenly. This step is completely optional. You can skip it without much consequence to the taste of your dal if you do not have either the necessary equipment or the time.
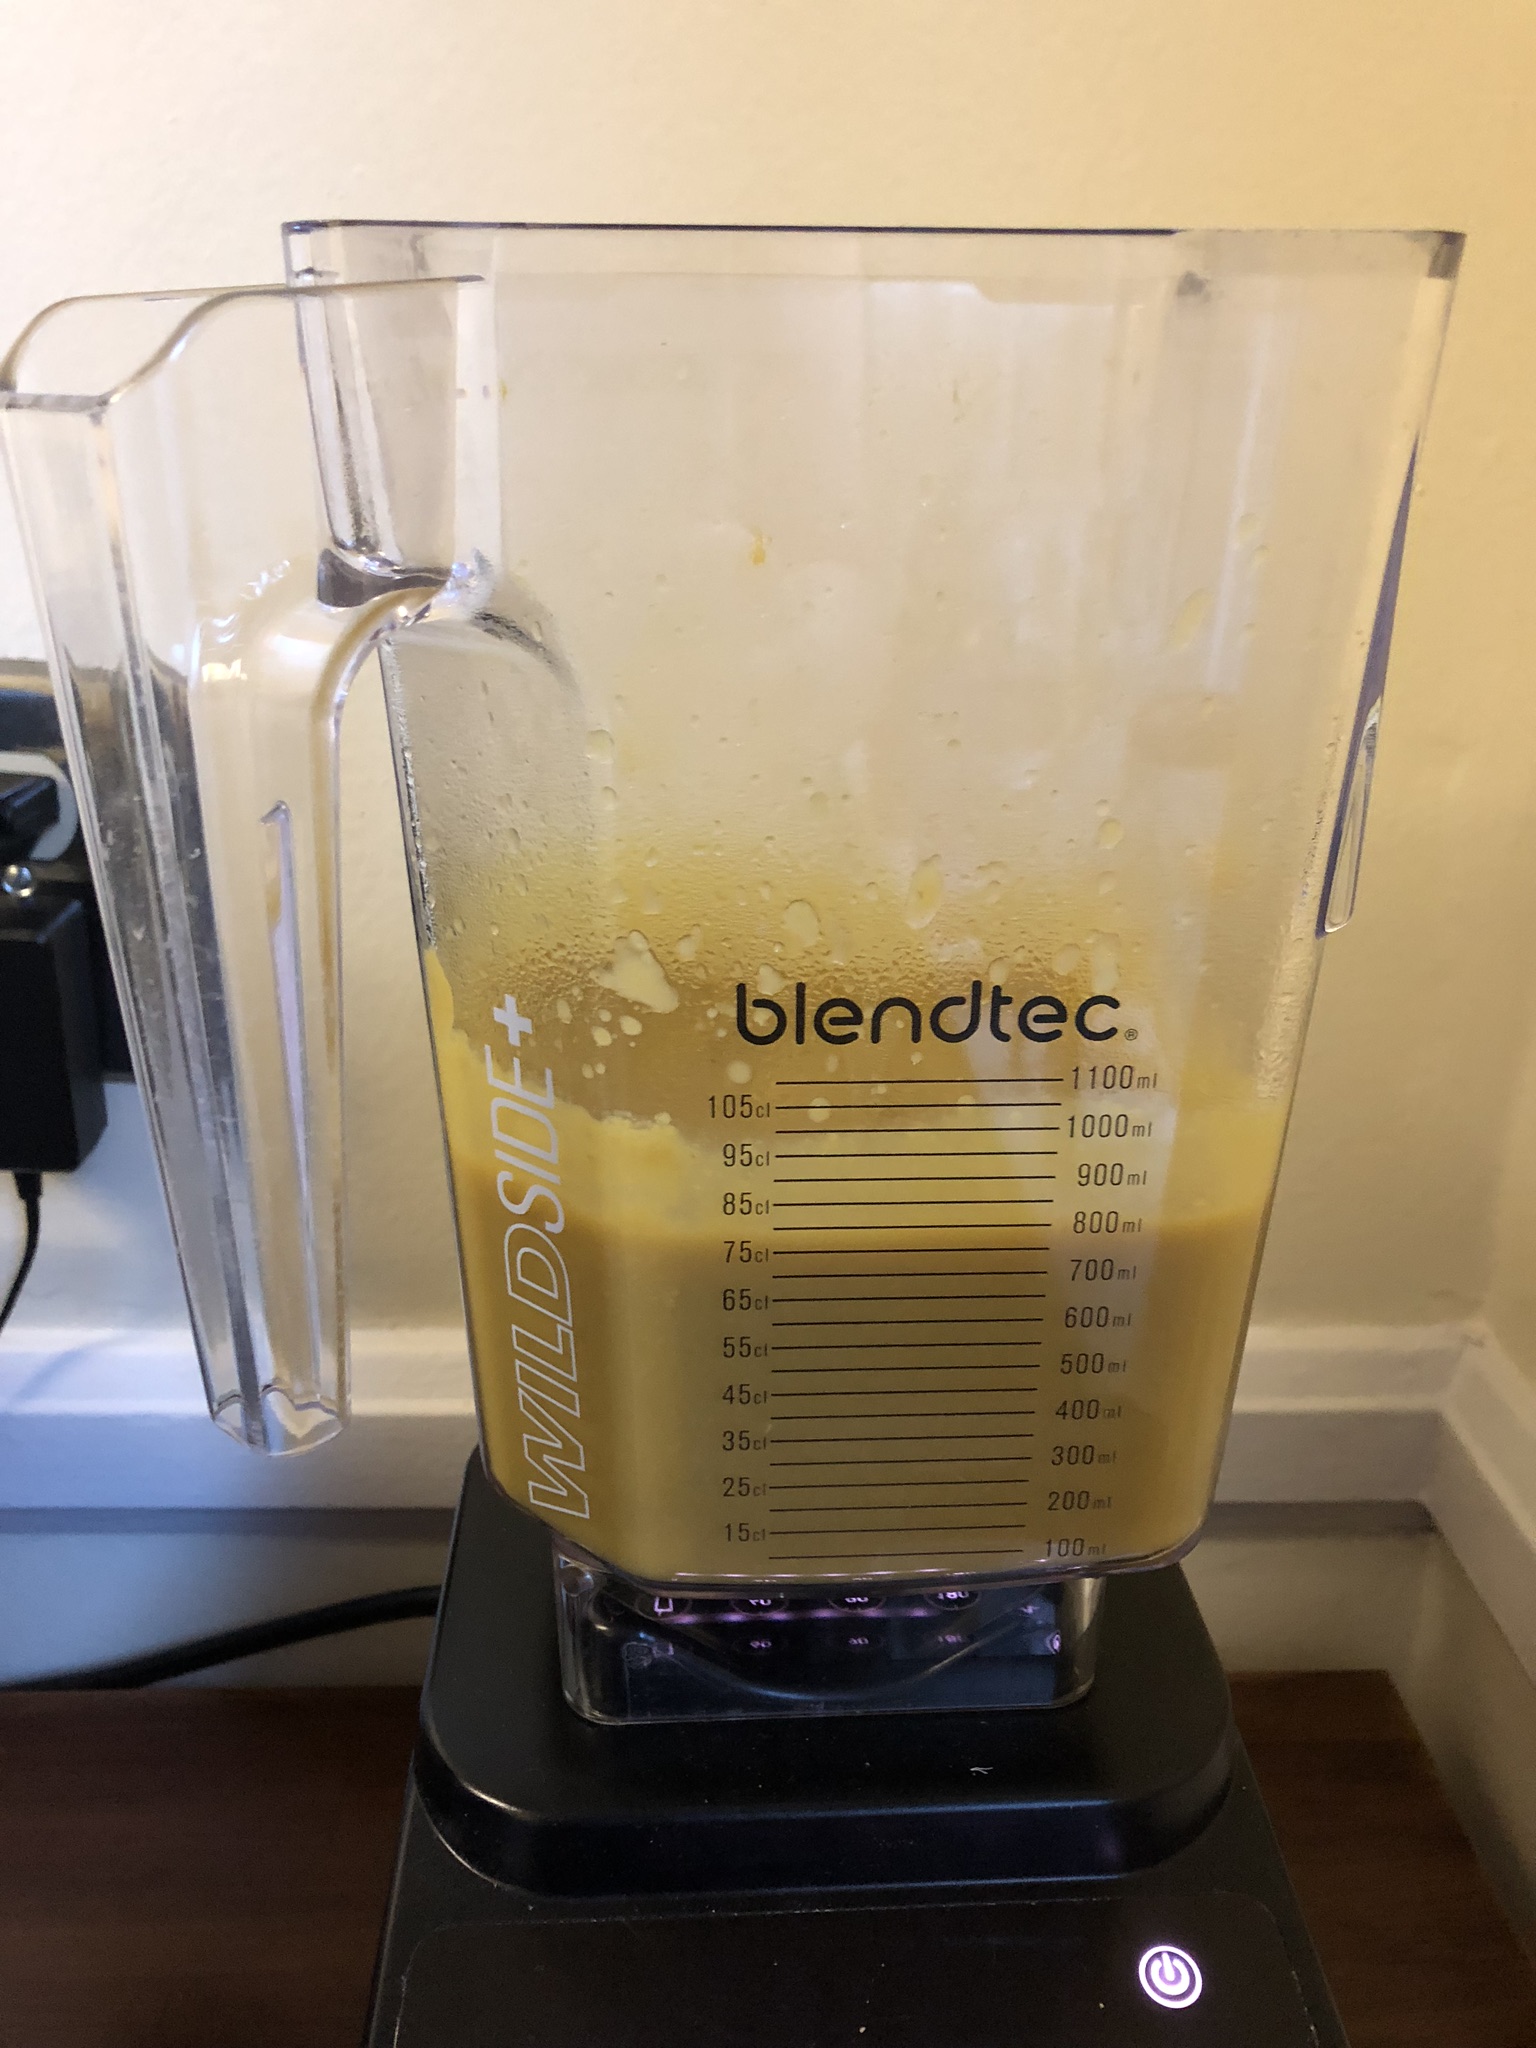
Making dal at home

4. Next, heat 2-3 tablespoons of oil in a saucepan. When it’s hot add the chopped onions and sauté them until softened and lightly browned.
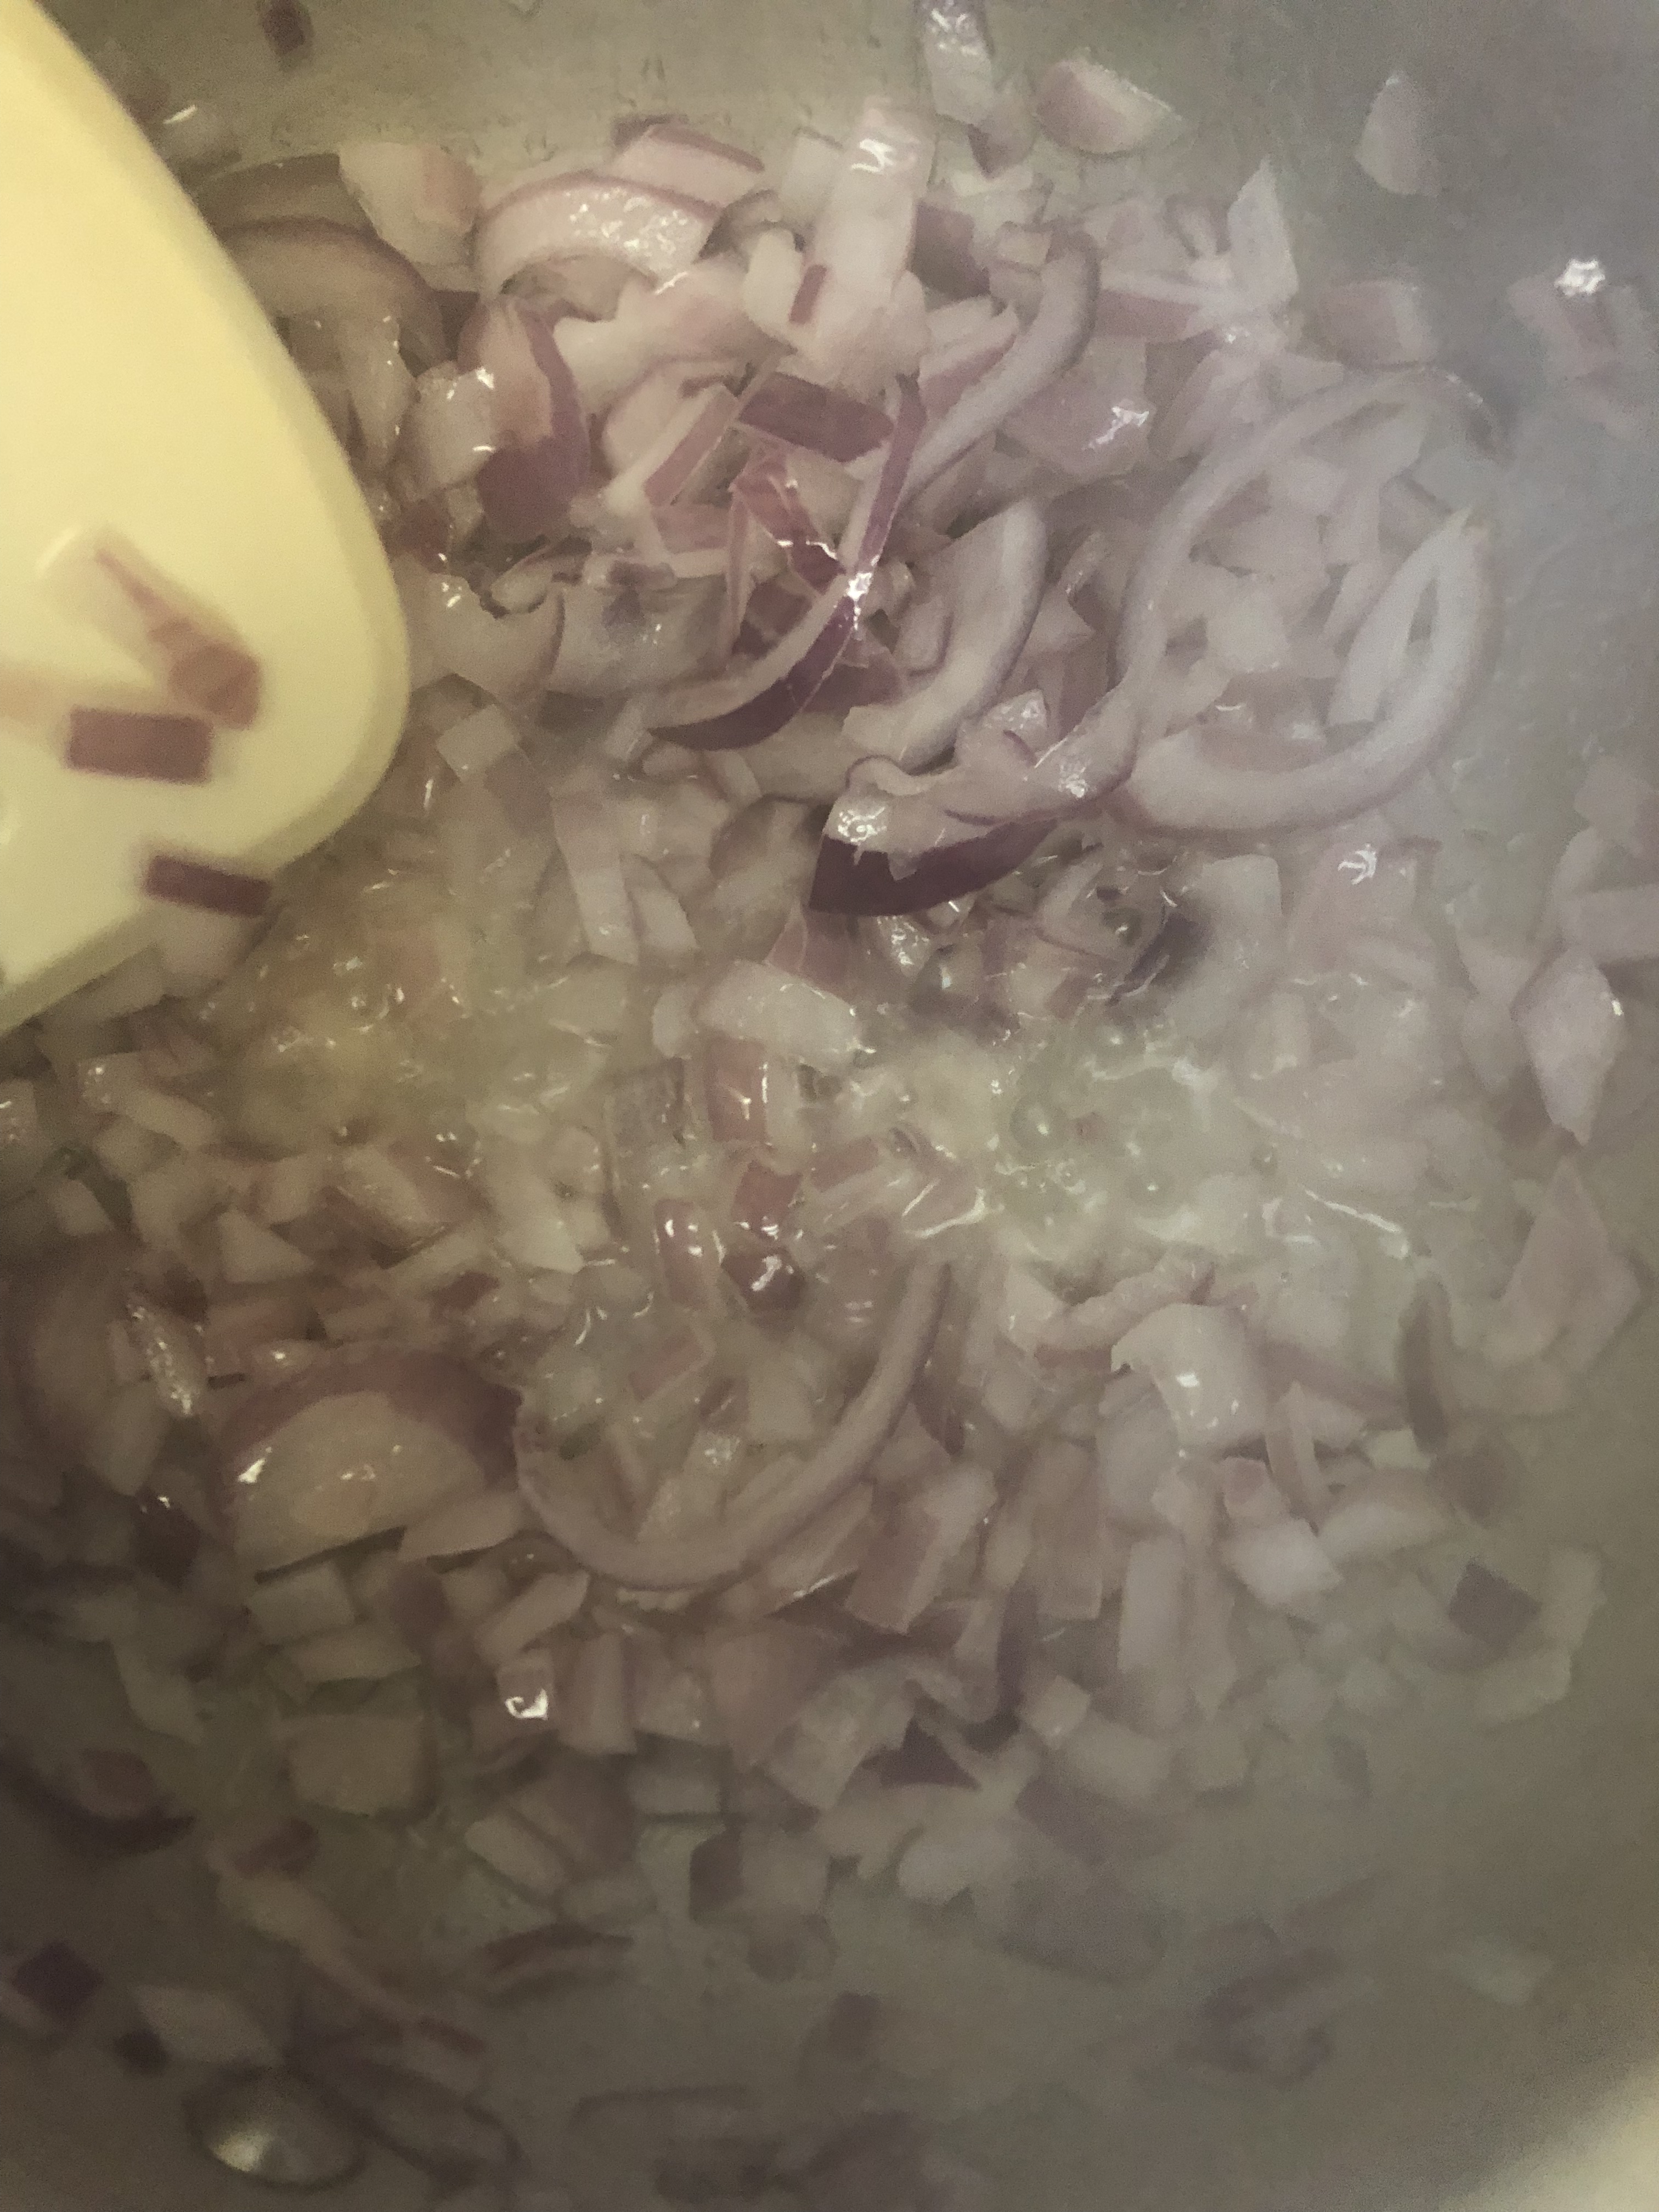
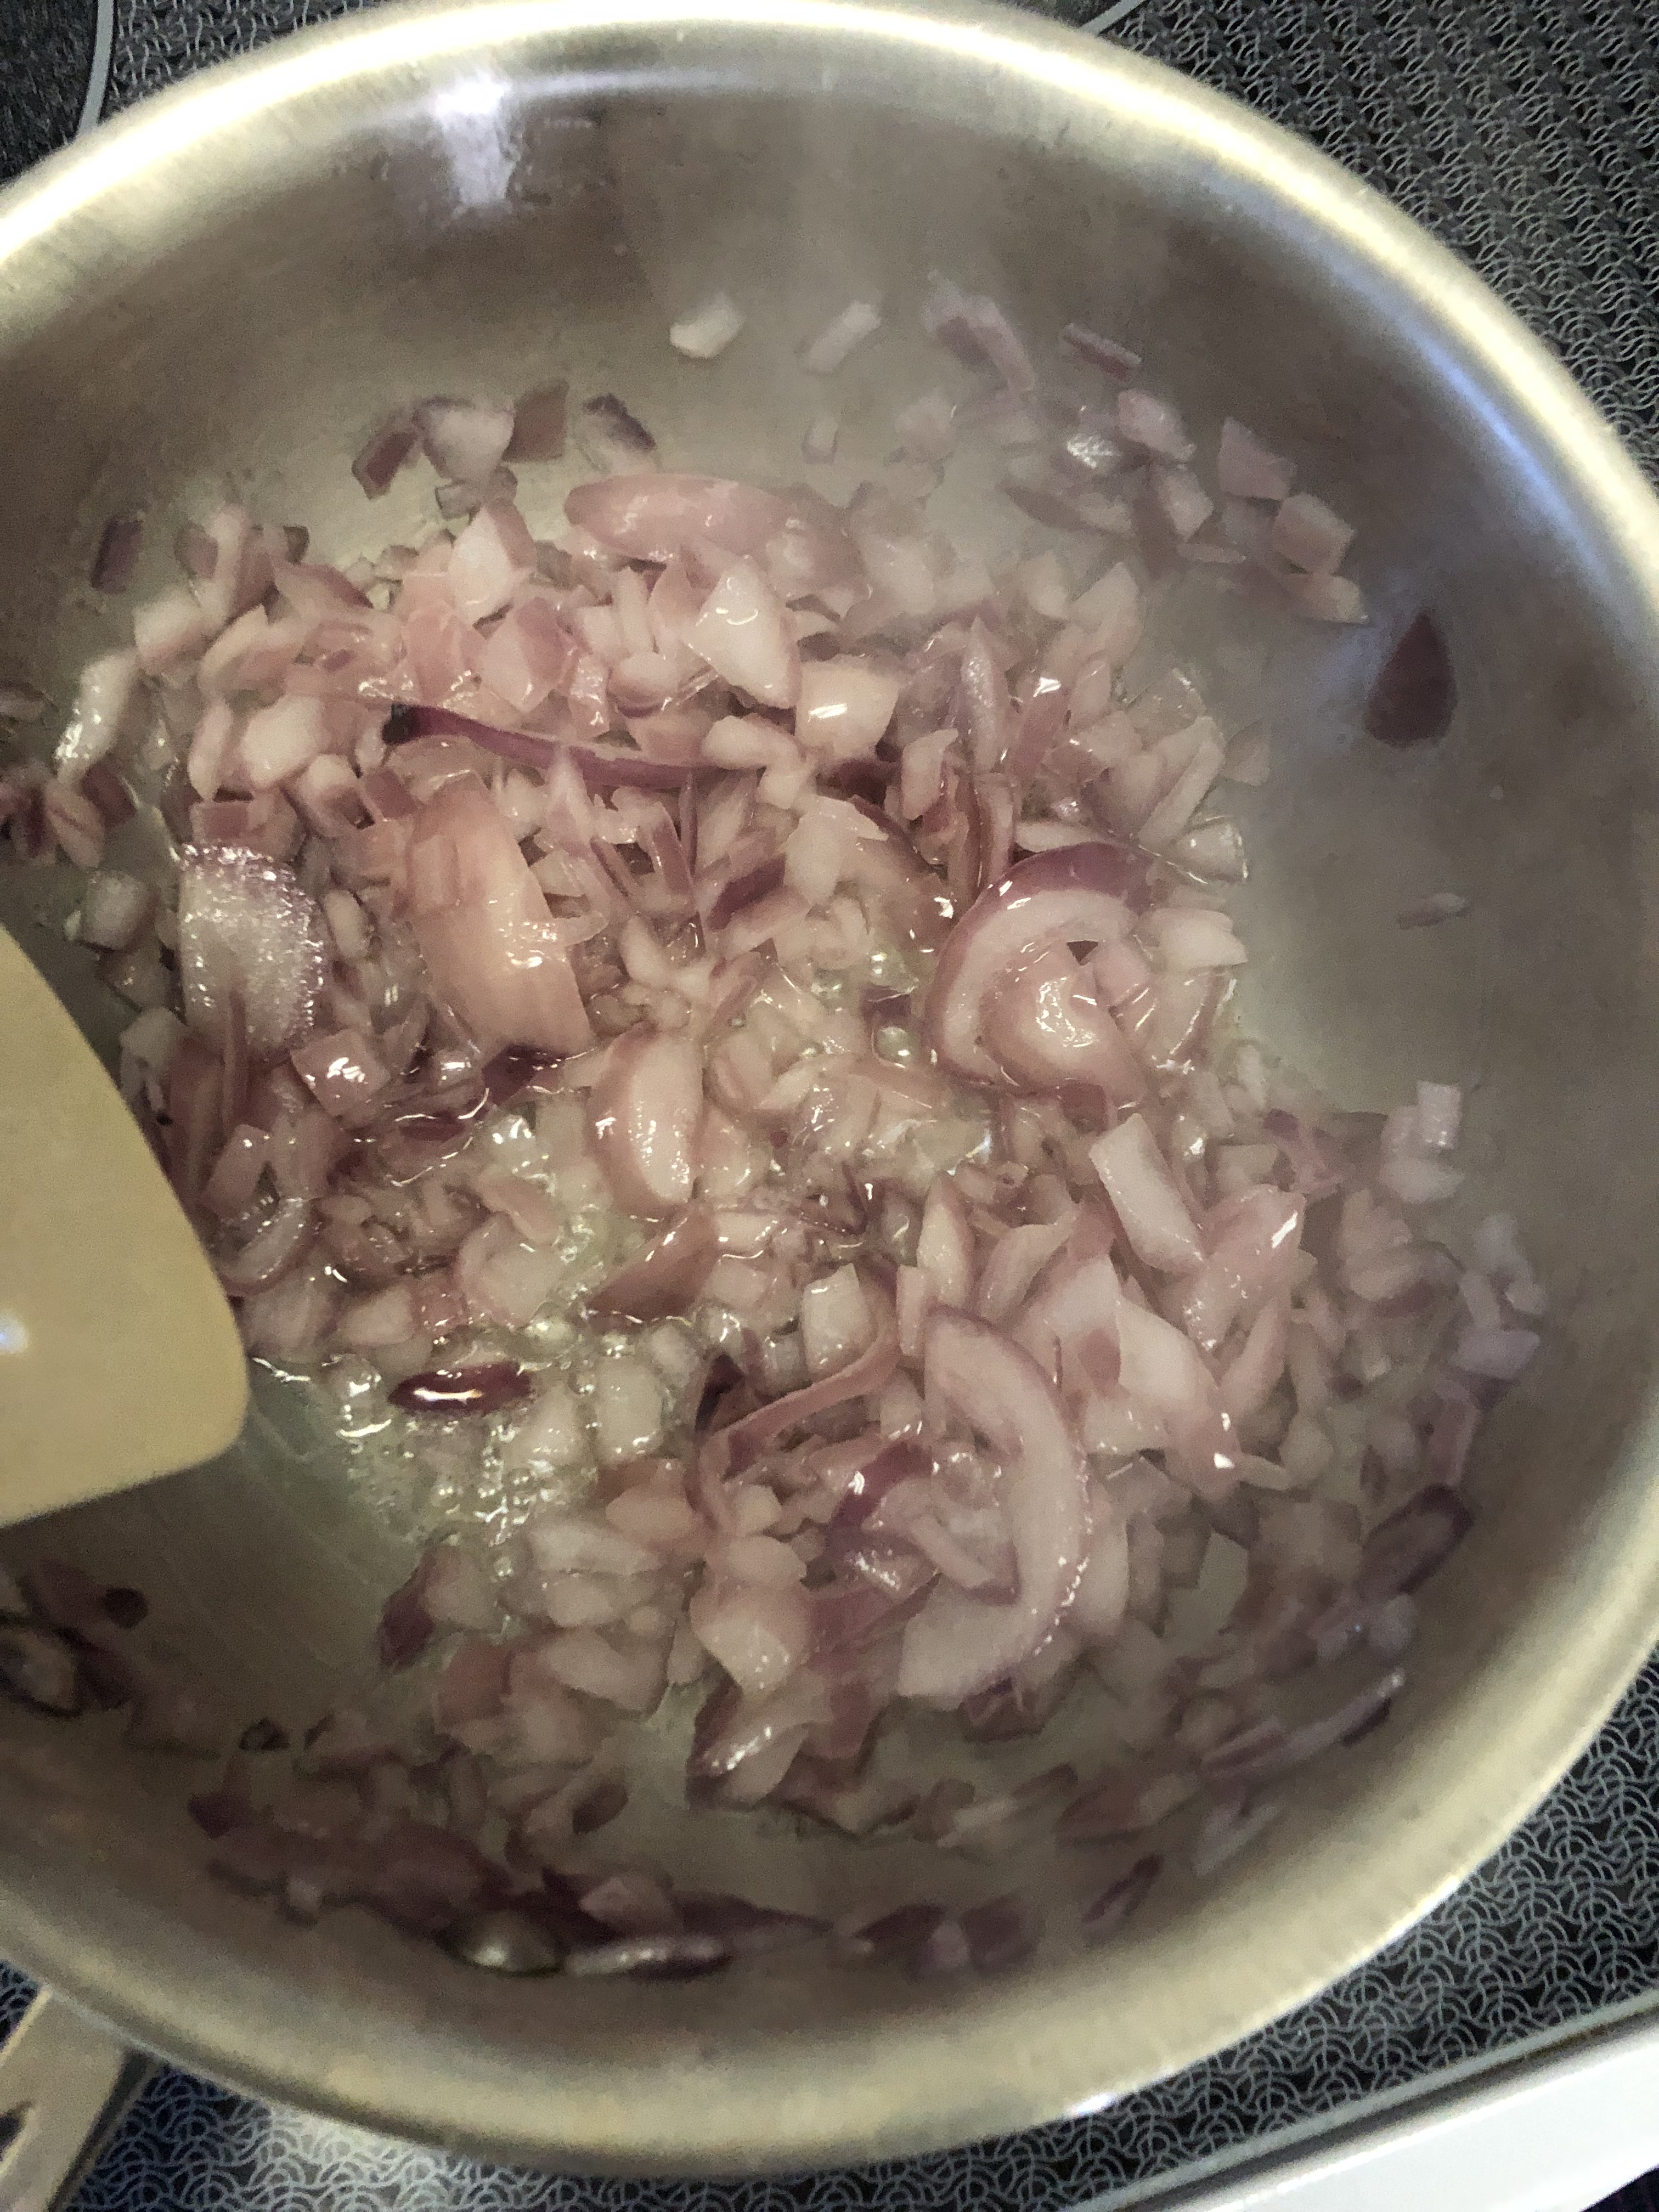
Cooking onions in Indian foodCooking onions for Indian food Sautéing onionsCooking onions for Indian food

Sautéing onions

5. Now add the ginger and fresh chillies to the onions and sauté everything again until the ginger is cooked (it should no longer smell raw). Then, add the cumin powder, coriander powder, red chilli powder, garam masala (if you are using it), and half a teaspoon of salt to the sautéed onions-ginger-chilli-mixture (hereinafter referred to as “stuff” :P) and continue to sauté all of this for about 5 minutes on low-medium heat.

Onion-masala for dal

Onion-masala for dal

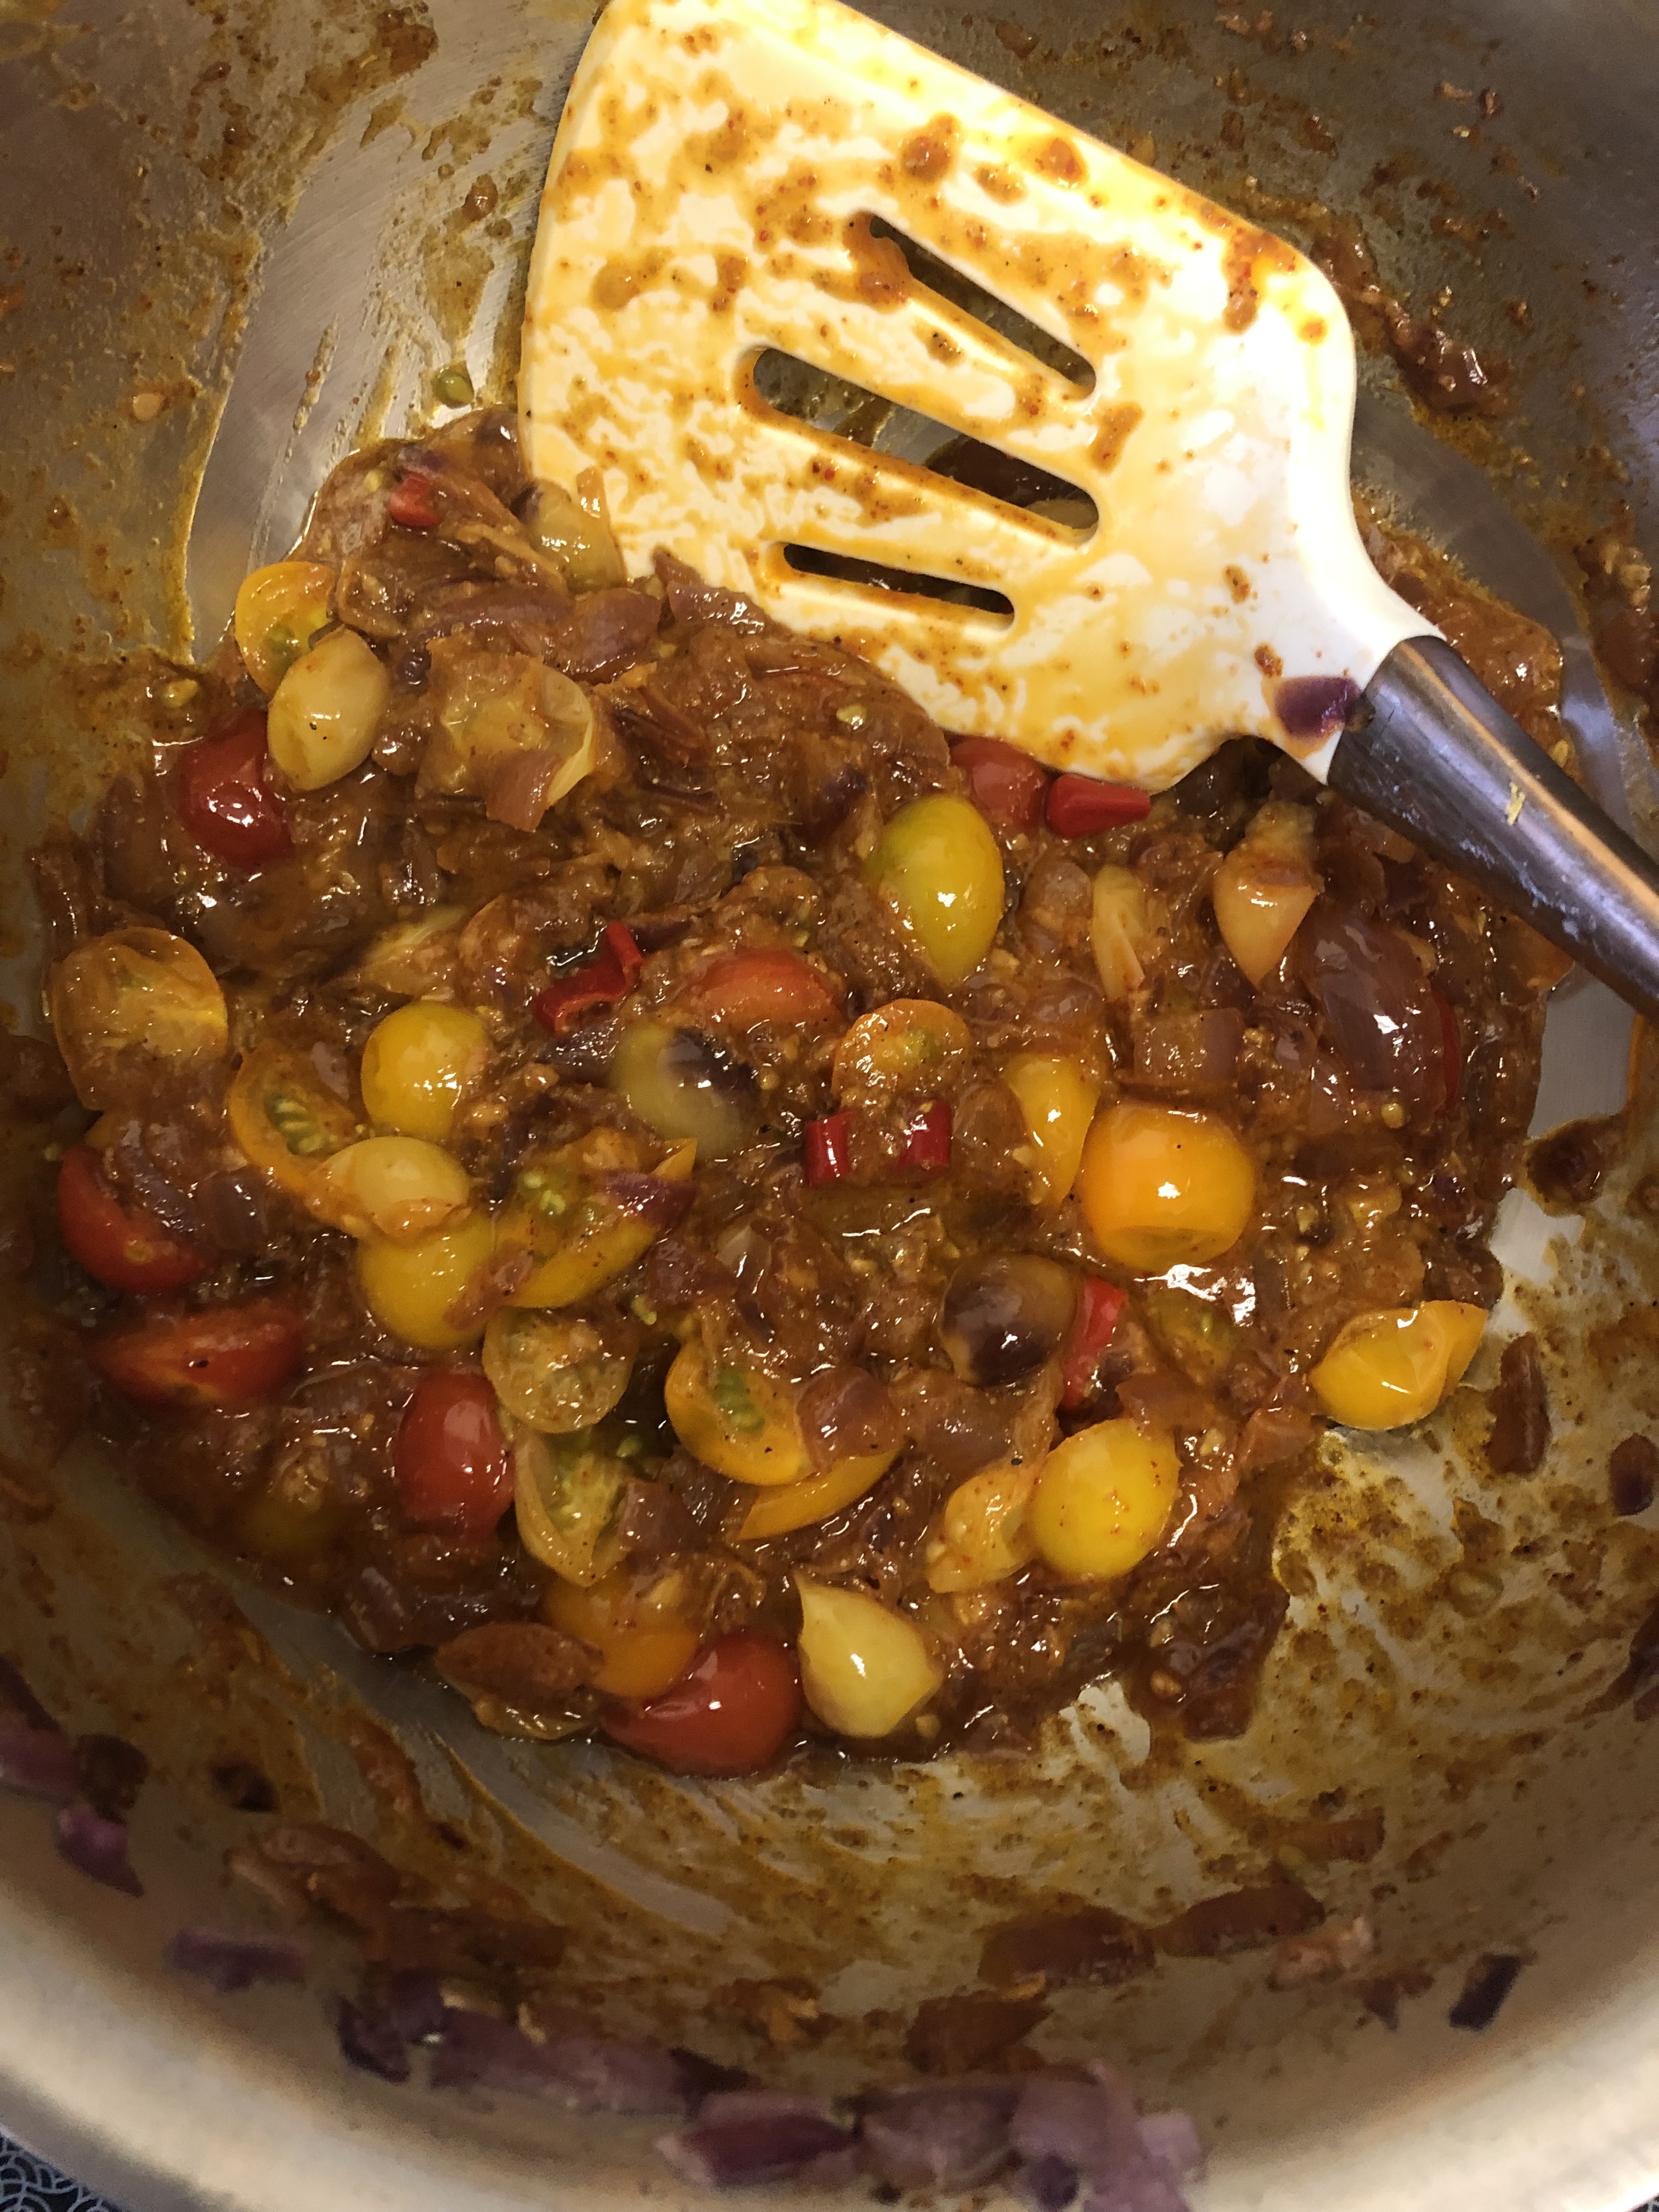
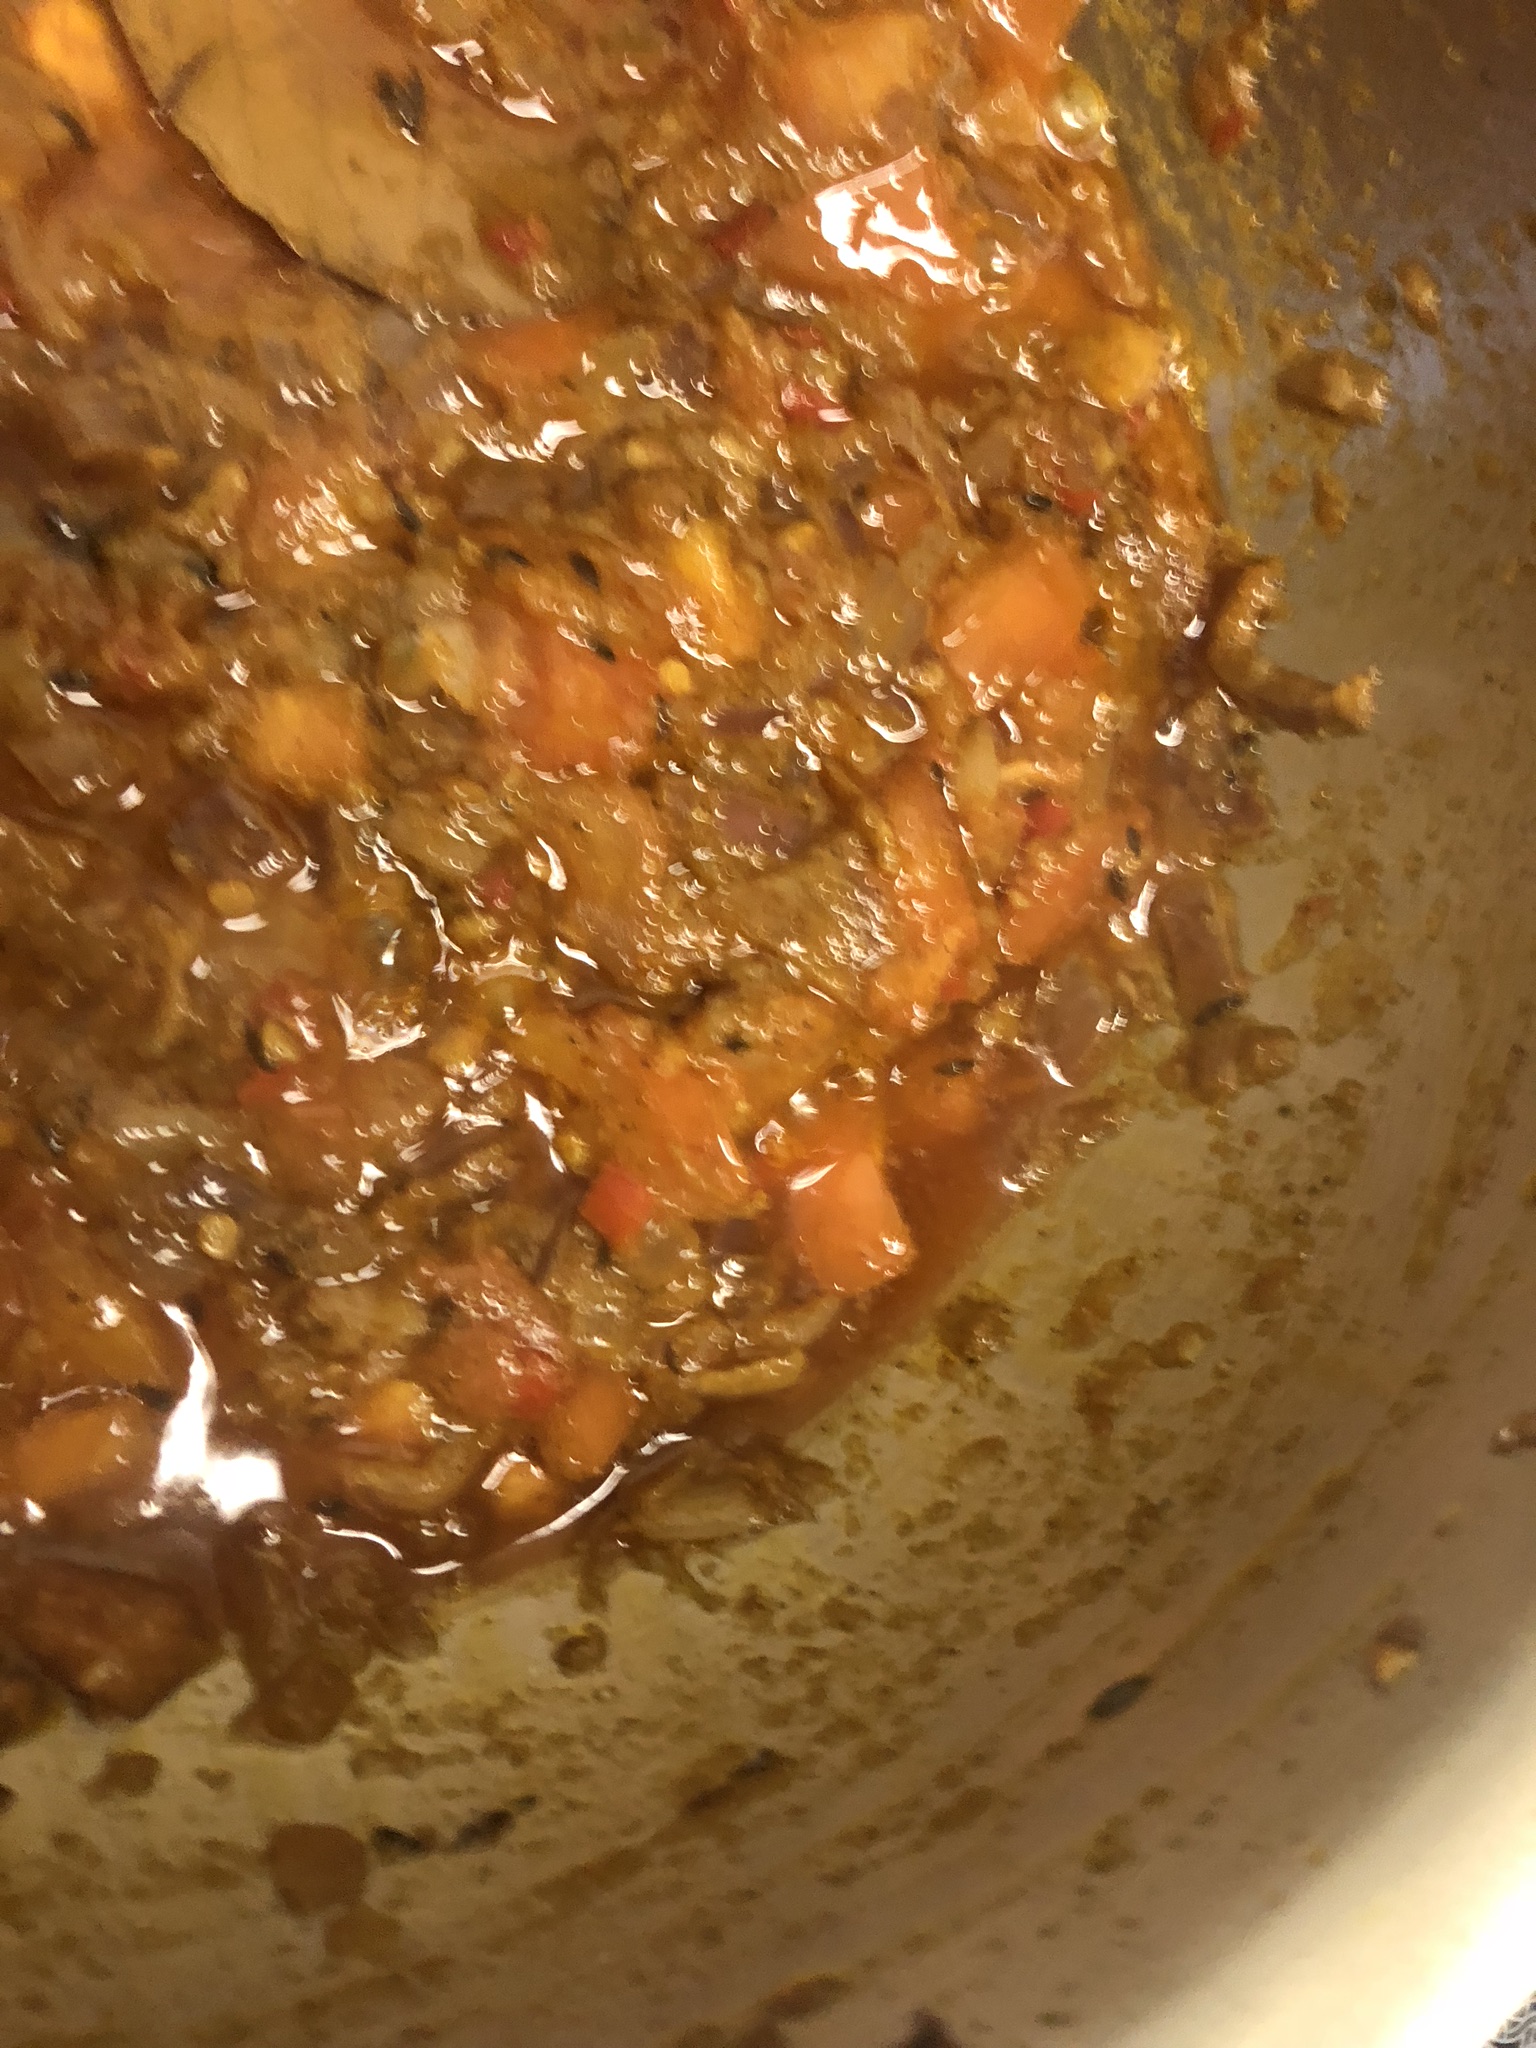
6. Then, add in the tomatoes, cover the pan, and let it all cook for another 5-10 minutes, until the oil starts to separate out from the rest of the stuff.

Onion-tomato masala for Indian cooking

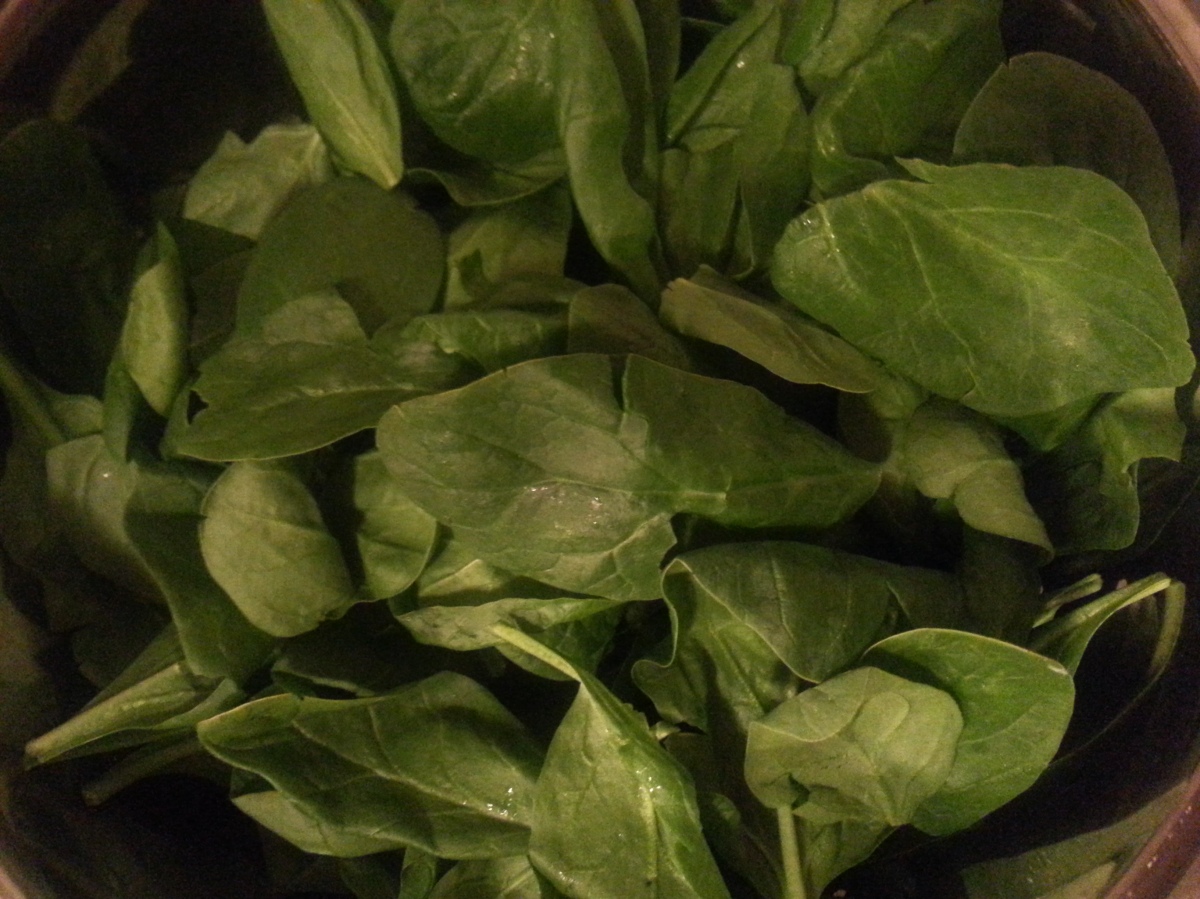
7. Meanwhile, rinse the spinach. I like to use kitchen shears or a normal pair of scissors and cut up the spinach in the bowl into slightly smaller bits. If you don’t like this method, you can, of course, chop the spinach on a cutting board with a knife.

8. Add the spinach to the sauce pan, then add the lentils.

How to make dal

9. Pour in a cup or two of water, and let everything cook for about 8 minutes on high heat, stirring the pot intermittently to prevent the contents at the bottom from burning. You will see a foamy layer rise to the top of the dal. I like to scoop this out into a bowl and throw it out.

Reducing FODMAPS in dal; how to decrease bloating from dal

I have heard from some people who regularly cook with lentils in India that this helps reduce bloating and gas.

A note on FODMAPS for the lay person: FODMAPS can cause gastric discomfort in some of us. One may be sensitive to some or all FODMAPS to varying degrees. Symptoms can range from gas, bloating, abdominal pain and cramping, to, in my case, at least, acid reflux. For more general reading on this topic, this article is a great starting point.

The main FODMAPs that dal contains are oligosaccharides. Take a peek at this post about FODMAPS and how cooking legumes may help to reduce the FODMAP content in the food we eat. Of course, more research is needed to confirm this theory, but also, to determine the most effective/efficient ways of extracting FODMAPS from dal through cooking. I am not sure my method of skimming the foamy parts off the top of the dal is effective in removing/reducing dissolved oligosaccharides from it. Anecdotally, though, I have found it helps. Therefore, I do it every time I cook dal.

In addition, onions and garlic contain fructans, which are also a type of oligosaccharide (see this article for more on this). If you are particularly sensitive to onions and/or garlic, you could sauté them in oil (in step 4 of the recipe, above) and then, remove the onions and garlic pieces, leaving just the oil in the pan. Subsequently, continue with step 5. Frying the onions and/or garlic in oil results in some of their flavour infusing into the oil. Since fructans are water-soluble not fat-soluble, by removing the onions and/or garlic, you are able to reduce the amount of fructans that end up in the dal (see this article for more on this). Also, remember not to add any garlic to the lentils whilst cooking them in step 2, above. Similarly, forego adding garlic to the tadka in the step below (step 10).

10. The baghar/popu/tadka:

Heat a tablespoon or two of ghee in a little saucepan on high heat. Let the ghee get hot. To test if it’s hot enough, throw a single cumin seed into the pan. If it begins to sizzle, add the rest of the cumin seeds in and stir them about until they start to pop. When they start to pop, add the asafoetida, garlic cloves, and red chilies.

Once the red chillies darken, add the baghar to the lentils.

Popu in pulusu

Immediately cover the pot.

11. The dal is now ready! Taste it and add some salt to it if you like. Serve it with some hot rice and/or roti, dahi (yogurt), Indian pickle, ghee, and any other accompanying curries or vegetable sauté. I like to eat it with brown rice (it’s more nutritious and has more fibre).

Healthy, vegan spinach lentils

Low fat Indian recipes: spinach lentils

The ratio of dal to rice is up to you. My family jokes that my plate often looks like a swimming pool of dal with a few desperate grains of rice drowning to death in it 😛 Yes, some of my near and dear have a dark sense of humour 😉

Vegan spinach lentils

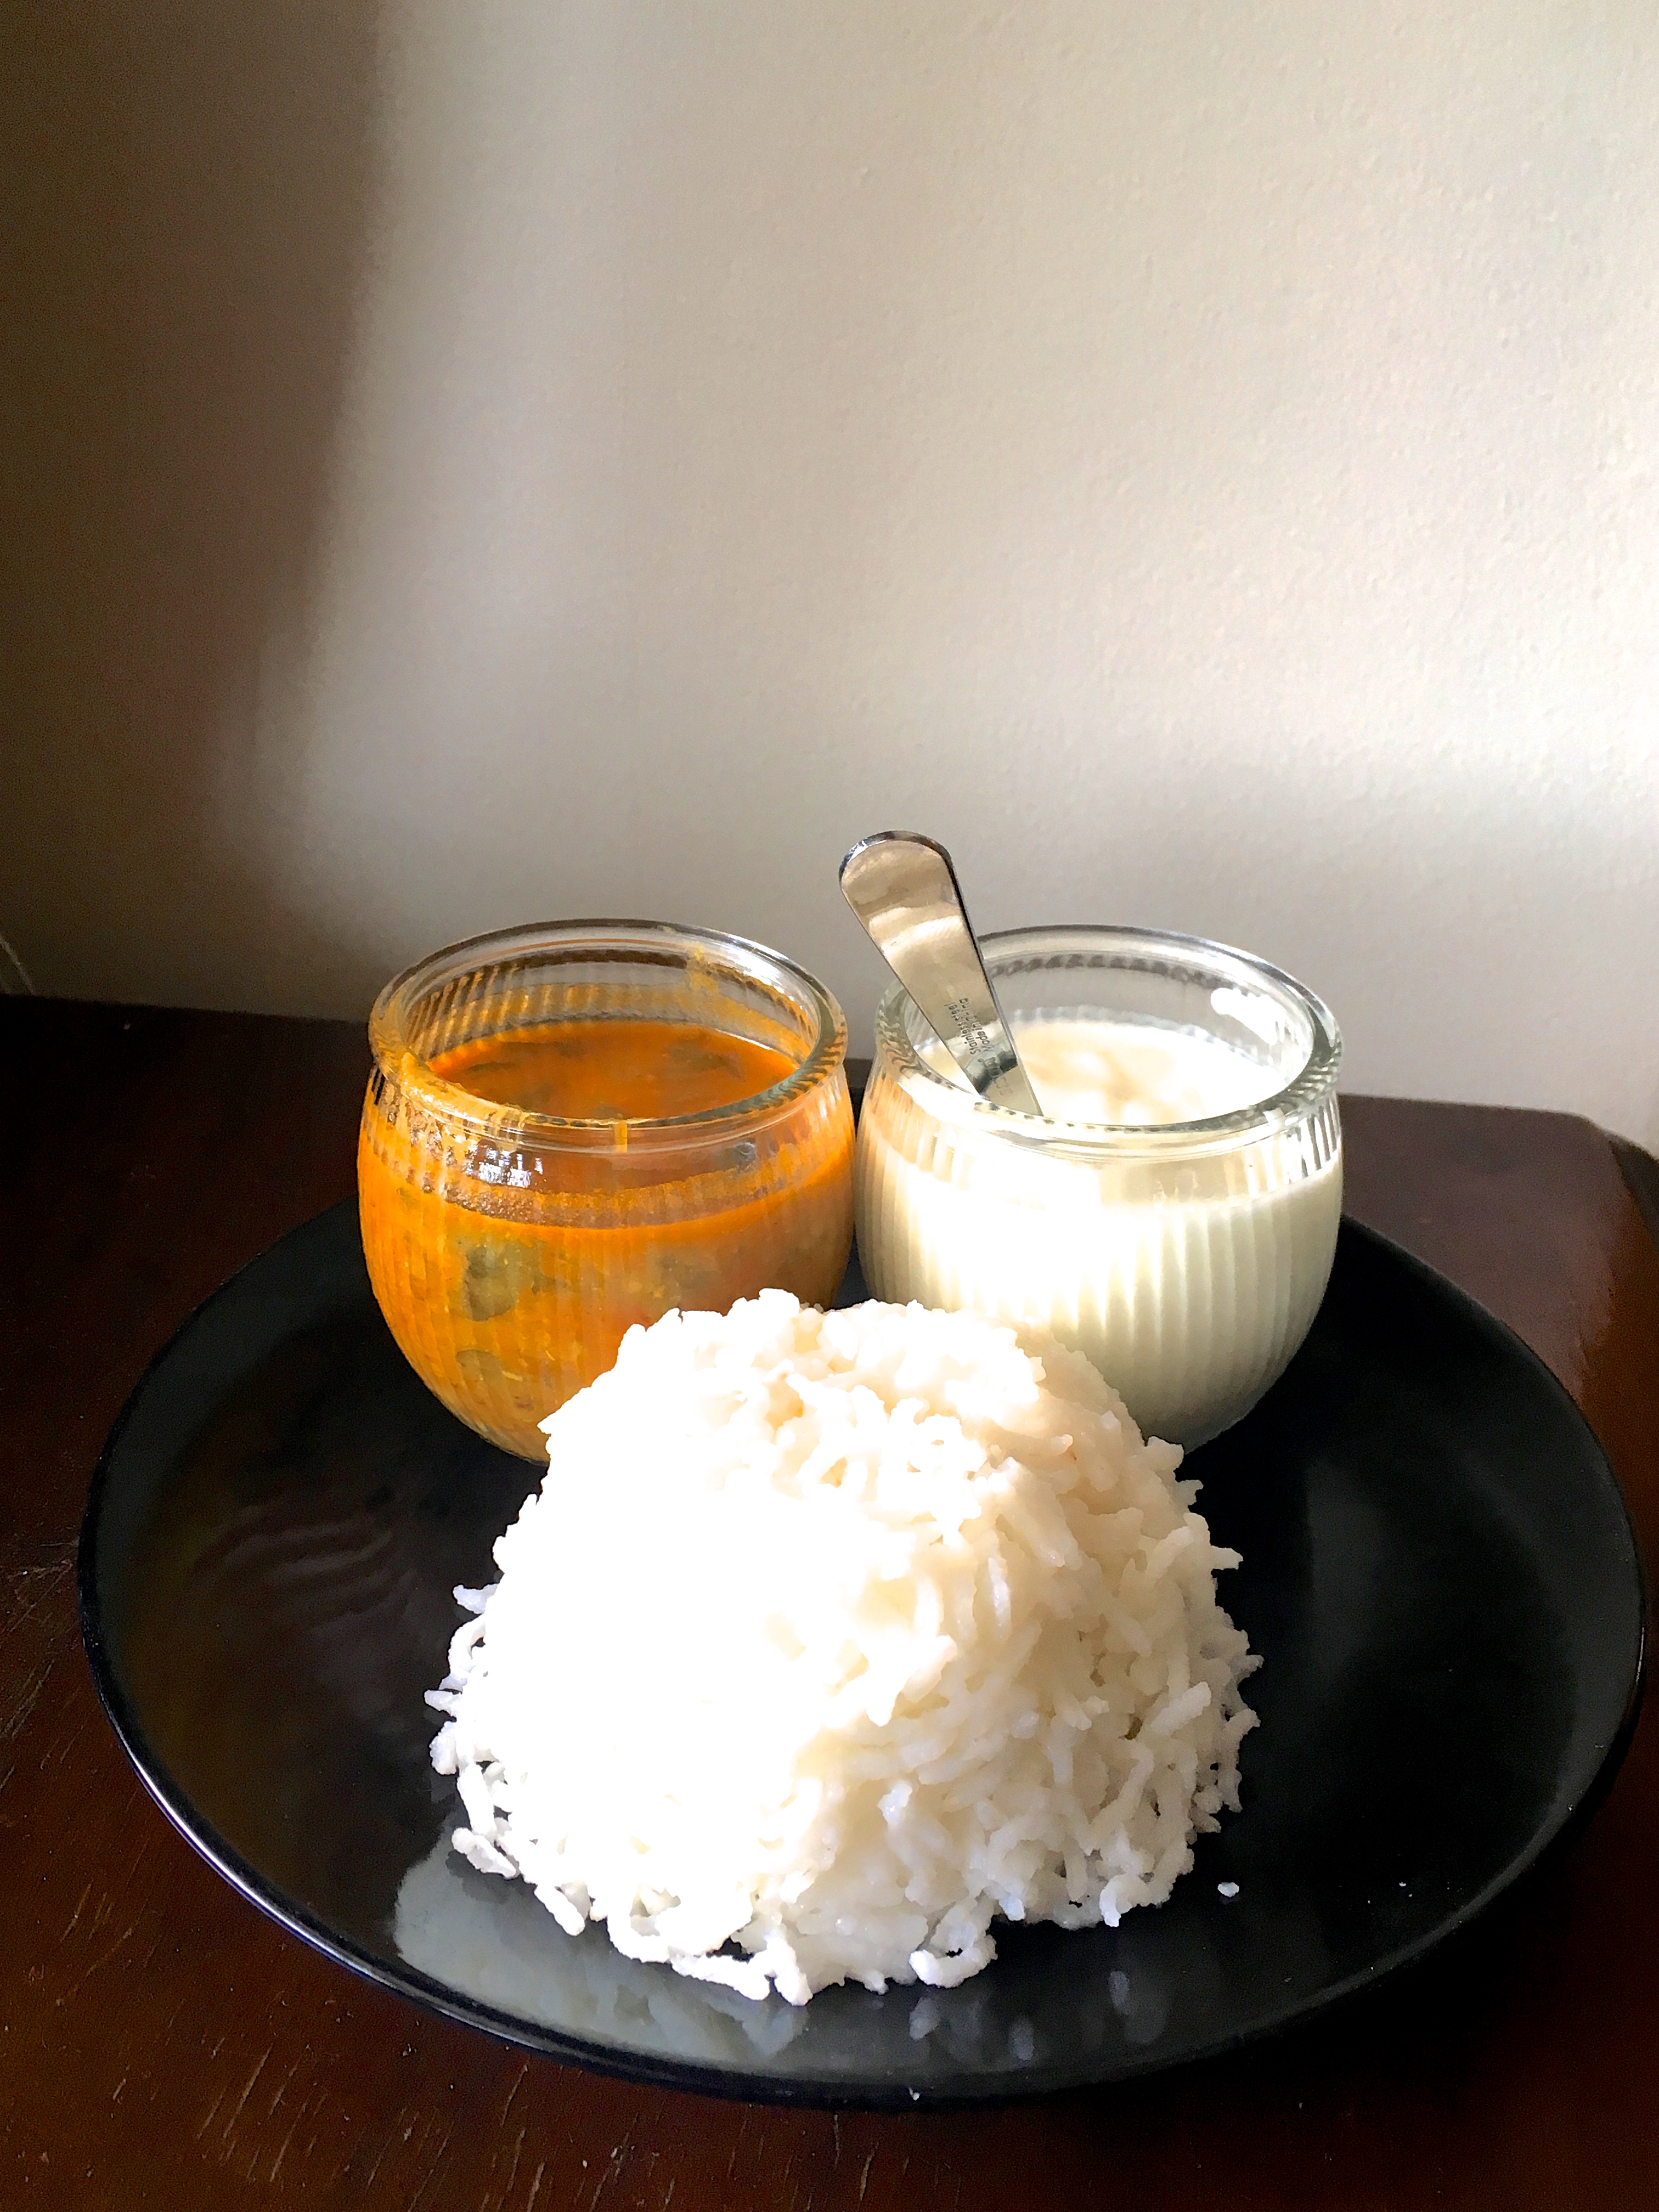
In the photograph below, it is served with white rice, roti, dahi (yogurt), some pickle (Gongura pacchadi, to be precise, which you can get in most Indian stores if you live in North America) and sautéed dondakaya (Indian Ivy Gourd).

Healthy Indian lunch with lentil soup

Categories
Cooking Food General Indian Cooking Recipes

Rajma (Spicy, Buttery, Kidney Beans) Recipe

Homemade Rajma

In some ways, Rajma is to North Indian cuisine what Macaroni and Cheese is to North American cuisine: it is ubiquitous and seen as a comforting food that reminds one of home. Rajma is also similar to Mac and Cheese in the sense that it is often made badly. And bad Rajma is especially like bad Mac and Cheese in that it’s often bad because its texture is all wrong.

Having said that, it takes a bit more time to make good Rajma than it does to make a  decent Mac and Cheese. Moreover, and this might prove to be controversial, I think Rajma represents a more complex harmony of flavours than Mac and Cheese does.

As you can see, I love Rajma! And as it happens, I’ve recently put together a delicious Rajma recipe, which I am very excited about. If you’d like to give it a try, here’s what you will need:

Equipment:

  • A Pressure Cooker (if you don’t have one, you could just use a large saucepan)
  • A saucier pan or a saucepan
  • A Knife
  • A Cutting Board
  • A Spatula
  • A Bowl and a Plate

Ingredients:

  • 2 Cups Red Kidney Beans, soaked for at least 7 hours in a lot of water
  • 3 Cardamom Pods
  • 3 Cloves
  • 1 Large Bay Leaf (or two small leaves)
  • 1/2 Stick of Cinnamon
  • 1 Tsp Cumin Seeds
  • 1 Red Onion, finely diced
  • 3 Large Cloves of Garlic, crushed
  • 1 Inch Piece of Ginger, grated
  • 4 Green Chillies, chopped coarsely
  • 1 Tsp Cumin Powder
  • 1 Tsp Coriander Powder
  • 1-2 Tsp Garam Masala
  • 1-3 Tsp Chilli Powder (adjust the amount of chilli to your preferred spice level. If you use 3 tsp (which I do) the Rajma will have a bit of a kick to it ;))
  • 1/2 Tsp Turmeric Powder
  • Salt, to taste
  • 2-3 Medium Tomatoes, chopped
  • 3-4 Tbsp Oil or Ghee (I prefer ghee; here is my recipe, if you want to make it at home)
  • As much butter as you like 🙂
  • A Sprig of Coriander/Cilantro, optional

Spices for Indian Cooking

Method:

Note about Serving Size: This makes enough Rajma for 6 people if they’re eating modest portions or if it is served with something else, like a dal (lentil) or a vegetable or chicken based preparation (as it generally would be in, in India).

1. Drain the excess water out of the bowl/pan in which you soaked the beans. Add about a half cup of water to the beans and cook them in a pressure cooker, on medium-high heat, until the whistle of the cooker goes off about 4-5 times. If you don’t have a pressure cooker, place the beans in a large saucepan and cook them with several cups of water until they become soft and cooked through. You can figure out if the beans are properly cooked by squishing one between your finger (or between two spoons). If you’re able to press through the bean and reduce it to mush, the beans are done are ready to be used in the recipe.

2. Pour the oil into a saucier or saucepan. Place the pan on medium-high heat. Once the oil becomes sufficiently hot (you can test the oil temperature by adding a cumin seed to the oil and seeing if it begins to sizzle) add in the cumin seeds. Just as the seeds begin to pop, lower the heat to medium and add in the cardamom, cloves, bay leaf, and a stick of cinnamon. Toss these about in the oil for a bit, until you can smell their fragrance.

Tadka, Indian spice tempering, popu, cardamom, cinnamon, cumin, bay leaf

3. Increase the heat to medium-high again and add in the chopped onion and sauté it until it begins to brown.

Cooking onions for north Indian cooking

4. Now, reduce the heat to medium again and add in the ginger, garlic, and chillies. Toss them about constantly, until the raw smell of the garlic dissipates.

5. Next, add the cumin, coriander, garam masala, and chilli powders to the pot, along with salt, and stir everything together. Let the masalas cook in the oil for a minute or two, before adding the chopped tomatoes to the pot. Stir well, cover the pot, and let the this tomato-onion-masala mixture cook on low-medium heat for about 8-10 minutes, checking on it and stirring as needed every few minutes. You will know the mixture is cooked enough once the oil starts to separate from the rest of the ingredients.

Basic north indian cooking

IMG_2260

6. At this stage, I recommend fishing out the bay leaves, cardamom pods, cloves and cinnamon stick. This is so the finished product feels smooth and creamy, without little bits of crunchy spices ruining the overall mouth feel of the dish,

7. Finally, add the cooked Rajma to this mixture, along with a cup or two of water and loads of butter. Cover the pot and let the beans cook with the onion-tomato-masala mixture for about 4-6 hours, on low heat, stirring intermittently. This slow cooking will allow the flavours to intermingle and “mature”.

Rajma (kidney beans) cooking with butter

6. Serve the Rajma with rice or roti and yoghurt! (My current favourite way to eat it is with a Rumali roti.) You can garnish the Rajma with a sprig of fresh coriander/cilantro, if you like. Enjoy!

Categories
Cooking Food General Indian Cooking Recipes

Healthy Palak Dal (Spinach Lentils)

I made chocolates today and I was going to sit down with a cup of Jasmine tea and write about them. When I looked at my blog home page, however, I realized that my last post was also about chocolate (in fact, a LOT of my posts are about chocolate). Also, Easter was just the other day, so it occurred to me that some of you are probably feeling a little stuffed, maybe even a little ill from all the chocolate eating. In thinking about how guilty and sick you might be feeling, I began to feel somewhat stuffed myself. I’ve been eating loads of homemade, cheese covered pizza and of course, tonnes of chocolate. It was time, I decided, to eat something yummy but healthy.

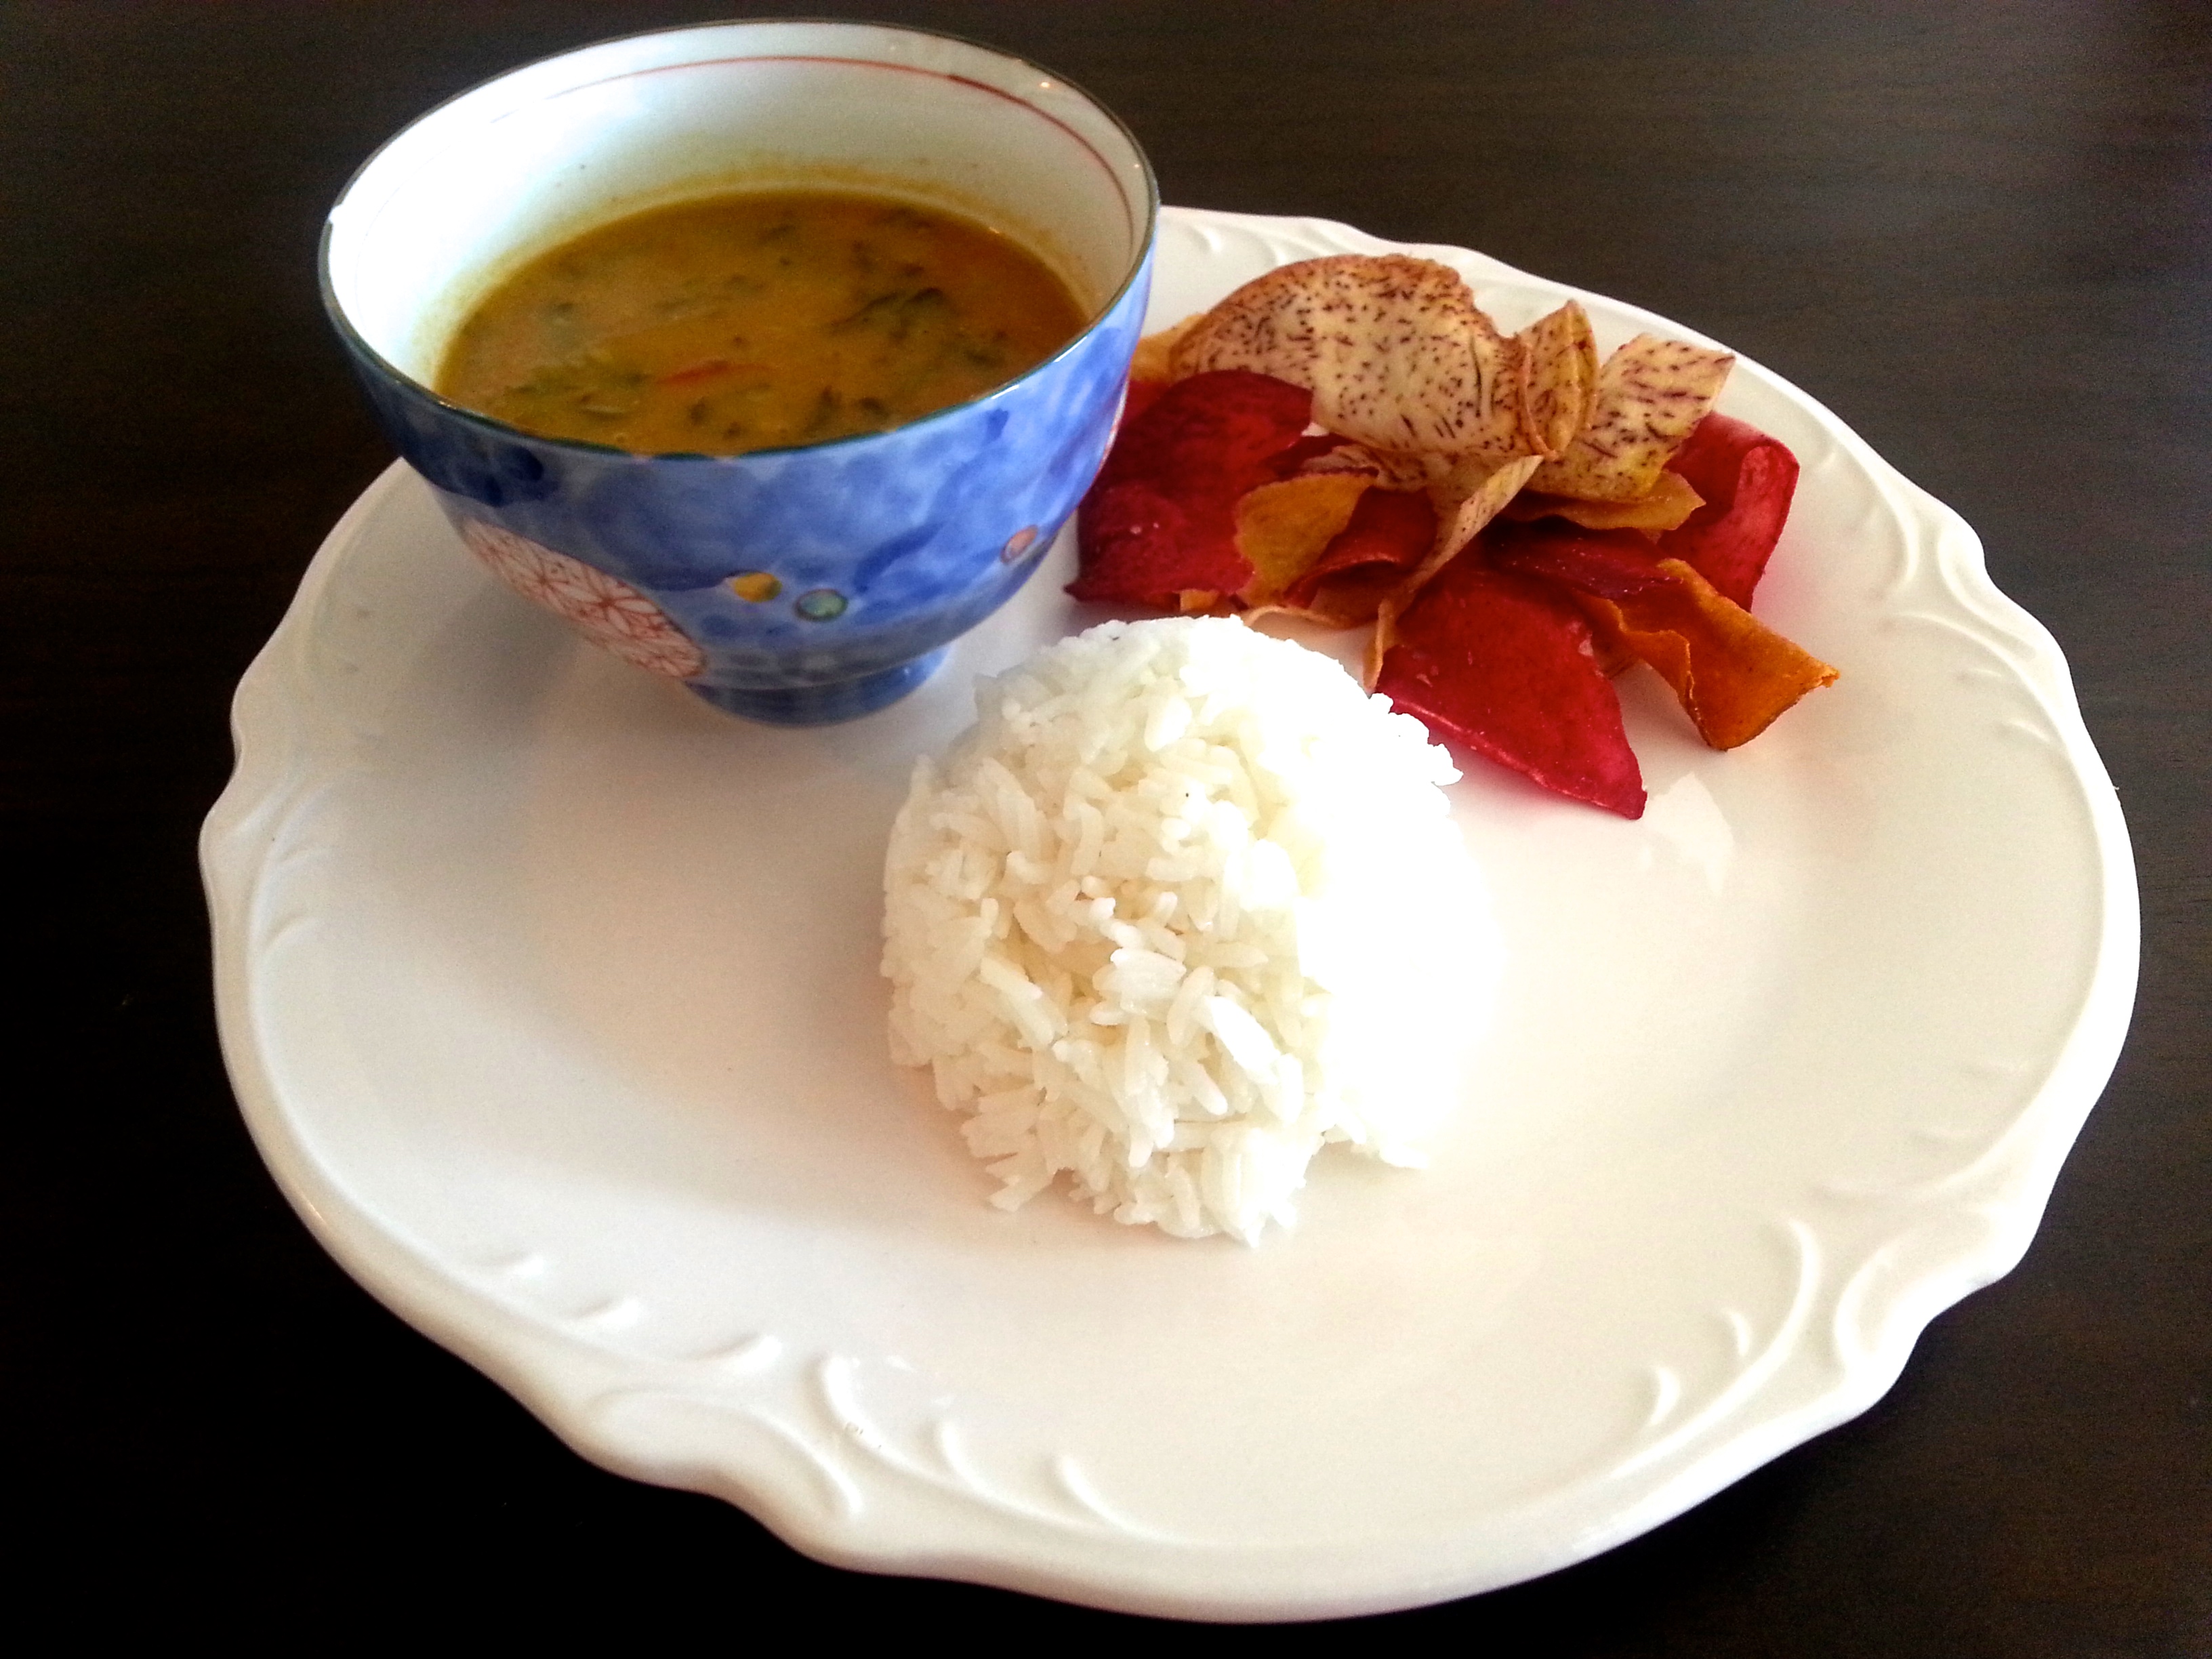
So, I made myself the healthiest lunch that I am capable of enjoying. It included one of my favourite dishes, palak dal (spinach lentils) and was served with rice and baked beets and sweet potatoes.

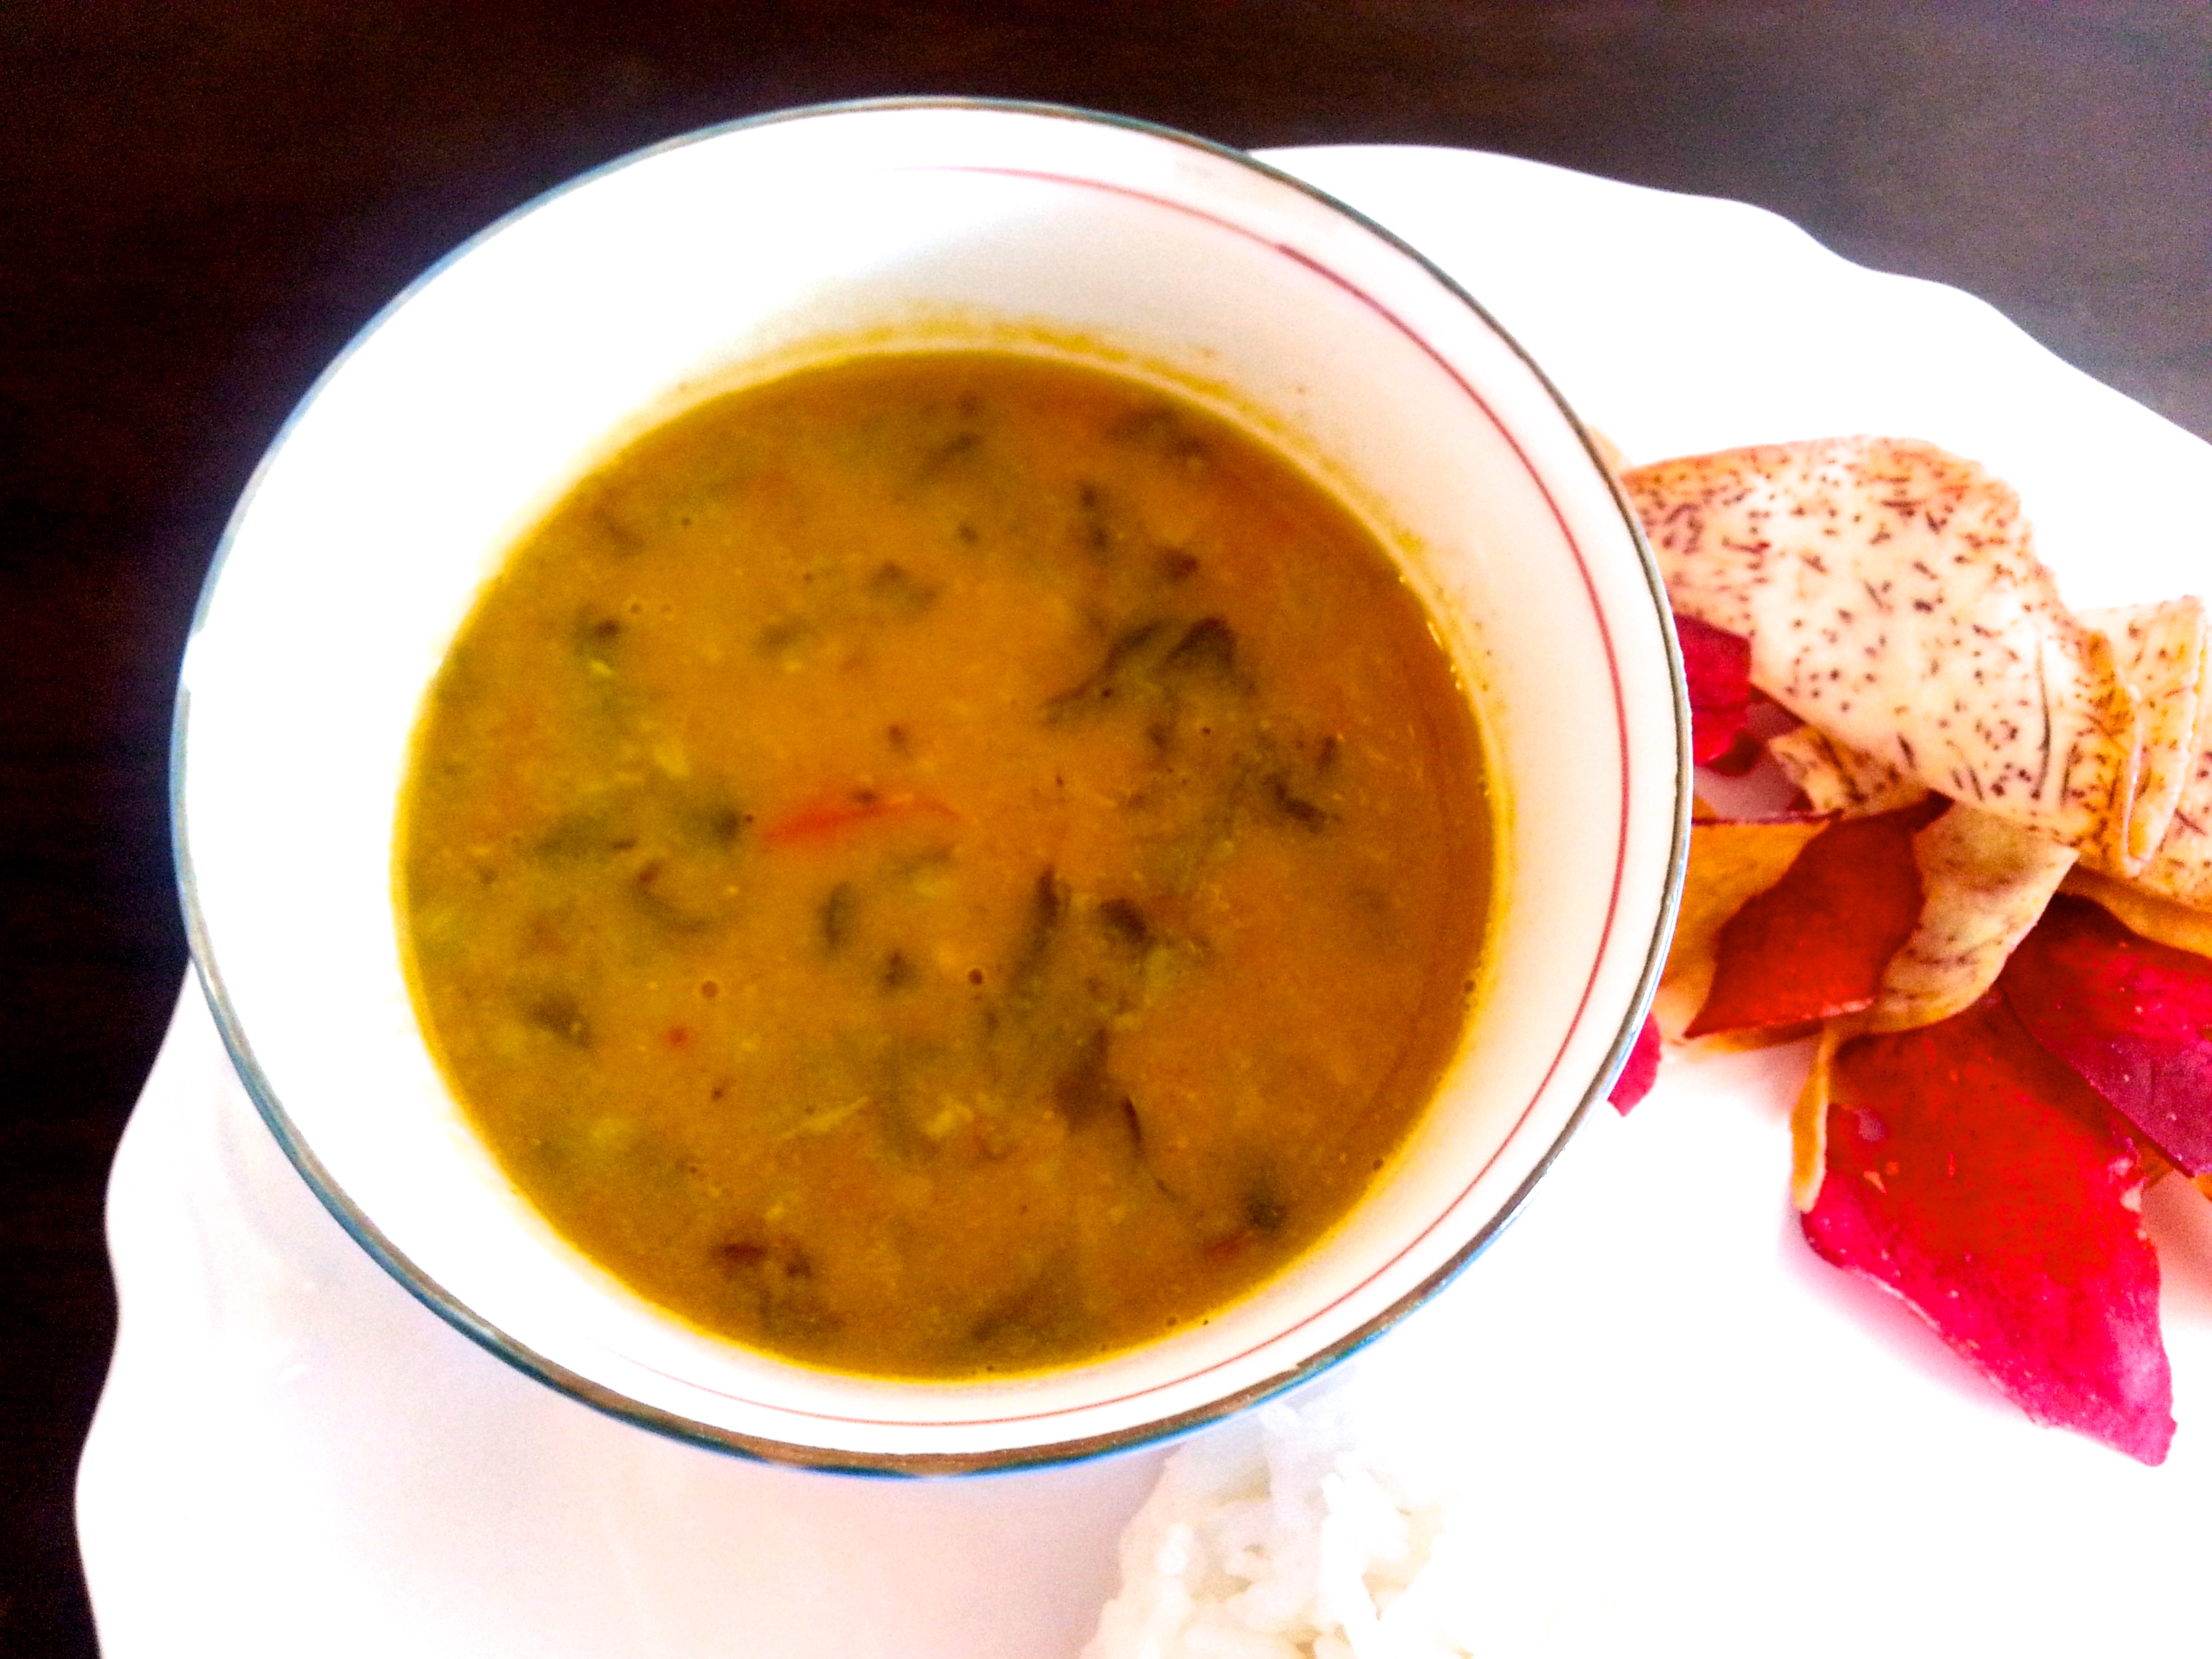
Palakoora pappu, palak pappu, palak pulusu, palak dal, spinach dal, lentil soup

In general, I hate eating  vegetables. The prospect of having to eat a bowl of crunchy and/or leafy vegetables makes me feel ill, miserable and hopeless. Yet, this lunch included tonnes of spinach and I still loved it! The spinach lentils shown above, are as flavourful, as they are good for you (I am no doctor or nutritionist, but I think you will all agree with me when you see the ingredient list). I think spices make vegetables not only edible, but enjoyable 🙂

Healthy Indian food, low-fat spinach lentils, palak dal


You can also include rotis and a light vegetable sauté with the meal. I also like to eat some yoghurt along with my meal, but of course, this isn’t compulsory.


Indian healthy spinach lentil soup recipe

A quick note:  You can adjust the level of spice easily. In the list of ingredients in the recipe below, I have provided a range of amounts for various spices; you can decide whether you want to stay on the lower side of that range or be brave and add in the highest amount that I recommend.

If you would like to try to make the lentils, the recipe is below; I will write later about the sauté.

Ingredients:

1 cup Pesara Pappu (Moong Dal in Hindi; a type of lentil, native to India; you can also use Toor Dal, or Masoor Dal)

1/2 teaspoon turmeric

2-3 tablespoons of oil (I use either avocado oil or sunflower oil)

1 large onion or 2 medium-sized onions (red or yellow) chopped

1/2 teaspoon grated ginger

3-4 cloves of garlic, skinned (you can also crush them if you don’t like having large pieces of garlic in your dal: I like the chunks :))

3-6 green chilies cut in half lengthwise (You can reduce this amount if you don’t want the dal to be too hot/spicy)

2 medium-sized tomatoes, chopped

1/2 – 1 teaspoon cumin powder

1/2 – 1 teaspoon coriander (cilantro) seed powder

1 – 2 teaspoons red chilli powder

1/2 teaspoon of garam masala (optional)

About a medium-sized bunch of spinach (250 g) (I used organic baby spinach)

1/2 teaspoon brown sugar (you can use white if you don’t have brown sugar) (optional)

Salt to taste

Ingredients for the tadka, baghar, or popu:

1 teaspoon cumin seeds

3-12 dried red chilies

1 or 2 sprigs of fresh curry leaves (optional)

2-4 peeled whole garlic cloves

2-3 tablespoons of ghee (You can get ghee at an Indian store. If you want to make your own, here is my recipe. If you don’t have ghee, you can simply use sunflower oil, vegetable oil, or really any oil with a high smoking point. DO NOT USE BUTTER, it will smoke and burn before the spices are properly fried).

Method:

1. The first thing to do is to prepare the dal (lentils). I use moong dal for this recipe. If you don’t live in India, you should be able to get most lentils at an Indian store. I normally soak lentils for a few hours before I cook them (this helps them cook faster and apparently helps to reduce bloating and gas; I am still looking for studies to back this up, which I will cite here when I find them). If you don’t have the time to do this, you can skip this step. This is how the lentils look soaked:

Moong dal (lentils native to the Indian subcontinent)

2. The easiest way to cook dal is to cook it in a pressure cooker. If you don’t have one, just boil the dal in water until its cooked. Add half a teaspoon  each of turmeric and salt to the dal before you cook it. Once it’s cooked it should look like this:

Cooked moong dal

3. I like to purée the dal in a food processor/blender/mixie in order to make it into a smooth paste. This makes the texture of the dal smoother and distributes flavour more evenly. This step is completely optional, however. You can skip it without much consequence to the taste of your dal if you do not have either the necessary equipment or the time.

4. In the meantime, heat 2-3 tablespoons of oil in a saucepan. When it’s hot add the chopped onions and sauté them until softened and lightly browned. Now add the ginger, garlic, and green chillies and sauté again until the ginger and garlic is cooked (their raw smell should vanish).
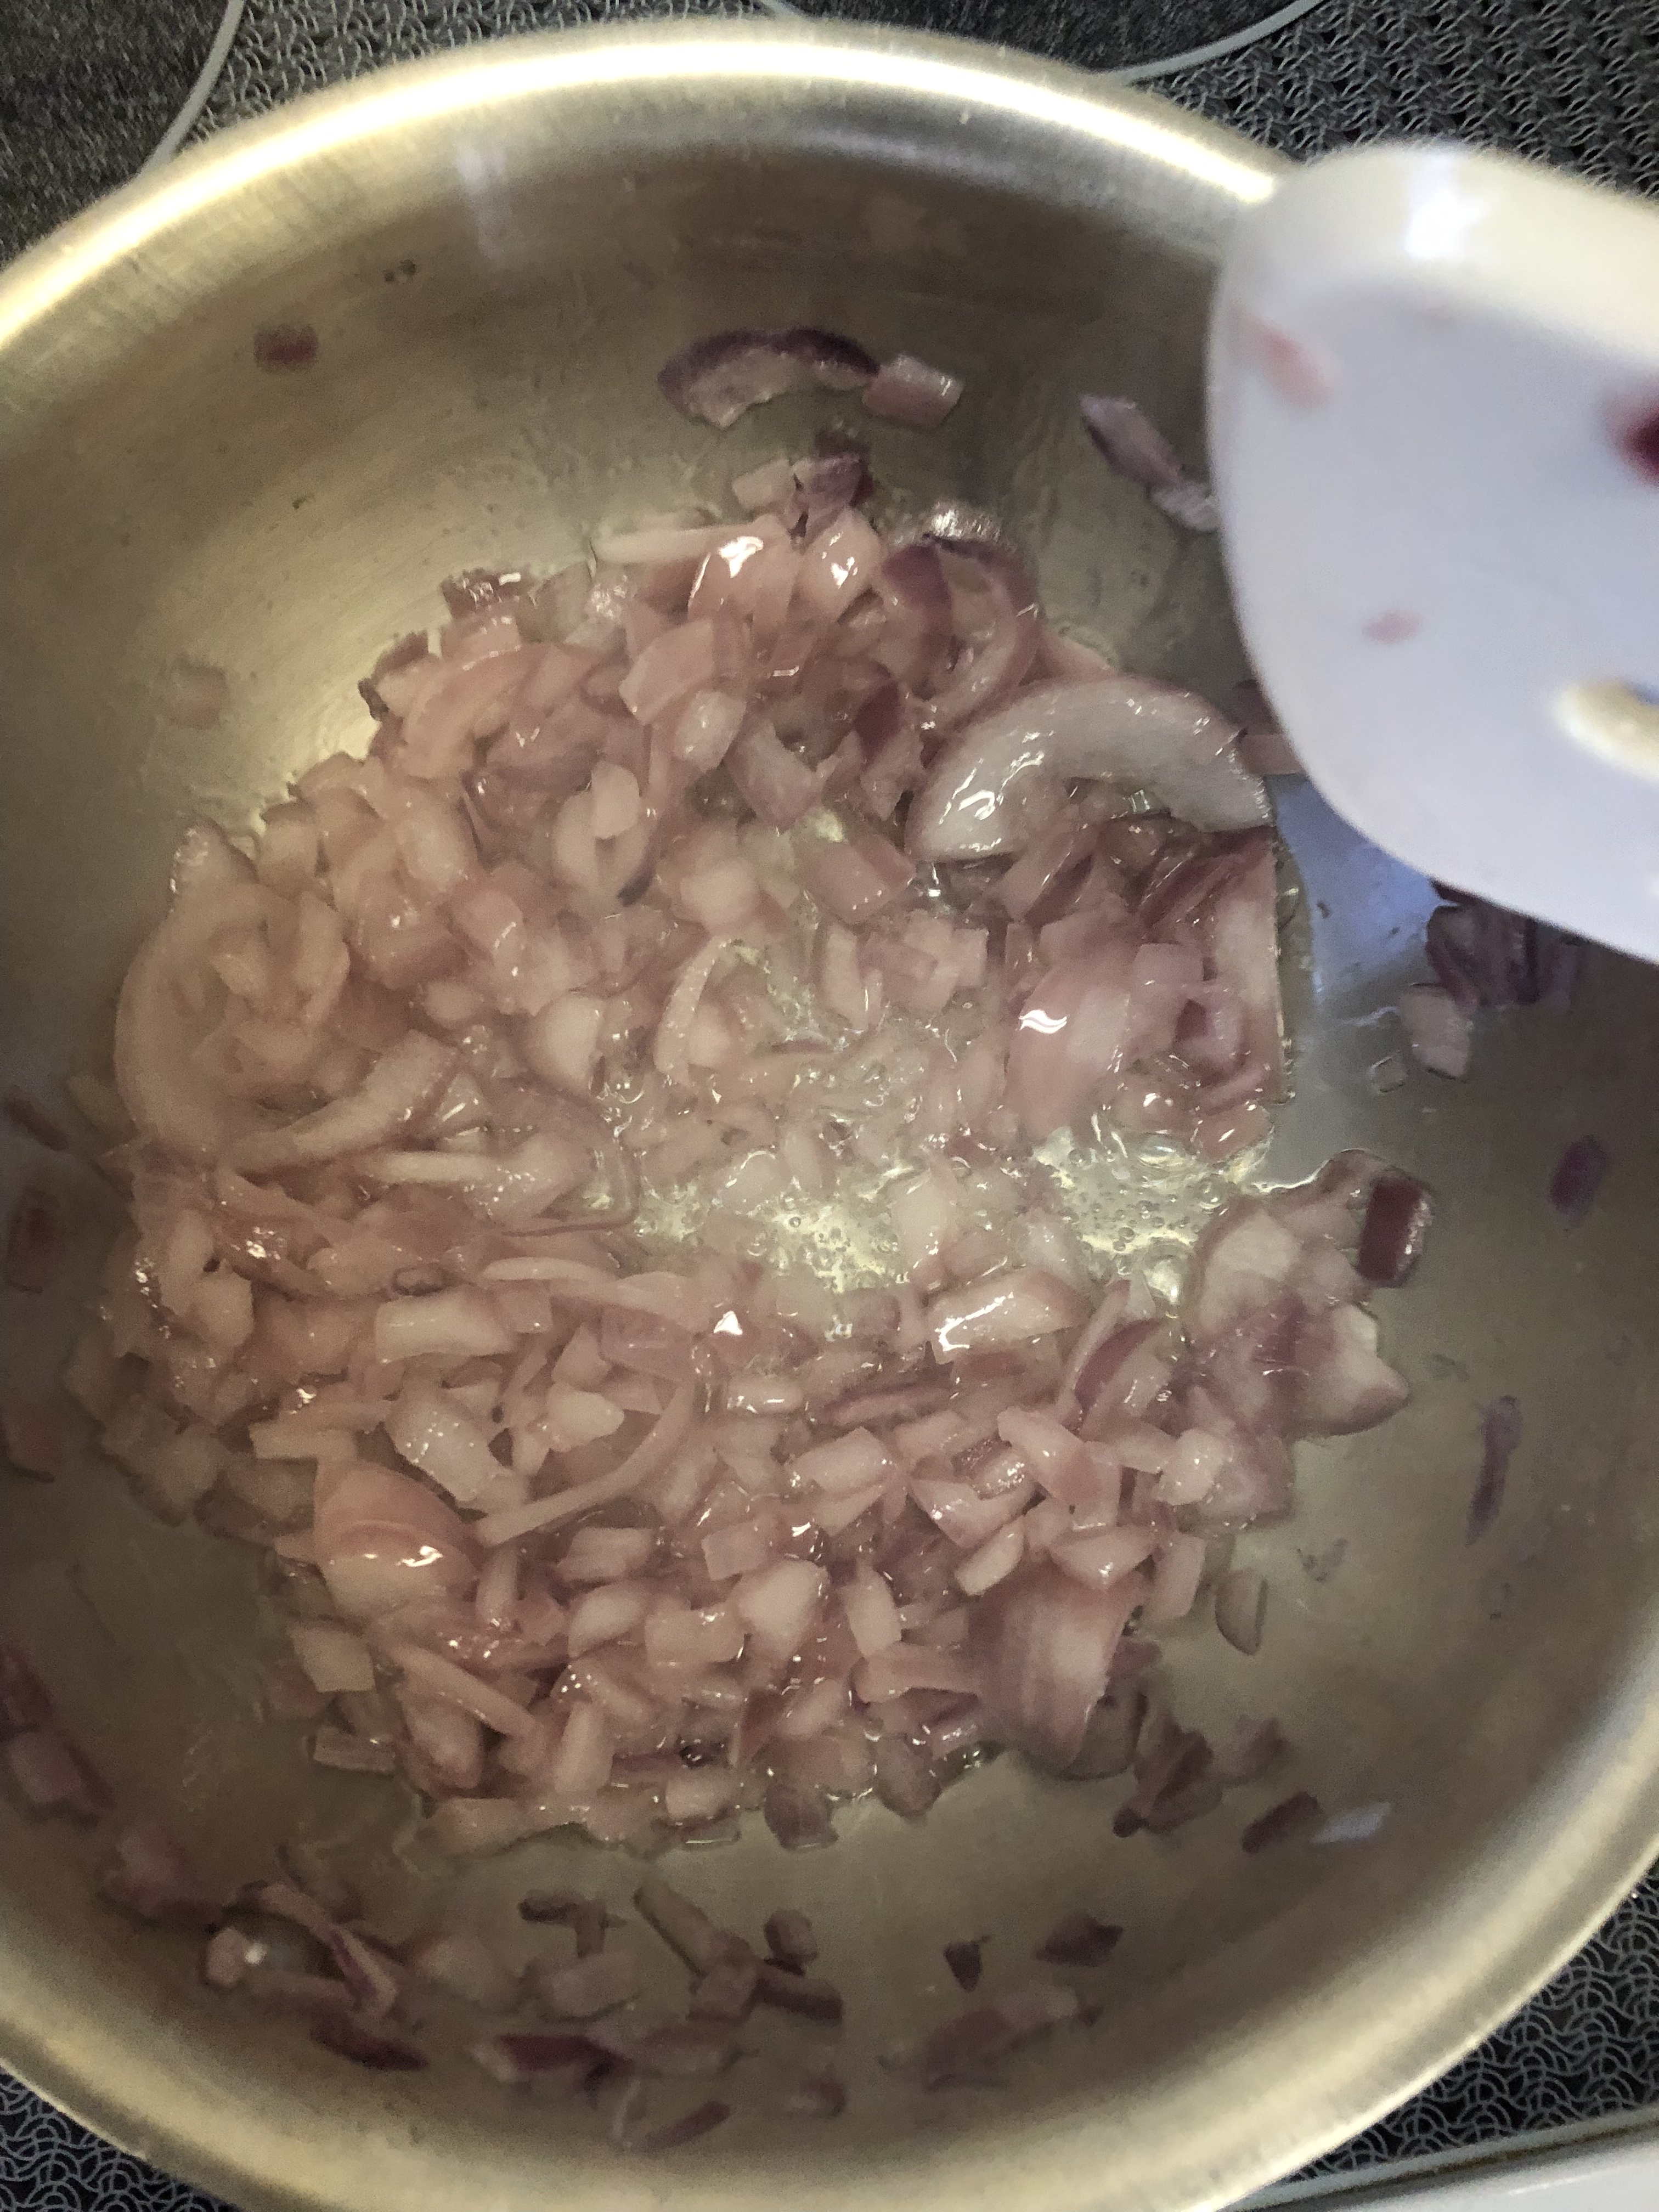
5. Add the tomatoes, followed by cumin powder, coriander powder, red chilli powder, garam masala (if you are using it), and half a teaspoon of salt. Cover and cook all of this for about 10 minutes on low-medium heat.

6. Meanwhile, rinse the spinach well.

Spinach for healthy lentil soup

7. Place the spinach in a bowl and microwave for a minute, until tender.  I like to simply use a herb scissors or a normal pair of scissors and cut up the spinach in the bowl (after it has been microwaved) into slightly smaller bits. If you don’t like this method, you can, of course, chop the spinach on a cutting board with a knife (before or after you microwave it.

8. Add the spinach to the sauce pan, then add the lentils and sugar (if you are using it). Let everything cook for about 5 minutes.

9. The baghar/popu/tadka:

Heat a tablespoon or two of ghee in a little saucepan like this:

Hot ghee

Let the ghee get hot. To test if it’s hot enough, throw a single cumin seed into the pan. If it begins to sizzle, add the rest of the cumin and stir the seeds about until they start to pop. When they start to pop, add the curry leaves, garlic cloves and red chilies.

Baghar
Tadka, popu or baghar

Once the red chillies darken like this:

Baghar, tadka or popu

Add the baghar to the lentils.

Making Hyderabadi Palak Dal (Spinach Lentils)

Immediately cover the pot.

The dal is now ready! Serve it with some hot rice and/or roti, dahi (yogurt), Indian pickle, ghee, and any other accompanying curries or vegetable sauté.

In the photograph below, it is served with rice , roti, dahi (yogurt), some pickle (Gongura pickle, to be precise, which you can get in most Indian stores if you live in North America) and sautéed Dondakaya (Indian Ivy Gourd).
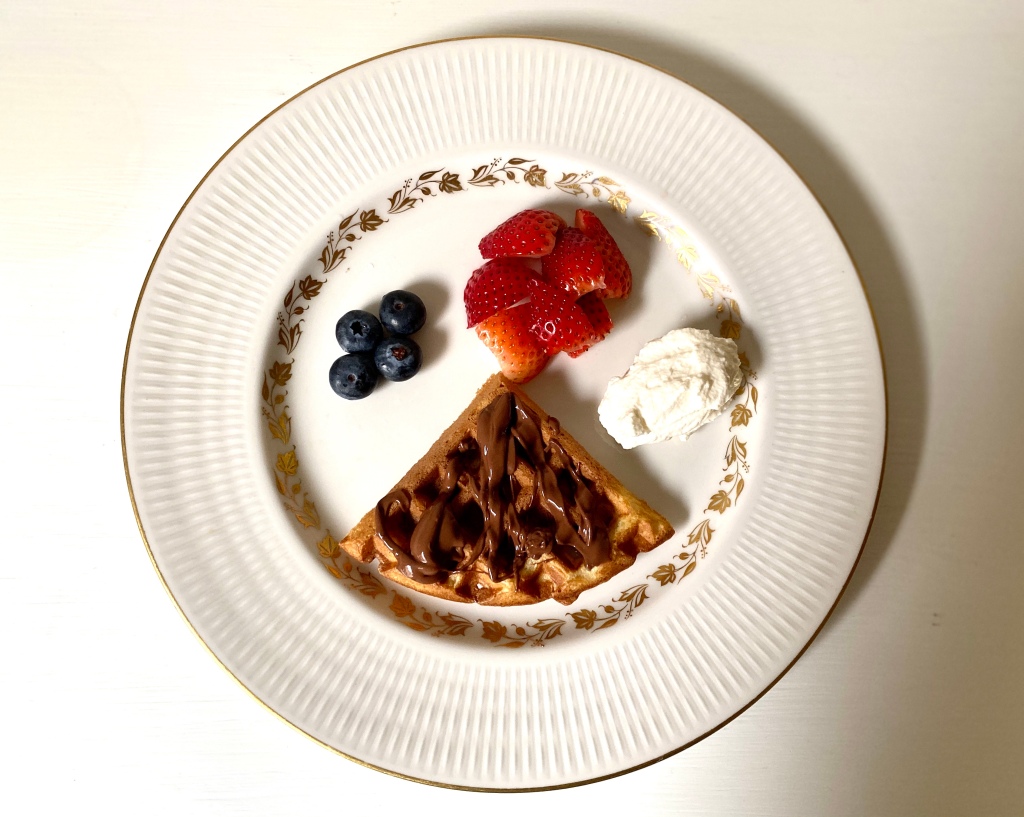
 

Healthy South Indian lunch with lentil soup


Categories
Chocolate Chocolate Truffles Cooking Food General Recipes

Dark Chocolate Truffles with Mint-Buttercream Centers

Last week I decided to invite some friends over to mine for drinks, desserts, cheese, and some cheese related hors d’ oeuvres. It was my birthday you see, and what better way is there to celebrate one’s birthday than by feeding one’s friends and drinking with them? 🙂

I tried several new recipes out for this party, including three new types of chocolate truffles! Here’s one of my favourite ones: truffles with mint centers!

Mint Chocolate Truffles

This was a modification of a basic truffle recipe that I came up with while fooling around with new flavours and textures; If you’d like to try it, read on!

Ingredients:

100 g dark chocolate (at least 70% cocoa solids) (the better this chocolate is, the better your truffles will taste)

1/2 cup heavy whipping cream

2 pinches of salt

5-6 tablespoons of icing sugar

5 tablespoons butter

1/4 to 1/2 teaspoon mint essence

3-4 drops green artificial food colouring

5-6 squares of dark chocolate for coating the truffles

Equipment:

4 Bowls and several spoons

1 large plate

A hand-held or stand-alone egg-beater/mixer

1 sheet of foil or butter paper

Method:

I began by heating the cream in a little pan to a gentle simmer. In the meantime, I chopped the chocolate into bits (you can also use a food processor), and placed the chocolate bits in a bowl.

How to make chocolate truffles/chocolate ganache

Once the cream began to simmer, I poured it over the chocolate and let it sit until the chocolate melted.

Making a chocolate ganache for chocolate truffles

Once the chocolate was melted, I took a whisk and gently mixed the chocolate and cream into a smooth mixture adding a pinch of salt as I did this. This delicious ganache needed to cool and firm up, so I covered it up and placed it on the dining table. Once it reached room temperature, I transferred the bowl to the fridge.

Chocolate ganache

While the ganache cooled, I placed the butter in a bowl and began whipping it up with a hand-held mixer (egg-beater). When it was creamy and softened, I added a pinch of salt, 2 tablespoons of icing sugar, 1/4 tsp of mint essence, and a few drops of green food colouring. I whipped all this up into a  creamy smooth mix and then tasted it. I thought the mixture needed a little more sugar, so I added another 2 tablespoons. (You should also taste the mixture intermittently and see if it needs more sugar or mint essence; add as much as you think is appropriate.) Once it tasted just right, I covered up the bowl and placed it in the fridge.
Once both the ganache and mint-filling were firmed up in the fridge, I took them out and began working with them. I covered two baking trays with wax paper (you can also use baking paper or aluminum foil) and then began scooping large blobs of chocolate on one of the trays.

Making assorted chocolate truffles

Once all the chocolate was divided into ‘large blobs’ on the first tray, I began scooping smaller portions of the mint-buttercream into my hand, shaping them into rough spheres and then placing them on the other tray.

Making mint Chocolate Truffles

As soon as all the mint mixture was used up, I placed both trays in the freezer for about 15 minutes. Once the scoops and mint-spheres had hardened from the cold, I was ready to start shaping the truffles!

(When you’re trying this, make sure you have enough works-space on your kitchen counter. I like sitting down while I do this, because it takes some time, so I usually move over to the floor because I feel more comfortable sitting cross-legged. You could move over to the dining table if you prefer.)

Now I was ready for the fun part! I picked up one of the chocolate scoops and shaped it into a sphere in my hand. Then I flattened it out on my hand like a mini chapathi or tortilla.

Shaping chocolate cream cheese truffles Step 1 in shaping chocolate cream cheese truffles

Then, I took one of the mint flavoured balls and placed it at the centre of the ‘chocolate chapathi’:

Shaping chocolate cream cheese truffles Step 2 in shaping chocolate cream cheese truffles

and carefully rolled the chocolate layer over the mint centre, shaping the truffle into as perfect a sphere as possible. (I don’t have a photograph of the sphere-shaping bit because I needed both hands and by this time my other hand was covered in chocolate.)

Shaping chocolate cream cheese truffles Step 3 in shaping chocolate cream cheese truffles

I repeated this until all the chocolate was used up:

Shaping chocolate truffles

Next, I melted 5-6 dark chocolate squares in the microwave. (When you do this, be sure to do this on a low setting as you don’t want to burn the chocolate. Ideally, you should melt the chocolate in a double boiler to avoid this, but I find that if I am careful, I can do it in the microwave. After, I let the chocolate cool a bit (it’s important not to let it harden), I picked up one of the truffles, and dipped it into the chocolate, coating it completely, as shown in the photograph below:

Dipping truffles in chocolate

Then, I placed the truffle back on the wax paper to cool. I repeated this until all the truffles were coated. Finally, I let them all cool and then placed them in little green-coloured paper cups.

And Ta DA! They were ready to be devoured! Rich dark chocolate truffles with soft mint-flavoured butter-cream centers. 

And then, all that was left was one lonely half-truffle. If it looks half-eaten, that’s because it is 😛 I did it for you all, so you can see what the centers look like 😉

Mint Chocolate Truffle

Categories
Baking Cooking Food General Recipes

Refried Beans Remixed Part II

Sometime ago, I wrote about how relatively easy it is to make refried beans. Now that I’ve figured out a recipe for beans that works for me (and by that I mean that it is a wholly vegetarian recipe and it’s super-spicy) I’ve been making refried beans a lot lately. My favourite ways to eat beans include: beans on top of rice, beans inside burritos and quesadillas, and even just beans on more beans with lots of cheese on top 🙂 And then of course, there is the refried bean pizza 🙂

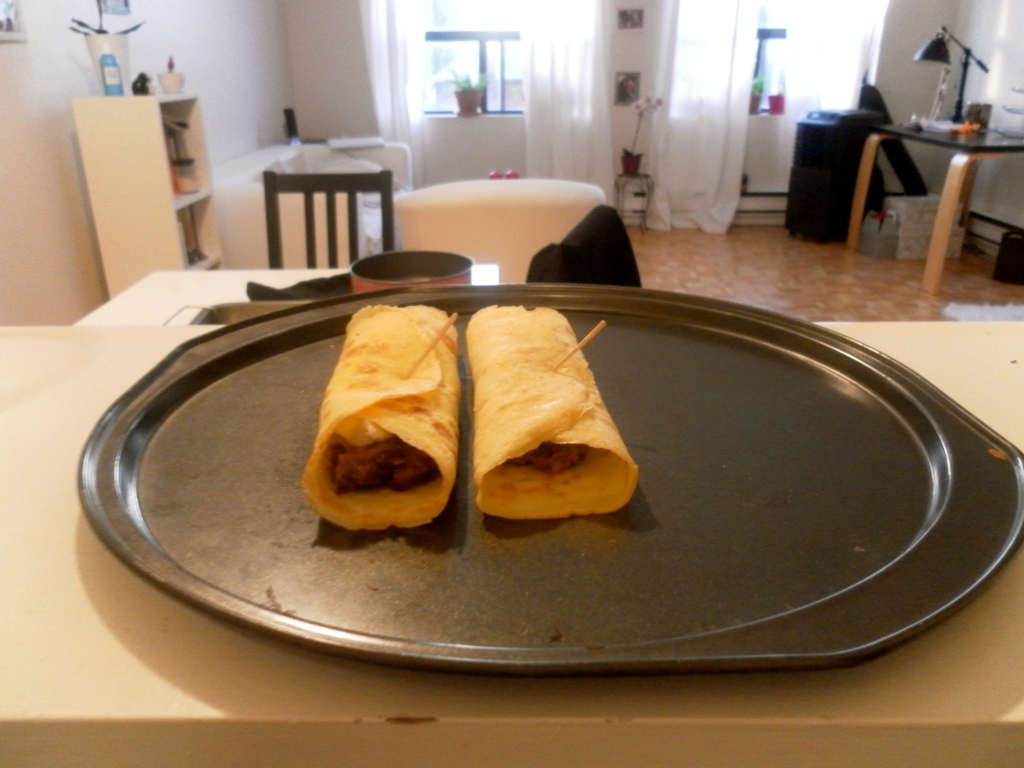
My latest bean-related experiment involves mixing two iconic foods from Mexican and French cuisine respectively: refried beans and crepes. Here’s how it turned out:

Baked crepes with refried beans and cheese

If you want to try it out, here’s what you will need:

For the Filling:

One serving of re-fried beans, go here for my recipe.

Freshly grated aged cheddar, to taste

Chunks of mozzarella, to taste

1 tsp cayenne pepper

1 tsp freshly ground cumin seeds

For the crepes:

1 cup all-purpose flour (leveled)

1/4 teaspoon coarse salt

1 1/2 cups whole milk

4 large eggs

3 tablespoons unsalted butter, melted

Method:

I started by making the crepes. I just threw all the ingredients for the crepes (in no particular order) into a food processor (you call also use a blender/mixie) and whizzed them all together until I got a smooth mixture. The batter will be pretty thin, quite unlike pancake batter.

Now for making the crepes. I heated a skillet, melted a little butter on it and poured a ladle of batter on it. Then, I swirled the batter about to make a thin layer completely covering the entire skillet. I cooked the underside of the crêpe for about 3 minutes. Using a rubber spatula I loosened the edges of the crepes and then flipped the crêpe over and cooked the other side for about 2 minutes. Then I placed the crêpe on a plate, covered it with plastic wrap and repeated the crepe-making process until I’d used up all the batter. (You can also store the batter in the fridge for a day or two if you prefer.)

Now I was ready to stuff the crepes with their filling! (You can stuff and bake a couple at first and store the rest of the crepes in the fridge. Since they’re all wrapped up in plastic, they will stay fresh.)

But first, I had to pre-heat the oven, which I did to 350 F. While the oven heats up, start filling the crepes with refried beans and cheese and lining them up on a baking tray. To keep the crêpe nicely wrapped and beans snug inside, I used a toothpick.

Baked crepes with refried beans and cheese

Once the oven is warmed up, place the crepes in the oven and bake for 10 minutes or so. Monitor them and reduce the temperature, or take them out sooner if they look like they are browning too much. You just want them to be a nice golden colour with the edges starting to crisp up.

Once they are ready, take them out of the oven, sprinkle with cumin and cayenne pepper and enjoy!

Baked crepes with refried beans and cheese

If you don’t want to spend the time decorating the crêpe with cayenne pepper and cumin polka-dots like I did, you can just lightly dust the crêpe with the spices:

Baked crepes with refried beans and cheese

They made for a perfect snack while working on my dissertation.

Baked crepes with refried beans and cheese

Categories
Baking Cooking Food General Recipes

Refried Beans Remixed Part I

Sometime ago, I wrote about how relatively easy it is to make refried beans. Now that I’ve figured out a recipe for beans that works for me (and by that I mean that it is a wholly vegetarian recipe and it’s super-spicy) I’ve been making refried beans a lot lately. My favourite ways to eat beans include: beans on top of rice, beans inside burritos and quesadillas, and even just beans on more beans with lots of cheese on top 🙂 But now, my new favourite way to eat beans is on a pizza!

One evening, a few months ago, I had this brain wave: mixing Mexican spicy deliciousness with the most delectable and beautiful carb-related food invention in the world, namely, thin-crust pizza. I’ve been eating way too much pizza ever since.

If you want to try it out, here’s what you will need:

1. Pizza dough

2. One serving of re-fried beans, go here for my recipe.

3. One onion, sliced

4. Freshly grated aged cheddar, to taste

5. Chunks of mozzarella, to taste

6. 1-2 tbsp cayenne pepper

7. 1 tsp freshly ground cumin seeds

8. 1 red or yellow bell pepper, chopped coarsely or cut into slivers

9. 1 jalapeño, sliced horizontally

You can make your own dough, and if you have the time, I would recommend doing this. I didn’t make my own this time though. You see, I was really excited about the idea of this fusion pizza, trying to work out the various toppings I’d put on it, and I didn’t want to wait any longer than I had to. So I ran out and got some fresh dough from the deli-section of the supermarket.

I left the dough out on the counter to let it warm to room-temperature and buttered and floured a pizza pan (you should use a pizza stone if you have one). About 30 minutes later, I set the oven temperature to 360 fahrenheit, sprinkled a spoonful of flour on the counter and began working with the dough. After kneading it a bit on the counter I made the dough into a ball, flattened it gently, and kept pulling it apart, all the time moving it around and flipping it over so that it wouldn’t stick to the counter. When I’d pulled it and stretched it into something resembling a circle, I placed the dough on the pan and then slowly and patiently spread it out to the sides of the pan:

Refried- bean pizza

Because I wanted a thin crust pizza I made sure to spread the dough as thin as possible. However, I like a slightly thicker crust along the edges, so I made the outer edges thicker.

Next, I sprinkled some sliced onions on this and popped it into the oven for about 12 minutes, until it looked liked this:

Mexican pizza

That is, it was slightly cooked and the base had risen a bit. You can see little bubbles; I am given to understand that this is a good sign for a pizza base 🙂

Finally, I spread the refried beans on the base with a knife and topped this off with the rest of the sliced onions, bell pepper slivers or pieces, jalapeño slices, and cheddar and mozzarella cheeses.

Mexican-style pizza

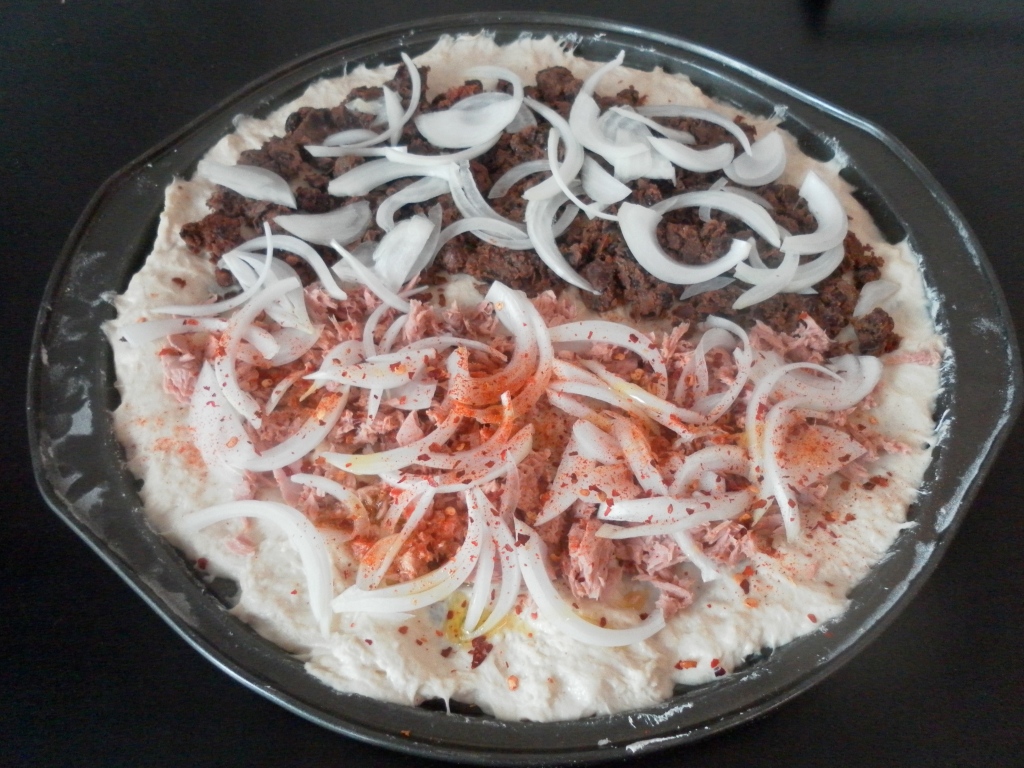
It’s also fun to play around and make a multi-topping pizza. I did a pizza tonno combined with the refried bean pizza the very next day:

Multi-topping pizza: Re-fried beans and tuna

I popped the pizza back into the oven once I was done with the toppings, and let it bake for another 10 minutes, until the cheese had melted and the onions had crisped a bit.

Mexican pizza

You’re wondering why a (large) third of the pizza is missing aren’t you? It’s because I had to eat some of the pizza as soon as it came out of the oven, while it was still hot! The side-effects of my greed were: burnt fingertips and a picture of an incomplete pizza.

I would advise you to give the pizza a few minutes to cool; it’ll also be easier to cut and serve when it’s isn’t sizzling and just out of the oven.

Don’t wait too long though, it’s best eaten hot. Cut yourself a slice or two, sprinkle some cayenne pepper and cumin powder on top and you’re ready to eat!

Yummy refried bean pizza

I love the spicy, cheesy, softness of the pizza centre melting and folding away, leading up to a freshly baked, thicker, crisp edge..mmmm.

Categories
Cooking Food General Indian Cooking Recipes

Heavenly, Healthy Hyderabadi Palak Dal (Spinach Lentils)

I made some absolutely delicious truffles today, and I was all set to write a post about it. Then I looked at my blog home page and realized that my last post was also about truffles. (In fact, a LOT of my posts are about truffles.) Also, Easter was just the other day, so it occurred to me that some of you are probably feeling a little stuffed, maybe even a little ill from all the chocolate eating. In thinking about how guilty and sick you might be feeling, I began to feel somewhat stuffed myself. I’ve been eating loads of homemade, delicious but cheese covered pizza and of course, tonnes of chocolate. It was time, I decided, to eat something yummy but healthy. And so, I made myself the healthiest dinner that I am capable of eating. I have difficulty eating leafy vegetables you see, they literally make me feel unhappy and hopeless. But this particular magical recipe for spinach lentils that I am about to share with you is as spicy and flavourful, as it is good for you. I am no doctor or nutritionist, but I think you’ll all agree with me when you see the ingredient list.

Hyderabadi Palak Dal (Spinach Lentils) with RiceOh and as you can see from the title, this is a Hyderabadi recipe. Hyderabad is the capital of a southern State in India: Andhra Pradesh. It was the seat of the Nizams, who ruled Hyderabad for about 2 centuries. The word Nizam or Nizam-ul-mulk means ‘administrator of the realm’ or ‘governor of the nation’ in Urdu. This is because the first Nizam was originally appointed by the Mughal emperor to oversee and govern Southern India on his behalf. As the Mughal empire began to crumble (for a brief overview of Mughal history go here), Asaf Jha who was a Mughal noble and a Nizam, declared independence from the Mughals and founded his own dynasty, the Asaf Jha dynasty, also known as the Nizams.

The history of the Nizams is of course more complex than this little paragraph intimates. It is full of battles, intrigue and all the other stuff that good history is made of. But this post is about food, also I am not a historian. I just wanted to give you this brief little background so you can understand Hyderabadi cuisine better. I would recommend reading more about the Nizams though, about their food, jewellery and architecture in particular.

Because the Nizams were essentially nobles from the Mughal court, their food was strongly influenced by Mughlai cuisine. But South Indian food, more precisely Andhra food, i.e. the food the locals ate (and continue to eat today) before the Nizams came to Hyderabad, is also delicious and distinctive. Typical Andhra foods include: spicy peppery Rasam; Chappala Pulusu (fish curry); and Erra Avakaya. So it isn’t surprising that Hyderabadi food blends Andhra and Mughlai styles. Andhra food itself can be broken down into several different types based on different regions of the State. There are also hints of Arab, Turkish, Parsi and other influences in Hyderabadi food. So you see, it is bastardized, pluralistic, and historically rich.

It is also amongst the most delicious cuisines on earth. I kid you not. It’s as spicy as South Indian Andhra food, its magnificence equals Mughlai food (like dal Makhani), and it’s as rich and flavourful as Italian food can be.

(And while I am not appointing myself final arbiter of the best food known to man, I think a woman who has a blog (mostly) about food, a woman who goes into raptures about food, a woman whose very mental stability depends on the availability of a delicious meal, in short a food-crazed woman, should be taken very seriously.)

Anyway, now that you’re sold on its deliciousness, here it is, a spicy palak dal- Hyderabadi style:

Ingredients:

1 cup of moong dal (a type of lentil, native to India)

1/2 teaspoon haldi/pasupu/turmeric powder

1/2 teaspoon grated ginger

1/2 teaspoon crushed garlic

About a medium sized bunch of spinach

1/2 tablespoon dried mango powder (Amchur)

5-6 green chilies cut in half lengthwise

2-3 sprigs of coriander/cilantro

Salt to taste

(The following are the ingredients for the tadka baghar or popu)

1 teaspoon cumin seeds

1/2 teaspoon mustard seeds

5 dried red chilies

5-6 fresh curry leaves or about 10 dried ones

4 peeled whole garlic cloves

2-3 tablespoons of ghee (you can get ghee at an Indian store; if you want to make south Indian ghee, you can read my recipe here)

Method:

The first thing to do is to prepare the dal (lentils). I use moong dal for this recipe. You should be able to get these lentils at an Indian store, if you don’t live in India. I normally soak lentils for about 20 minutes before I cook them. If you don’t have the time to do this, you can skip this step. This is how the lentils look soaked:

Moong dal (lentils native to the Indian subcontinent)The easiest way to cook dal is to cook it in a pressure cooker. If you don’t have one, just boil the dal in water until its cooked. Add half a teaspoon of turmeric and some salt to the dal before you cook it. Once it’s cooked it should look like this: Cooked moong dalNext, heat one tablespoon of oil in a saucepan. When it’s hot add the ginger and garlic. Fry the ginger and garlic until cooked (slightly browned, but not burnt). Add the spinach to the ginger-garlic and let it cook, stirring occasionally. Once the spinach is tender, add the lentils.

Hyderabadi Palak Dal (Spinach Lentils)

Let this cook for about 10 minutes. Then add half a tablespoon of dried Mango powder (Amchur), the green chillies and the coriander sprigs to the pot and again, let the dal cook. After about 5 minutes we’re ready to add the tadka or baghar (tempering of spices in oil).

The baghar:

Heat a tablespoon or two of ghee in a little saucepan like this:

Hot ghee

Let the ghee get hot. To test if it’s hot enough, throw a single cumin seed into the pan. If it begins to sizzle, add the rest of the cumin along with the mustard seeds and stir them about until they start to pop. When they start to pop, add the curry leaves, garlic cloves and red chilies.

BagharOnce the red chillies darken like this:

Baghar, tadka or popu

Add the baghar to the lentils.

Making Hyderabadi Palak Dal (Spinach Lentils)

and immediately cover the pot.

The dal is now ready! Serve it with some hot rice, yoghurt and a papad.