Categories
Baking Chocolate Food General Recipes vegan

Amazing, Almost Ambrosial Vegan Chocolate Chip Cookies

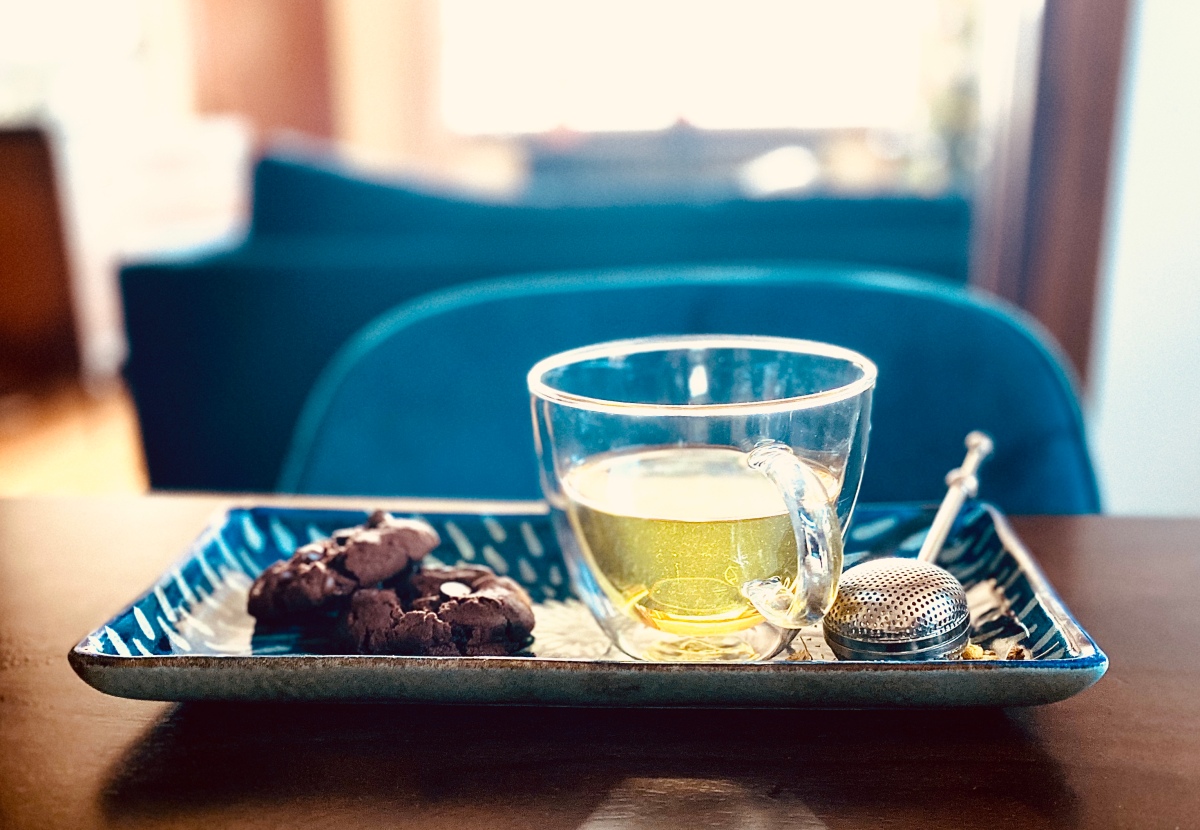
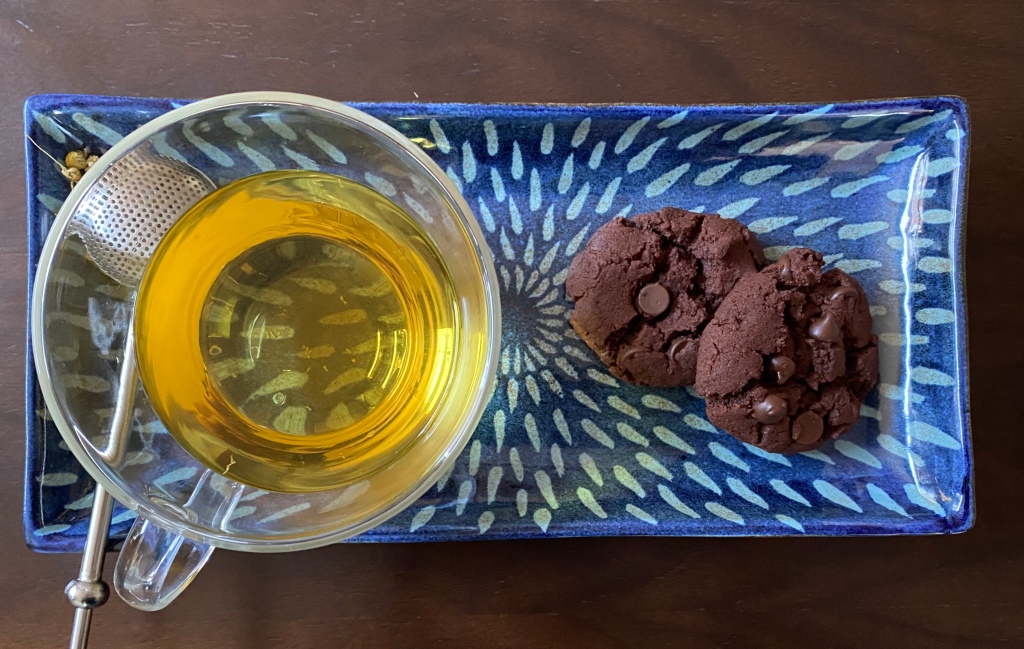
I woke up grumpy, feeling rickety, tired, and ancient. By late afternoon, however, I was quite cheery, even contemplating having a 10 minute solo dance party in my living room. This transformation was in large part thanks to a quick twenty minute yoga session and then, this plate of perfect cookies, alongside a cup of chamomile tea.

What does the perfect cookie taste like, you might ask? What does it feel like when you bite into it? How does it smell? Well, that of course may vary from person to person. To me, a perfect cookie is a chocolate cookie. It is filled with dark chocolate chips and possibly dotted with lightly toasted nuts. It is crisp on the top, bottom, and on its sides, but has a gooey centre. It has the distinct aroma and taste of rich cocoa, a hint of vanilla, and finally, the caramel-like taste of brown sugar. It looks like this:
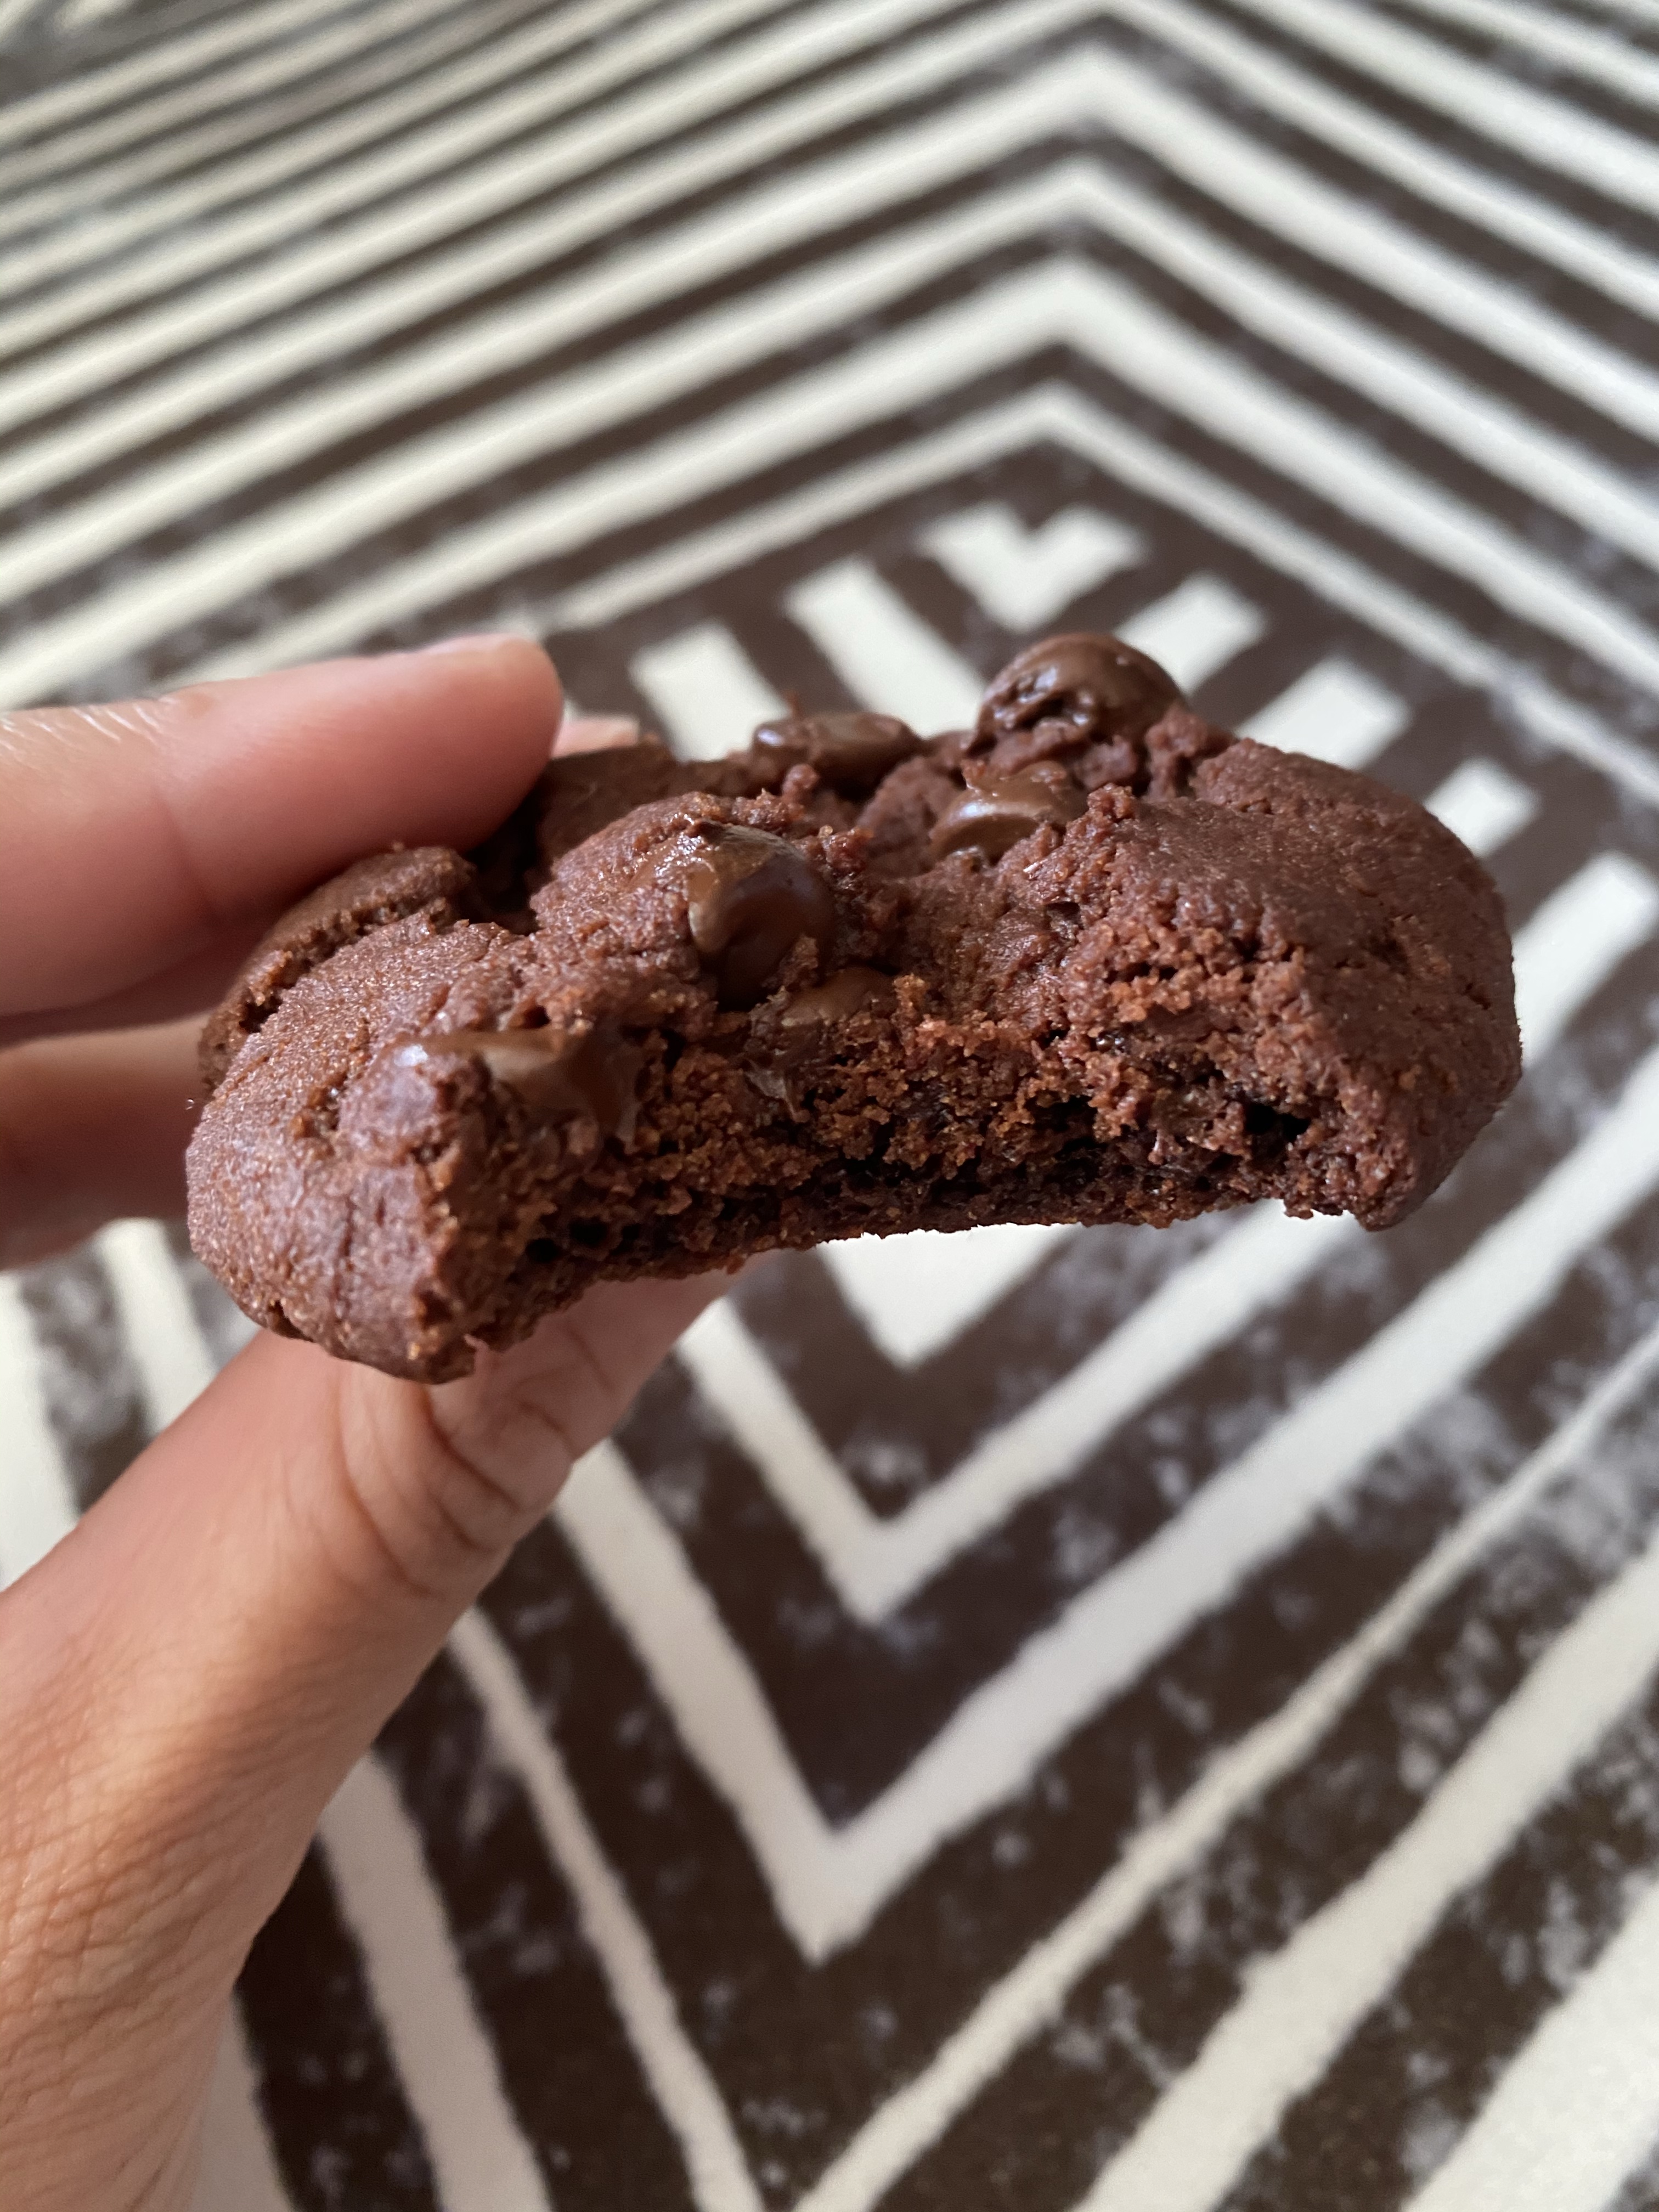
If this sounds and looks like something you might like, then I suggest giving this recipe a shot! Oh and these cookies are completely vegan!

I will say, some people may find these cookies a bit sweet. The trouble is that the recipe requires at least this amount of sugar in order for the cookies to have a crispy exterior and a gooey centre. Moreover, these cookies, while undoubtedly sweet, were not unpleasantly so, to me (just to calibrate my palate/preferences, most North American milk chocolate tastes saccharine to me). Especially, when paired with some unsweetened coffee or tea to offset their sweetness and also, to compliment their crisp and gooey texture.
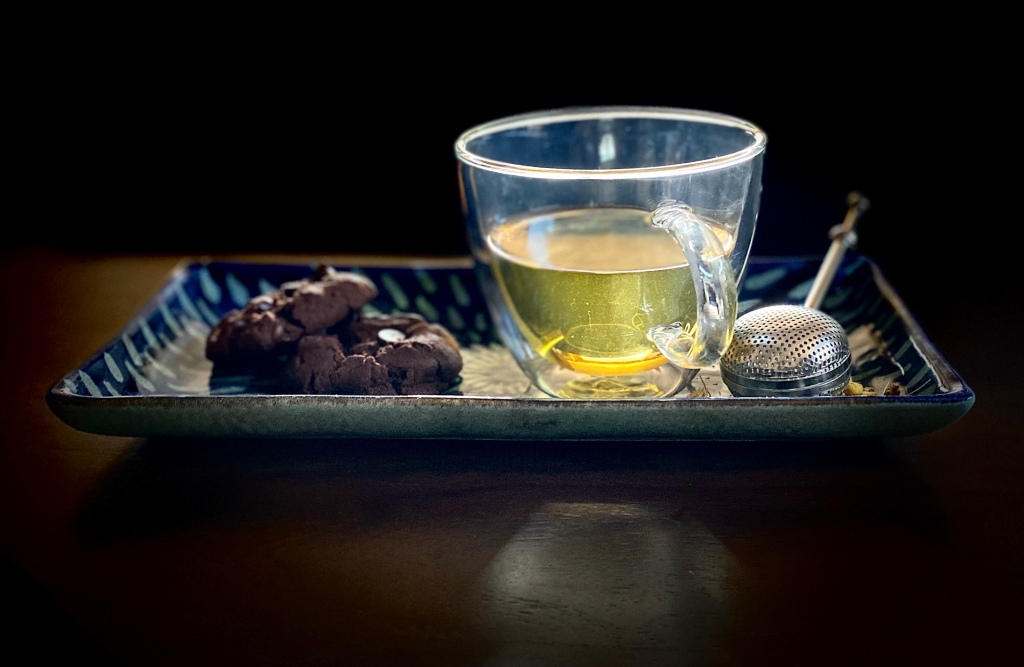
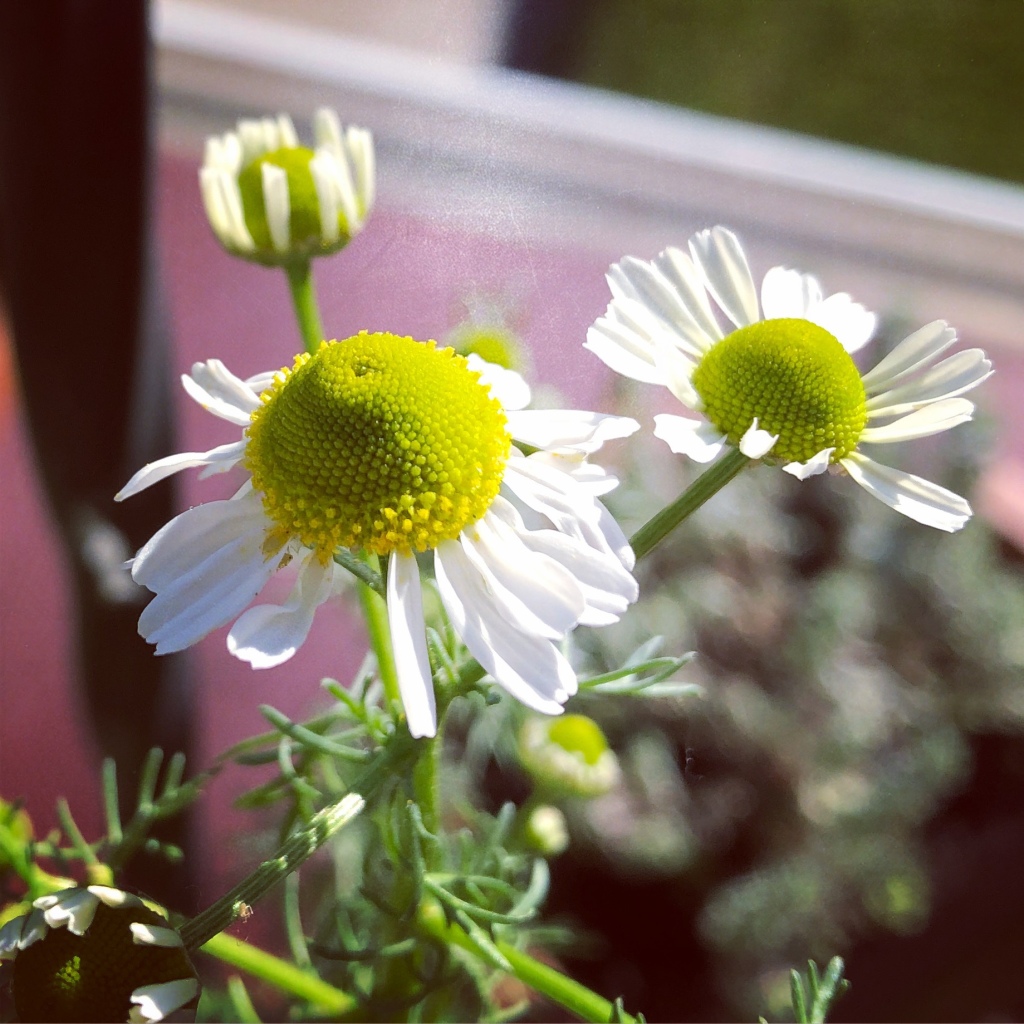
I sipped on some chamomile tea, made by brewing dried chamomile flowers from our garden, while I ate them.
I think a cup of coffee with these cookies would be great too!

If you want to give making the cookies a shot, here’s what you will need:

Ingredients:

100 g (about 1/2 cup) white sugar

100g (about 1/2 cup) dark brown sugar (if you want to use light brown sugar, use 125g of it and then, reduce the white sugar by 25 g)

112g (about 1/2 cup) vegan butter (I use Earth Balance)

1 teaspoon vanilla extract (I use real vanilla extract, but imitation vanilla extract should work fine in foods treated to relatively high temperatures)

125 g (about 1 cup) all purpose flour

60 g cocoa (about 2/3 cup) (use the best cocoa you have as the better it tastes, the better your cookie will taste)

1 teaspoon baking soda

2 pinches of salt

1-2 tablespoons of almond milk

2 handfuls of vegan semi-sweet chocolate chips (or chop up a bar of your favourite vegan dark chocolate) (you can add less or more, per your preference)

2 handfuls of walnuts, chopped and lightly toasted (toast them in a frying pan until slightly browned and fragrant)

Equipment:

Stand mixer, handheld mixer, or a whisk and strong arms

2 large bowls

1 sieve

A weighing scale or measuring cup

A teaspoon

A baking tray

Some parchment paper

An oven

Method:

  1. Cream the butter and sugar (i.e. beat them together in a stand mixer or in a large bowl with a handheld mixer/eggbeater or whisk) until they form a creamy, thick, pale yellow mixture.
  2. Add in the vanilla extract and continue beating the mixture until the extract is incorporated into it.
  3. Sieve the dry ingredients into a second bowl (flour, cocoa, baking powder, and salt).
  4. Add the dry ingredients to the wet ingredients and mix them altogether with your hands. It will seem like a thick dough. Add in a tablespoon of almond milk and mix it in. If the dough still seems very dry, add in another spoon of the milk.
  5. Toss in the chocolate chips and walnuts and mix them in.
  6. Roll the dough into individual little balls. (I got about 14).
  7. You can bake them all on a baking tray lined with parchment paper (ideally unbleached and compostable) at 350 F for about 12 minutes or so. The cookies are ready when they are slightly firmed up on their sides. They will still seem soft in the centre, but will firm up in about 10 minutes if you just let them cool on the tray.
  8. Alternatively, flash freeze the dough balls in the freezer (i.e. freeze them on a tray or plate) for about 2-3 hours, and once they have frozen, throw them into a freezer ziplock bag and then the freezer. This way, you can pop your head into the freezer and grab some dough whenever you want a fresh cookie! If you choose this route, bake the frozen dough balls directly, without defrosting them, at 350F, but for about 3 minutes longer.
  9. The only problem with the freezing method is that it isn’t very energy-efficient because it involves heating up the oven multiple times. What we’ve been trying to do in our home is to bake various different things in the oven at the same time. For instance, one can also toast bread at 350F. Alternatively, we heat up the oven to 350F, bake the cookies, and then increase the oven temperature to a higher temperature to bake other things, like bread, for example.
  10. Whatever method you choose, I recommend enjoying your warm cookies with a glass of milk, coffee, or tea!
Categories
Chocolate Cooking General Recipes

Buttermilk Waffles for Brunch!

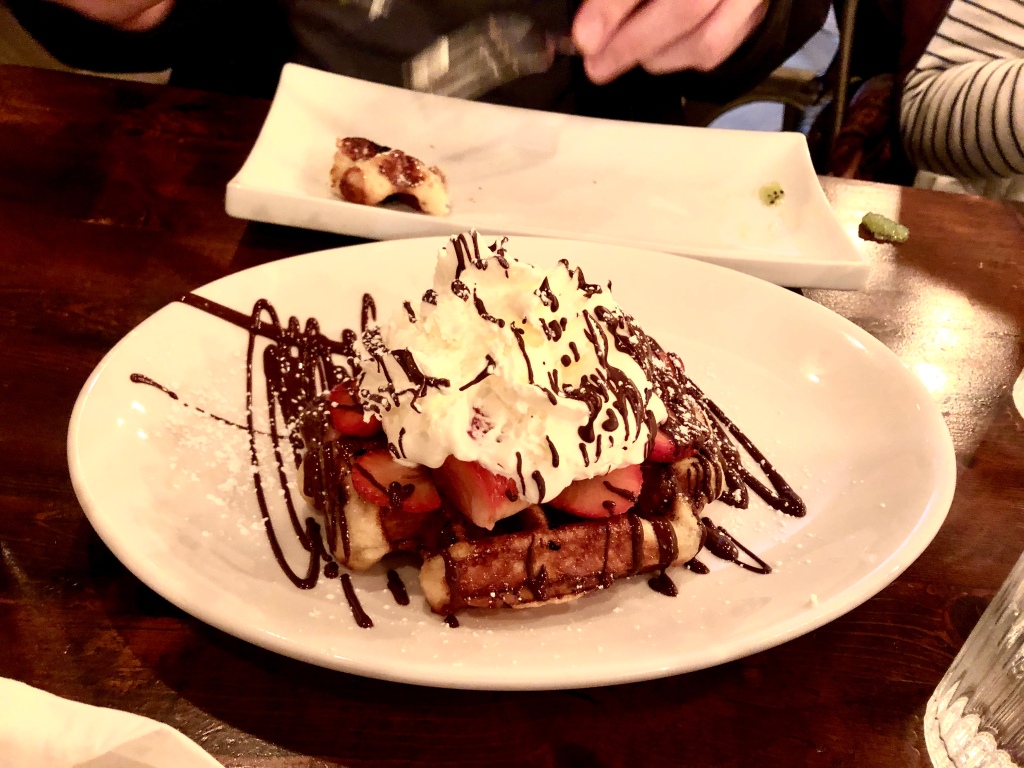
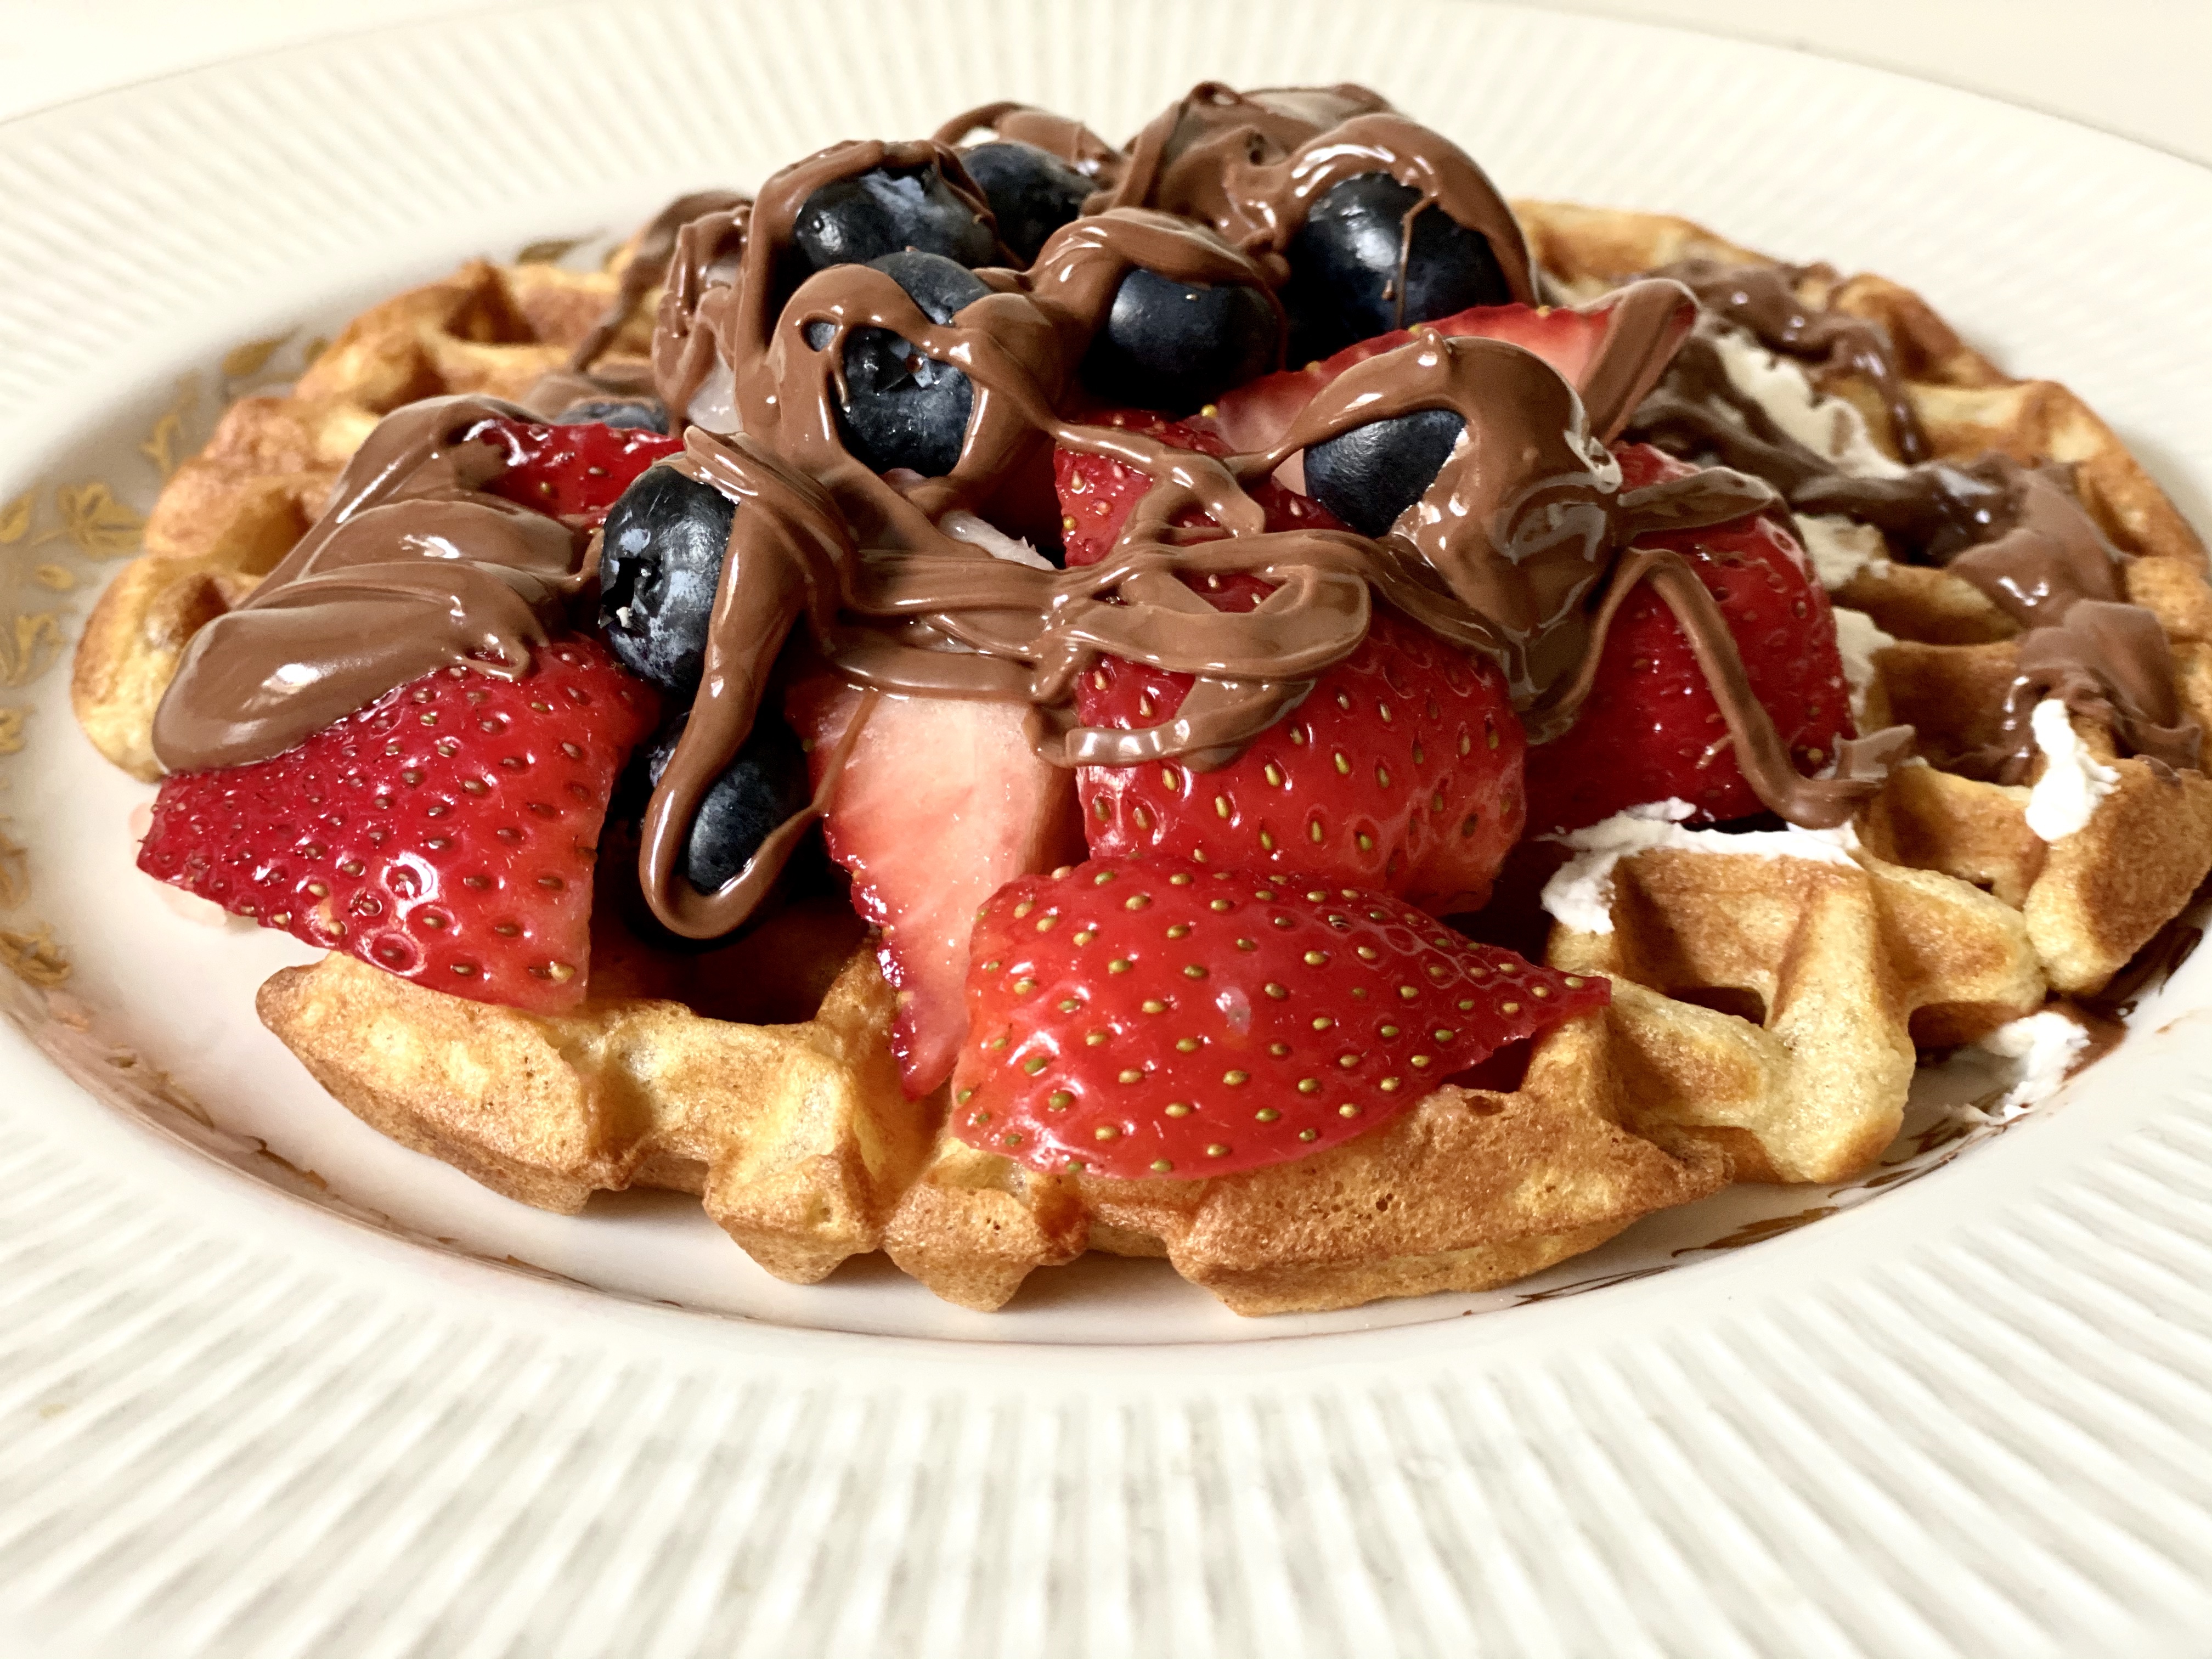
My favourite type of waffles are Belgian Liège style waffles (names after Liège, a city in Belgium). There is a little shop in Kenginston Market in Toronto that serves up some pretty delicious ones! It’s called “Wafles & More“. They also serve a a pretty good hot chocolate, should you feel like a rich, warm drink to accompany your already decadent breakfast 🙂

Wafles & More
Belgian Waffles

I woke up this morning craving some waffles and since it is New Year’s Day (and most places are closed), I knew I would have to cook some up myself. Given that Liège style waffles are made with a yeast-based dough and therefore, cannot be made on a whim, within the hour, I decided upon buttermilk waffles instead. They turned out pretty great!

Should you want waffles that are not too sweet, with just a hint of warm molasses and sourness, slightly crisp on the top, fluffy in the middle, and glowing with a caramel-coloured hue, then try this recipe!

Ingredients:

2 cups of flour

1/4 cup turbinado, light brown, or dark brown sugar (packed)

1 teaspoon baking soda

1.5 teaspoons baking powder

1 teaspoon salt

0.5 teaspoon ground cinnamon (optional)

114 g (8 tablespoons) cultured, unsalted butter (if you can’t find cultured butter, any unsalted butter will do)

2 cups whole buttermilk

3 eggs (separated)

1 teaspoon vanilla essence

Toppings (you could use any or all of these, or throw on any toppings that appeal to you):

Whipped Cream (Ideally, flavour it with some liqueur)

Berries

Bananas

Melted Chocolate

Maple Syrup

Chocolate Hazelnut butter (go here for a recipe)

Nutella

Peanut Butter

Jam

Method:

1. Place all the dry ingredients in a bowl. Mix and then sift them all into a large bowl.

2. Warm the butter and buttermilk to just slightly warmer than room temperature.

3. Mix the butter, buttermilk, egg yolks, and vanilla essence together in a bowl. Then add this mixture to the dry ingredients and gently mix them all together with a whisk.

4. Whip the egg whites until they form stiff peaks.

5. Turn on your waffle maker.

6. Gently fold the egg whites into the mixture from step 3.

7. The batter is now ready! Spoon some into the waffle maker and let it cook for about 3 minutes. You will have to figure out how much batter to add into the waffle maker, as well as precisely how much time to let the waffles cook, after a few tries (both these variables will be influenced by the type of waffle maker you have).

8. Your waffles are good to go! Throw on some toppings and enjoy!

9. Just a note, I think whipped cream is an absolutely essential topping for waffles. I recommend whipping some up right before you start making the waffles. I also suggest adding some liqueur to the cream before you start whipping it up. I used cherry liqueur!

10. Also, if you’d like, you can make a few extra and store them in the fridge. I have found that when you’re ready to eat them, it’s best to heat them up in the oven at 350 degrees Celsius, for 2 mins on either side, after basting them with some butter.

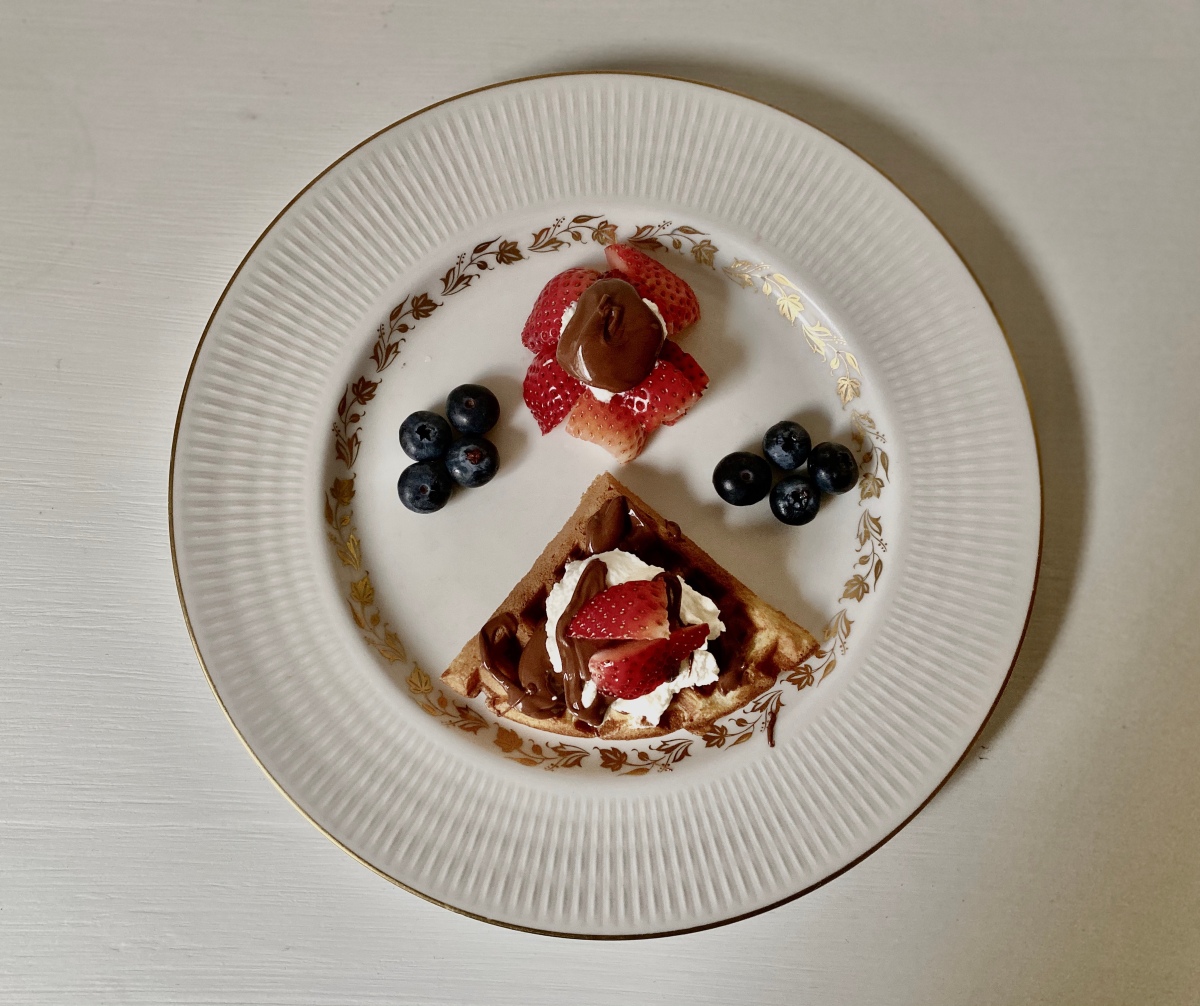
Neatly plated waffles 😊
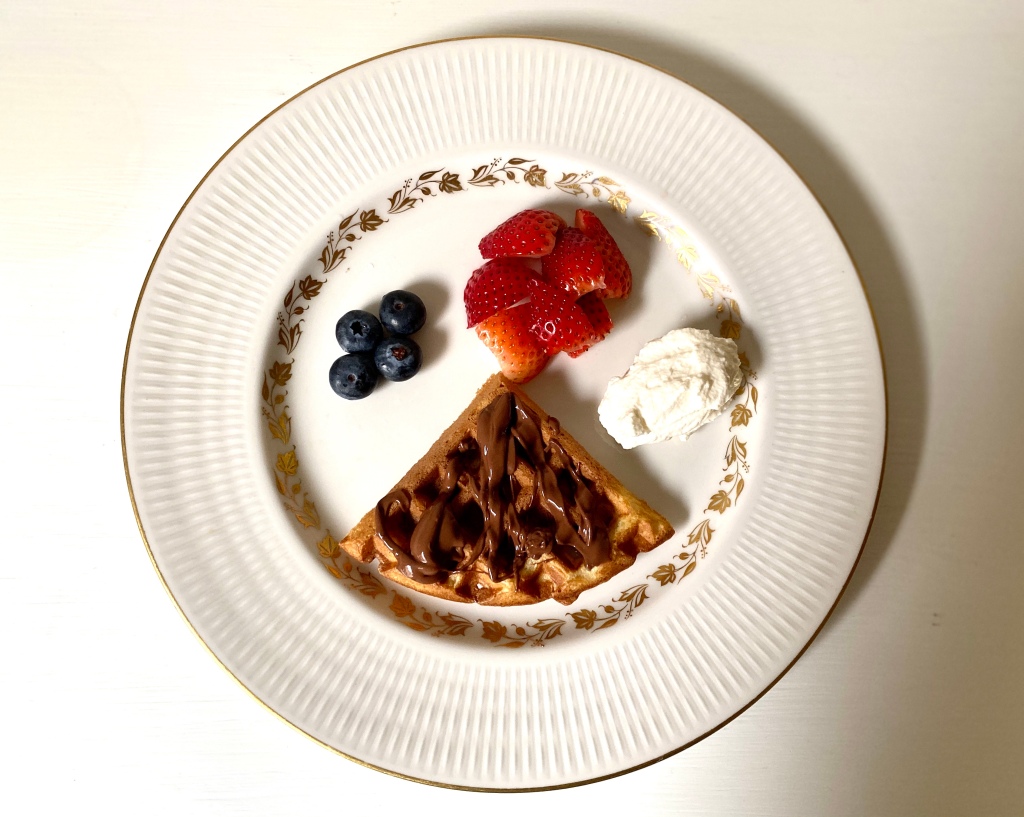
Simple buttermilk waffles
Messy waffles 😝
Categories
Adventure General

Divine Visions of Chocolate?

Several years ago, on a trip to Niagara Falls on the United States side, I came across this church:


Chocolate Church, Niagara Falls, NY

In case it wasn’t evident from the first photograph. Here is another one that shows the board outside the church more clearly:

IMG_2254

A quick google search produced nothing illuminating about this chocolate themed church. I found it so fascinating, I had to stop and take a photograph!

Recently, however, a visitor (thanks Jeannette!) commented on an earlier version of this blog post and shared a link to a 2011 article about this church. Apparently, it was sold to a company that plans to convert it into a chocolate factory and museum. I have no idea if this plan has indeed been put into effect. Here is a link to the article:

https://www.niagara-gazette.com/news/local_news/sweet-sale-for-lebanon/article_4c8f0d75-dc13-54a3-a346-b4937a328899.html

Categories
Baking Chocolate Food General Recipes

Homemade Chocolate Hazelnut Butter

If you like Nutella, but find that it is too sweet and simultaneously neither quite hazelnutty nor chocolatey enough, then you know exactly how I feel. In my quest for a perfectly rich and nutty butter, I have tried various different brands, including Patchi and Neuhaus. None of them really hit the spot, unfortunately. The problem was their texture, their weak chocolate flavour, and the fact that I could taste only a hint of hazelnut flavour in them.

Then, it occurred to me, a few years ago: why not make my own butter? I’ve tried various versions of my own butter since then, but this recipe is now my favourite! This butter’s texture is rich and velvety and the flavour is a perfect balance of dark chocolate and the unmatched, gloriously nutty flavour of real, toasted hazelnuts. A quick note: the more you like the dark chocolate you use in this recipe, the better the butter will taste.

Here it is, poured over a slice of bread, looking so delightfully smooth and glossy!


If you want to try making some yourself, this is the equipment you will need:

  • A food processor or powerful blender (I use a Blendtec)
  • An oven
  • A baking tray
  • A tea towel
  • A spatula
  • A jar

And here are the ingredients you will need:

  • 450g Hazelnuts
  • 35-45 g sugar (based on your taste) (I use castor sugar but if your processor/blender is not too powerful, I recommend using icing sugar) (you could also use maple or agave syrup, to taste)
  • 172 g good quality dark chocolate, to taste (my favourite is Cotê d’or)
  • A pinch or two of salt.
  • 2 tsp vanilla essence or hazelnut flavouring (optional)(I use this one).
  • 1-2 tsp of hazelnut oil (optional)


Method:

1. Toast the hazelnuts at 350 F in a baking tray for about 15 minutes, until they turn light brown and fragrant, tossing them periodically.

2. After they’ve cooled, place them at the centre of a tea towel/kitchen towel. Wrap the nuts securely in the towel and then roll the wrapped up nuts on any hardish surface. This will help remove their skins. After you’ve rolled the nuts about for a bit, open up the towel, and pick out the skinned nuts. Repeat this step if there are still a lot of nuts with skins on them.

3. Toss the skinned nuts into a food processor or blender and grind them up until they turn into a smooth butter.

4. Melt the dark chocolate in a the microwave or over a bain-marie.  If you have a powerful blender you can skip this step.

5. Throw in the melted chocolate, sugar, a pinch or two of salt (to taste), a teaspoon or two of vanilla essence or hazelnut flavouring, and a teaspoon or two of hazelnut oil.

6. Blend everything until it feels smooth enough to you, and there you have it! Your own homemade chocolate hazelnut butter!

My favourite way to eat it is on bread with some homemade peanut butter! Mmmmmm!

Categories
Chocolate General

Brainy Choconutmeg!!!


chocolate and red wine, flavanoids, resveratrol, smarter

I’ve written about the gloriousness of chocolate many, many times, including its health benefits. If there is one belief I have in life, it is this: chocolate is an elixir of happiness. Now, there’s one more study that supports my thesis that chocolate is basically magic.

According to new study, published in the journal Appetite, frequent consumption of chocolate was:


“significantly associated with better performance on [cognitive tests including] visual-spatial memory and organisation, working memory, scanning and tracking, abstract reasoning, and the mini-mental state examination”.


The study’s researchers used data collected from a Maine-Syracuse Longitudinal Study (MSLS) involving 968 people (between 23 and 98 years old). Cocoa flavanols, a type of flavonoid found in chocolate, are said to be associated with this increased cognitive function.

Oh and studies are beginning to show that red wine (in moderation) is also good for us (see this website for a good summary of the research on flavanoids), so why not couple some handmade delicious truffles with wine 🙂

Categories
Chocolate Food General Recipes

Boozy Berries: Champagne Strawberries!

While plain old chocolate-covered strawberries are delicious in themselves (I’ve blogged about those before) some evenings or afternoons call for something with a little more Oomph; champagne gives strawberries exactly that!

Making these champagne-y berries is a little more complicated than simply serving your friends some fruit, but I think they’re fun and worth the effort!

Oh and a quick note: my partner got excited about injecting the berries with other sorts of alcohol, so we tried rum, vodka, and whiskey. We both felt all three options were too strong and they overpowered the strawberries; we would not recommend them!


Ingredients:

12-15 Strawberries

100 g good quality dark chocolate (I used Côte d’Or)

A cup of champagne (you might want to buy a mini-bottle of champagne, unless you want to drink the left-over champagne from a full-size bottle)

Equipment:

A tray

A sheet of parchment paper or wax paper

A syringe

A bain marie (double boiler) and stove, or a bowl and microwave

Method:

1. Wash the strawberries.

2. Fill the syringe with champagne and then inject each strawberry. Just experiment with it a little and see how much champagne you want in each strawberry. You will actually see the fruit fill out and become more plump. You’ll know if you’ve injected too much because the champagne will start squirting out of the fruit. It’s quite a fun process 🙂

IMG_1973

3. Once all the berries have been injected, melt some chocolate in a bowl. Ideally, one ought to temper the chocolate (go to this website for a pretty clear explanation of how to do it in case you are not familiar with the process). Tempering will ensure that the chocolate is glossy and shiny. If you don’t have the time and/or the patience, you can skip the tempering.

20151114_170526


4. Carefully dip each strawberry into the chocolate, holding the leafy portion of it, and then place it on a tray lined with parchment/wax paper.

5. Once all the berries have been coated, let them set on the tray for about 30 minutes.

Champagne filled chocolate strawberries

Champagne filled chocolate strawberries

6. Serve them to your guests!

Categories
Adventure General

Heavenly Visions of Chocolate?

On a recent trip to Niagara Falls on the United States side, I came across this church:


Chocolate Church, Niagara Falls, NY

In case it wasn’t evident from the first photograph. Here is another one that shows the board outside the church more clearly:

IMG_2254

There was no other signage of any kind, so I have absolutely no idea what sort of church this is, or how chocolate is involved in their worship. If anyone knows anything about this, do let me know in the comments!

A quick google search produced nothing illuminating. I found it so fascinating, I had to stop and take a photograph!

Categories
Baking Chocolate Food General Recipes

The Best Brownies in the Universe

This is not an exaggeration. These are the best brownies in the universe, IF you like your brownies chewy on the edges, crisp on the top, and gooey in the centre.

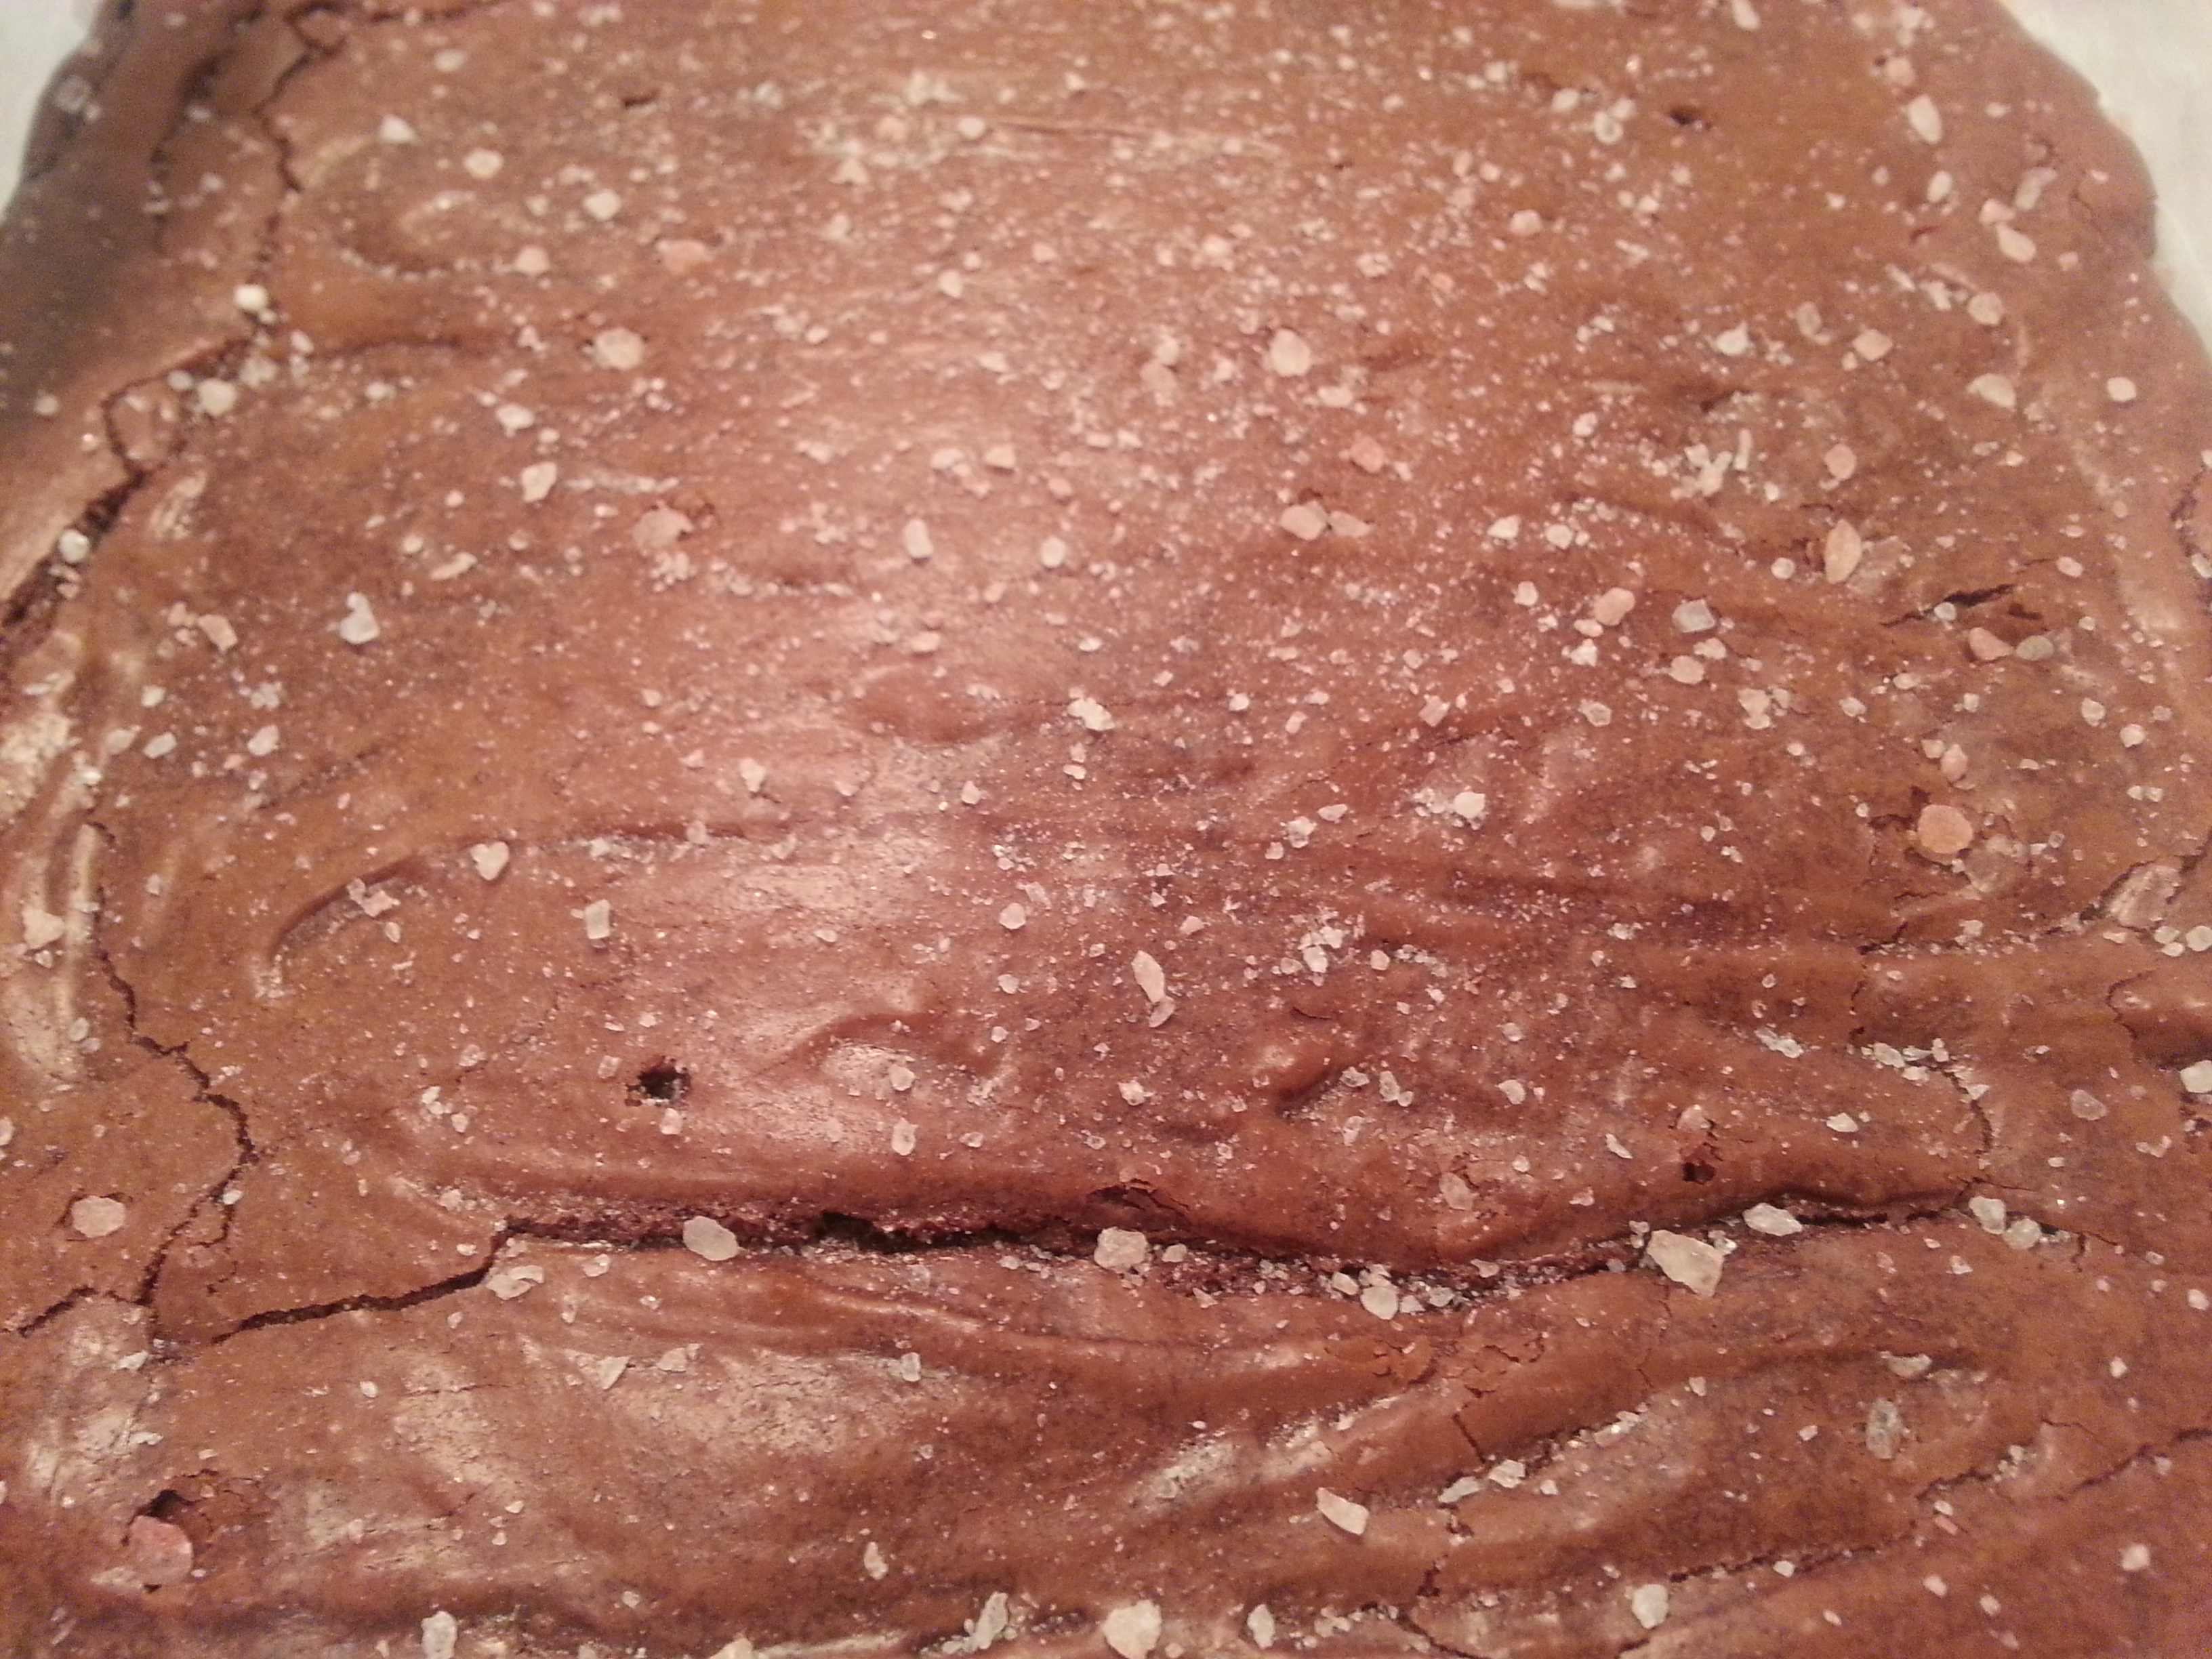
Rich gooey brownies topped with salt

Of course, there are those who say that they don’t like their brownies this way. Such people don’t actually like brownies; let them eat cake!!!!

Cake-y brownies are NOT brownies. They are a travesty.

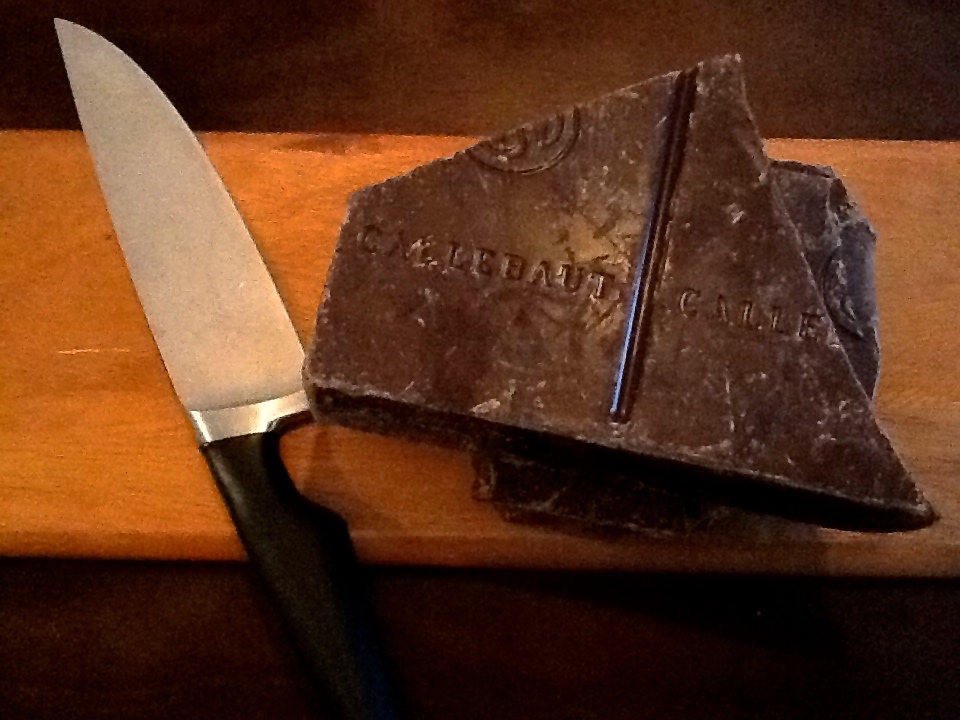
So go ahead, give this a go, you will not regret it. And it’s a fairly easy recipe too! Thanks to Christina Marsigliese for posting the original recipe. I would recommend using good quality chocolate, as this is the main ingredient in the brownies; I use Callebaut or Valrhona.

IMG_0222IMG_0223

Ingredients:

  • 85 g butter (I recommend using unsalted, as it is usually better quality butter)
  • 142 g bitterswet/semi-sweet baking chocolate
  • 2 large eggs (at room temperature)
  • 200 g granulated sugar
  • 1 tsp vanilla essence
  • 62 g all-purpose flour
  • A pinch of salt

Method:

  1. Pre-heat the oven to 350 fahrenheit (about 176 celsius).
  2. Melt the chocolate and butter in a double boiler. Alternatively, you can do it in a microwave, but be careful not to burn the chocolate. Once the chocolate is melted, set it aside to cool for a few minutes.How to melt chocolate properly
  3. While the chocolate-butter is melting, cut two pieces of parchment into two strips about 8 inches wide and at-least 14 inches long. Line an 8-inch square pan with the strips of parchment paper at right angles to each other such that they intersect in the middle, like a cross, with a two-inch over-hang on either side of the pan.How to line pan for brownies
  4. Beat the eggs and sugar in a stand mixer for about 8 minutes, until pale and fluffy. The egg-sugar mixture should fall back on itself in a gradually disappearing ribbon when you dip a ladle or whisk into it. This step is important as properly dissolving the sugar gives the brownie its wonderful texture. (If you don’t have a stand-mixer, do step 5 first, and then whip up the eggs and sugar mixture in a bowl with an electric hand-held mixer.)20151202_143923
  5. While the chocolate is cooling and the egg-sugar mixture is being whipped up in the stand-mixture, whisk together flour and salt in a separate bowl.20151202_134327
  6. Once the egg-sugar mixture is ready, add the vanilla essence and whip until incorporated.
  7. Add the cooled chocolate-butter to the egg-sugar mixture and mix with a ladle.20151202_144159 20151202_144530
  8. Fold in the flour-salt mixture gently with a rubber spatula. It is important to have a light hand here, otherwise too much gluten from the flour will be released, making the brownies harder and more like bread, rather than dense and gooey.Folding flour to avoid gluten release
  9. Pour the batter into the 8-inch pan lined with parchment paper. I like to make swirls on the surface of the batter, but this is completely optional 🙂20151202_145447
  10. Bake for about 25-30 minutes (depending on your oven’s temperament) until puffed on top, and a tooth-pick stuck into the centre of the brownie comes out mostly dry, but with a few sticky crumbs.Chewy fudge brownies with crips tops and gooey centres
  11. Sprinkle the top of the brownies with flakes of salt. I like to use Pink Himalayan Salt for the best visual effect. You can use any salt-flakes you can get your hands on.Rich dark gooey brownies
  12. Let the brownies cool for as long as you can (you’ll probably cut off a piece a few minutes into waiting :P).Himalayan Salt Brownies

Take them out of the pan using the parchment paper over-hangs and cut them into little squares.

Fudgy Gooey Brownies


Fudgy Brownies topped with salt flakes

Eat them as is, or with frozen yoghurt or ice cream. I like to serve them with strawberry frozen yoghurt because the tartness compliments the brownies’ richness. Also, the light pink colour goes well with the Himalayan salt.

Strawberry ice-cream with brownies


Categories
Chocolate Food General Recipes

Greek Yogurt Dark Chocolate Mousse!

I’ve been desperately looking for some sort of healthy way to satisfy my daily, powerful chocolate cravings. Ordinarily, I eat cake, cookies, brownies, or a chocolate bar every single day. Without exception. But recently, I’ve been trying to be healthier, which involves eating less sugar, cream, and butter. I am not saying I want to cut them out completely from my diet. For one thing, that’s impossible (for me), for another, I don’t believe that’s good for me: one needs a balanced diet with a little bit of everything. But eating cake every day, in large quantities! Well, maybe that is something I can work on changing, slightly 🙂

Some research and a lot of experimentation resulted in this recipe: a dark chocolate mouse made with yogurt!

It’s pretty delicious, very creamy, and way better for you than your average dessert. Also, it involves a simple process and very few ingredients. It’s especially nice in the summer!

Low Fat Chocolate Mousse

Ingredients:

125 g good, very, dark chocolate (at least 80%; choose a brand that you like the taste of, as the taste of the mousse will depend heavily on the taste of the chocolate bar you pick)

2 tablespoons good quality cocoa powder, sifted (optional)

1 cup Greek Yoghurt, cooled for about 10-15 mins in the freezer (I used 2%; you’ll get a creamier consistency if you use a fattier yogurt.)

9 tablespoons milk

1 tablespoons sugar

1 tablespoon honey, agave, or maple syrup

2 tablespoons of your favourite liqueur such as, Frangelico, Cointreau, Grand Marnier, Kailua etc., (optional)

A pinch of salt

Method:

1. Warm 6 tablespoons of milk in a double boiler and dissolve the sugar in it. Then, add the chocolate to the milk and melt the chocolate, stirring very gently. If you don’t have a double boiler, you can use a microwave or a small saucepan, but make sure not to singe or burn the chocolate.

2. Mix the cocoa powder, honey/syrup, and 3 tablespoon of milk into a paste. (The cocoa can make the mousse a bit grainy, so skip this if you are particular about a smooth consistency and just add a few extra squares of dark chocolate in step one along with the honey/syrup and milk. I chose cocoa powder to intensify the flavour of the mousse whilst still keeping it low fat.)

3. Whip the yogurt in a medium sized mixing bowl using a whisk. Add in the liqueur (if you are using it).

4. Mix in the melted chocolate and cocoa paste (if you’re using it), along with the salt.

5. Whip gently until you have a nice creamy, smooth, mousse like consistency.

How to make Yogurt chocolate mousse

6. Place the mousse in the freezer again for a few minutes while you get your serving bowls and spoons assembled.

7. Whip once or twice again, then, spoon the mousse into your serving bowls. You should have at least 4 servings. Garnish with chocolate flakes or a raspberry, if you like.

You could use a stemless martini glass:

homemade chocolate yogurt

You could also use a wooden bowl:

Healthy Chocolate Mousse

The mousse is pretty good considering it is made with yogurt! It’s fairly creamy and the consistency is nice and thick!

Dark Chocolate mousse with Yogurt

To be fair, it isn’t the most delicious mousse I’ve ever had, but it’s better than many I’ve had in restaurants and cafes, and just think, it’s made with dark chocolate, yogurt and very little sugar!

I served it with some delicious Ice Cider that we bought on our trip to Quebec.

Low Fat Chocolate Mousse

Categories
Baking Chocolate Food General Recipes

Easy Chocolate Cupcakes (with Dark Chocolate Centers and Cream Cheese Frosting)

Dearest readers, I must begin by apologizing for my long absence. I’ve had a very busy summer indeed. But, I am back now, and I thought a great way to apologize would be to bake you all some delicious cupcakes.

Yes, yes, I know that some people are saying that cupcakes are ‘dead’ now and all that, but really, that’s all stuff and nonsense. Like chocolate, cupcakes are forever, or at least, chocolate cupcakes are forever. I can’t speak for lemon flavoured ones, or even about Kiwi ones, or really about any fruit flavoured ones, but chocolate ones, mmmmm…. even contemplating a world without chocolate cupcakes is enough to drive me to utter and complete despair.

I mean, just look at this cupcake:

Easy Recipe for chocolate cupcakes

Can you imagine this ever not being delicious?

So you see, I am convinced that cupcakes are here to stay, whatever the naysayers may say (I agree with most things on Jezebel, but on the issue of cupcakes, Jezebel and I disagree, vehemently, see: http://jezebel.com/fuck-cupcakes-475125988.)

So, given their classic status (at least in my home and heart), here is a delicious and easy recipe for chocolate cupcakes, with some optional frills you can add to make them even more yummy!

Ingredients:

(I’ve divided the ingredients into three groups, so it’s easy to refer to them collectively in the recipe.)

Group A:

1.5 cups unbleached all-purpose flour

1.5 teaspoons baking powder

0.5 teaspoon baking soda

3-4 pinches of salt

Group B:

1 cup sugar

0.75 cups cocoa

0.75 cups sunflower or vegetable oil

1 teaspoon vanilla essence

2 eggs

1 cup 1% milk

Group C (for frosting and chocolate fillings):

Icing sugar (to taste, usually not more than a cup)

8 ounces cream cheese

About 140 g dark chocolate (this amount will vary depending on the darkness of the chocolate you choose and your taste as well).

About 40 g milk chocolate

1 teaspoon vanilla essence

Method:

1. Pre-heat the oven to 350 degrees Fahrenheit (180 degrees celsius).

2. Whisk all the ingredients in ‘Group A’ together in a bowl.

3. Whisk the sugar and cocoa together in another bowl. Add all the other ingredients in ‘Group B’, except the milk, and beat with an electric mixer on medium to high-speed, until the mixture is smooth.

4. Now beat the ‘Group A’ ingredients into the mixture from step 3, a few spoonfuls at a time, alternating with the milk. Beat until smooth. This is your cupcake batter. You can mix a handful or two of chocolate chips, if you like, at this stage.

5. Ladle or pour the batter into cupcake cups placed in a cupcake or muffin baking tray.

6. Place the tray in the oven and bake for about 20 minutes, until a toothpick inserted in the centre of the cupcakes comes out clean. Do not over bake as the cakes will then end up dry.

7. Once the cakes have cooled, take them out of the mold/tray. You can eat them as they are, or you can give them dark chocolate centers and frost them.

8. To give them chocolate centers, melt 6 squares (about 60 g) of your favourite dark chocolate (make sure it’s not too dark, as you want the centre to be soft at room temperature, rather than hard and gritty) with 4 squares (about 40 g) of milk chocolate in a bowl in the microwave on a very low heat setting, or in a double boiler. While the chocolate is melting, use a cupcake corer, or a knife to carefully bore a hole into the cupcakes from the top, to about midway into the cupcake (make sure not to go all the way to the bottom), and take out some of the cake to create space for the chocolate. Once the chocolate is melted, spoon some chocolate into each cupcake. Let the chocolate cool. (Note: don’t wash the bowl you use in this step to melt the chocolate in, just yet.)

9. In the meantime, place an 8 ounce brick of cream cheese in a bowl, and beat it with an electric mixer, until it’s smooth and creamy. Add a teaspoon of vanilla essence, and a few tablespoons of icing sugar, then beat the mixture, and taste it. Keep adding sugar by the spoonful until it tastes just right. Now melt about 8 squares of dark chocolate (80 g) (my measurements for the chocolate are approximate because each person will want different amounts of chocolate in the frosting; so go by what tastes right) in the same bowl used in step 8. Pour this chocolate into the cream cheese-sugar mixture. Make sure that the chocolate is only warm, not hot. Now beat it all together until smooth. Your frosting is ready.

10. Spoon the frosting into an icing bag (if you don’t have one, you can spoon the icing into a sandwich bag or other type of plastic bag and cut a whole at one corner of it). Holding up each cupcake, swirl frosting on it.

11. Top off the cupcake with dark chocolate shavings, if you feel like.

12. You can also make cupcakes with mint buttercream frosting, as shown in the photo below. Just beat a cup of unsalted butter with a few drops of mint essence, a few drops of green food colouring, and icing sugar to taste. Then follow the same steps for frosting the cupcakes as described in 10 and 11.

13. Eat the cakes yourself, or throw a cupcake party for your friends 🙂

Cupcakes with chocolate cream cheese icing

Chocolate cupcakes with mint buttercream frosting