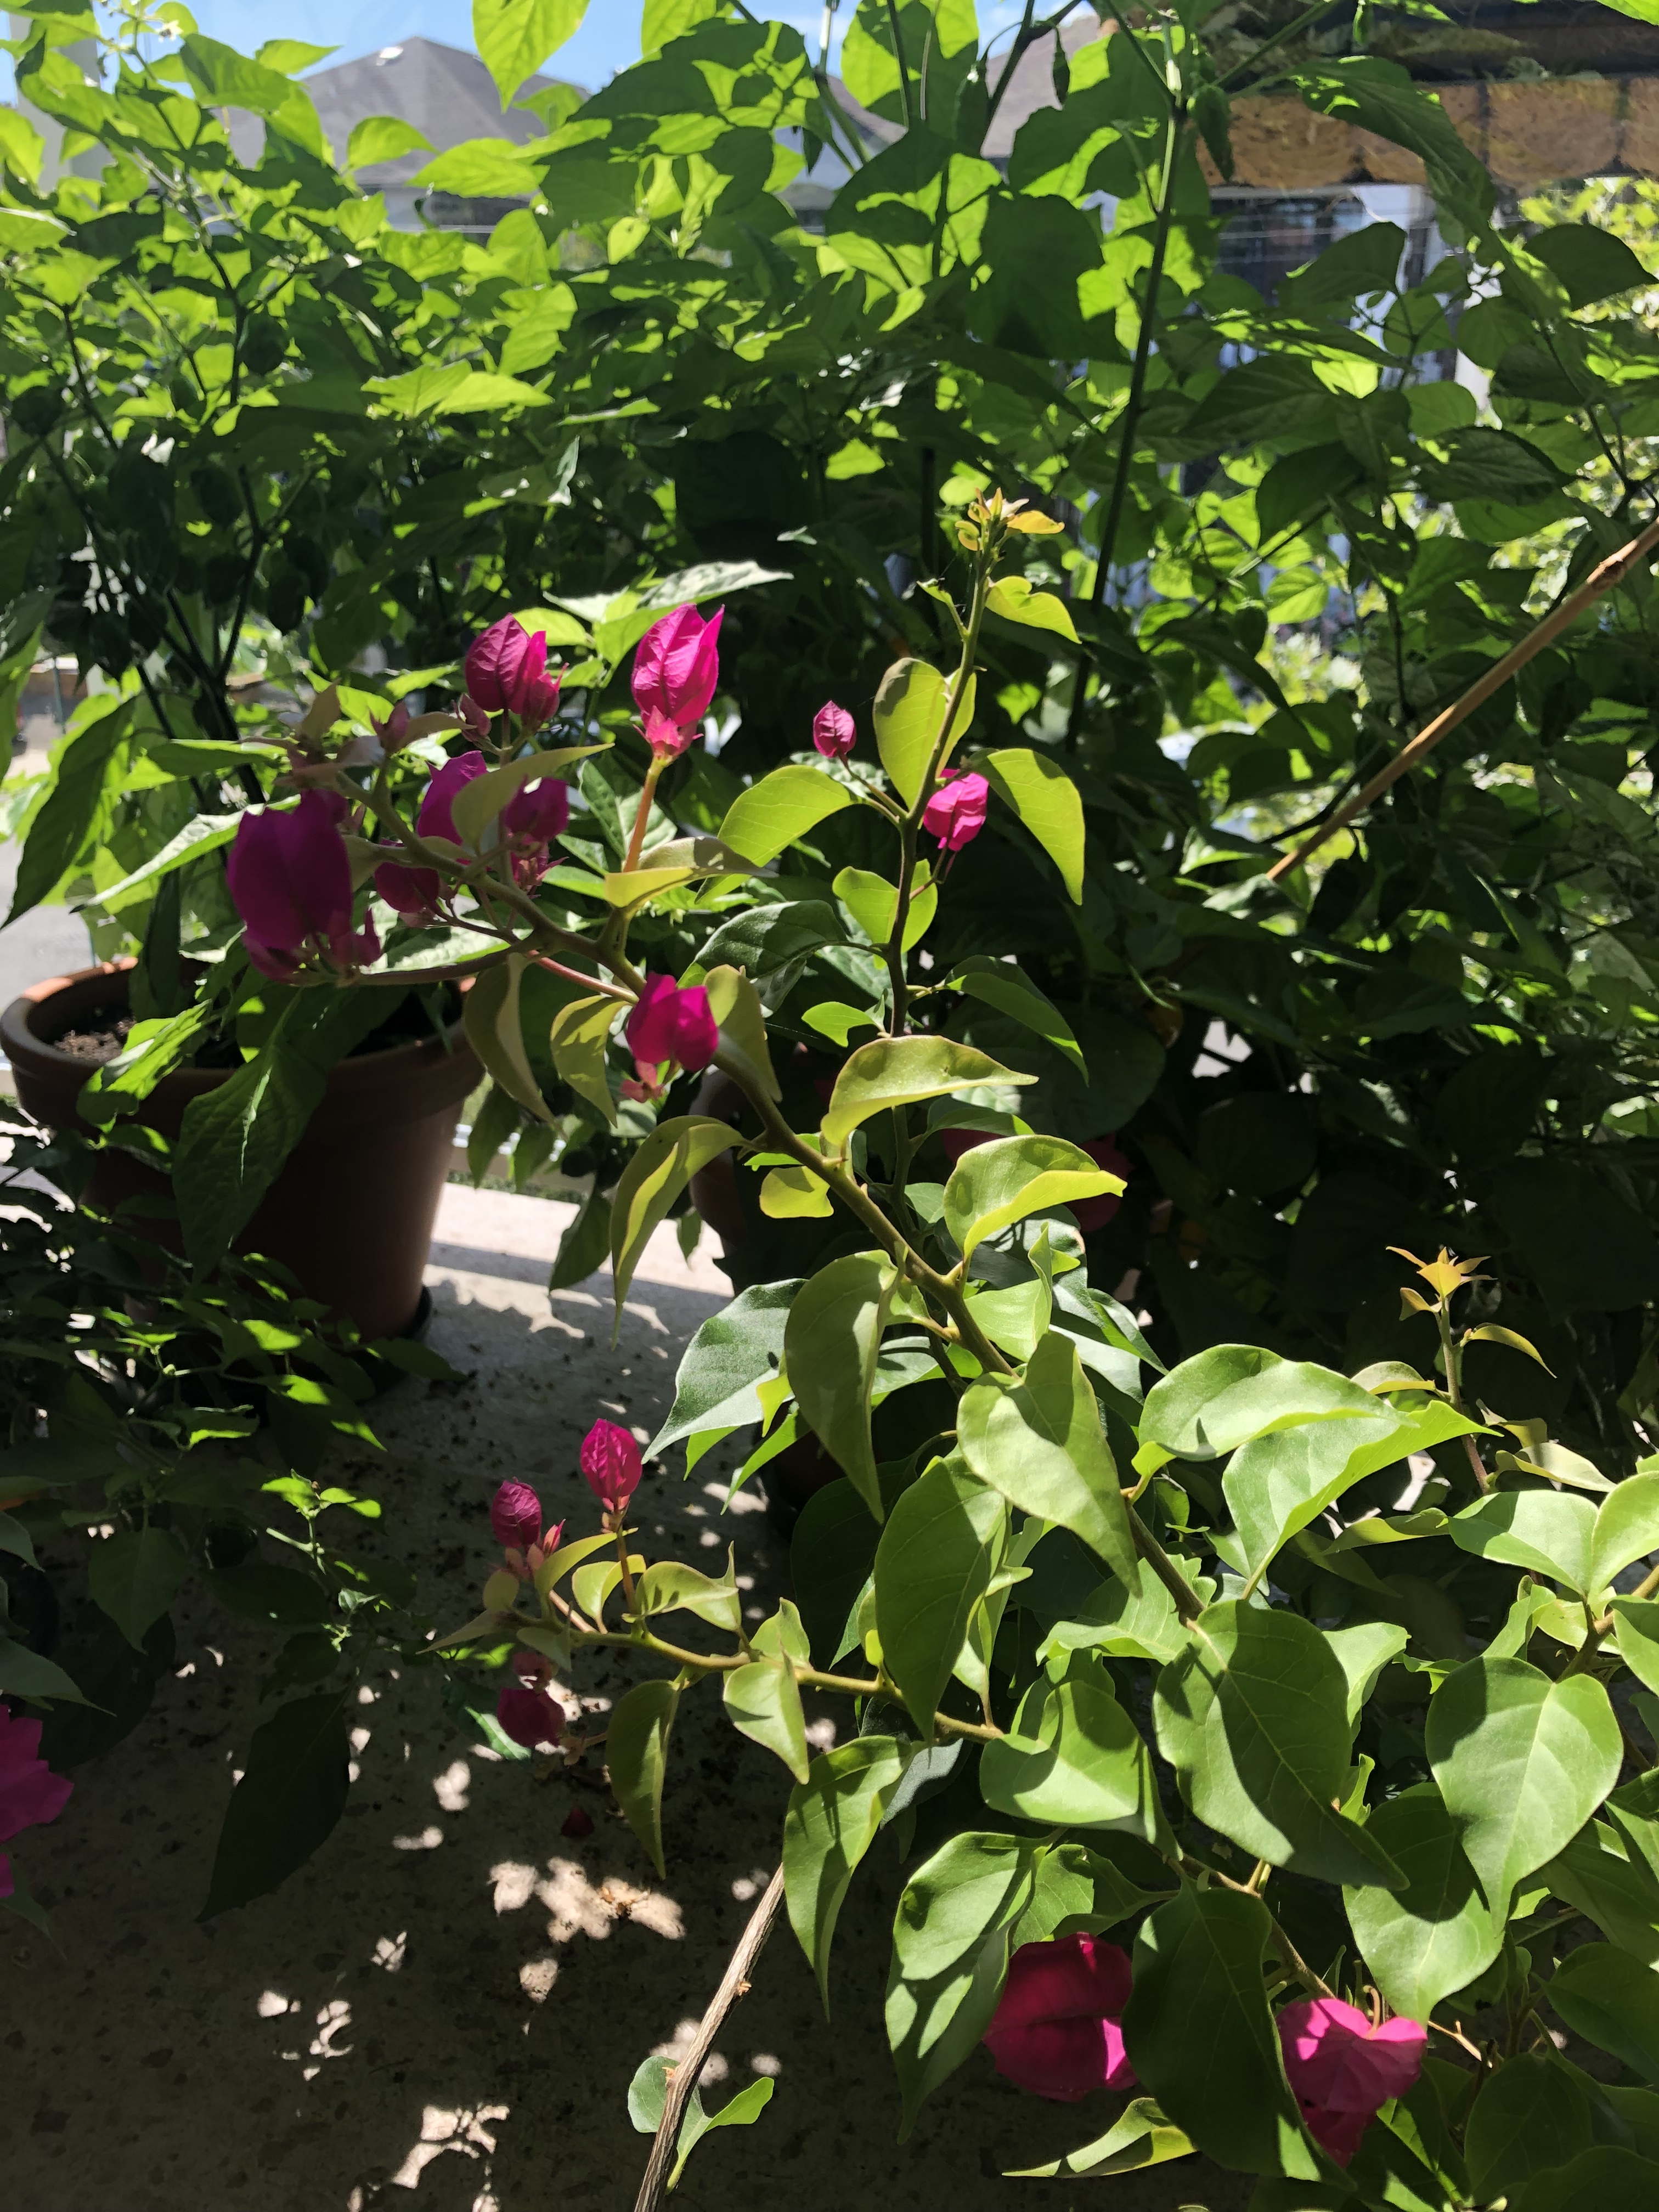
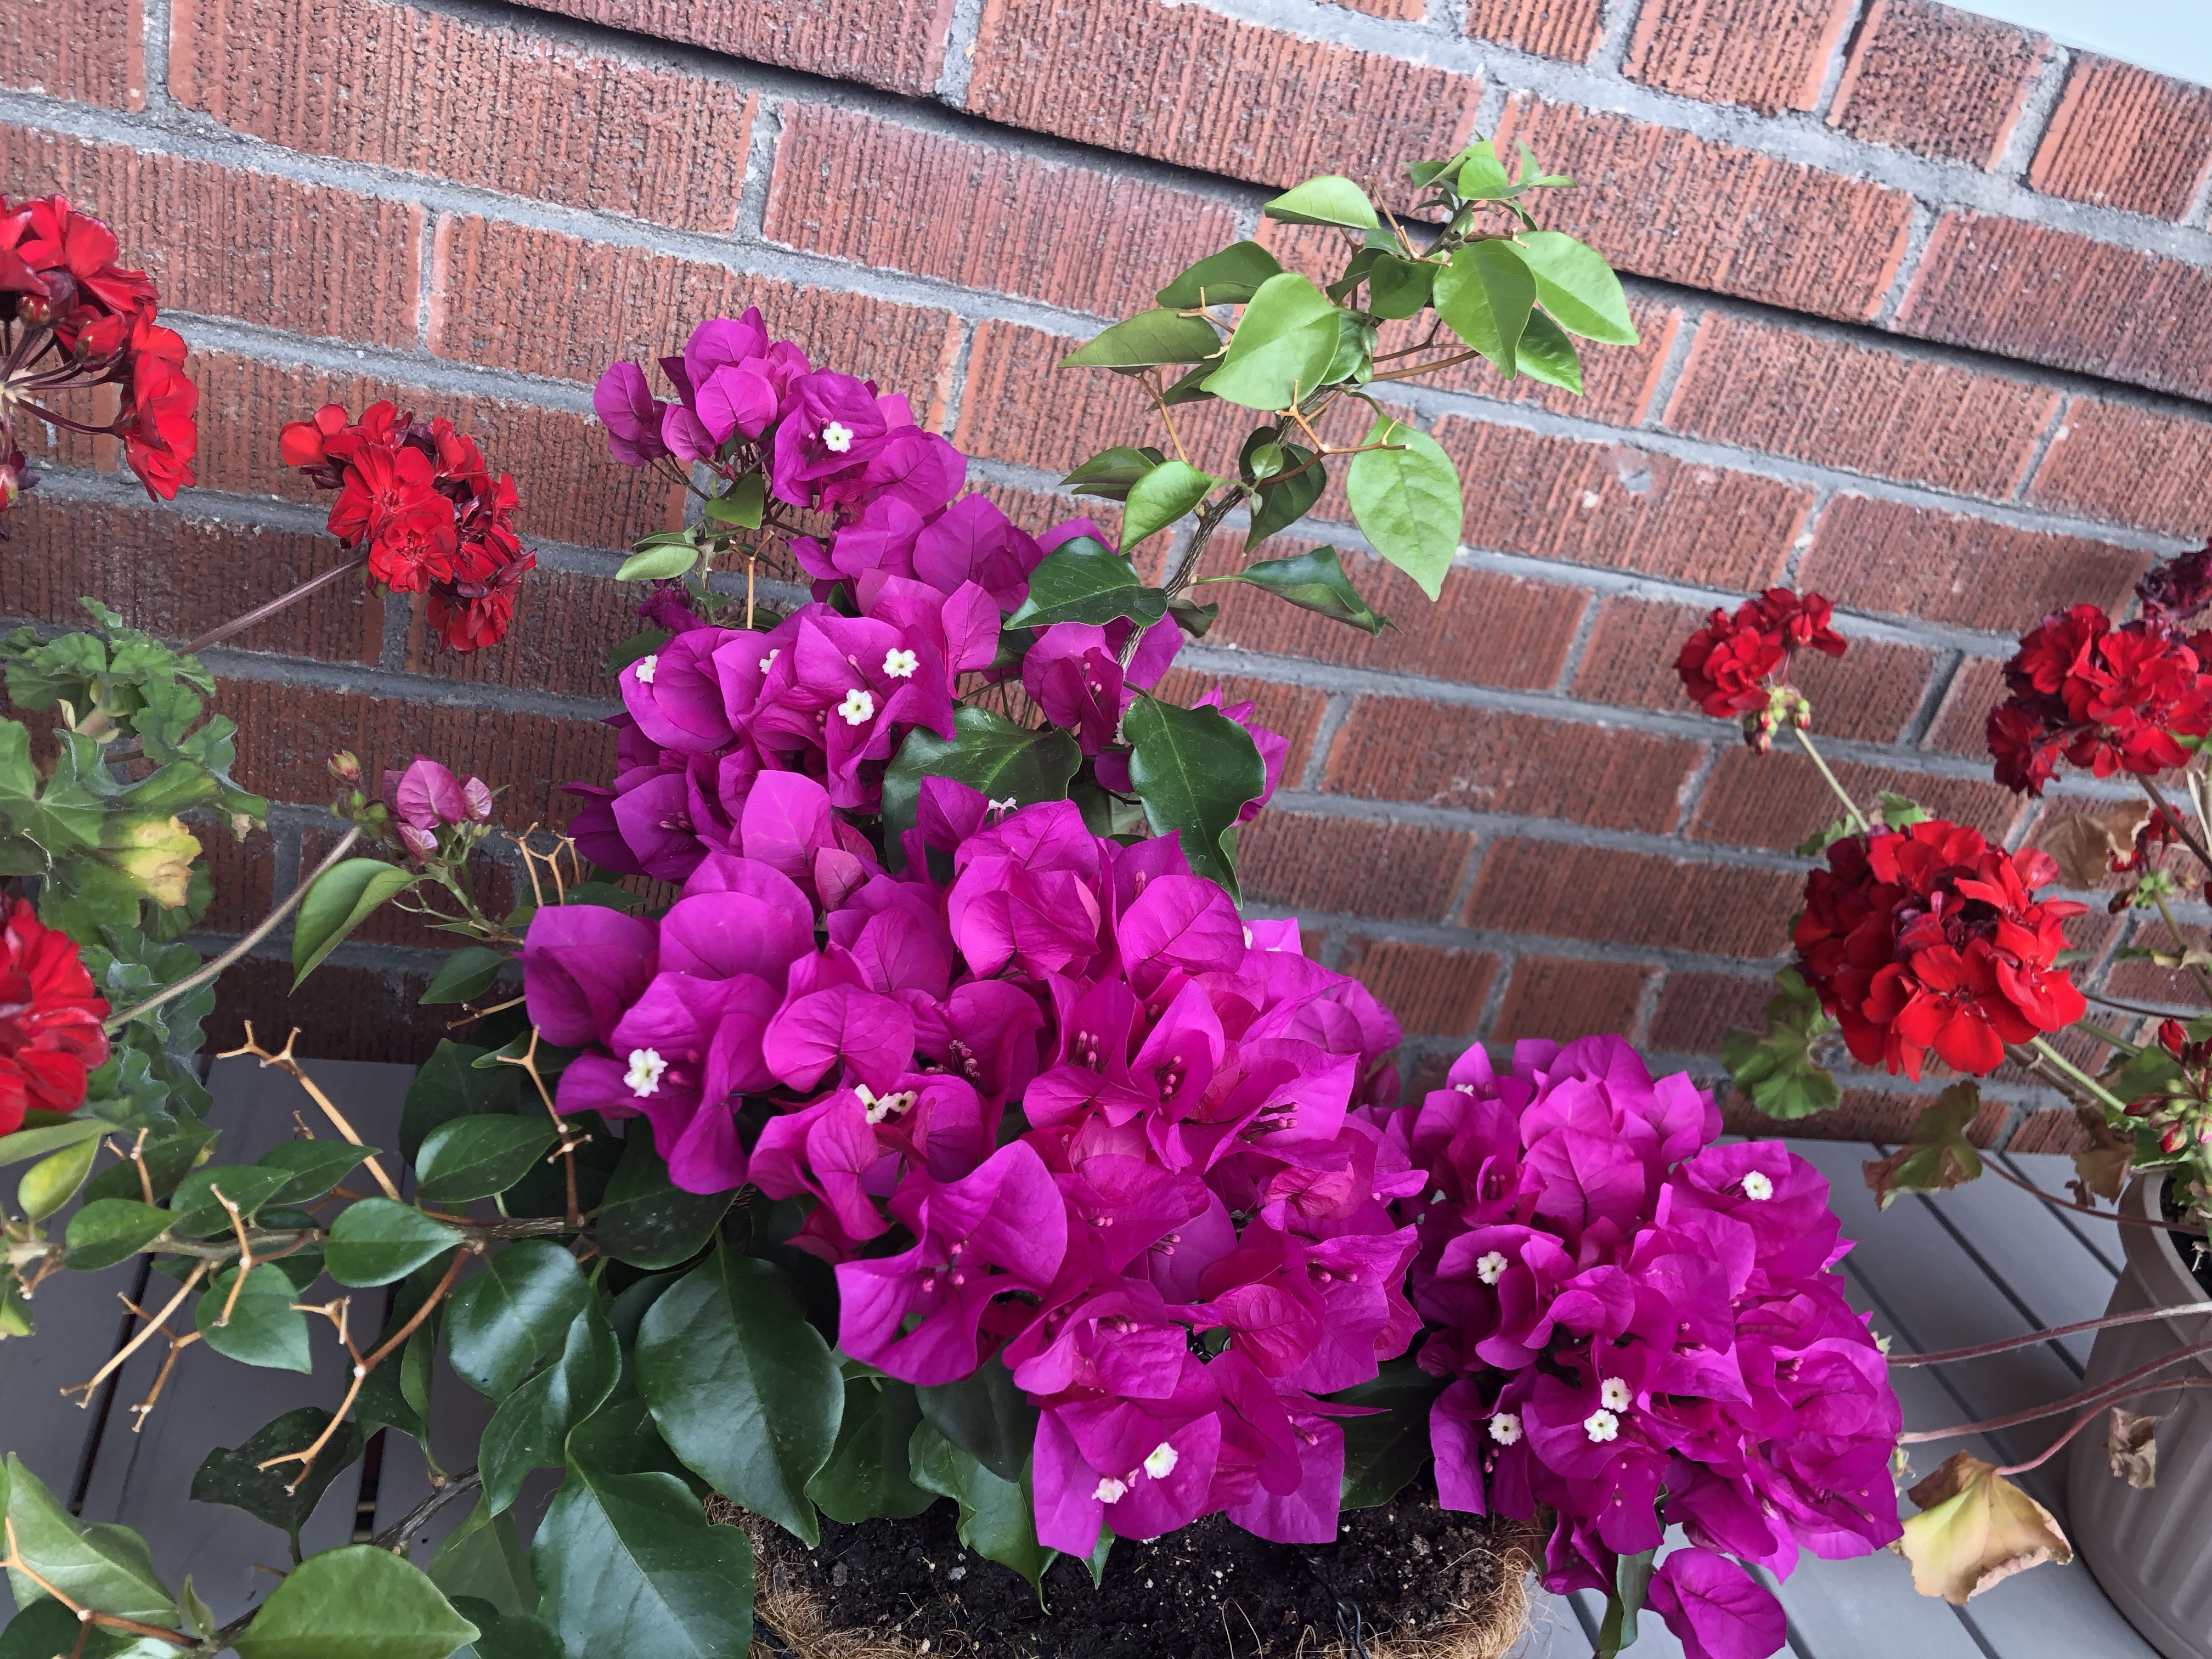
We’ve had a very cool August this year, which has been disappointing. This has meant less paddle-boarding and fewer beach days. Moreover, our bougainvillea plants haven’t flowered quite as prolifically as they usually do.
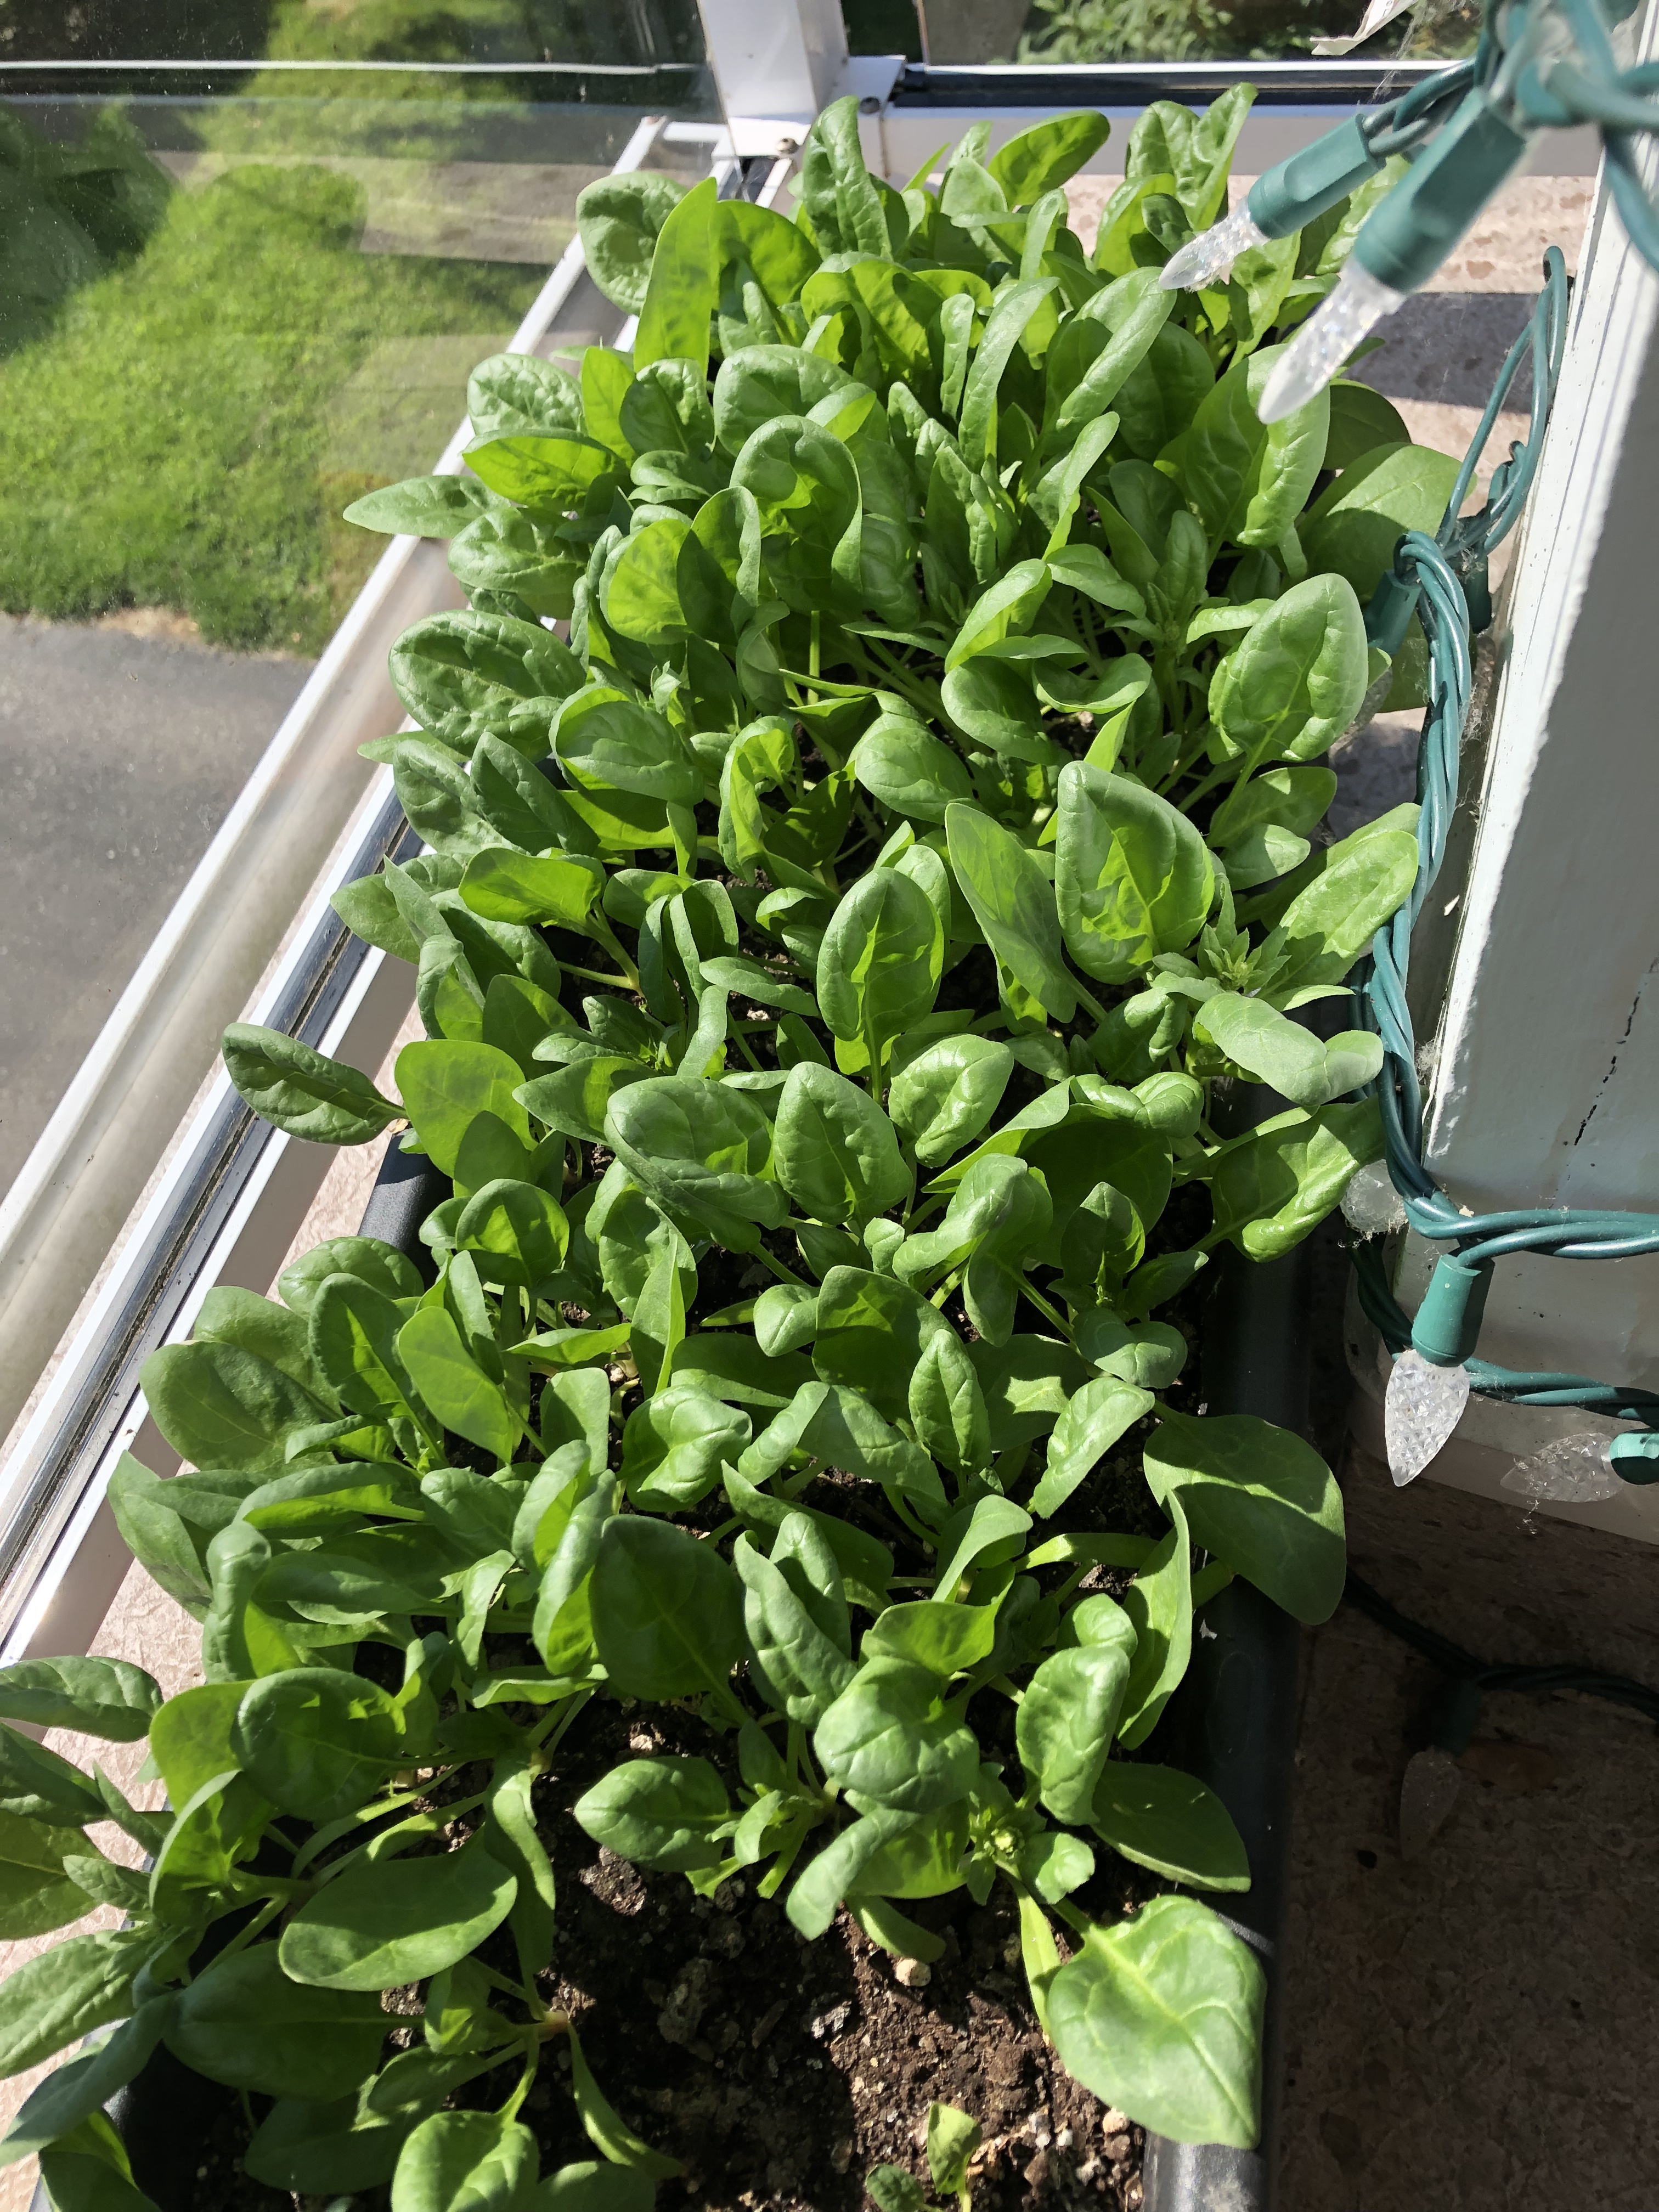
On the upside, however, this has meant that the second box of spinach we planted late this summer has been doing really well!
I haven’t been cooking at all this week because on Tuesday, I had a fun adventure: I flew through an open door, towards a glass wall (I tripped on a sign right outside the door); my knee is what prevented me from crashing through the wall; as a result, it has been swollen and bruised. I am better today, though, so I thought that I’d cook up something delicious, using the “harvest” from our little urban deck “farm” and my partner as a sous chef.
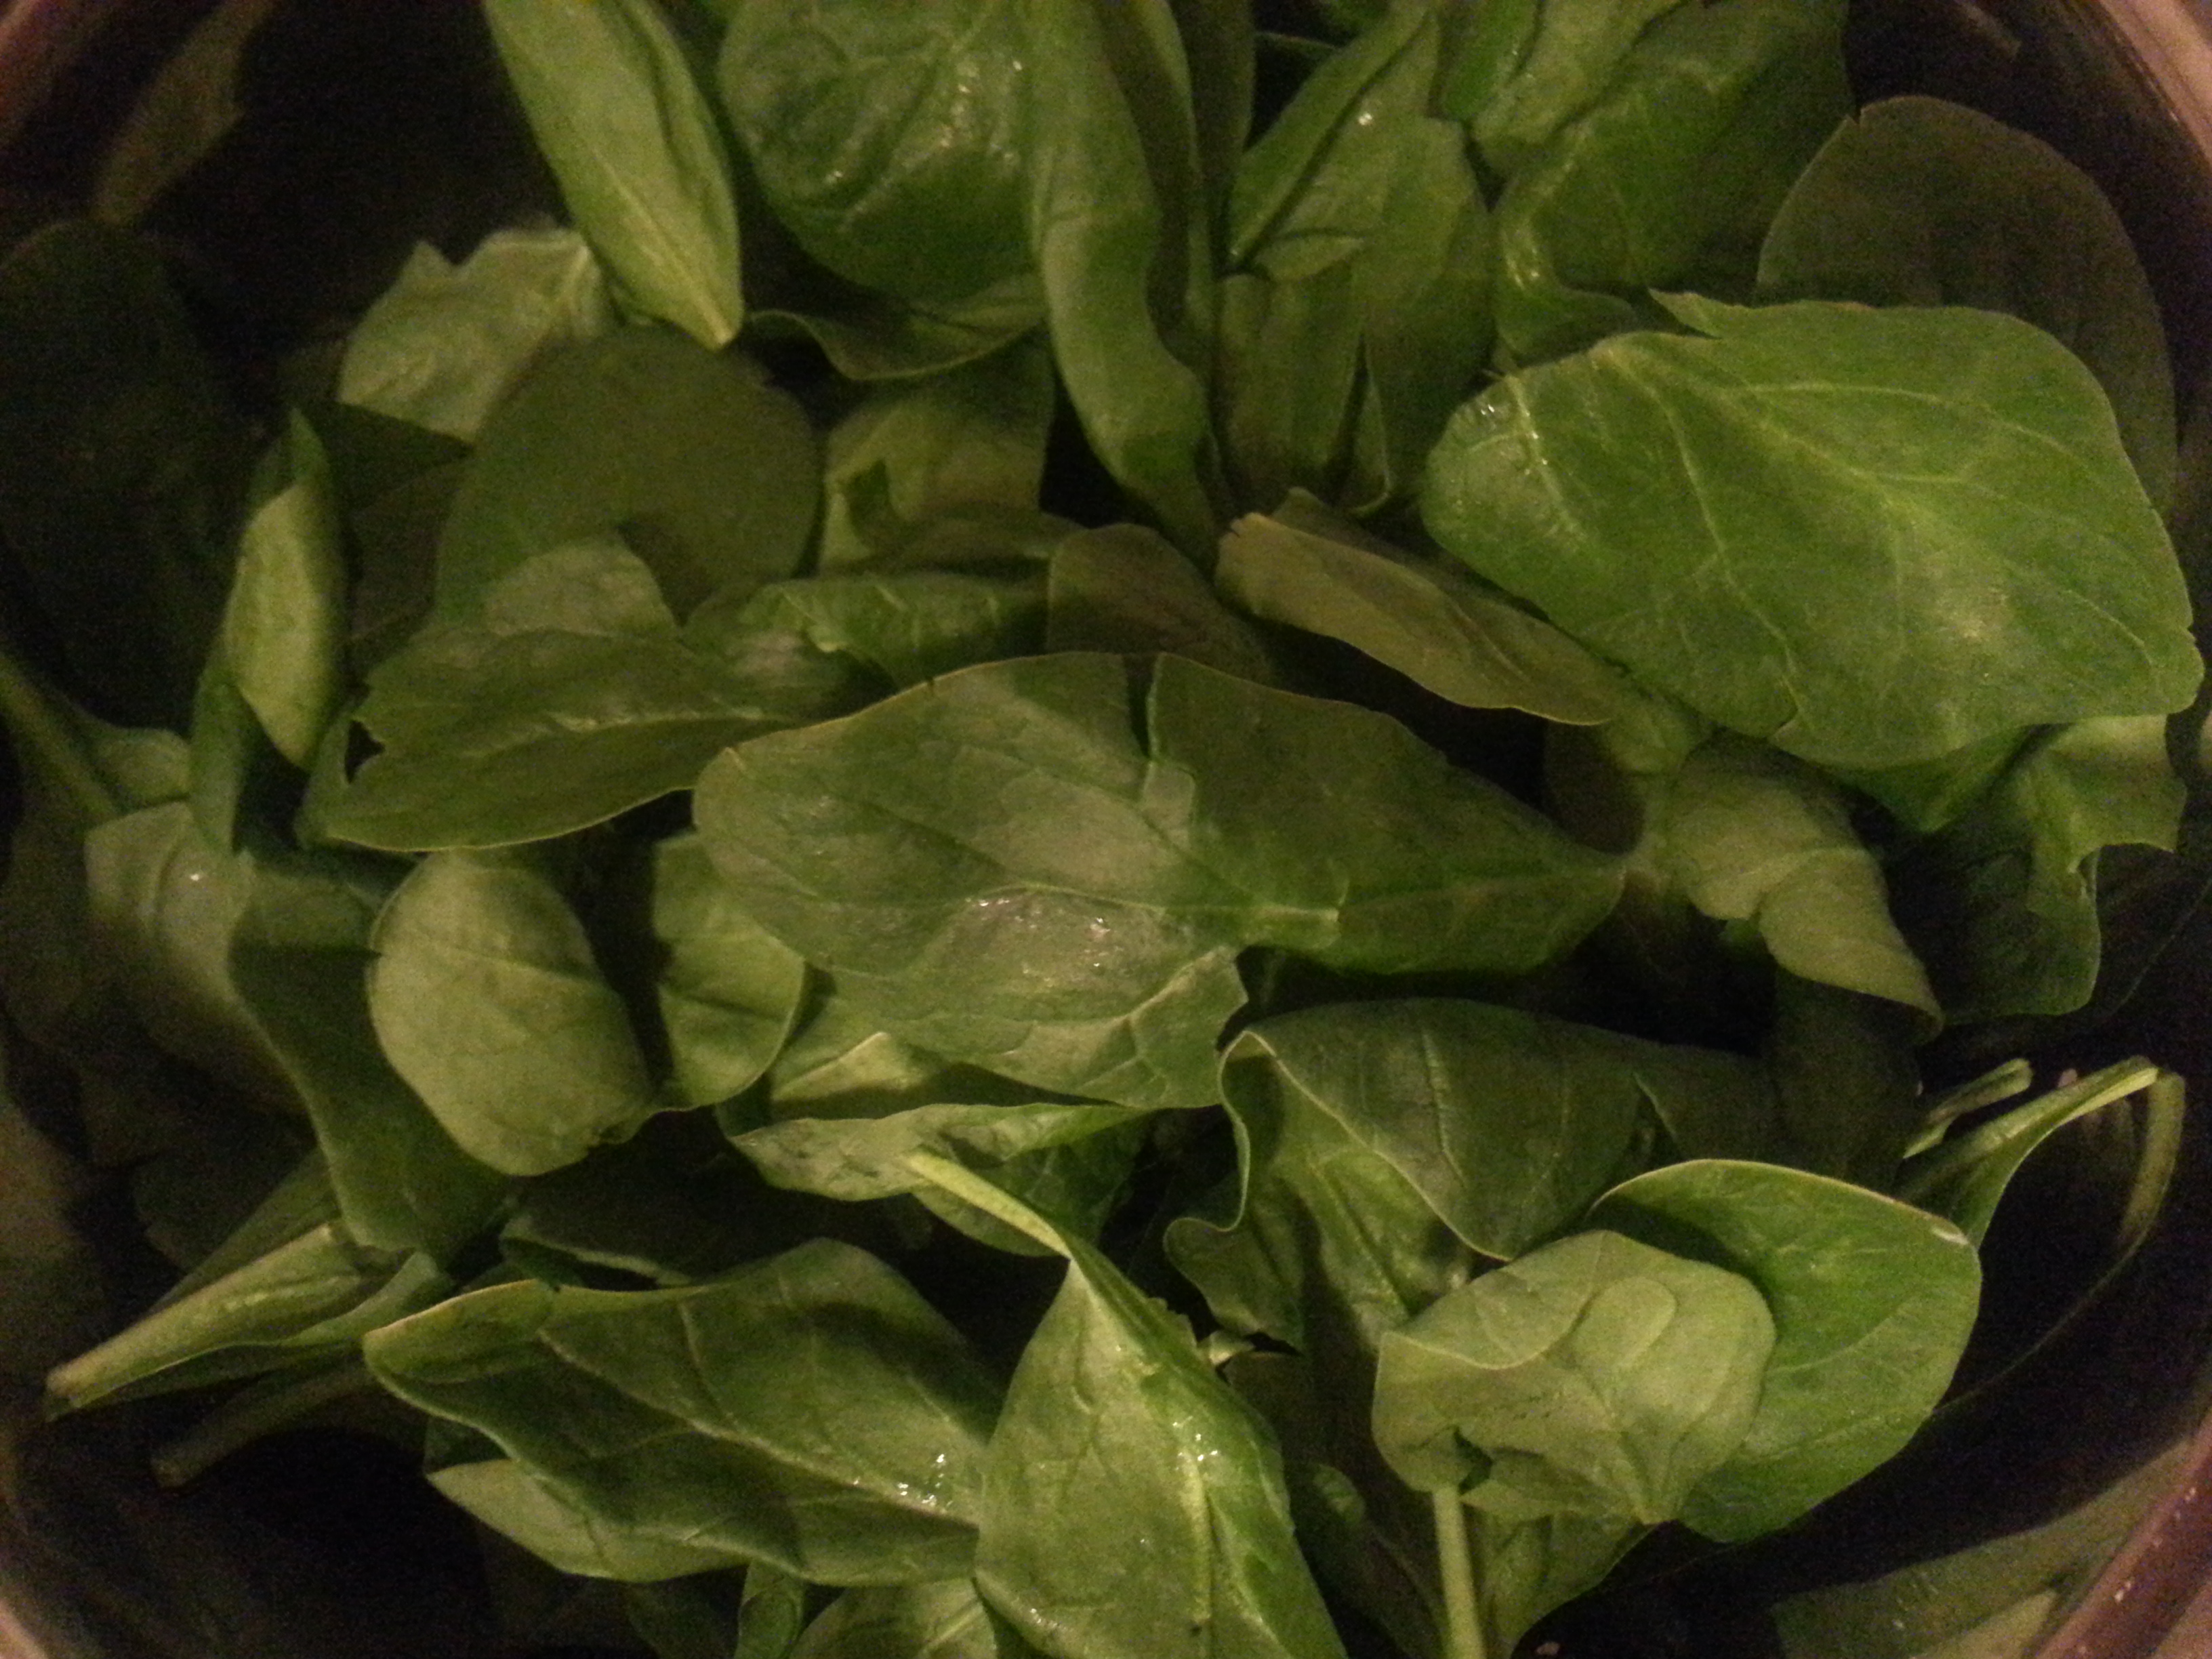
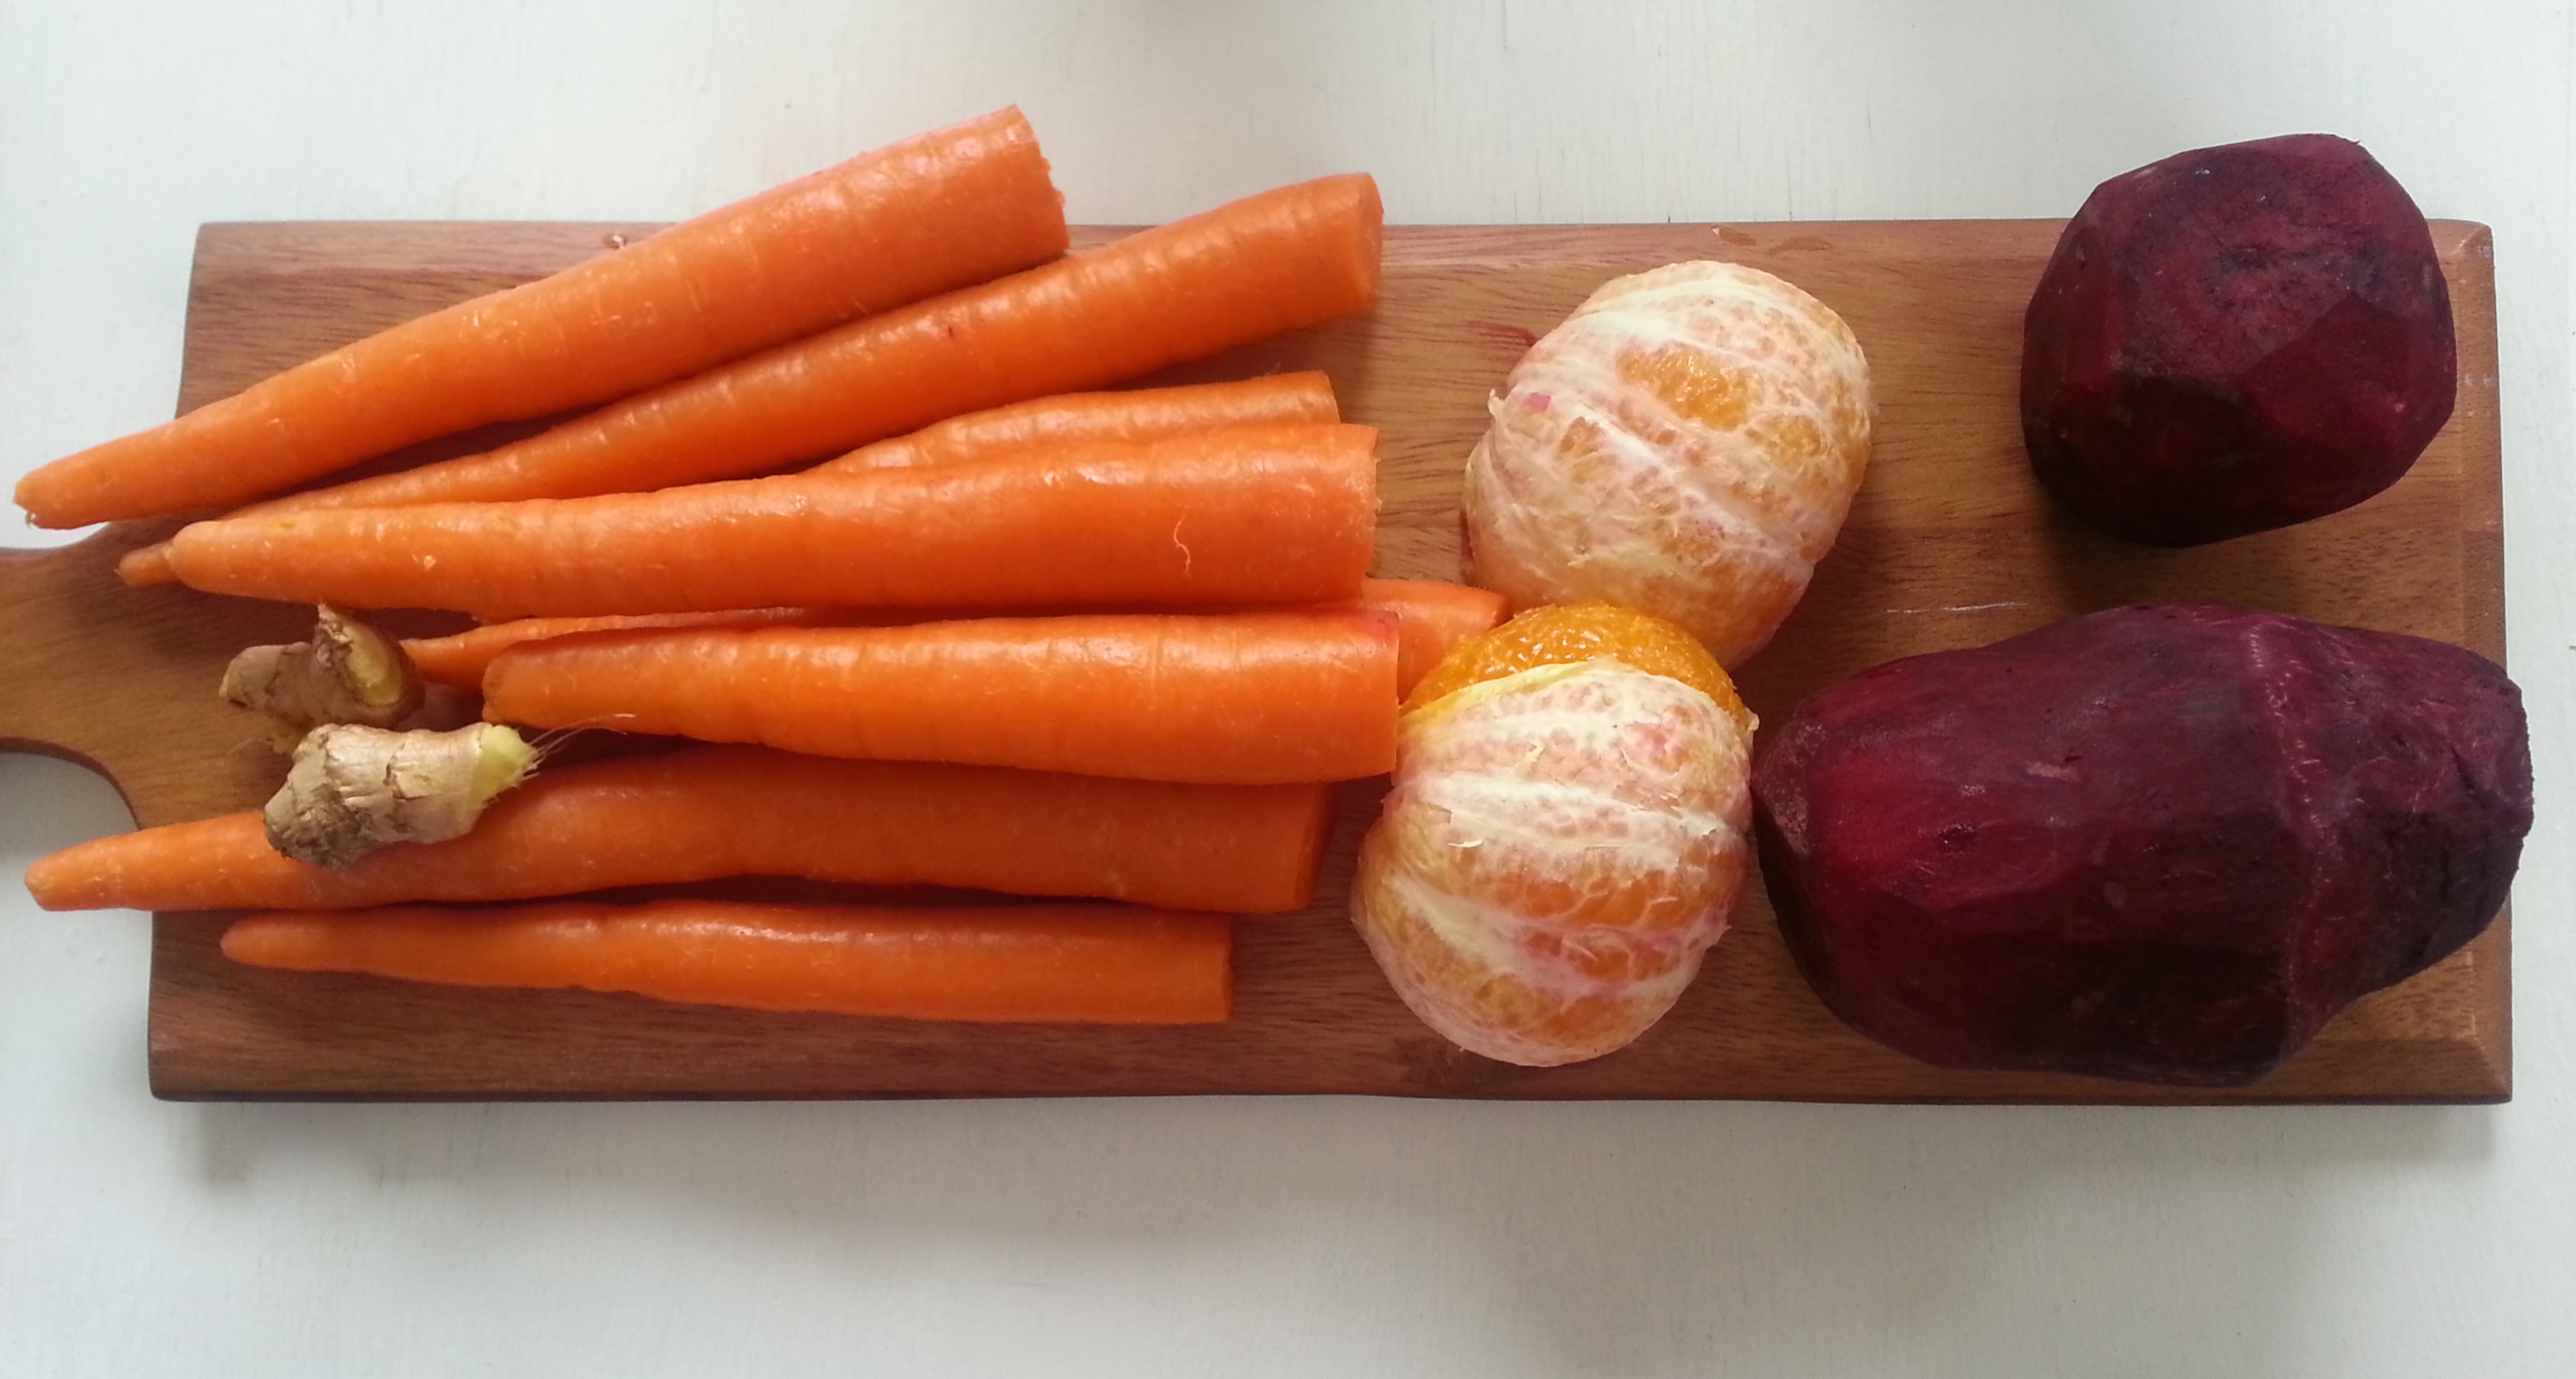
Here is today’s produce:
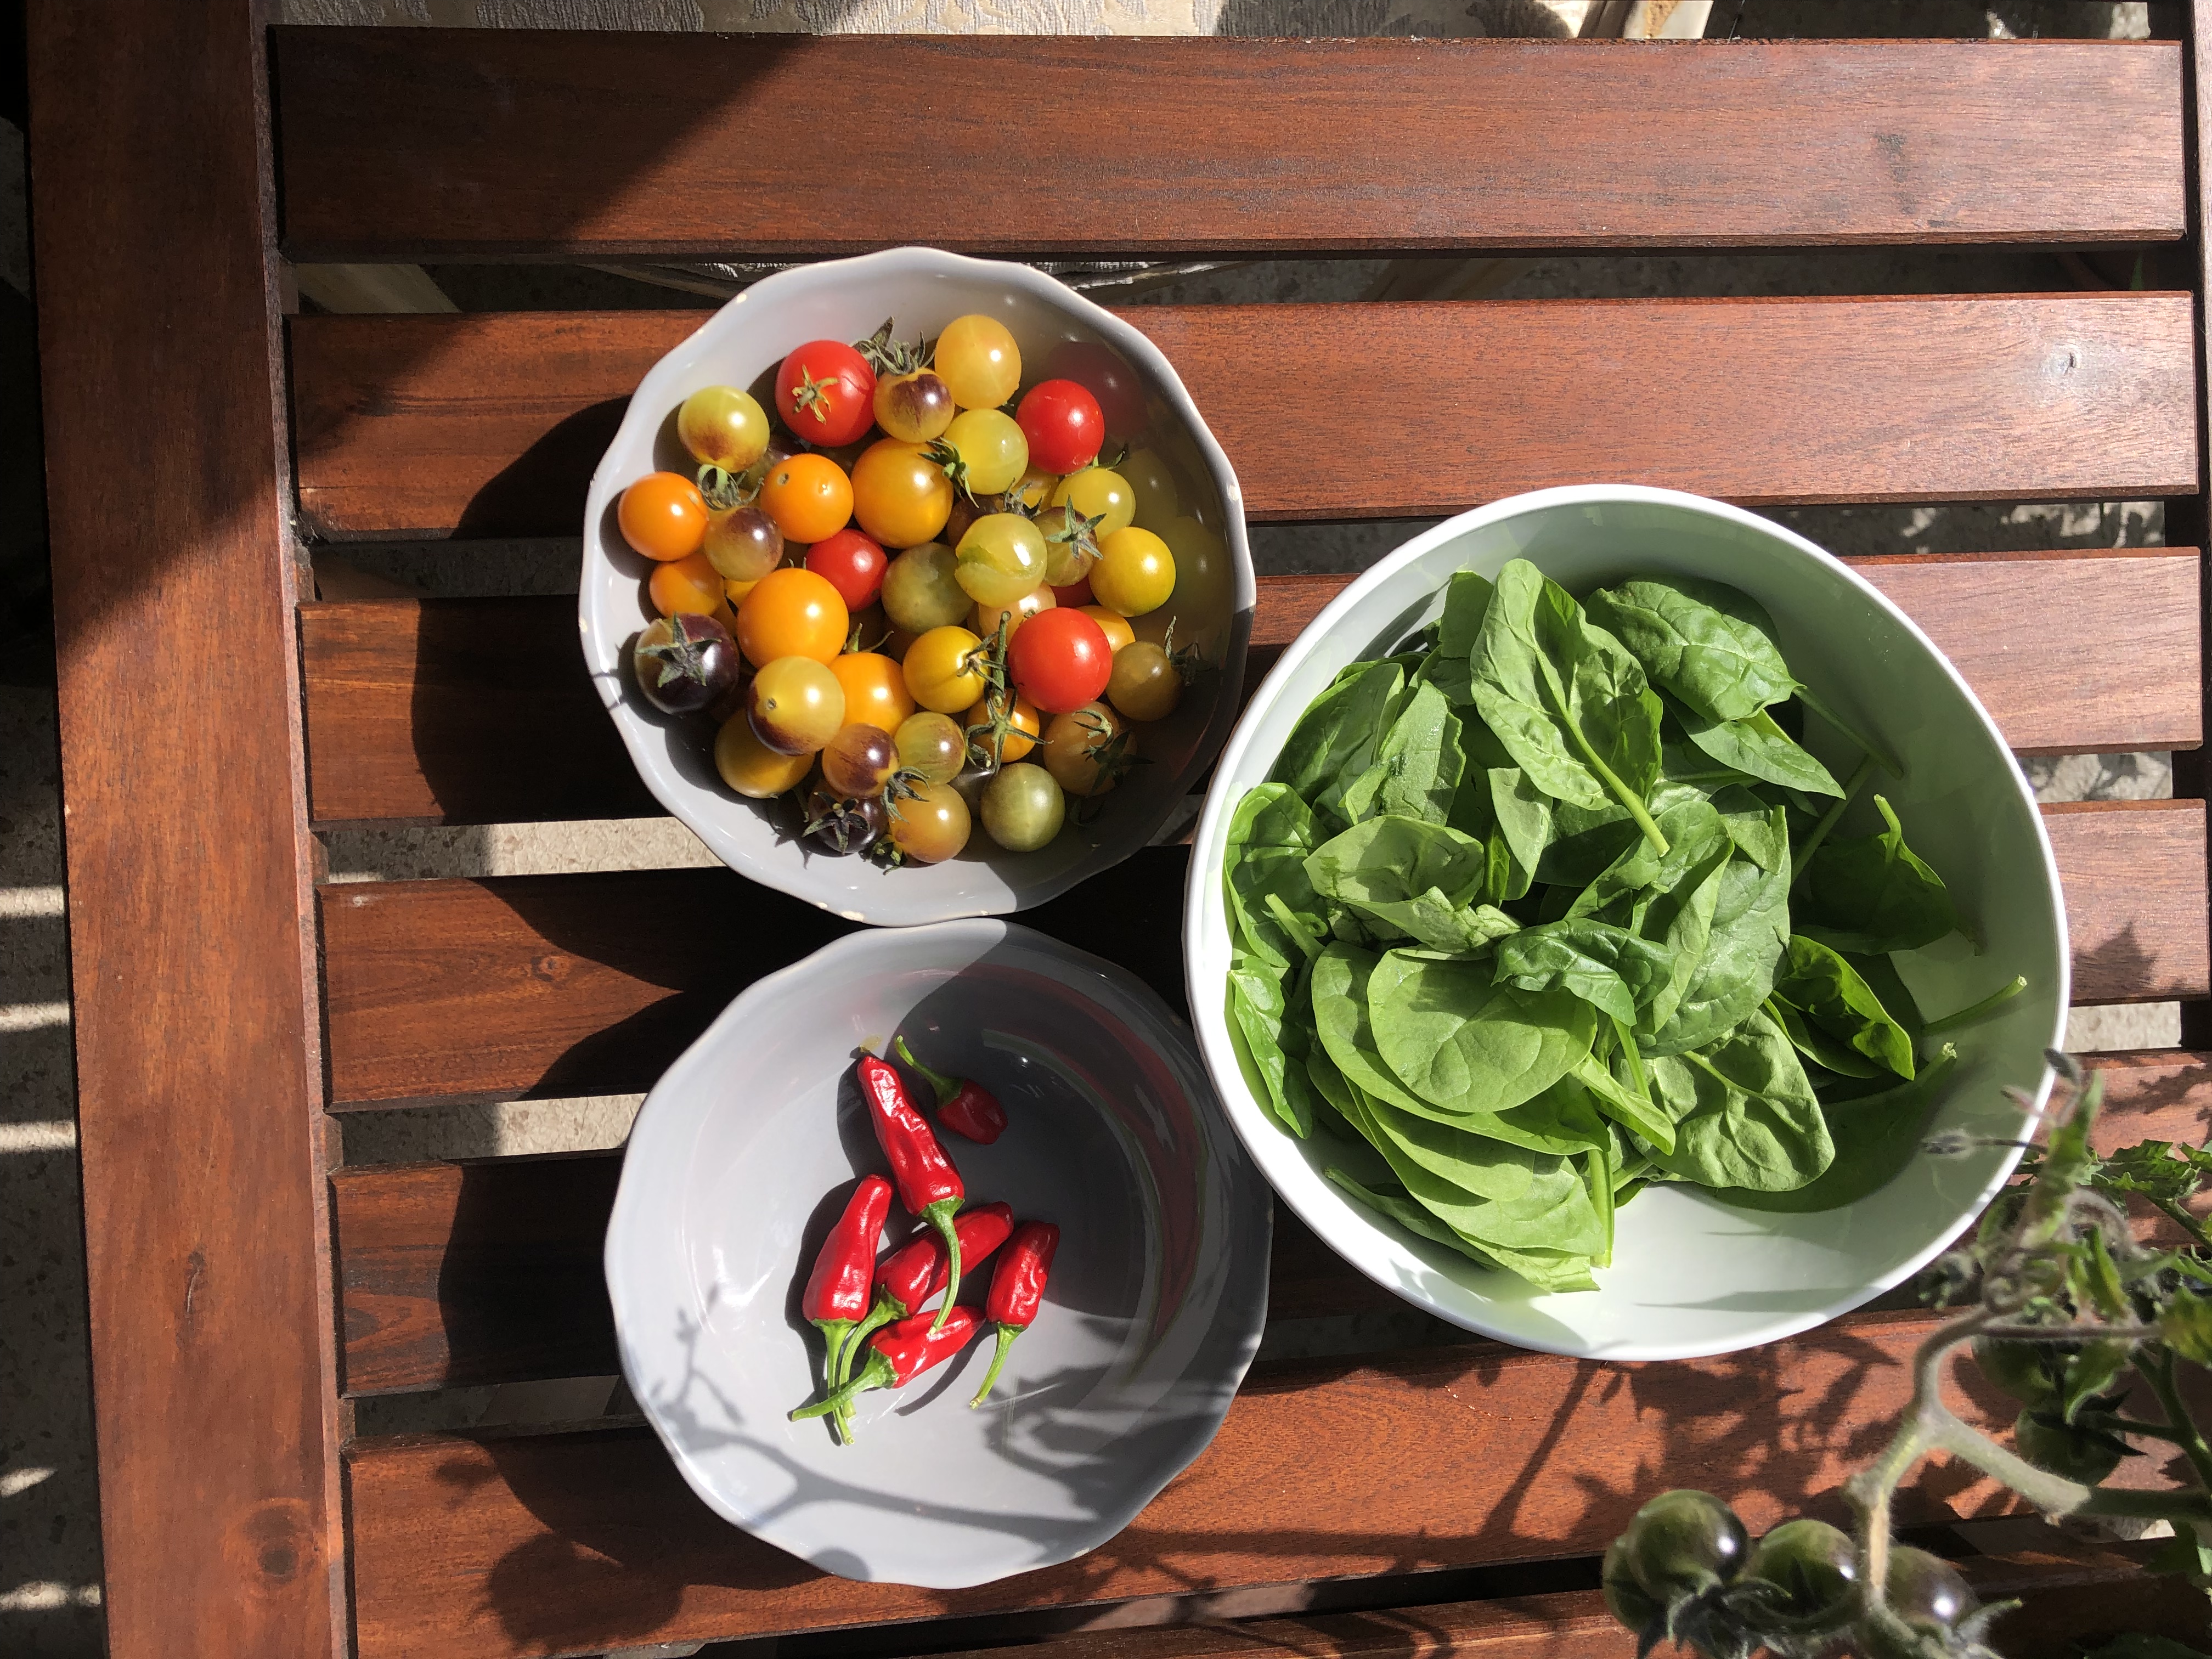
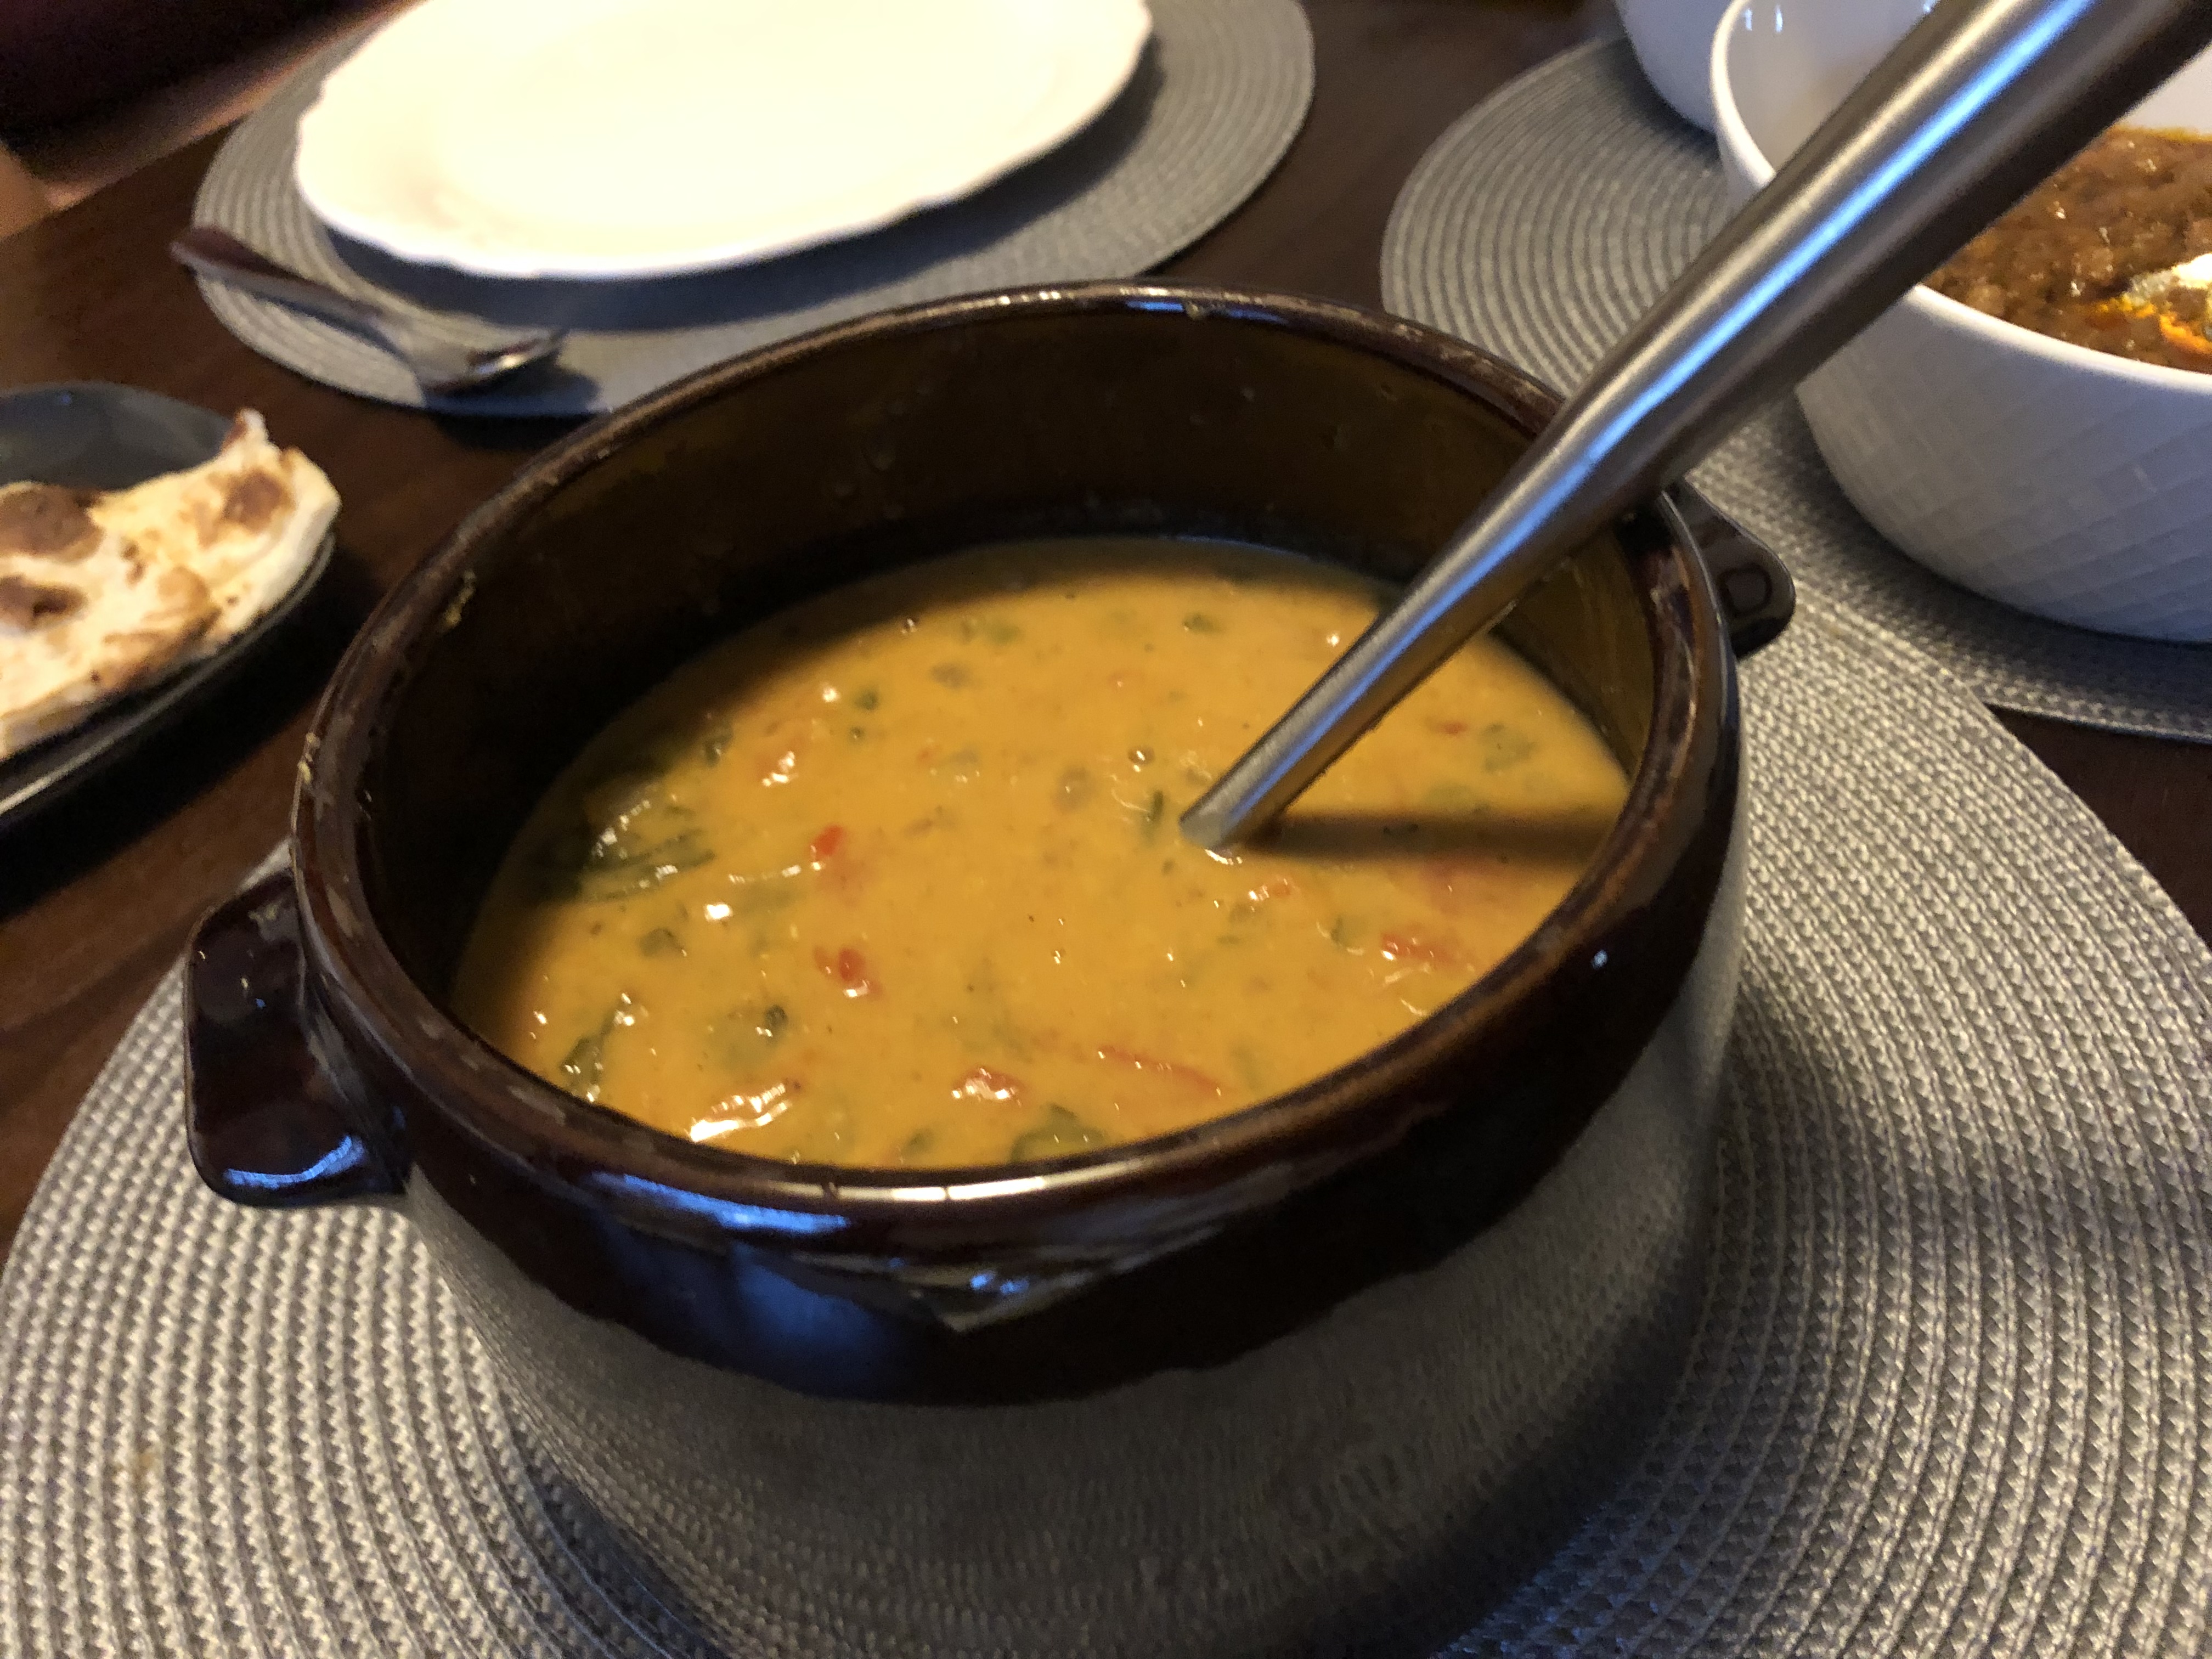
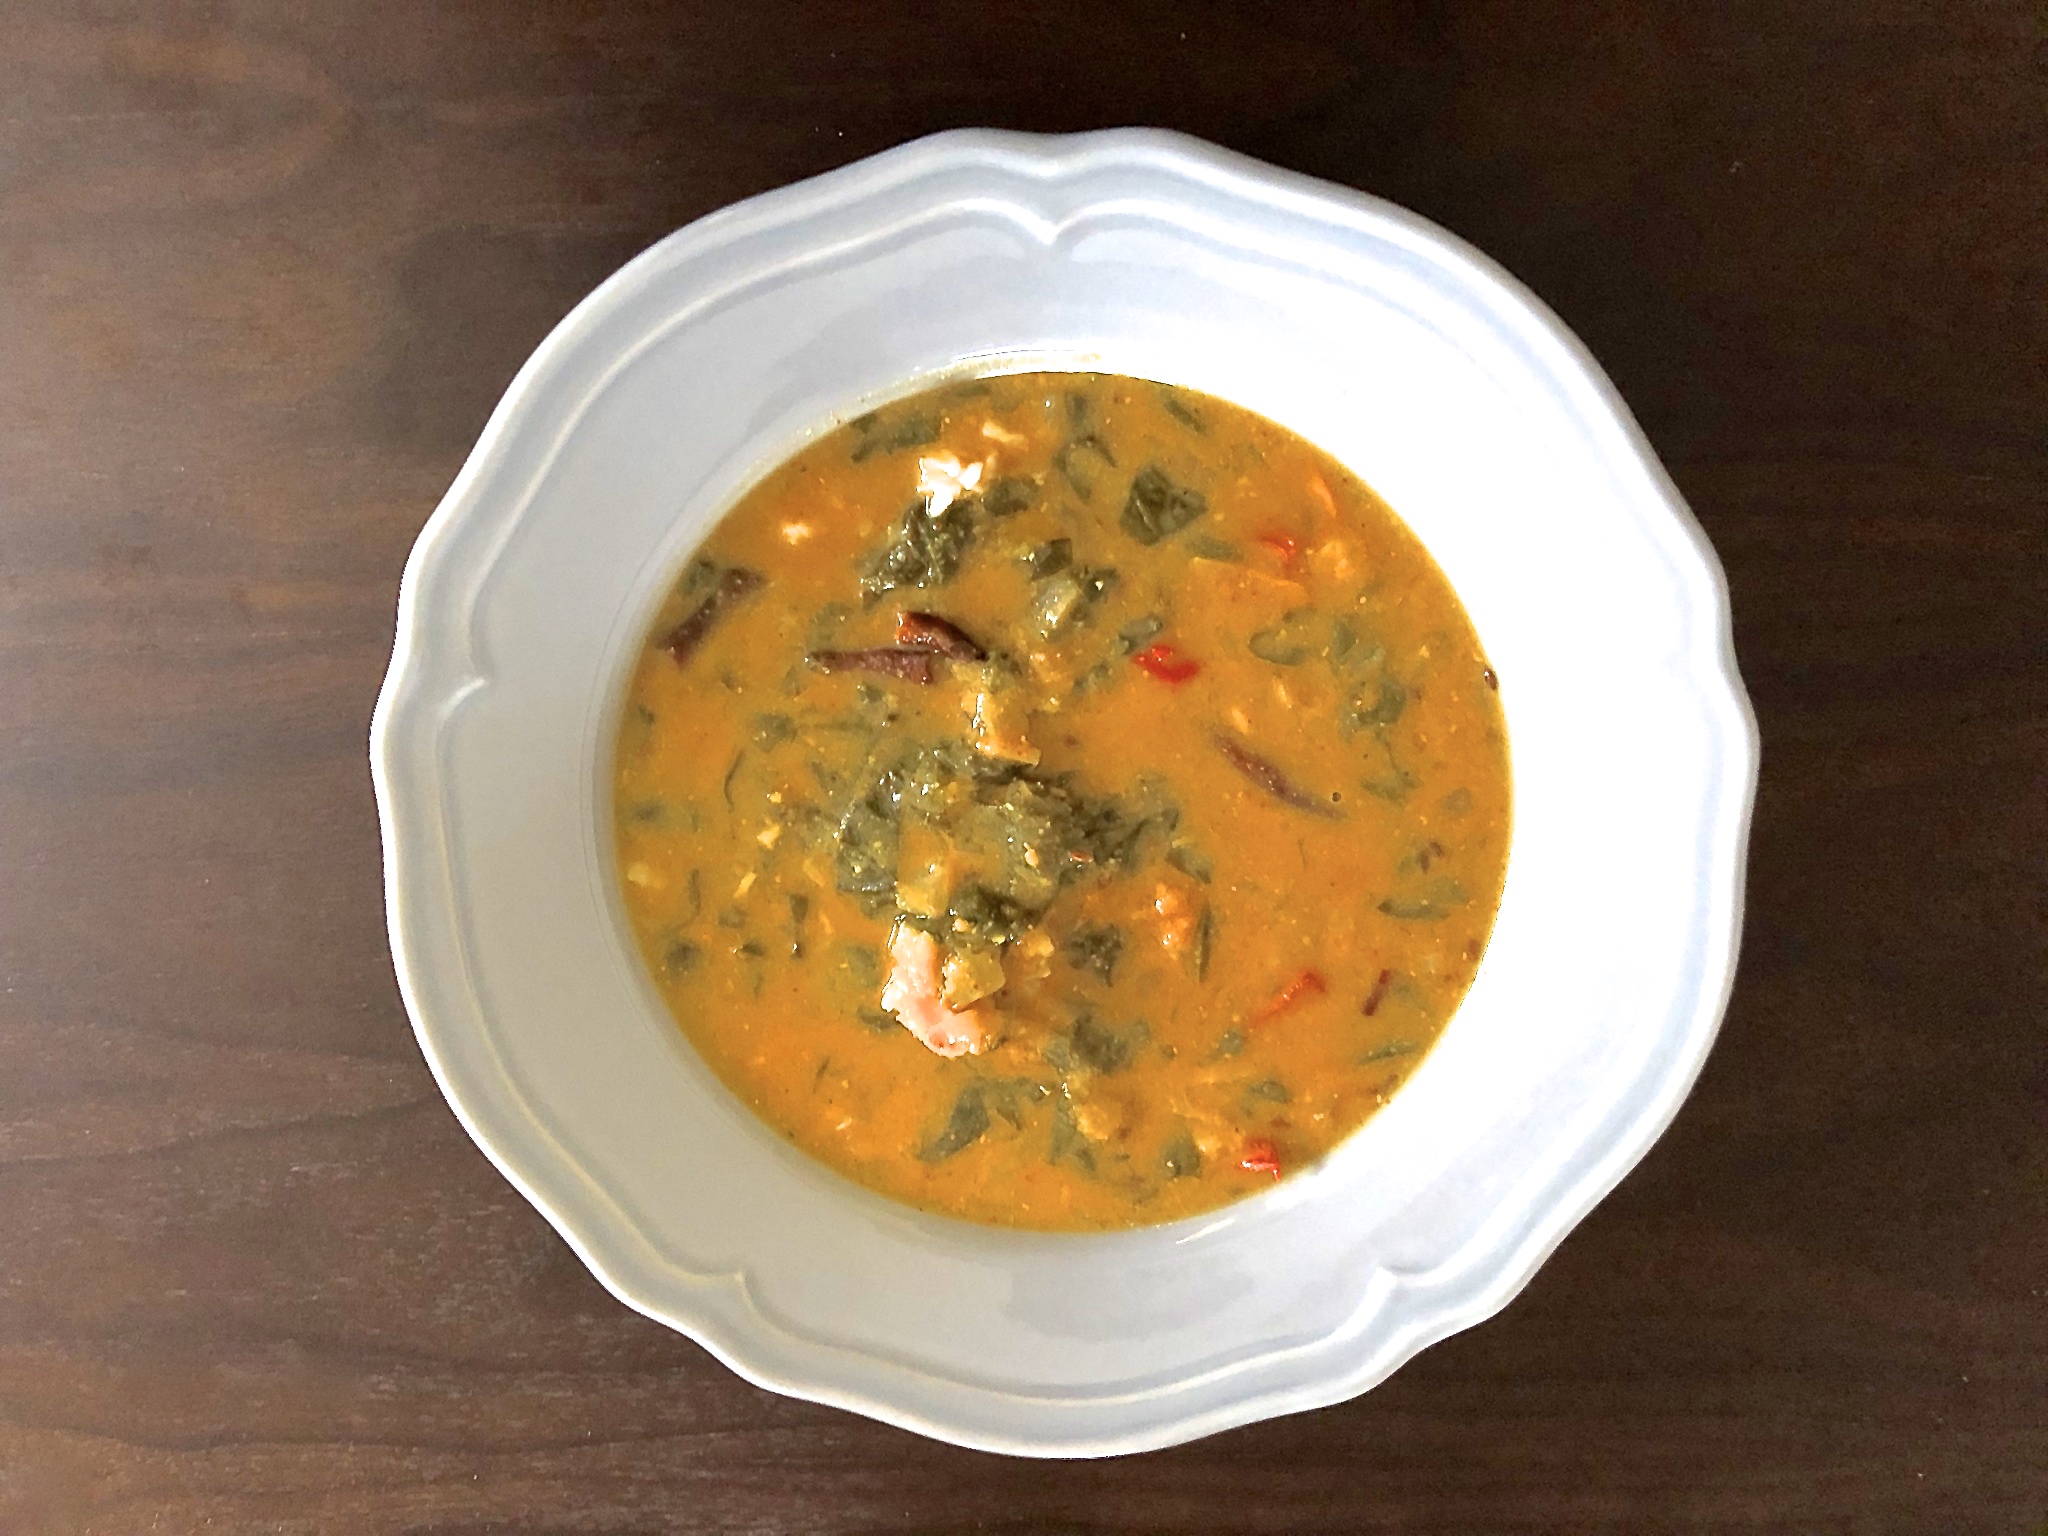
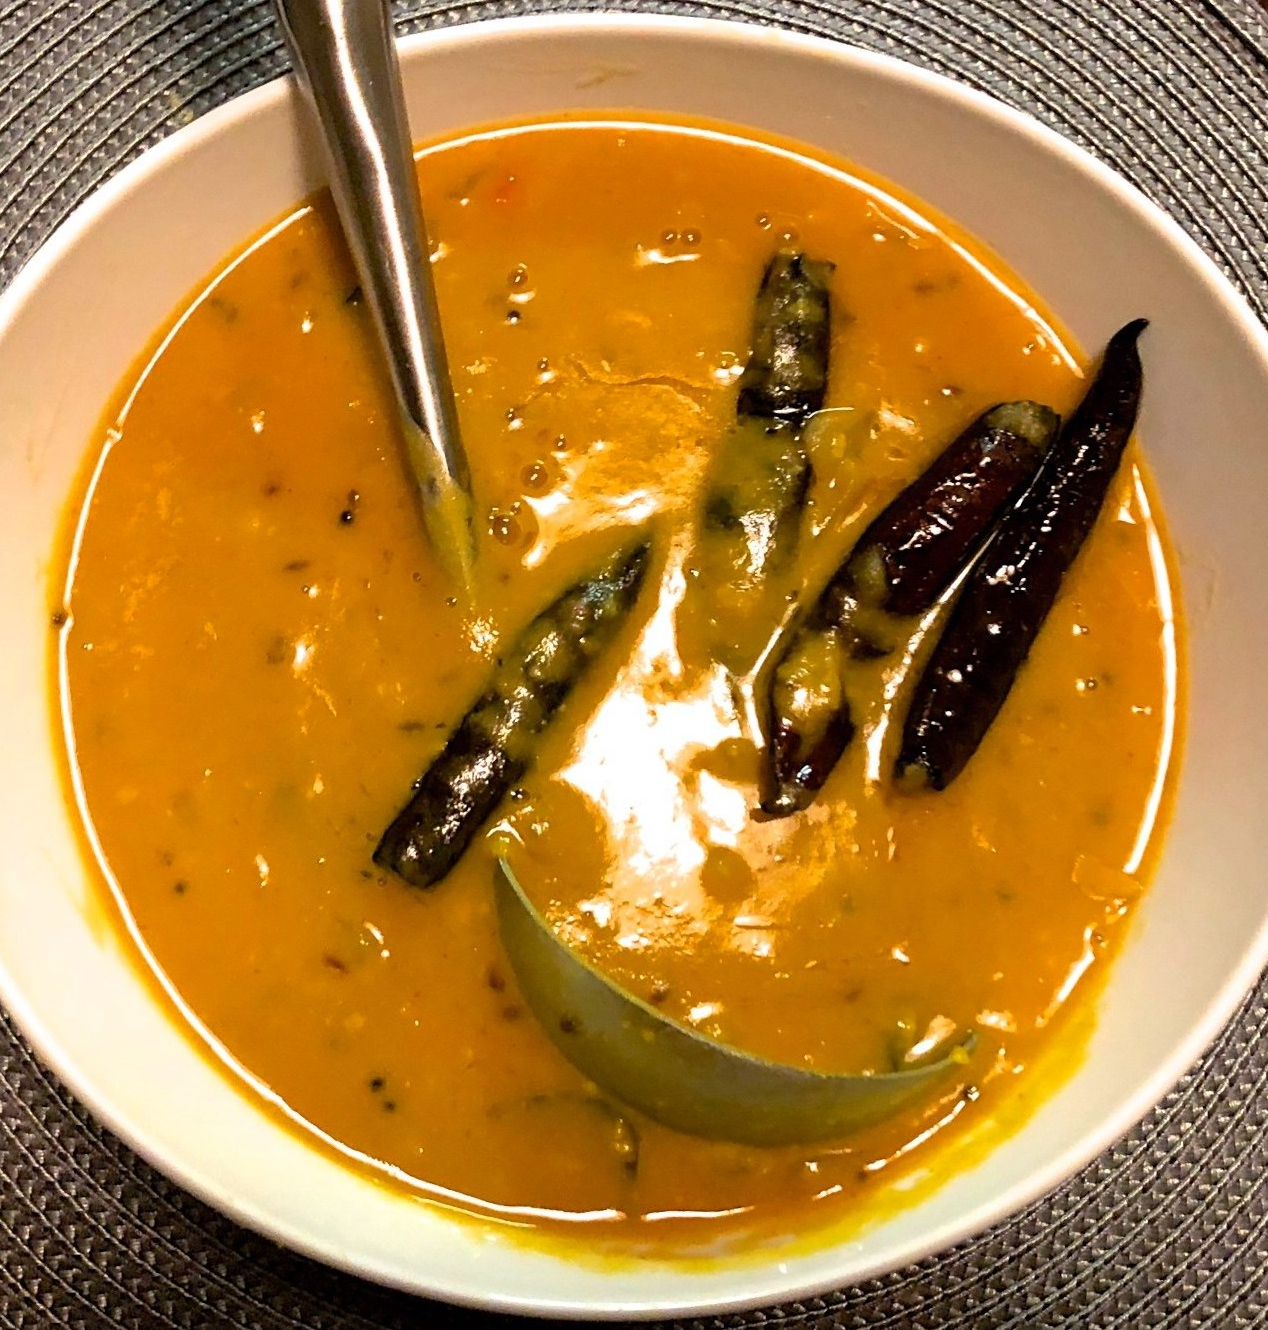
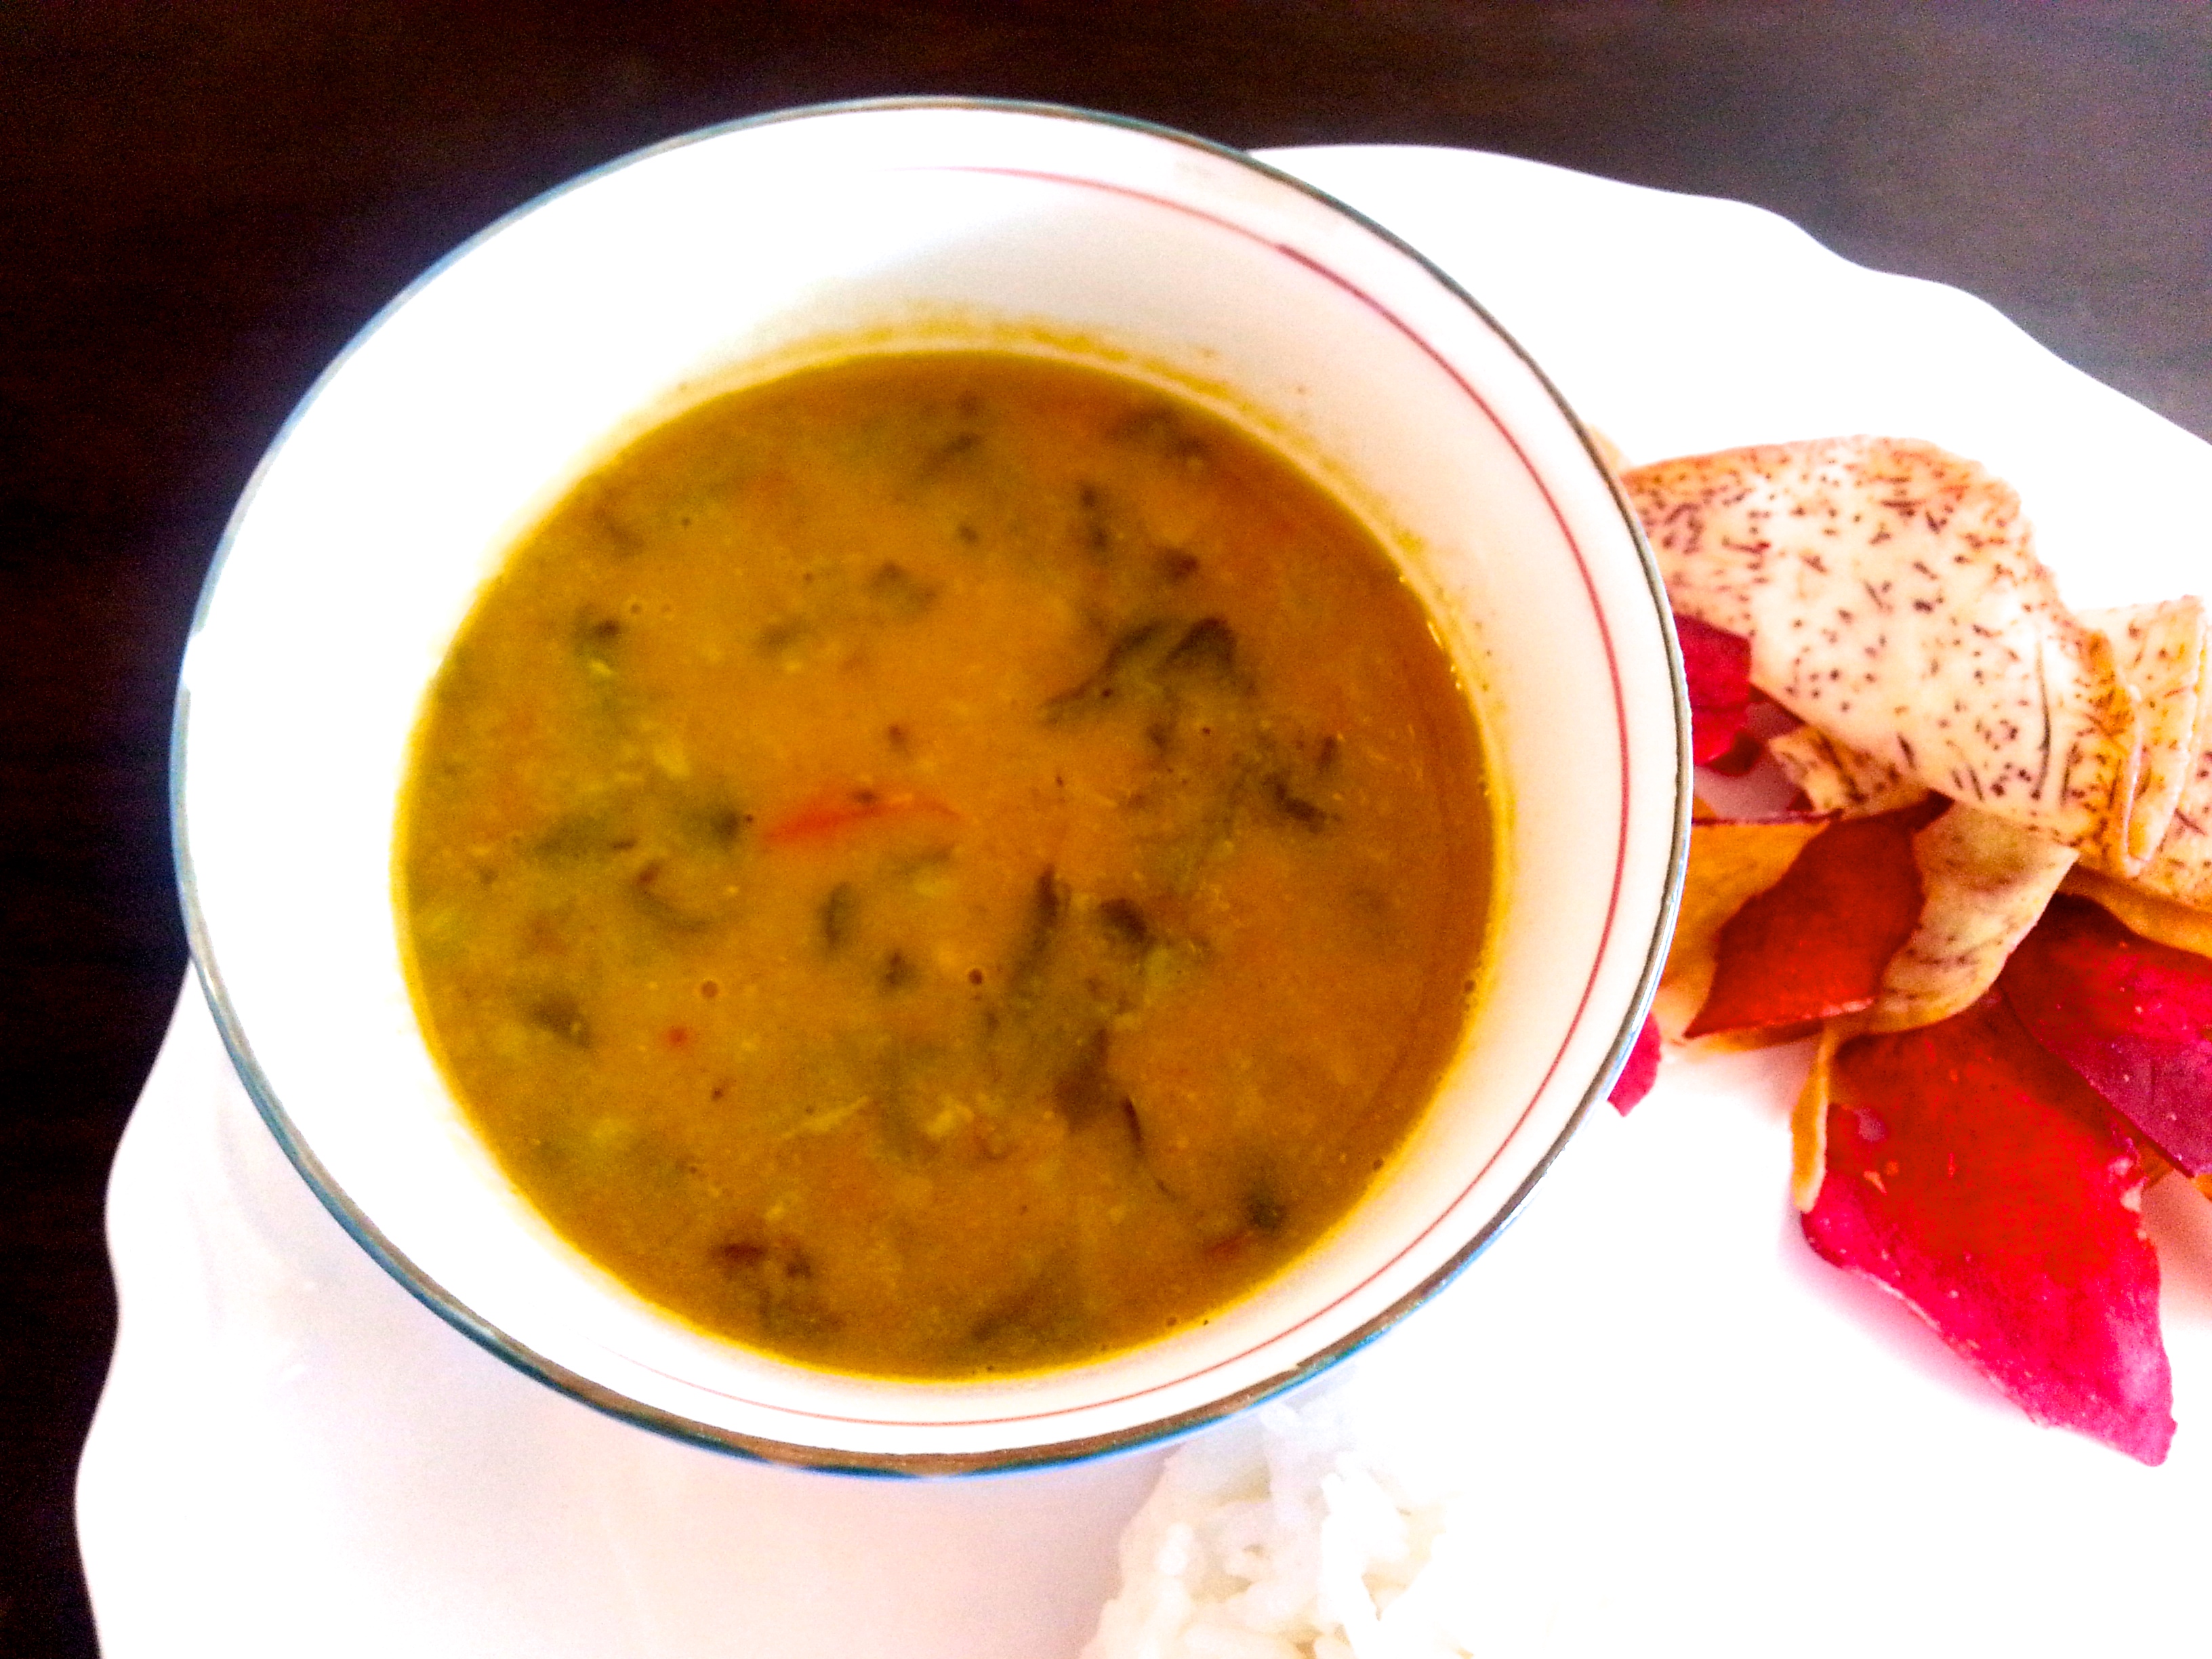
Given my life-long love affair with chillies, new found appreciation for home-grown cherry tomatoes, and inexplicable tolerance for spinach (despite my general dislike for vegetables), this was a truly exciting collection of delights! “Palak dal!!!”, I thought to myself, excitedly. And so, I cooked us up a big pot of the stuff:
If you’d like to give it a go, here’s what you will need:
Ingredients:
(A quick note: You can adjust the level of spice easily. In the list of ingredients in the recipe below, I have provided a range of amounts for various spices; you can decide for yourself how much you’d like to use 🙂)
1 cup lentils (I find that a mix of lentils is great for this recipe. I use Pesara Pappu (Moong Dal in Hindi); Toor Dal, and/or Masoor Dal)
1/2 teaspoon turmeric
3-4 cloves of garlic, skinned
2-3 tablespoons of oil (I use either avocado oil or sunflower oil)
1 medium-sized onions (red or yellow) chopped (I prefer red onions, they seem to be more pungent)
1 teaspoon grated ginger
3-6 fresh chilies, chopped or cut length-wise (You can reduce this amount if you don’t want the dal to be too hot/spicy)
1.5 – 2 cups of cherry tomatoes, halved (you can also use two medium sized tomatoes)
1/2 – 1 teaspoon cumin powder
1/2 – 1 teaspoon coriander (cilantro) seed powder
1 – 3 teaspoons red chilli powder
1/2-1 teaspoon of garam masala (optional)
2 cups of baby spinach (250 g)
Salt to taste
Ingredients for the popu/tadka/baghar:
1 teaspoon cumin seeds
3-12 dried red chilies, torn in half (depending on how hot you’d like the dal to be)
2-4 peeled garlic cloves, halved
2 pinches of asafoetida (optional)
2-3 tablespoons of oil or ghee (You can get ghee at an Indian store. However, I would recommend making your own, if you have the time. Here is my recipe, if you’re interested. If you don’t have ghee, or want to make your dal vegan, you can use sunflower oil, vegetable oil, or really any oil with a high smoking point. DO NOT USE BUTTER, it will smoke and burn before the spices are properly fried).
Method:
1. The first thing to do is to prepare the dal (lentils). Even if you don’t live in India, you should be able to get most lentils at an Indian store. I normally soak lentils for about 30 minutes, drain the water out, and add fresh water in, before I cook the lentils (this helps them cook faster and apparently helps to reduce bloating and gas: I am still looking for studies to back this up, which I will cite here when I find them). If you don’t have the time to do this, you can skip this step.
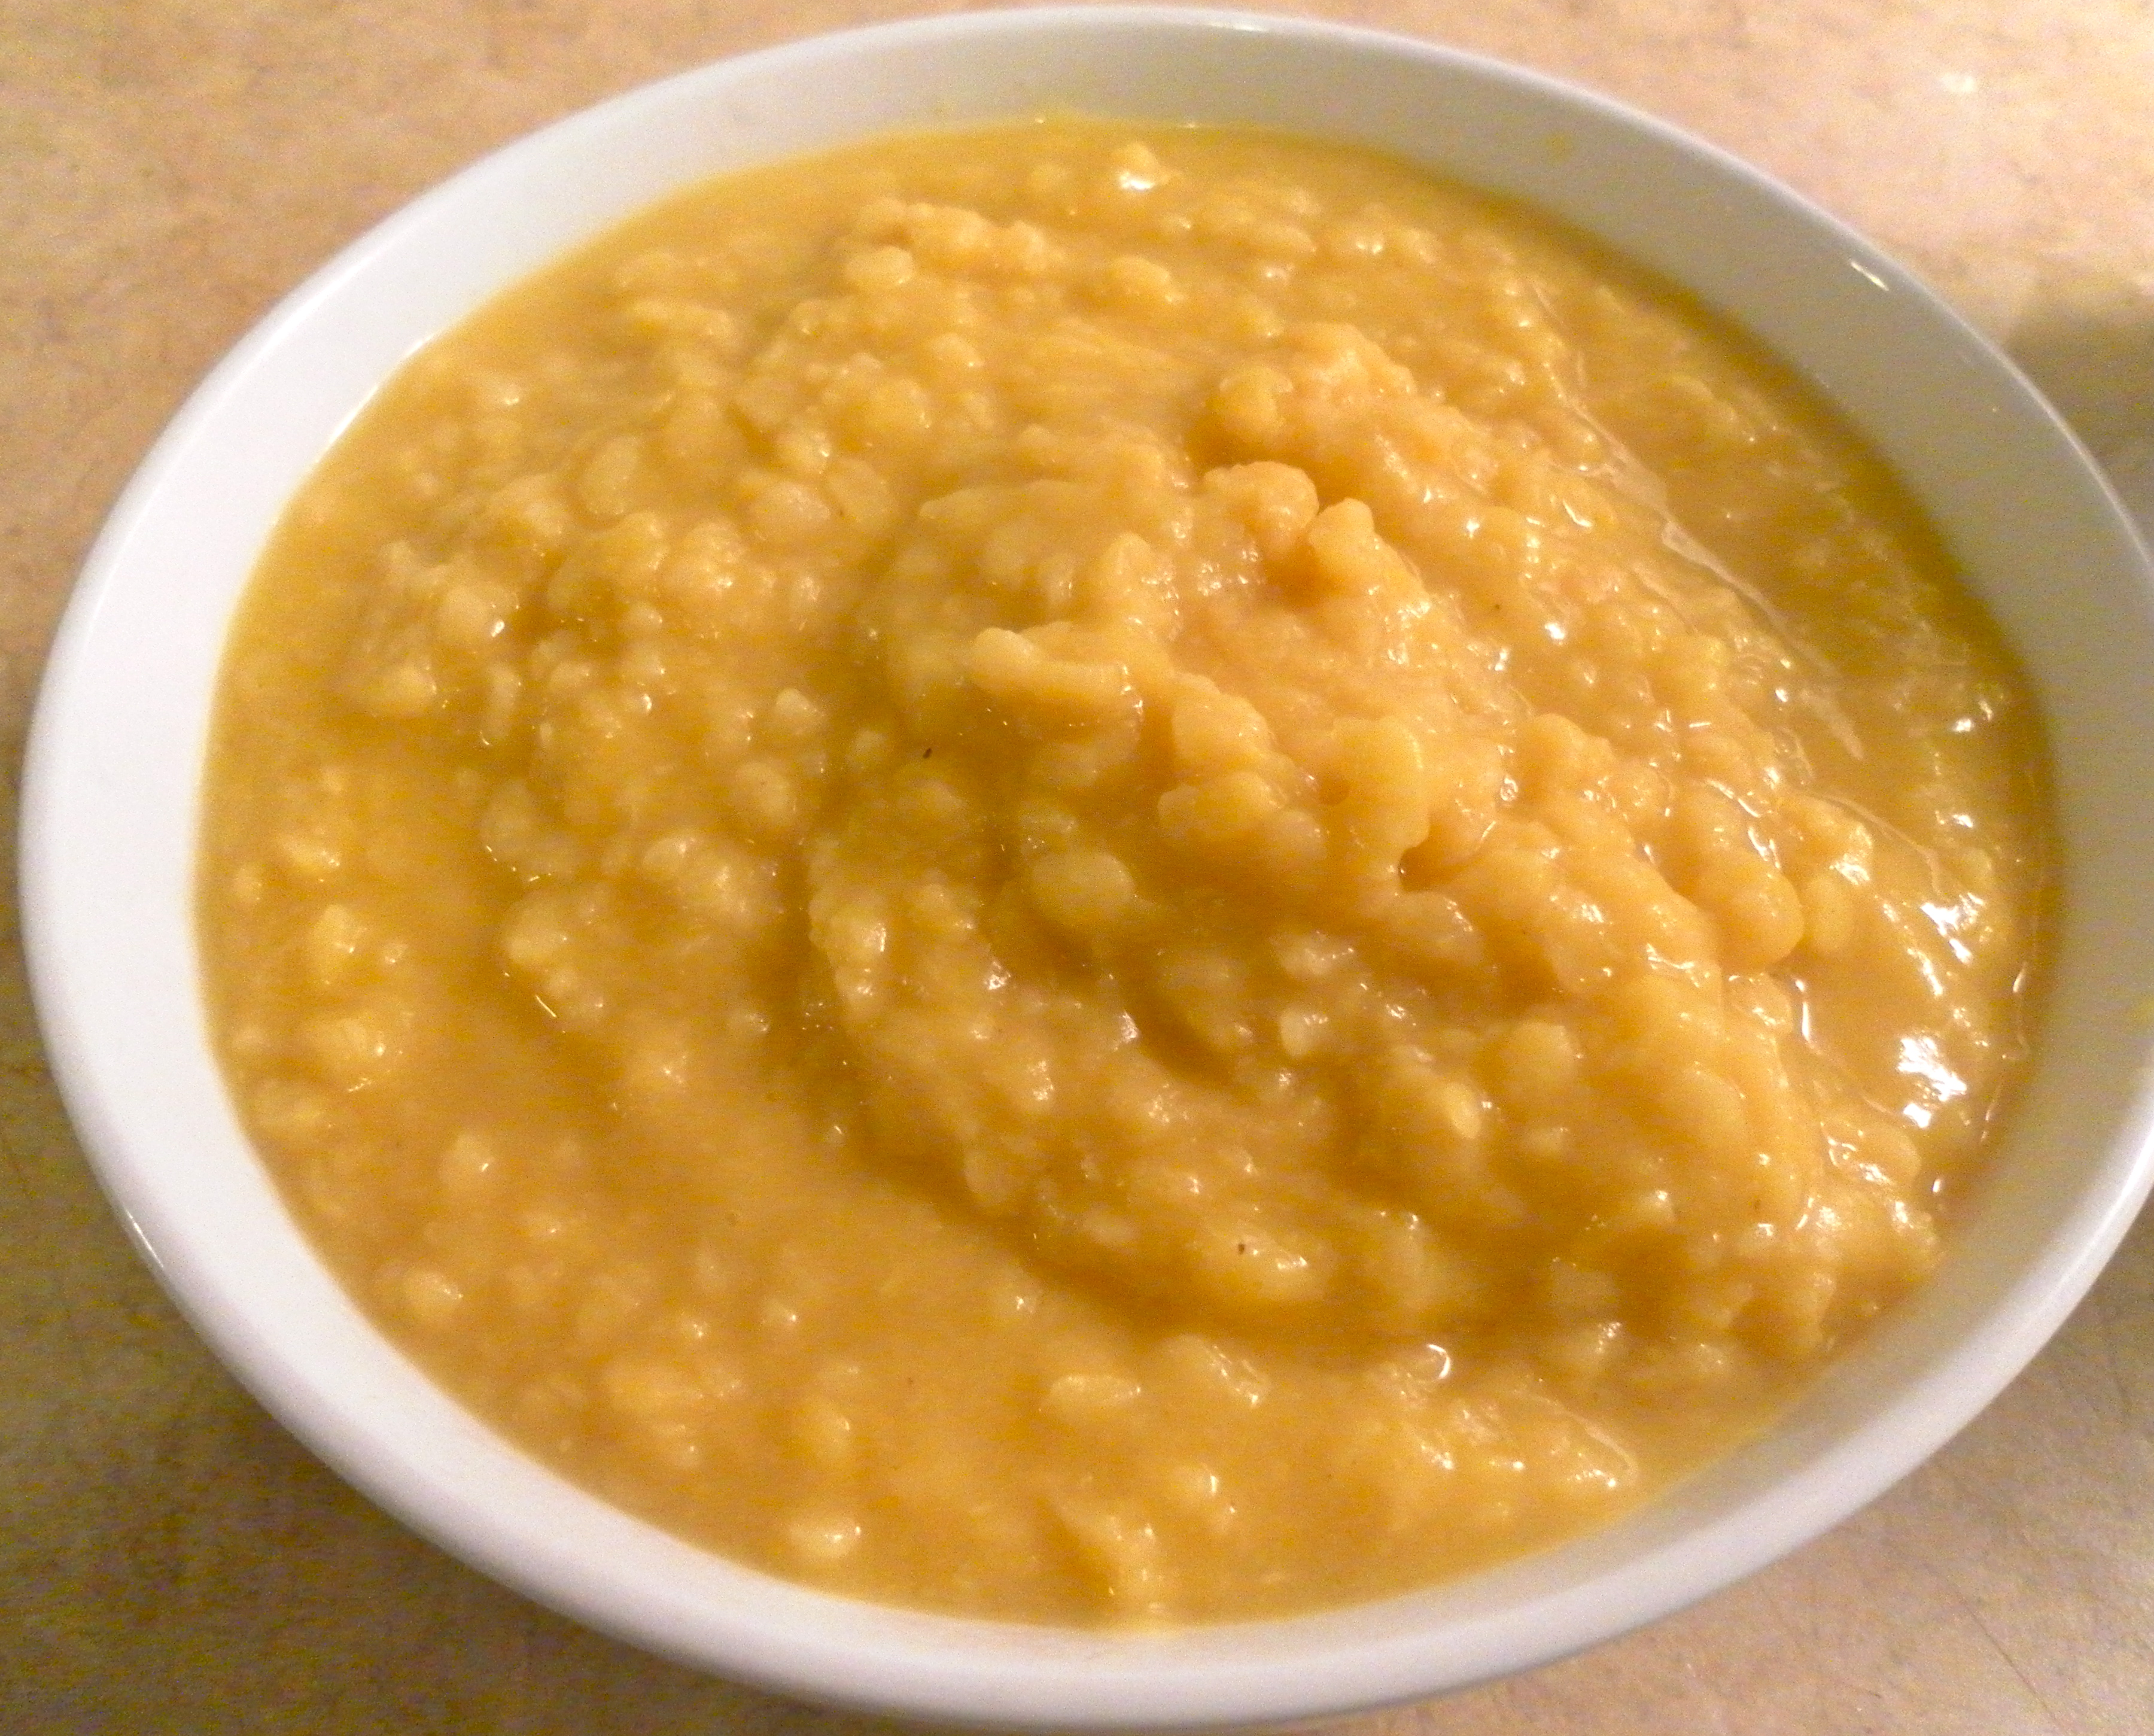
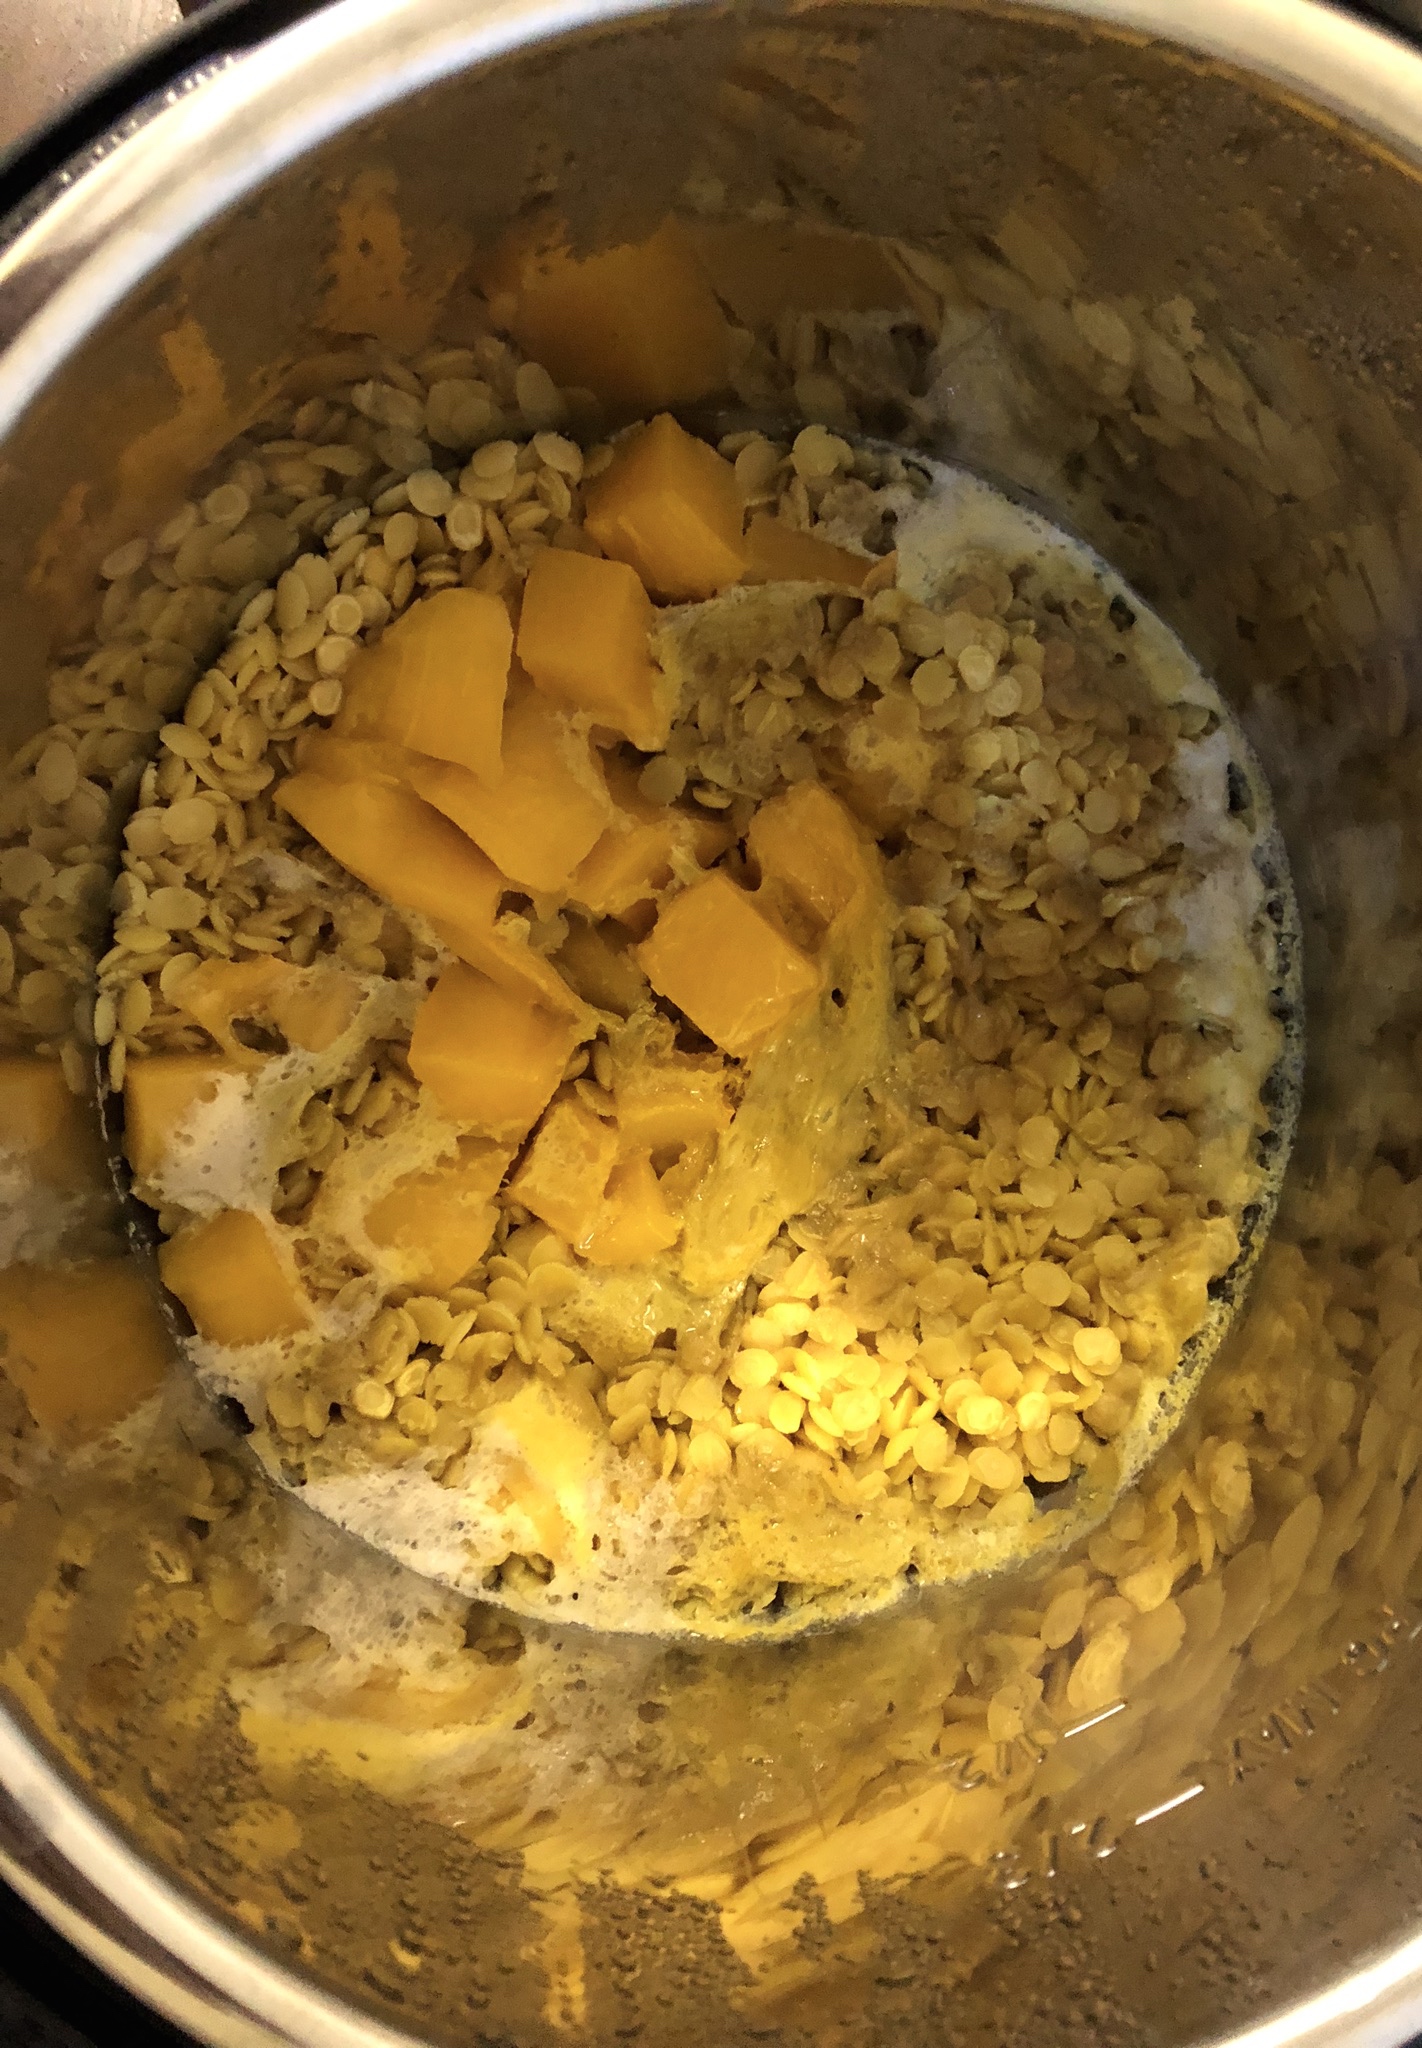
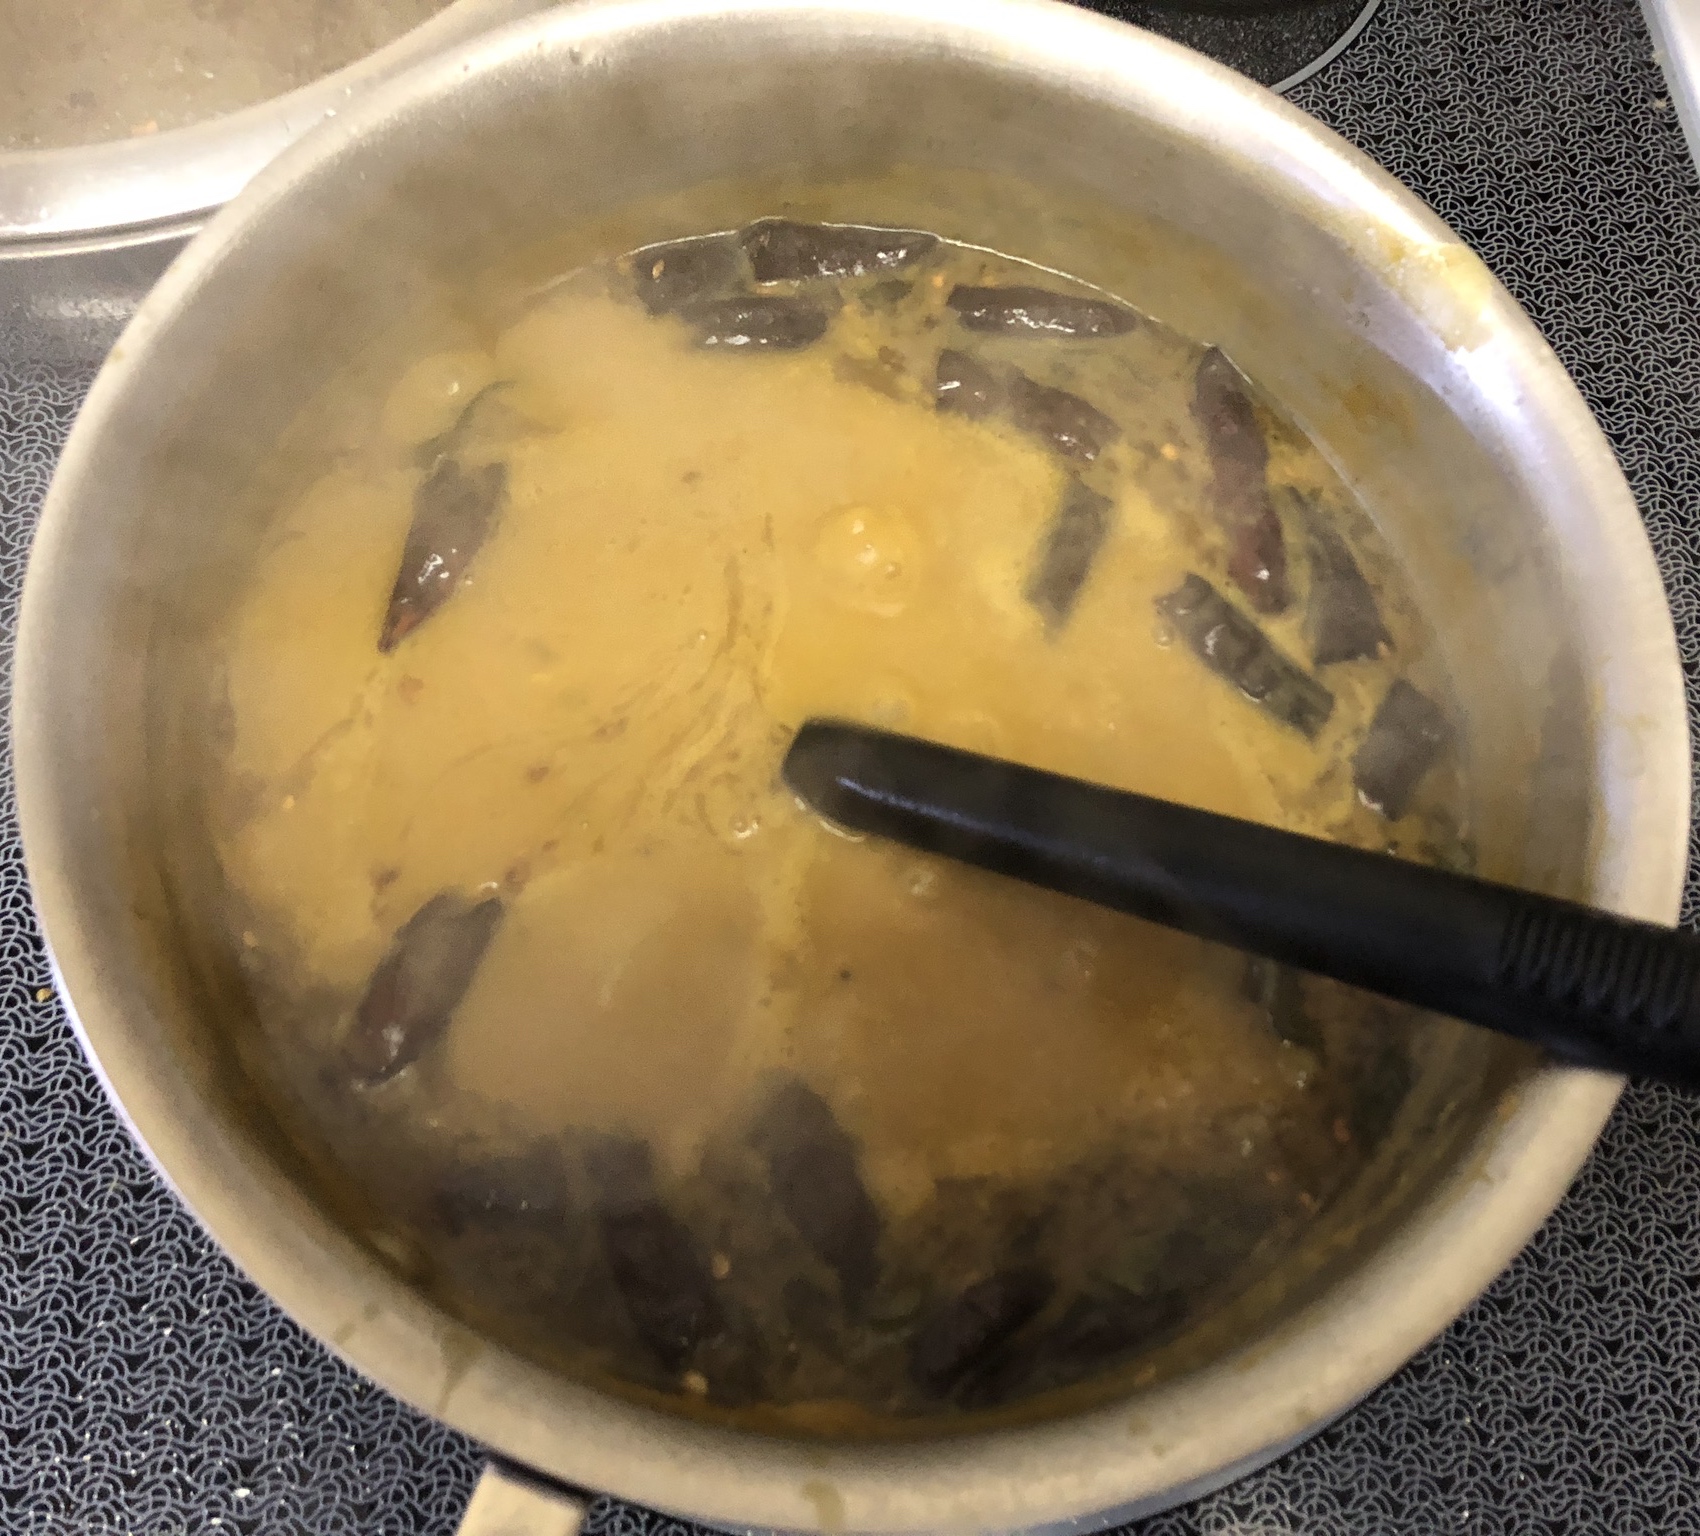
2. I tend to cook my dal in an instant pot. If you don’t have one, you can boil the dal in water until it is cooked. Add half a teaspoon each of turmeric and salt, as well as 3-4 cloves of skinned garlic to the dal before you cook it. Once it’s cooked it should look like this:
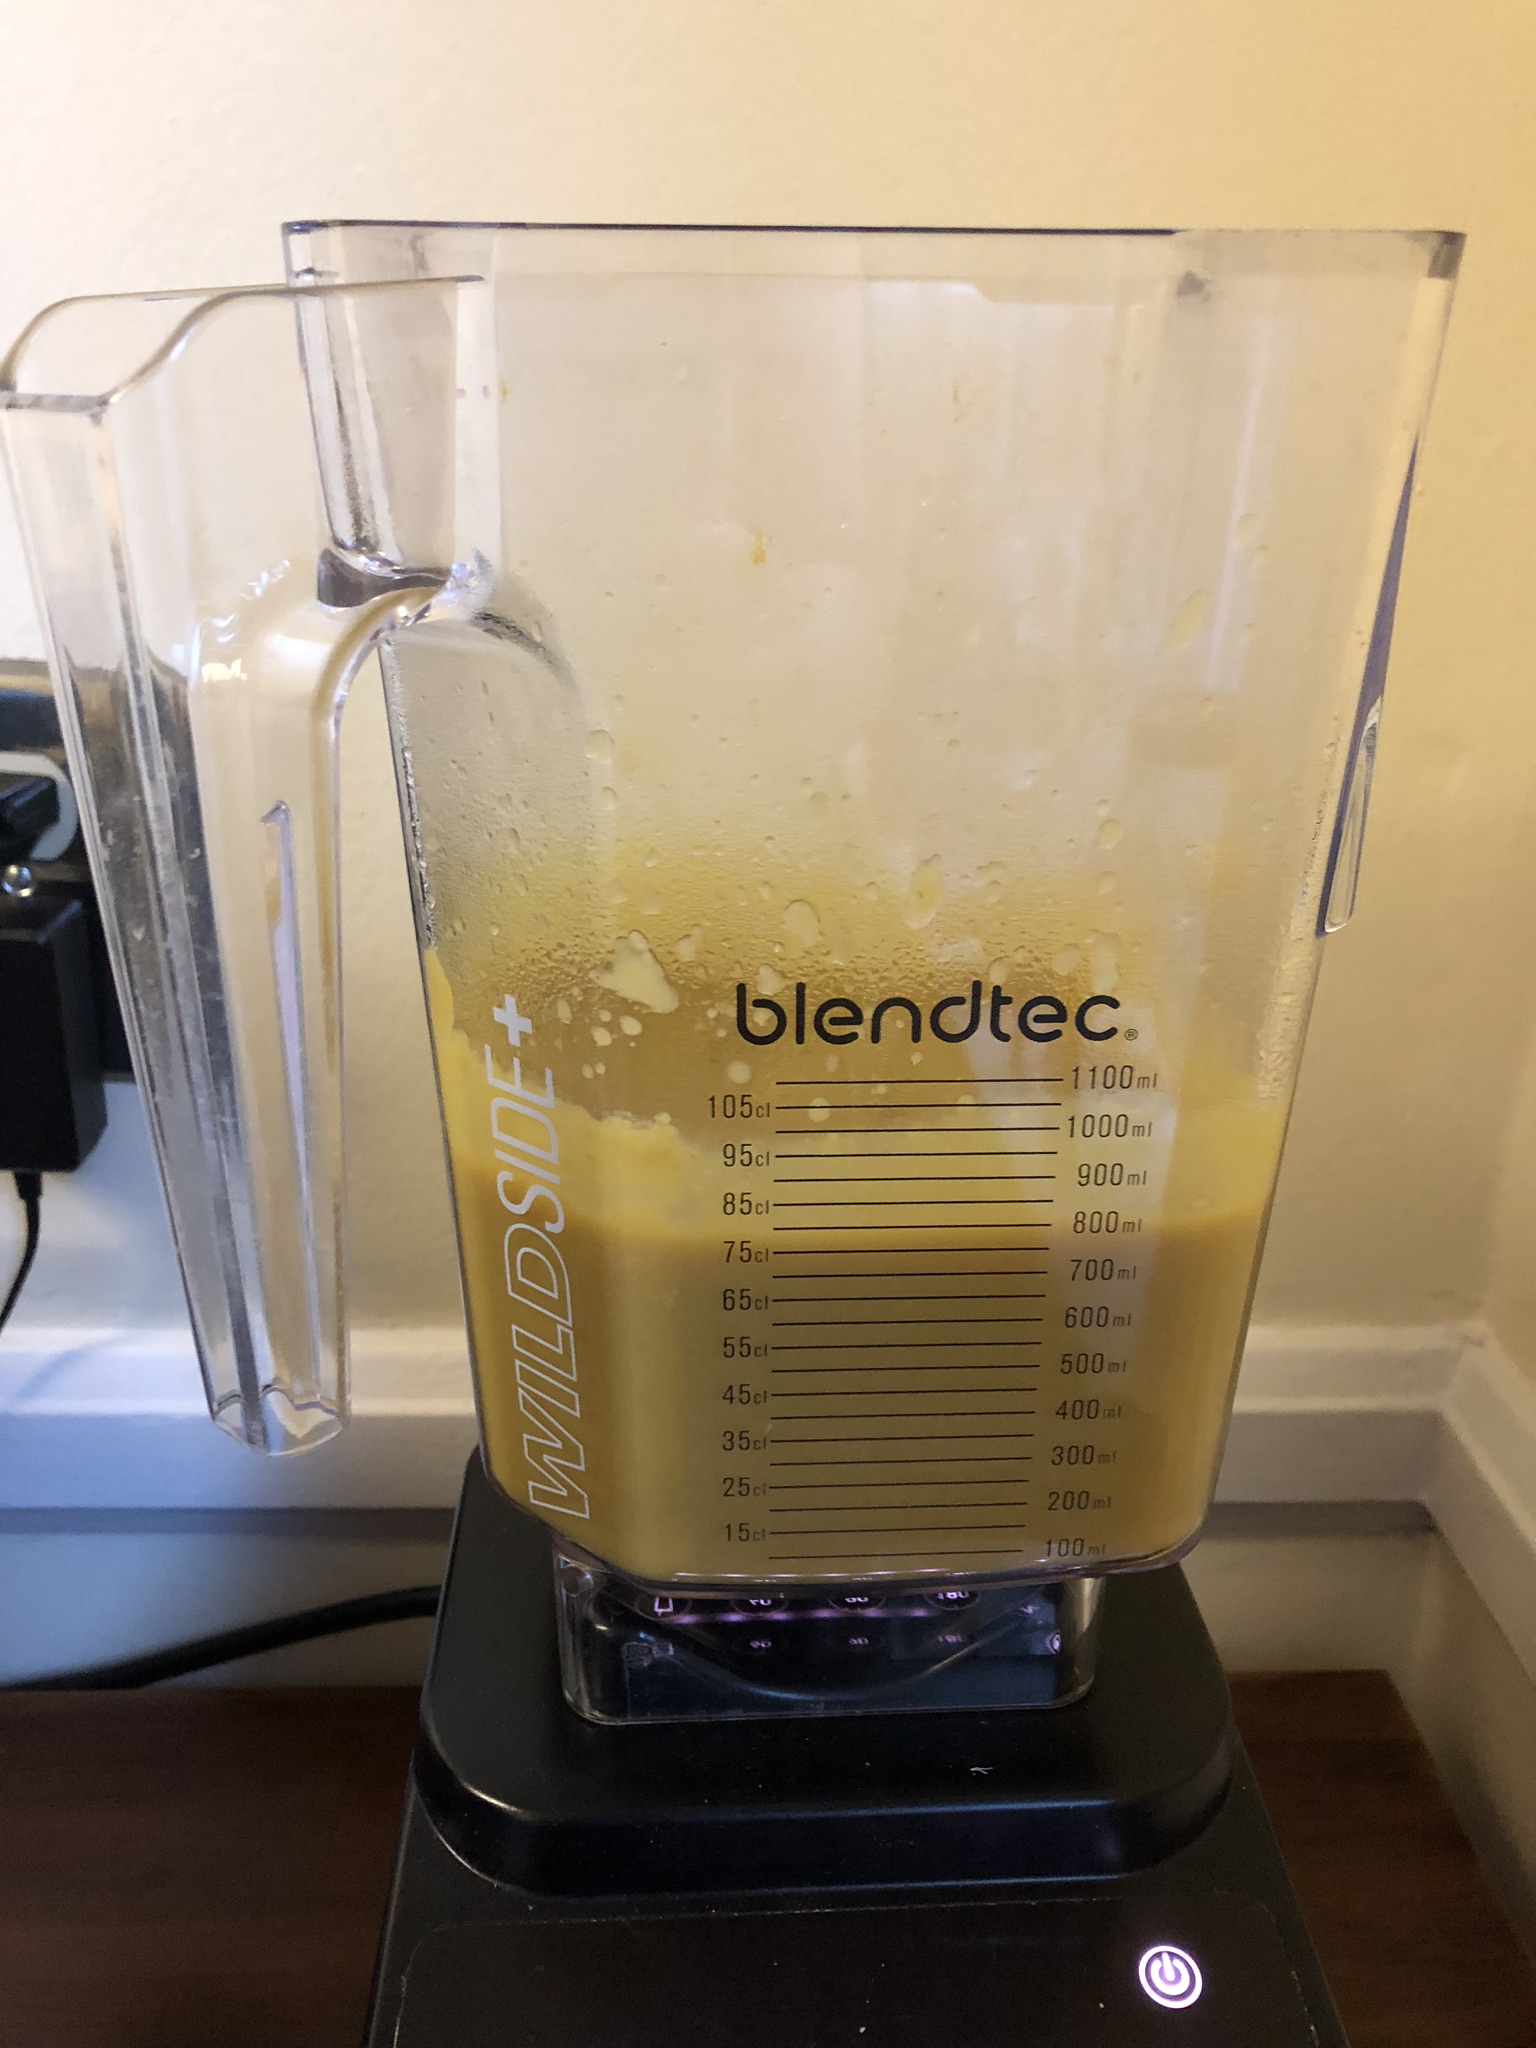
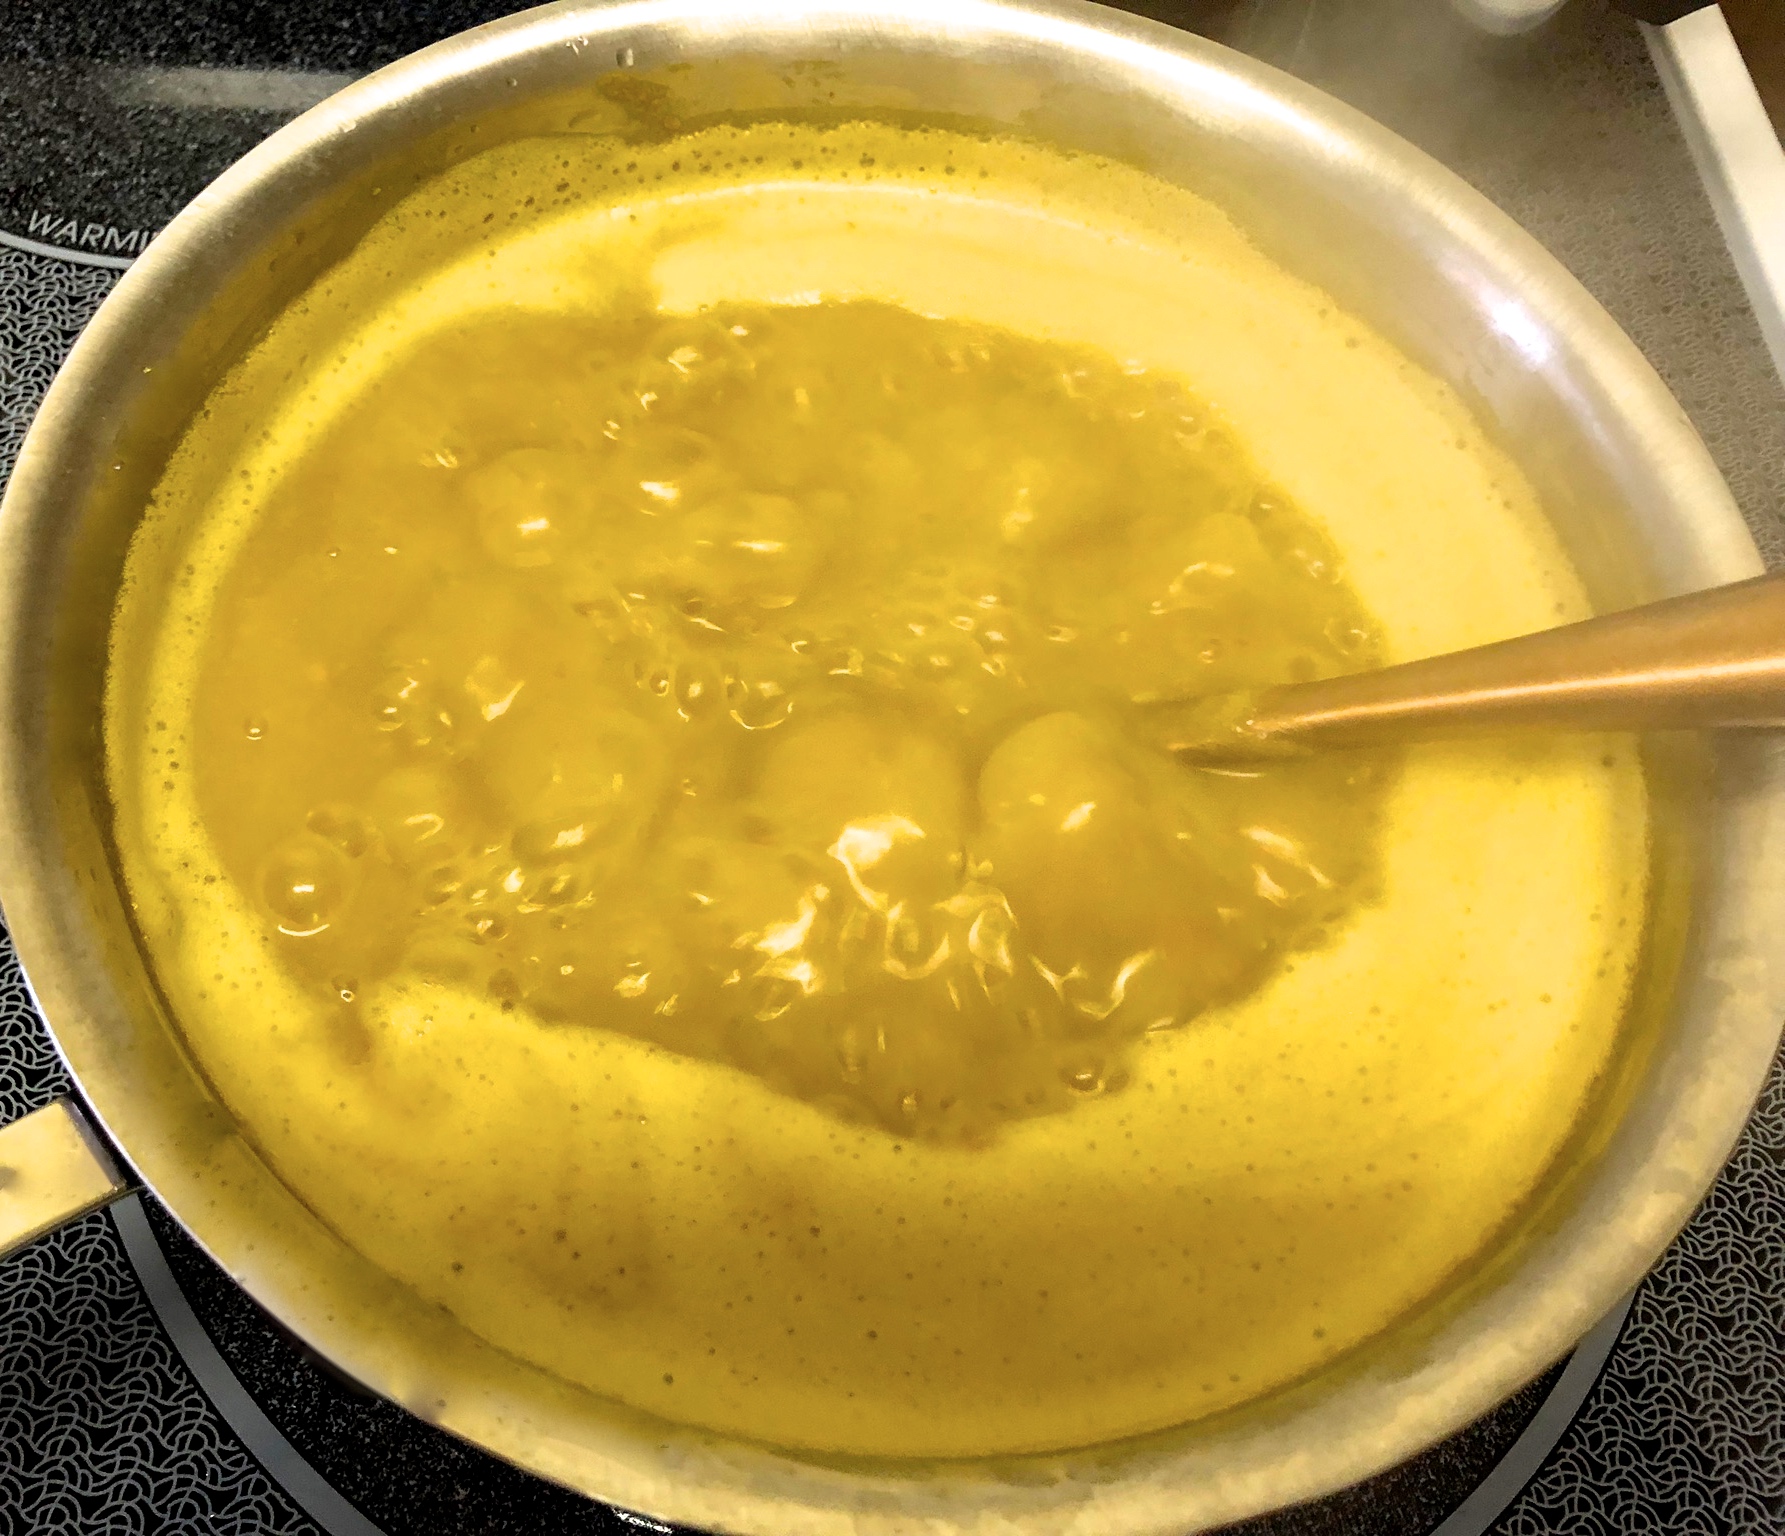
3. I like to purée the cooked dal in a food processor/blender/mixie in order to make it into a smooth paste. This makes the texture of the dal smoother and distributes flavour more evenly. This step is completely optional. You can skip it without much consequence to the taste of your dal if you do not have either the necessary equipment or the time.
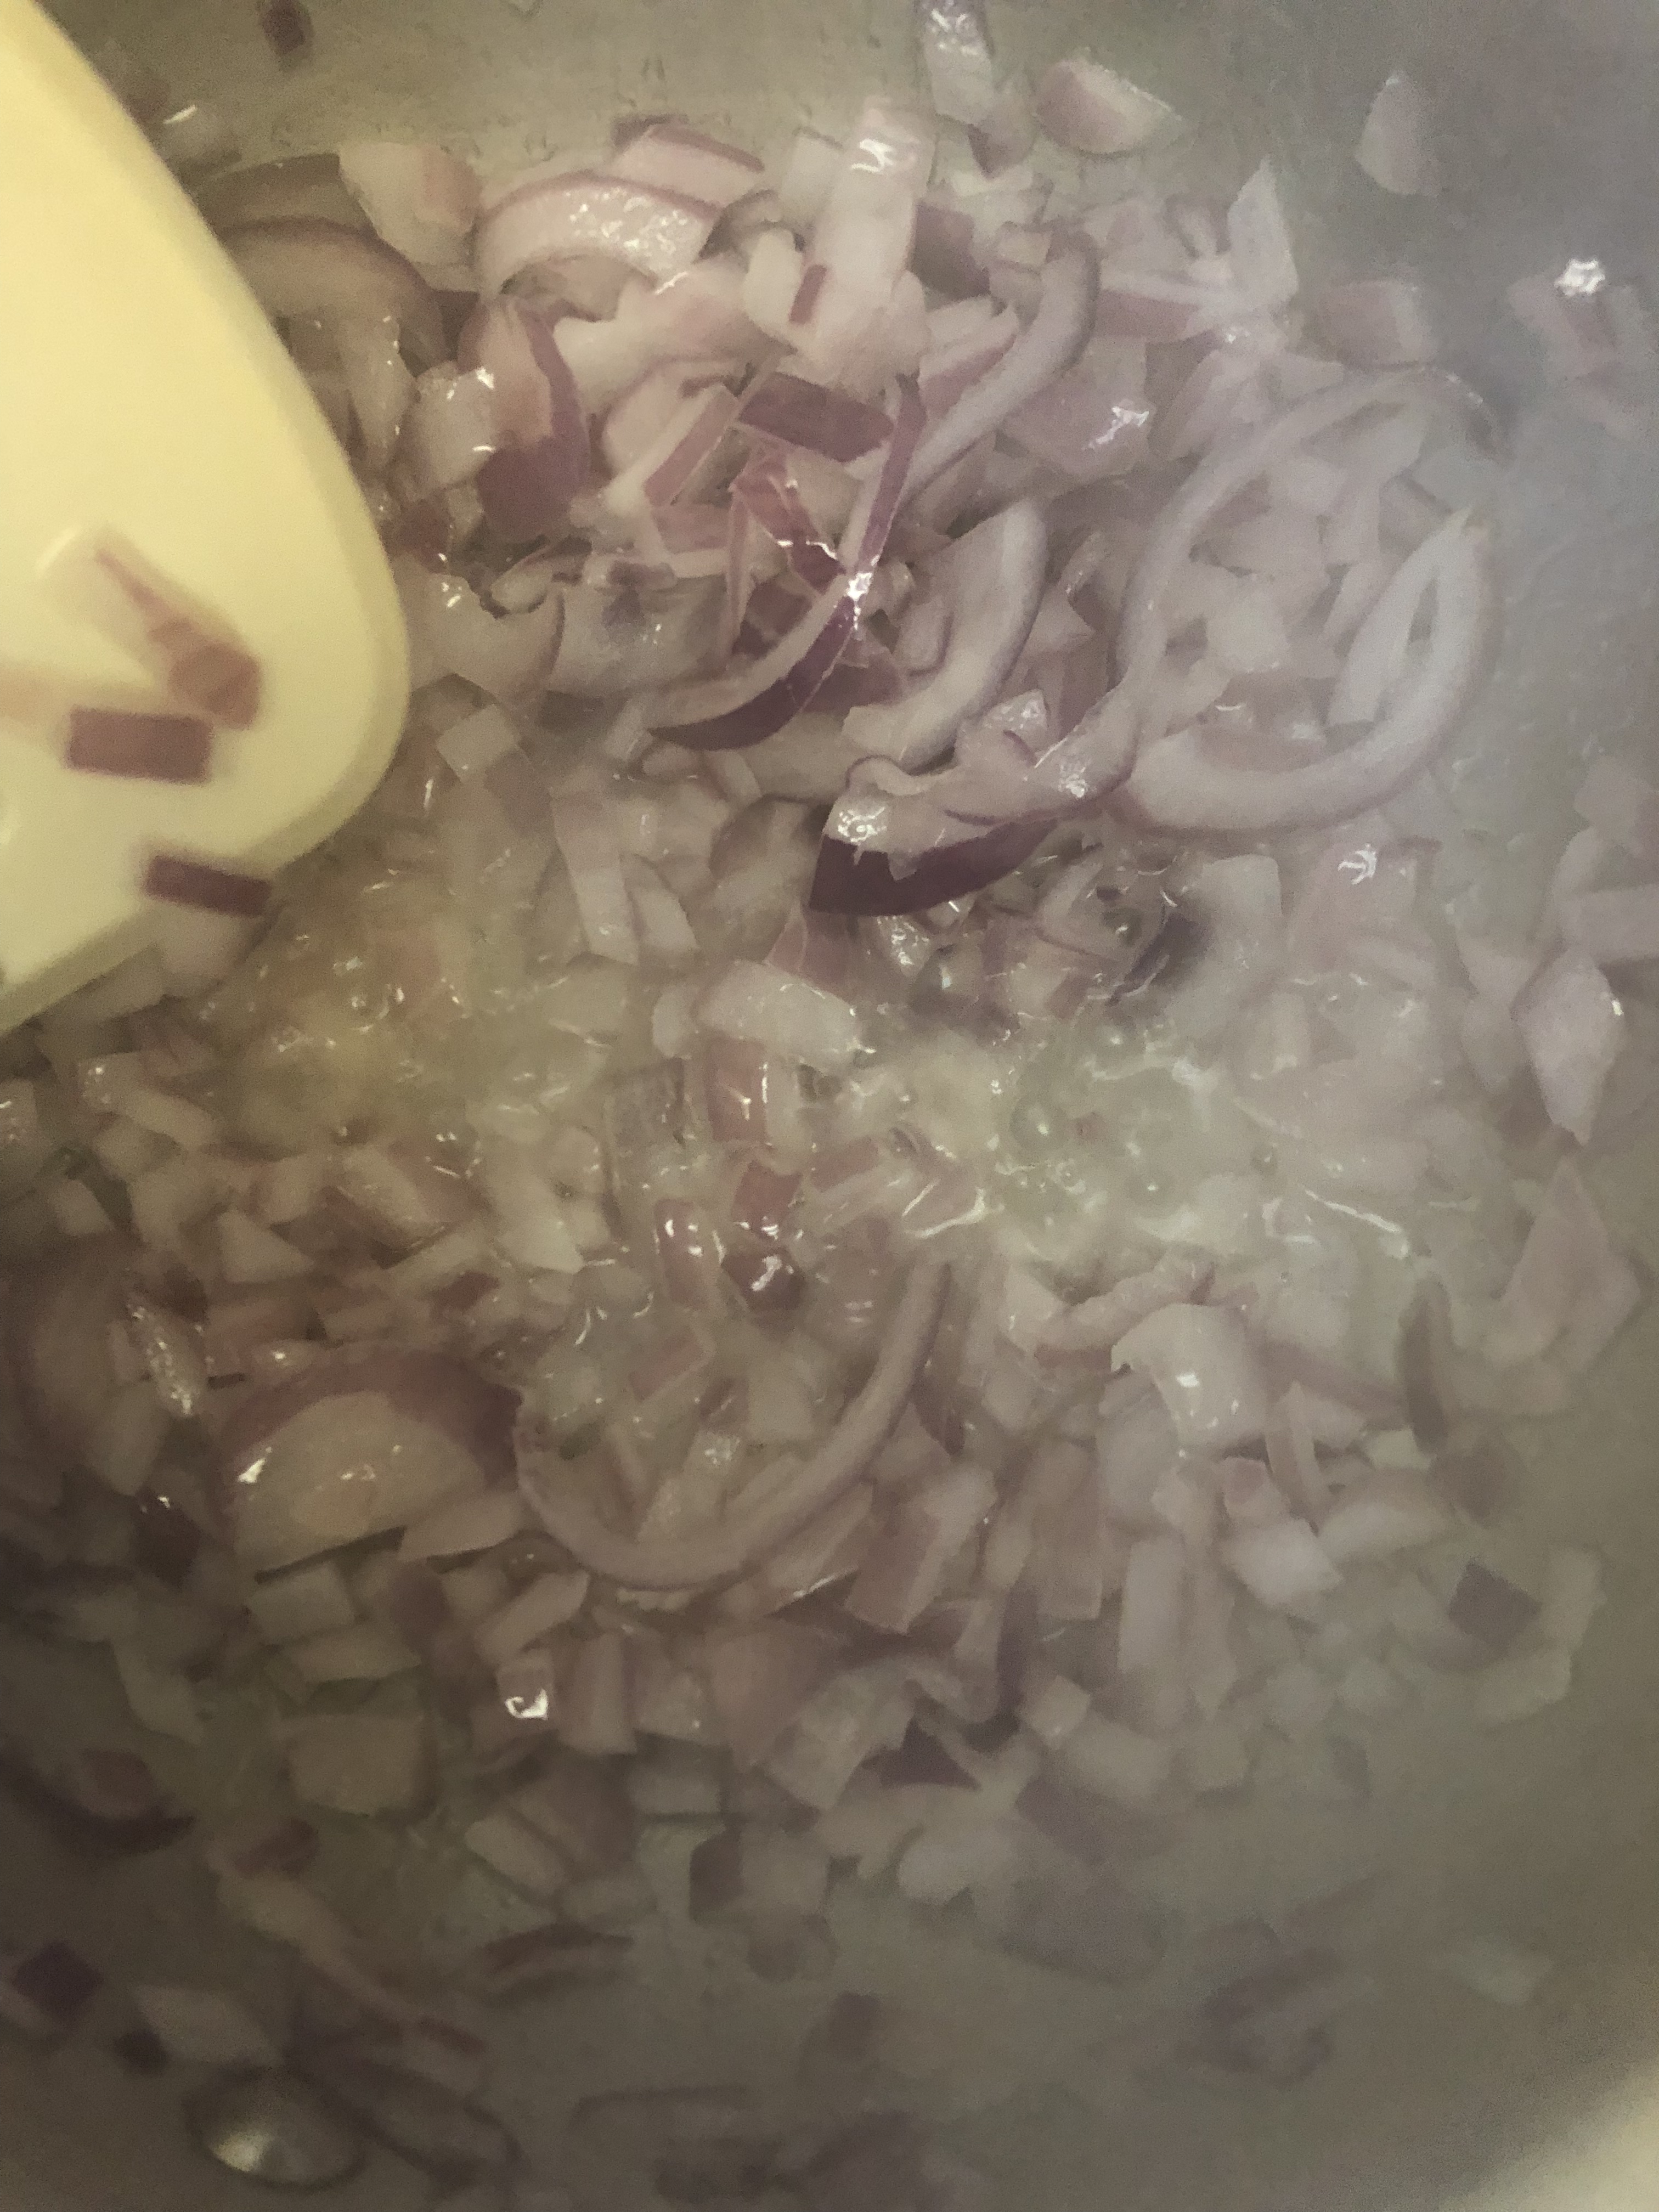
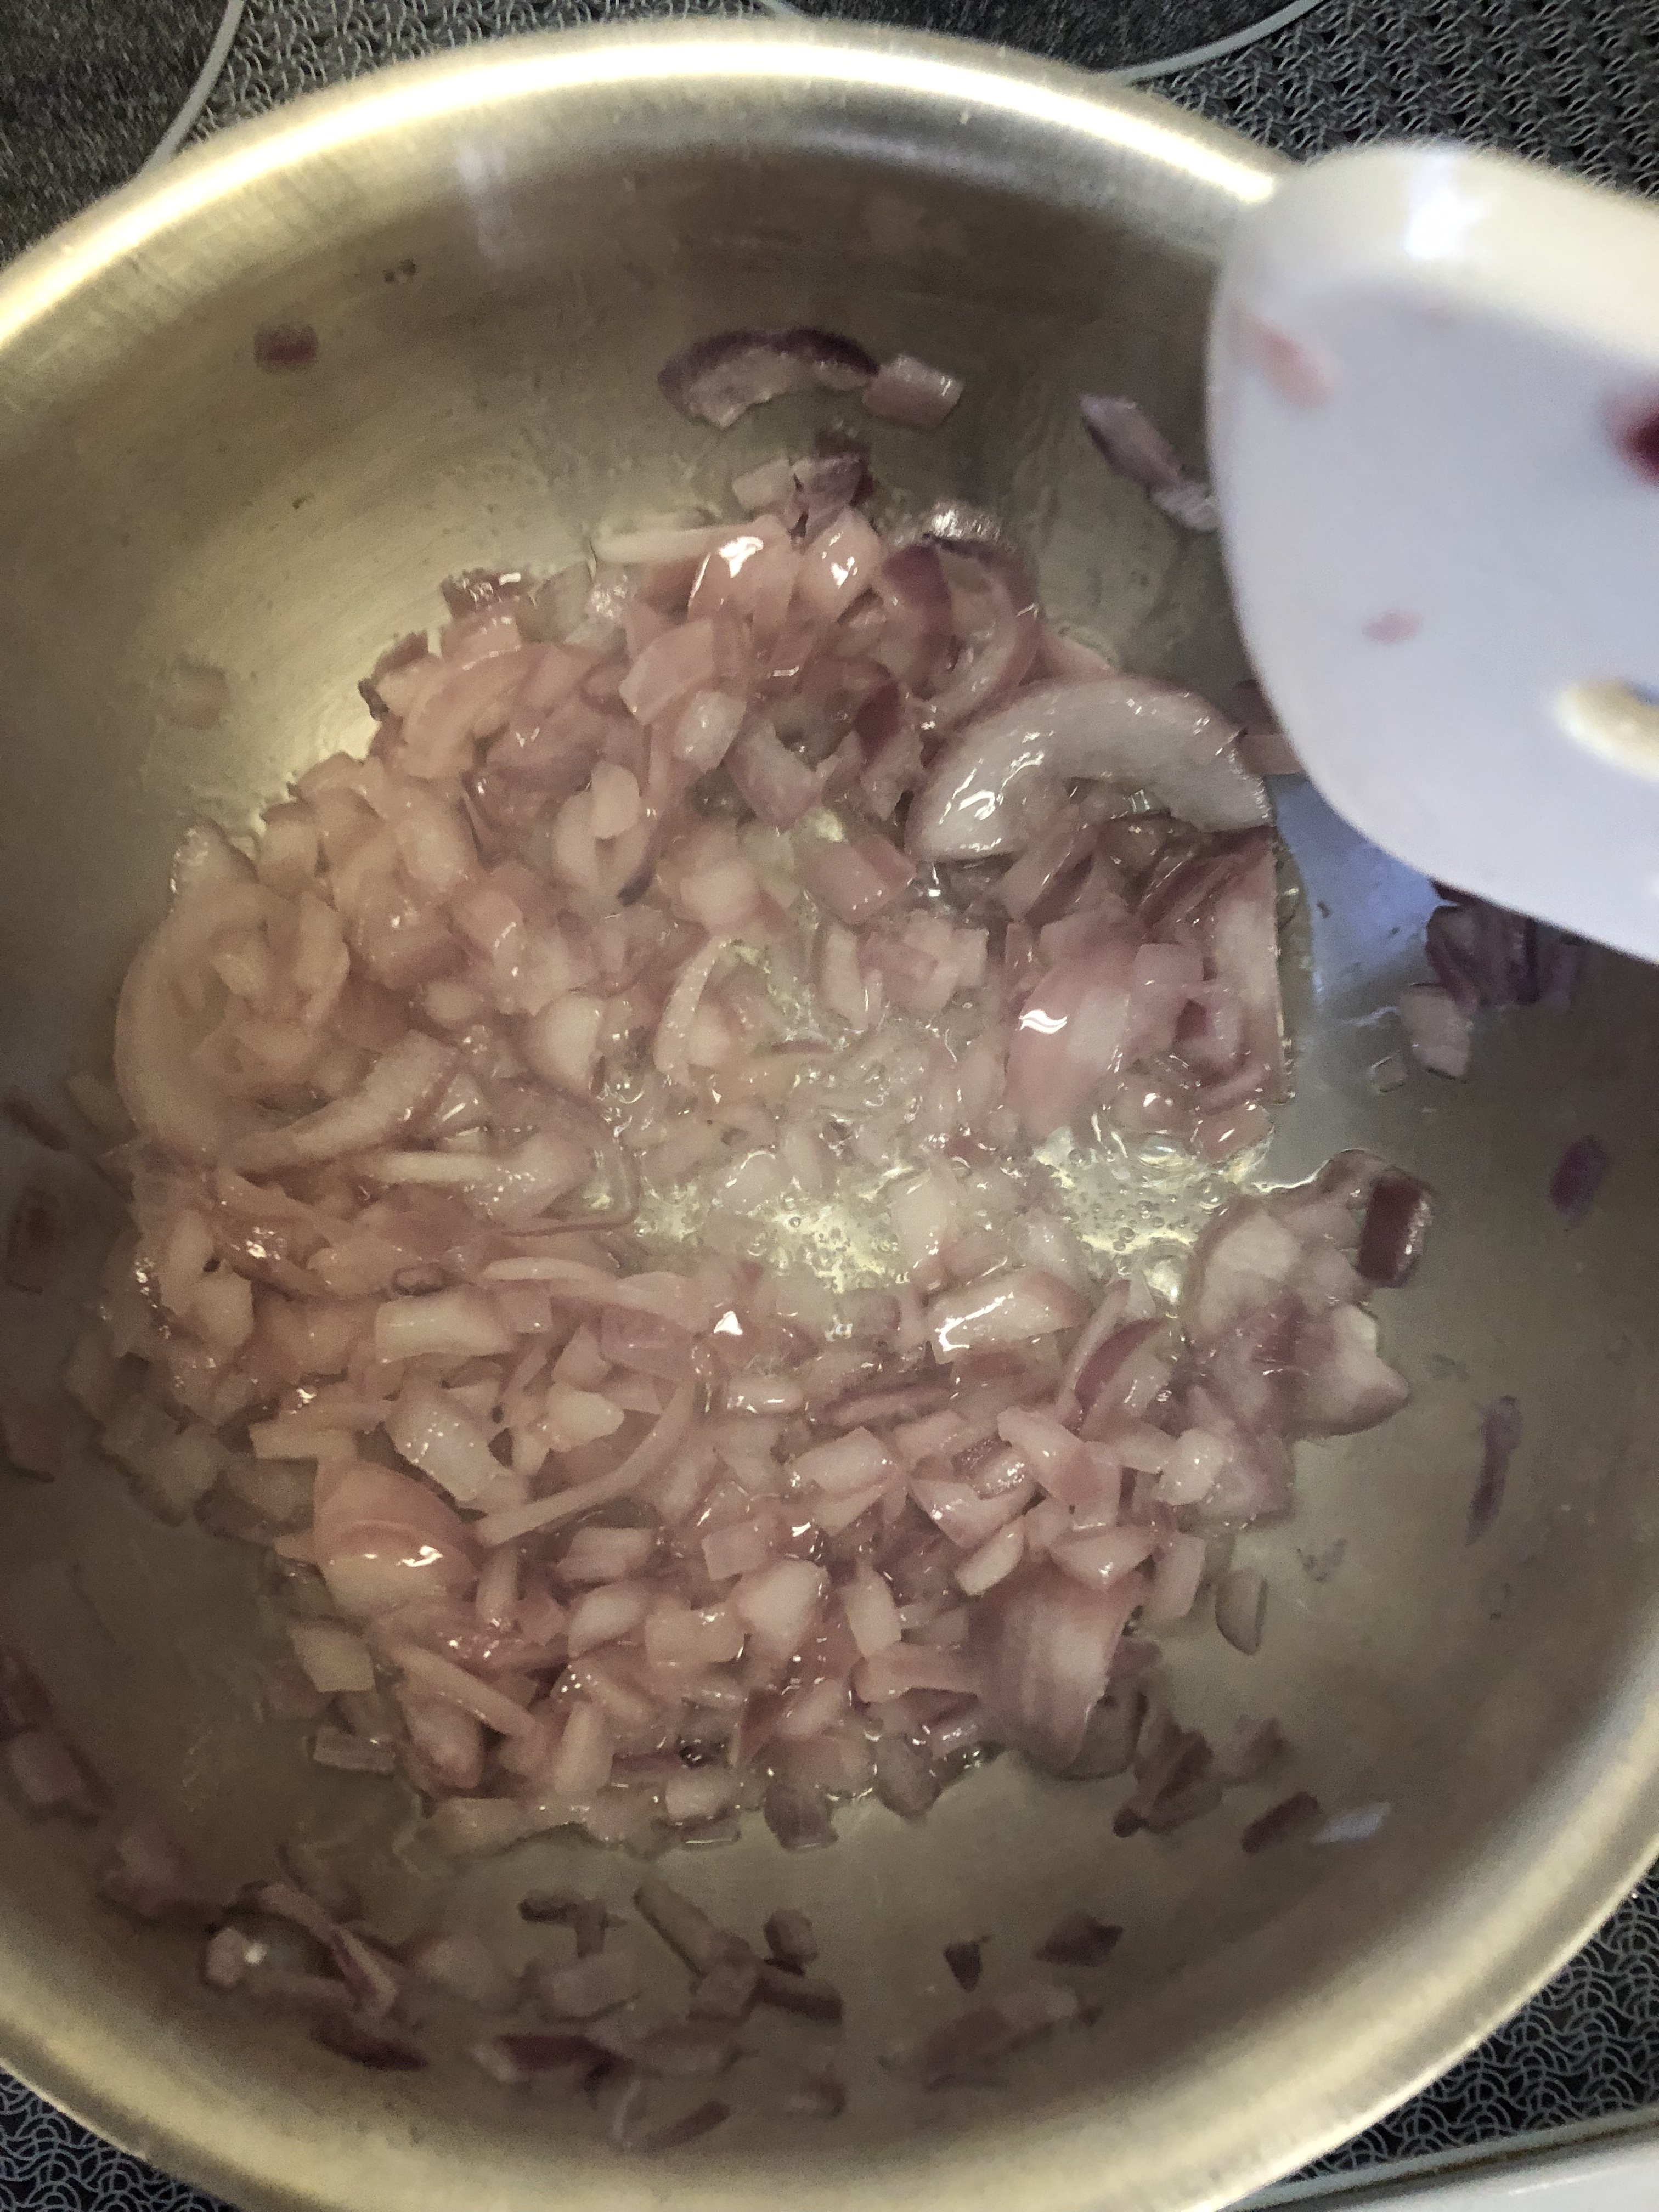
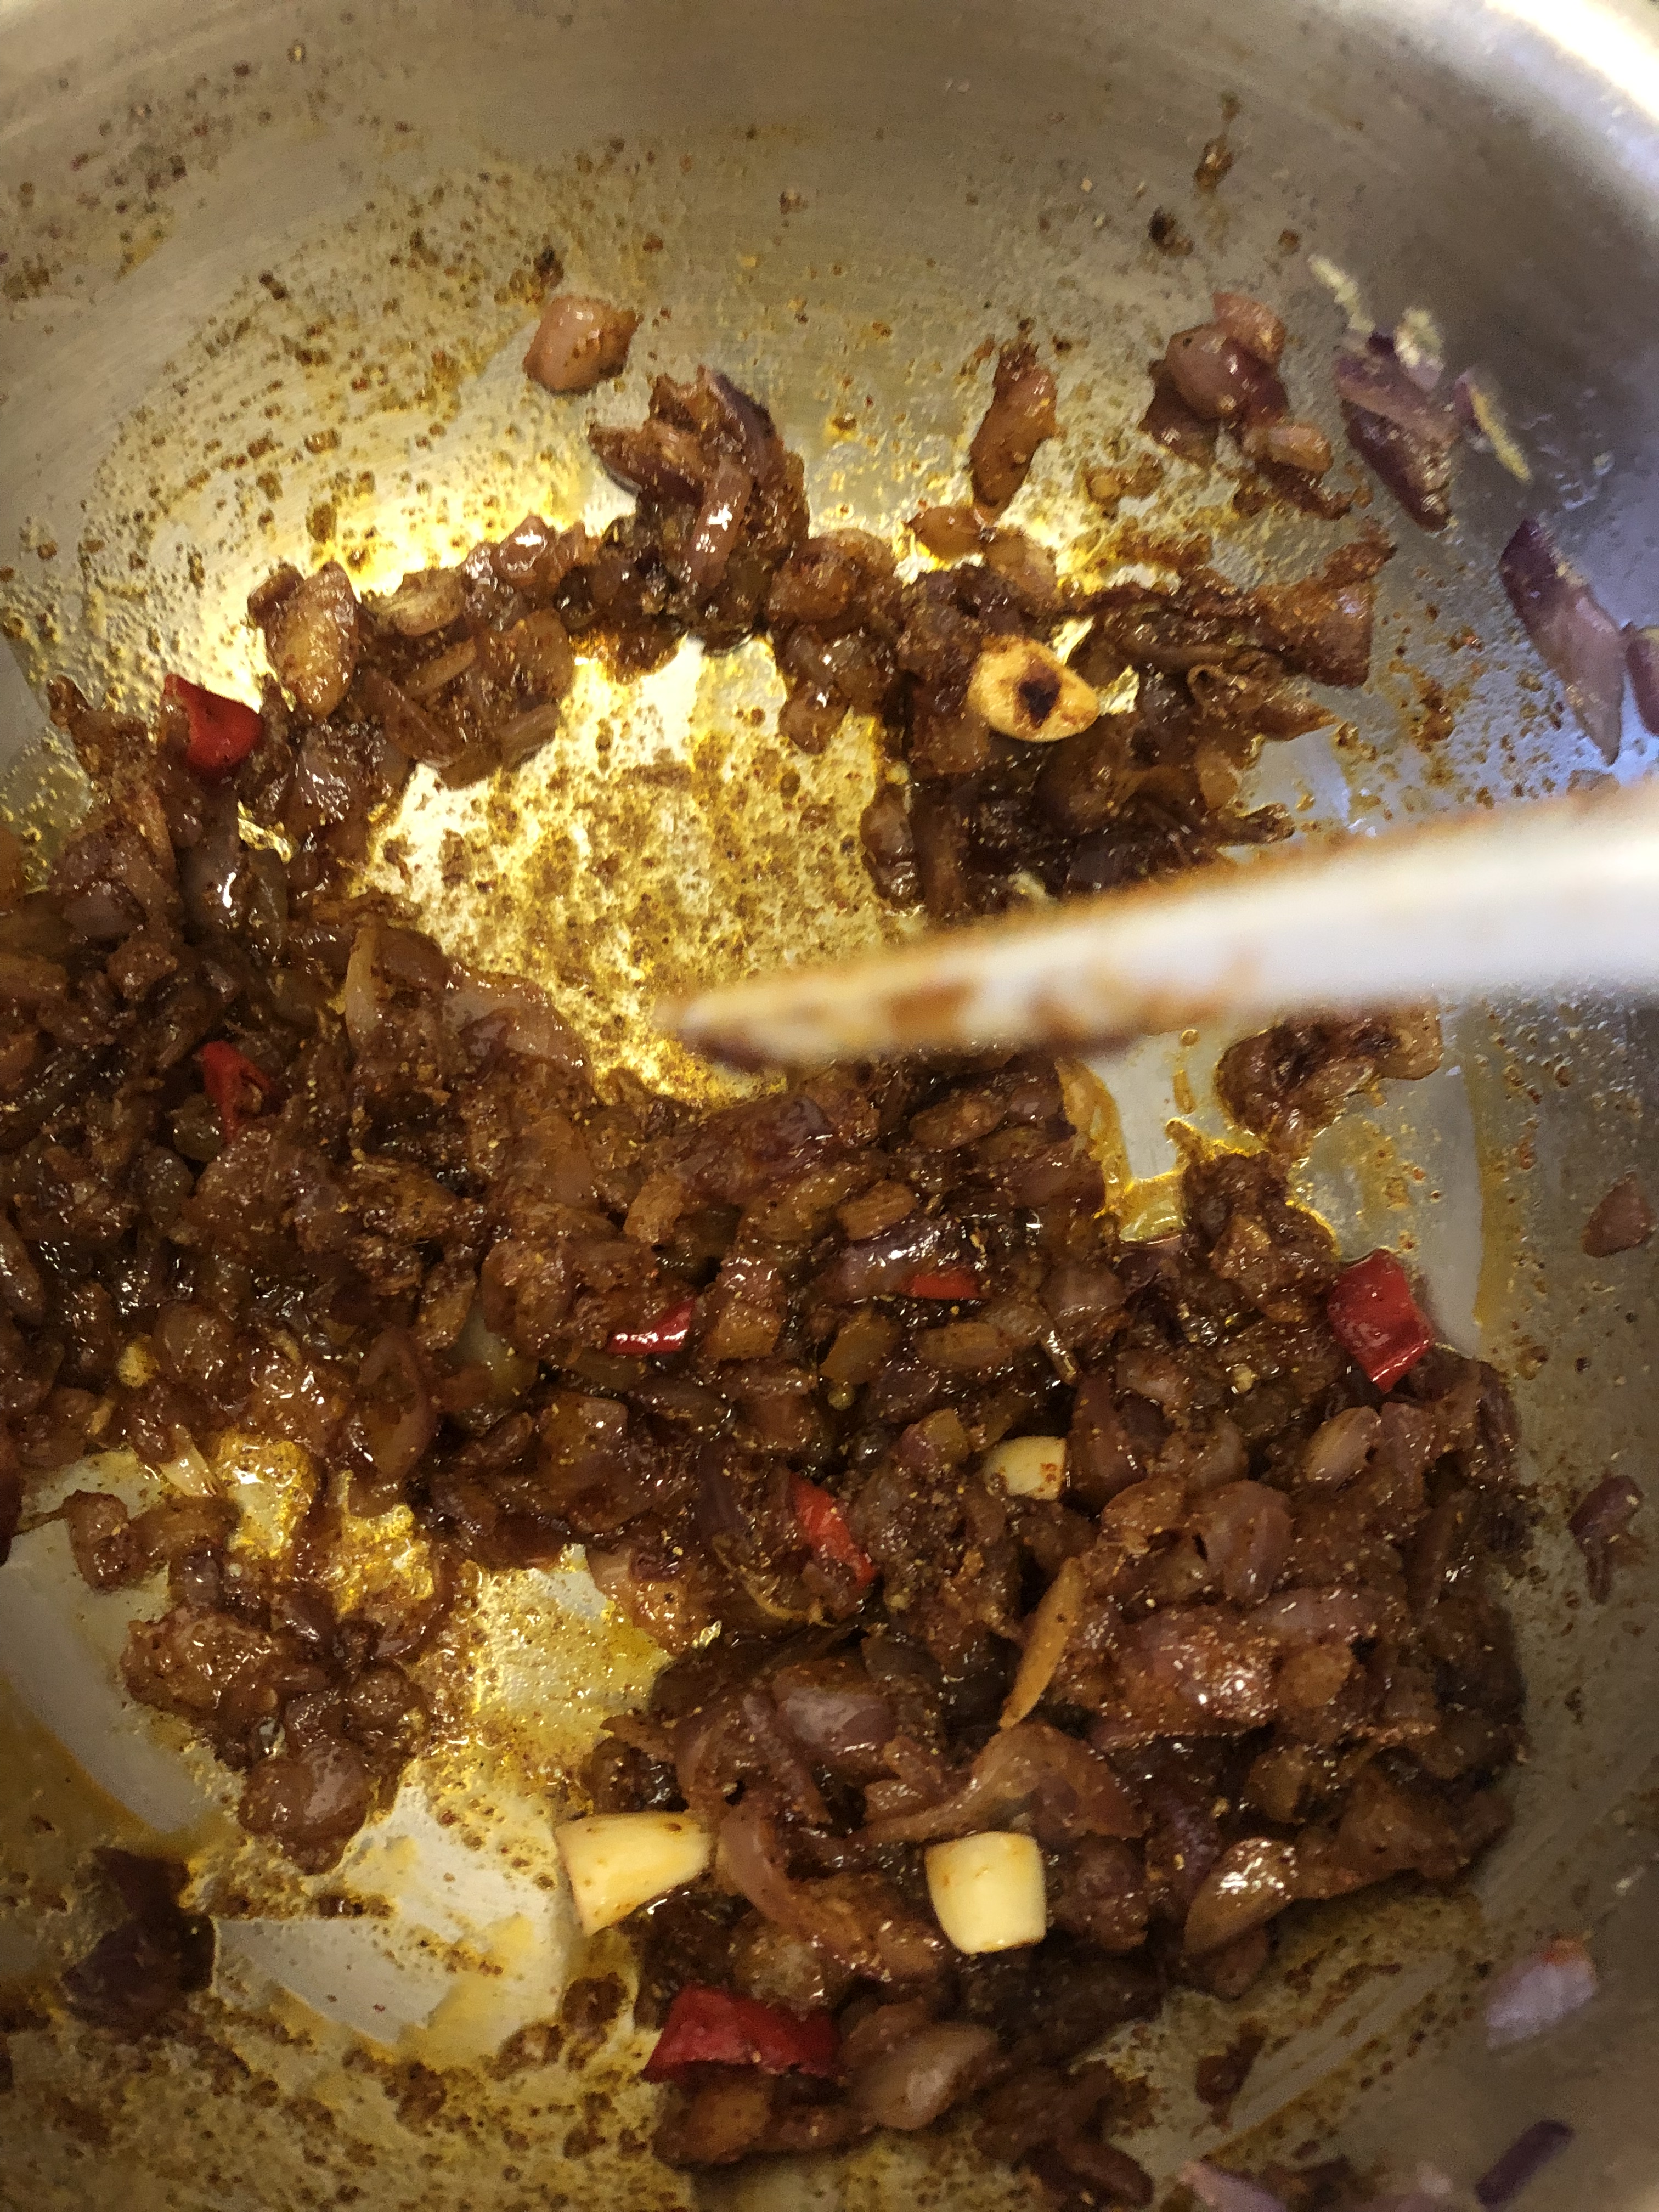
4. Next, heat 2-3 tablespoons of oil in a saucepan. When it’s hot add the chopped onions and sauté them until softened and lightly browned.

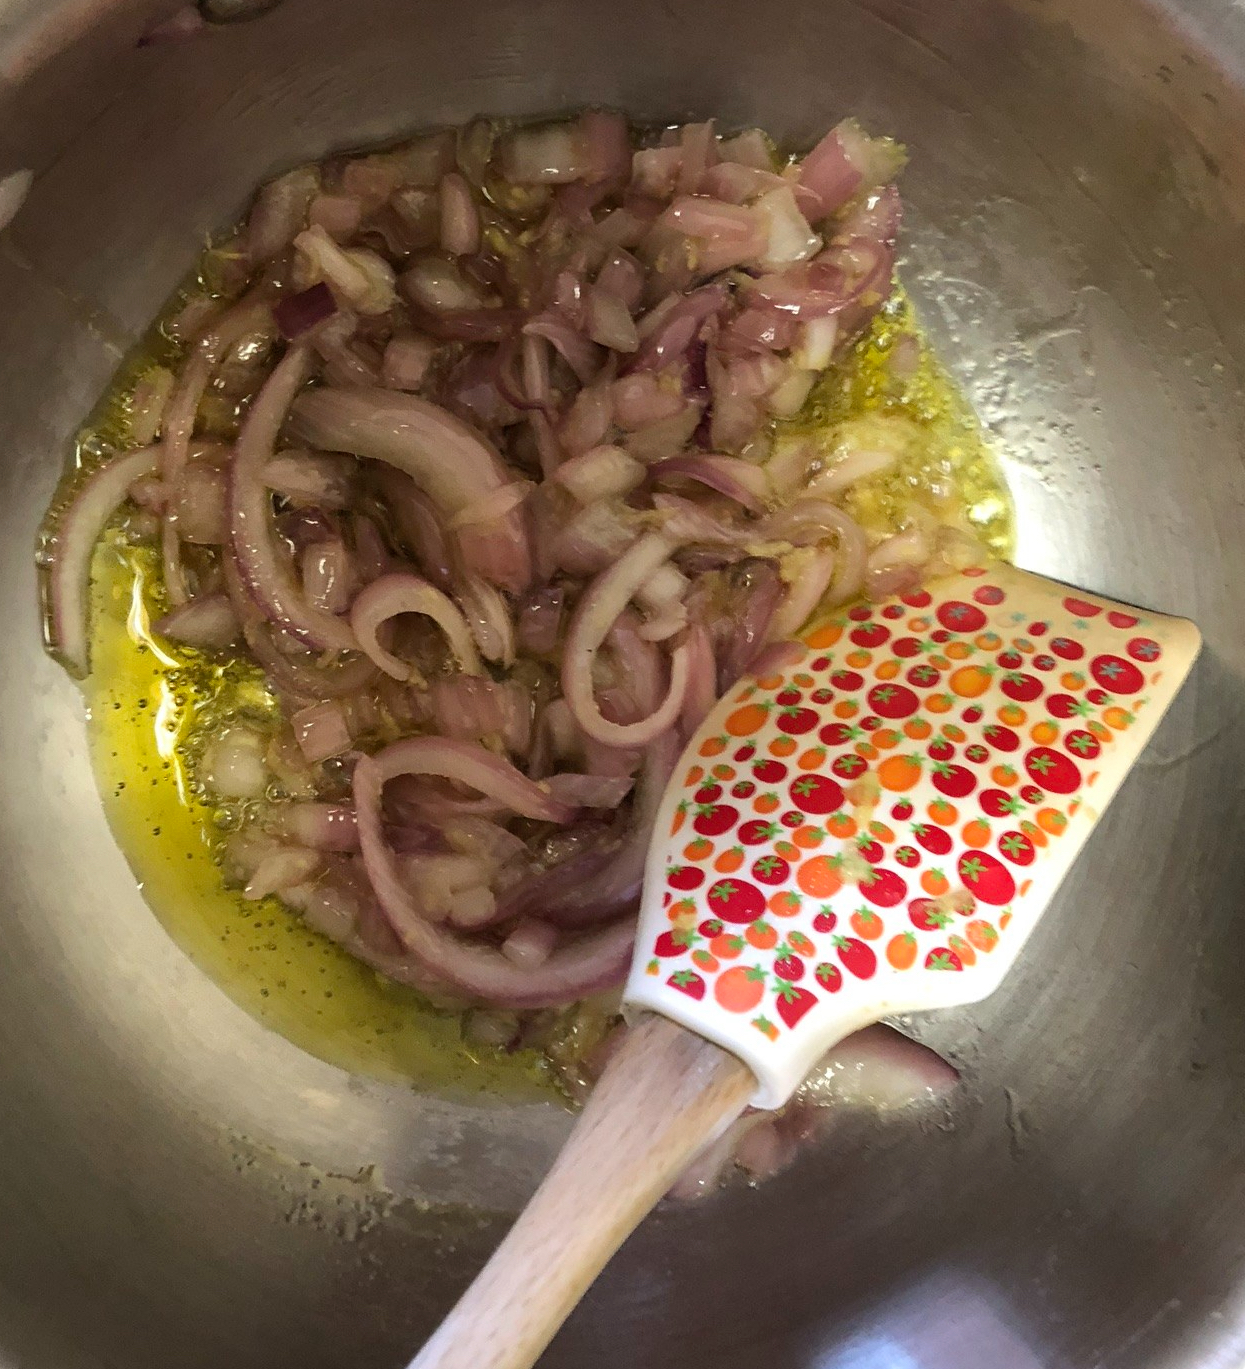
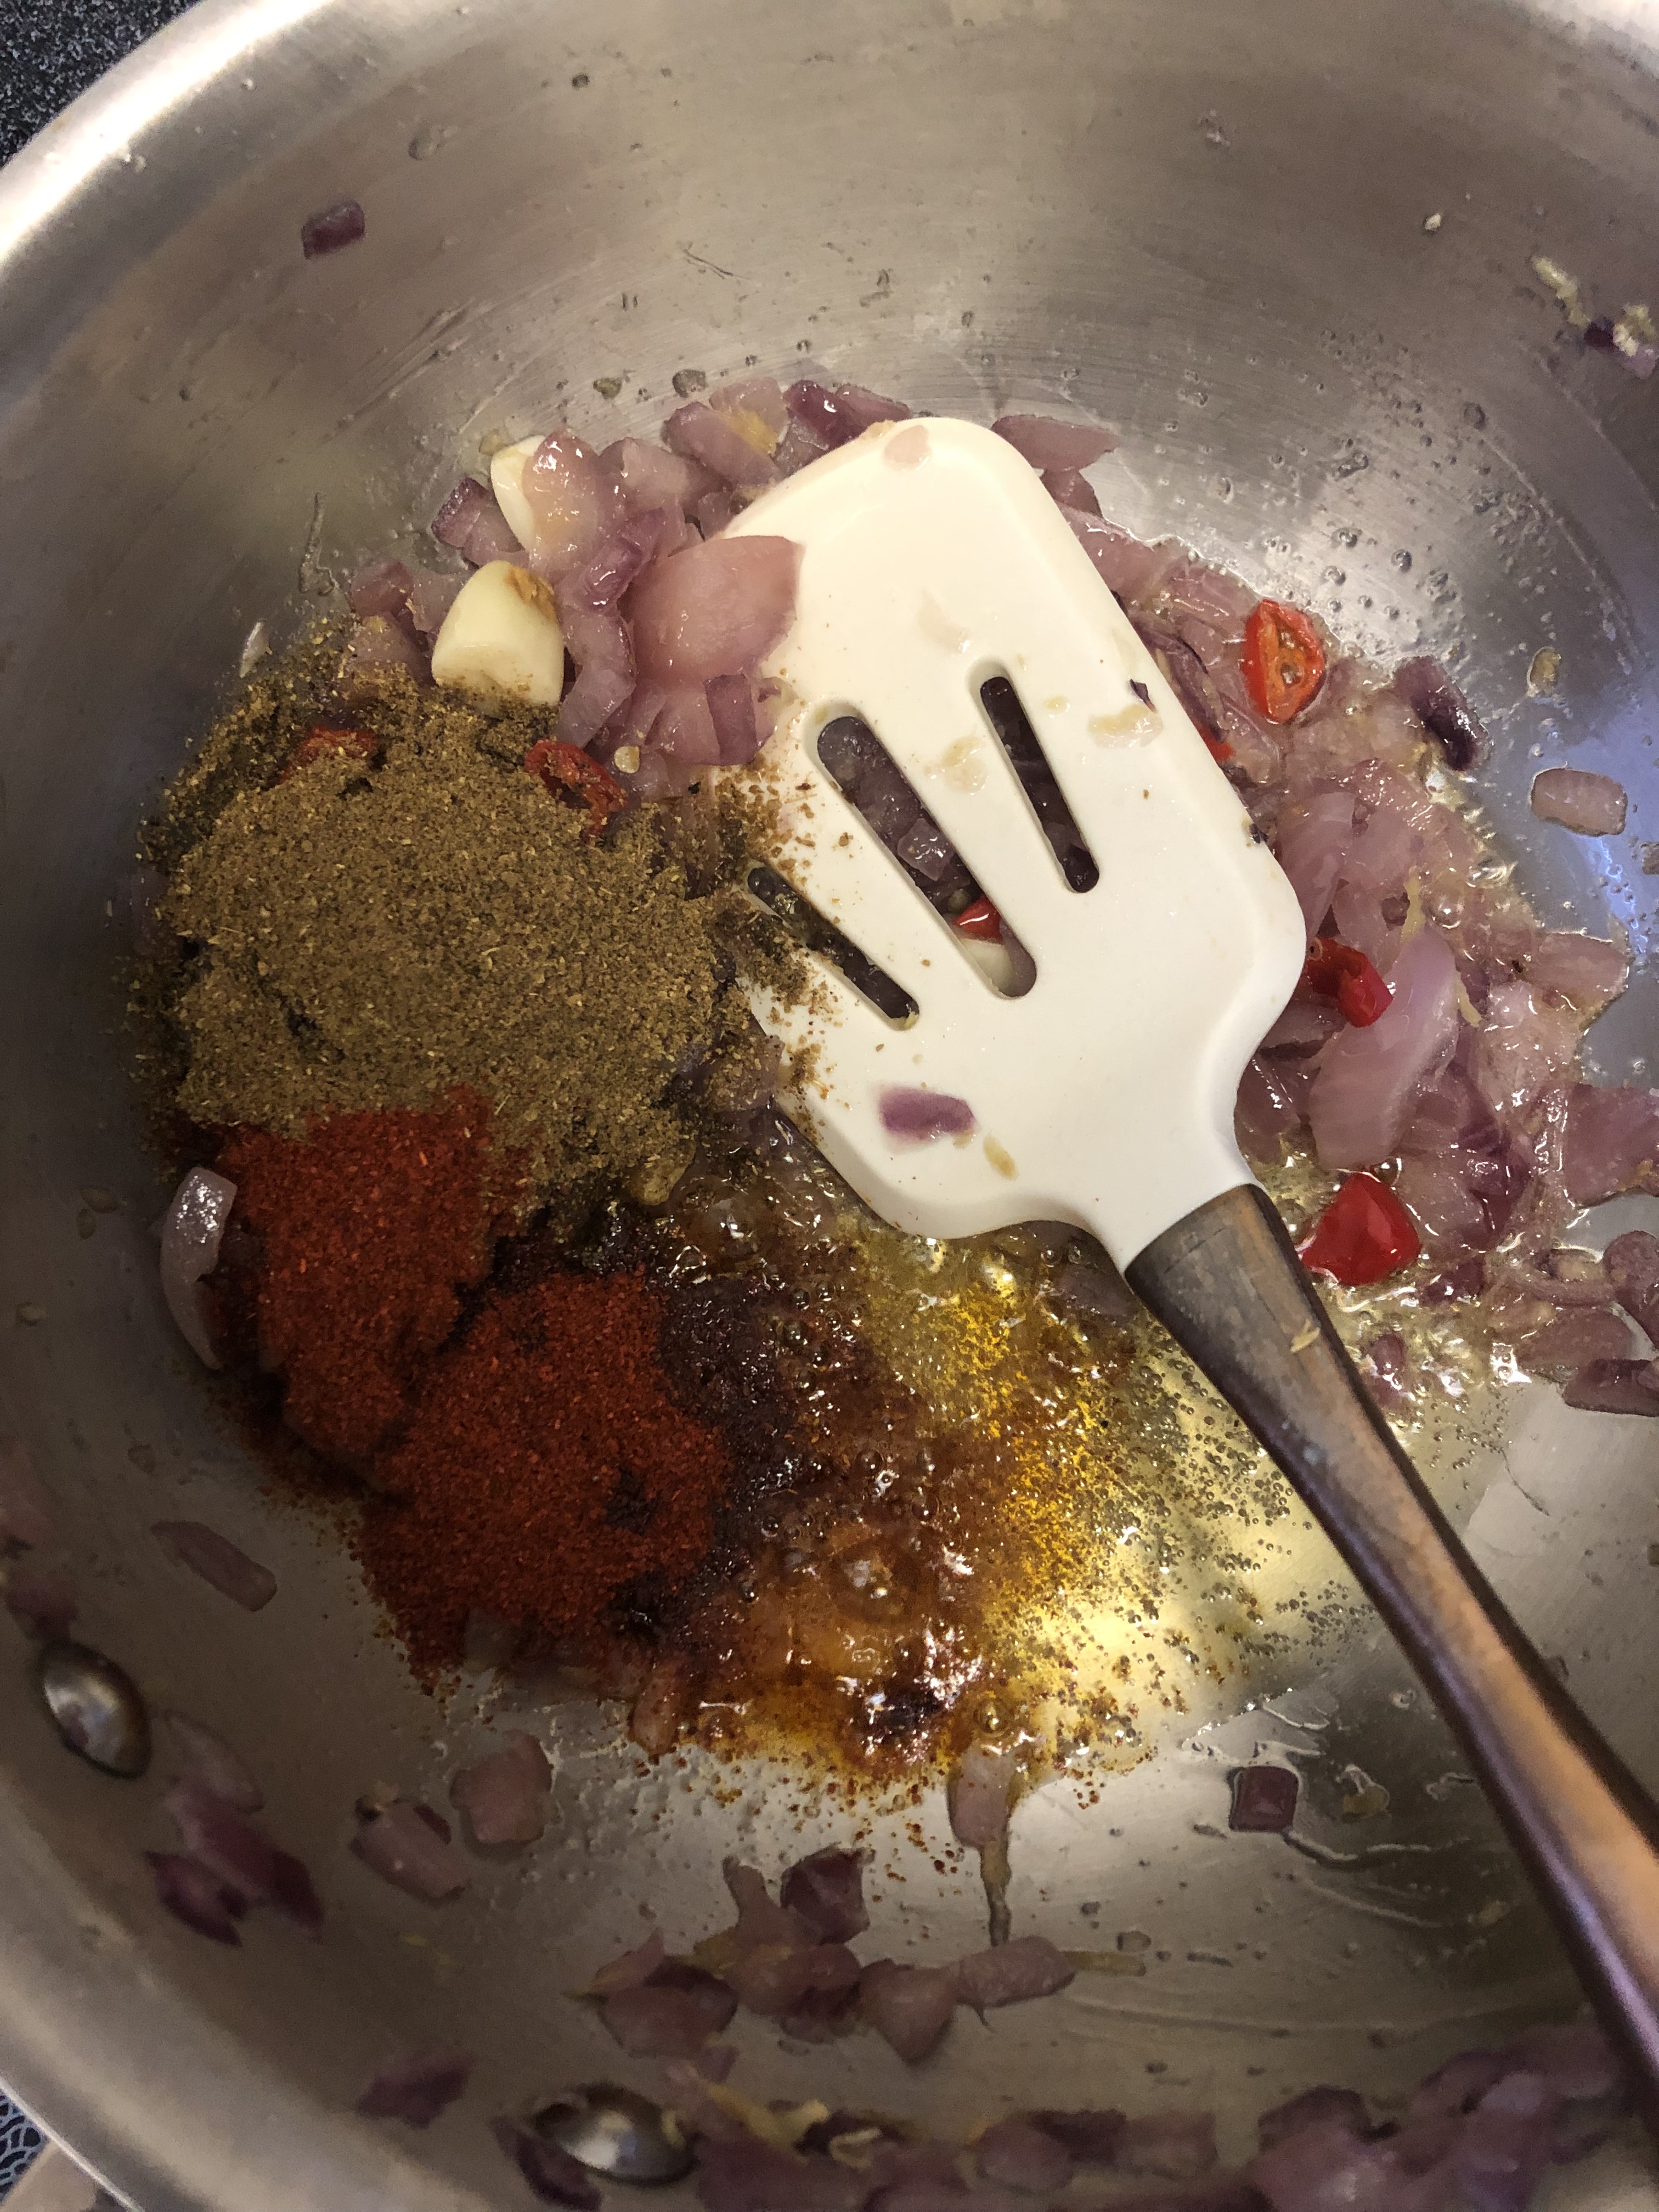
5. Now add the ginger and fresh chillies to the onions and sauté everything again until the ginger is cooked (it should no longer smell raw). Then, add the cumin powder, coriander powder, red chilli powder, garam masala (if you are using it), and half a teaspoon of salt to the sautéed onions-ginger-chilli-mixture (hereinafter referred to as “stuff” :P) and continue to sauté all of this for about 5 minutes on low-medium heat.
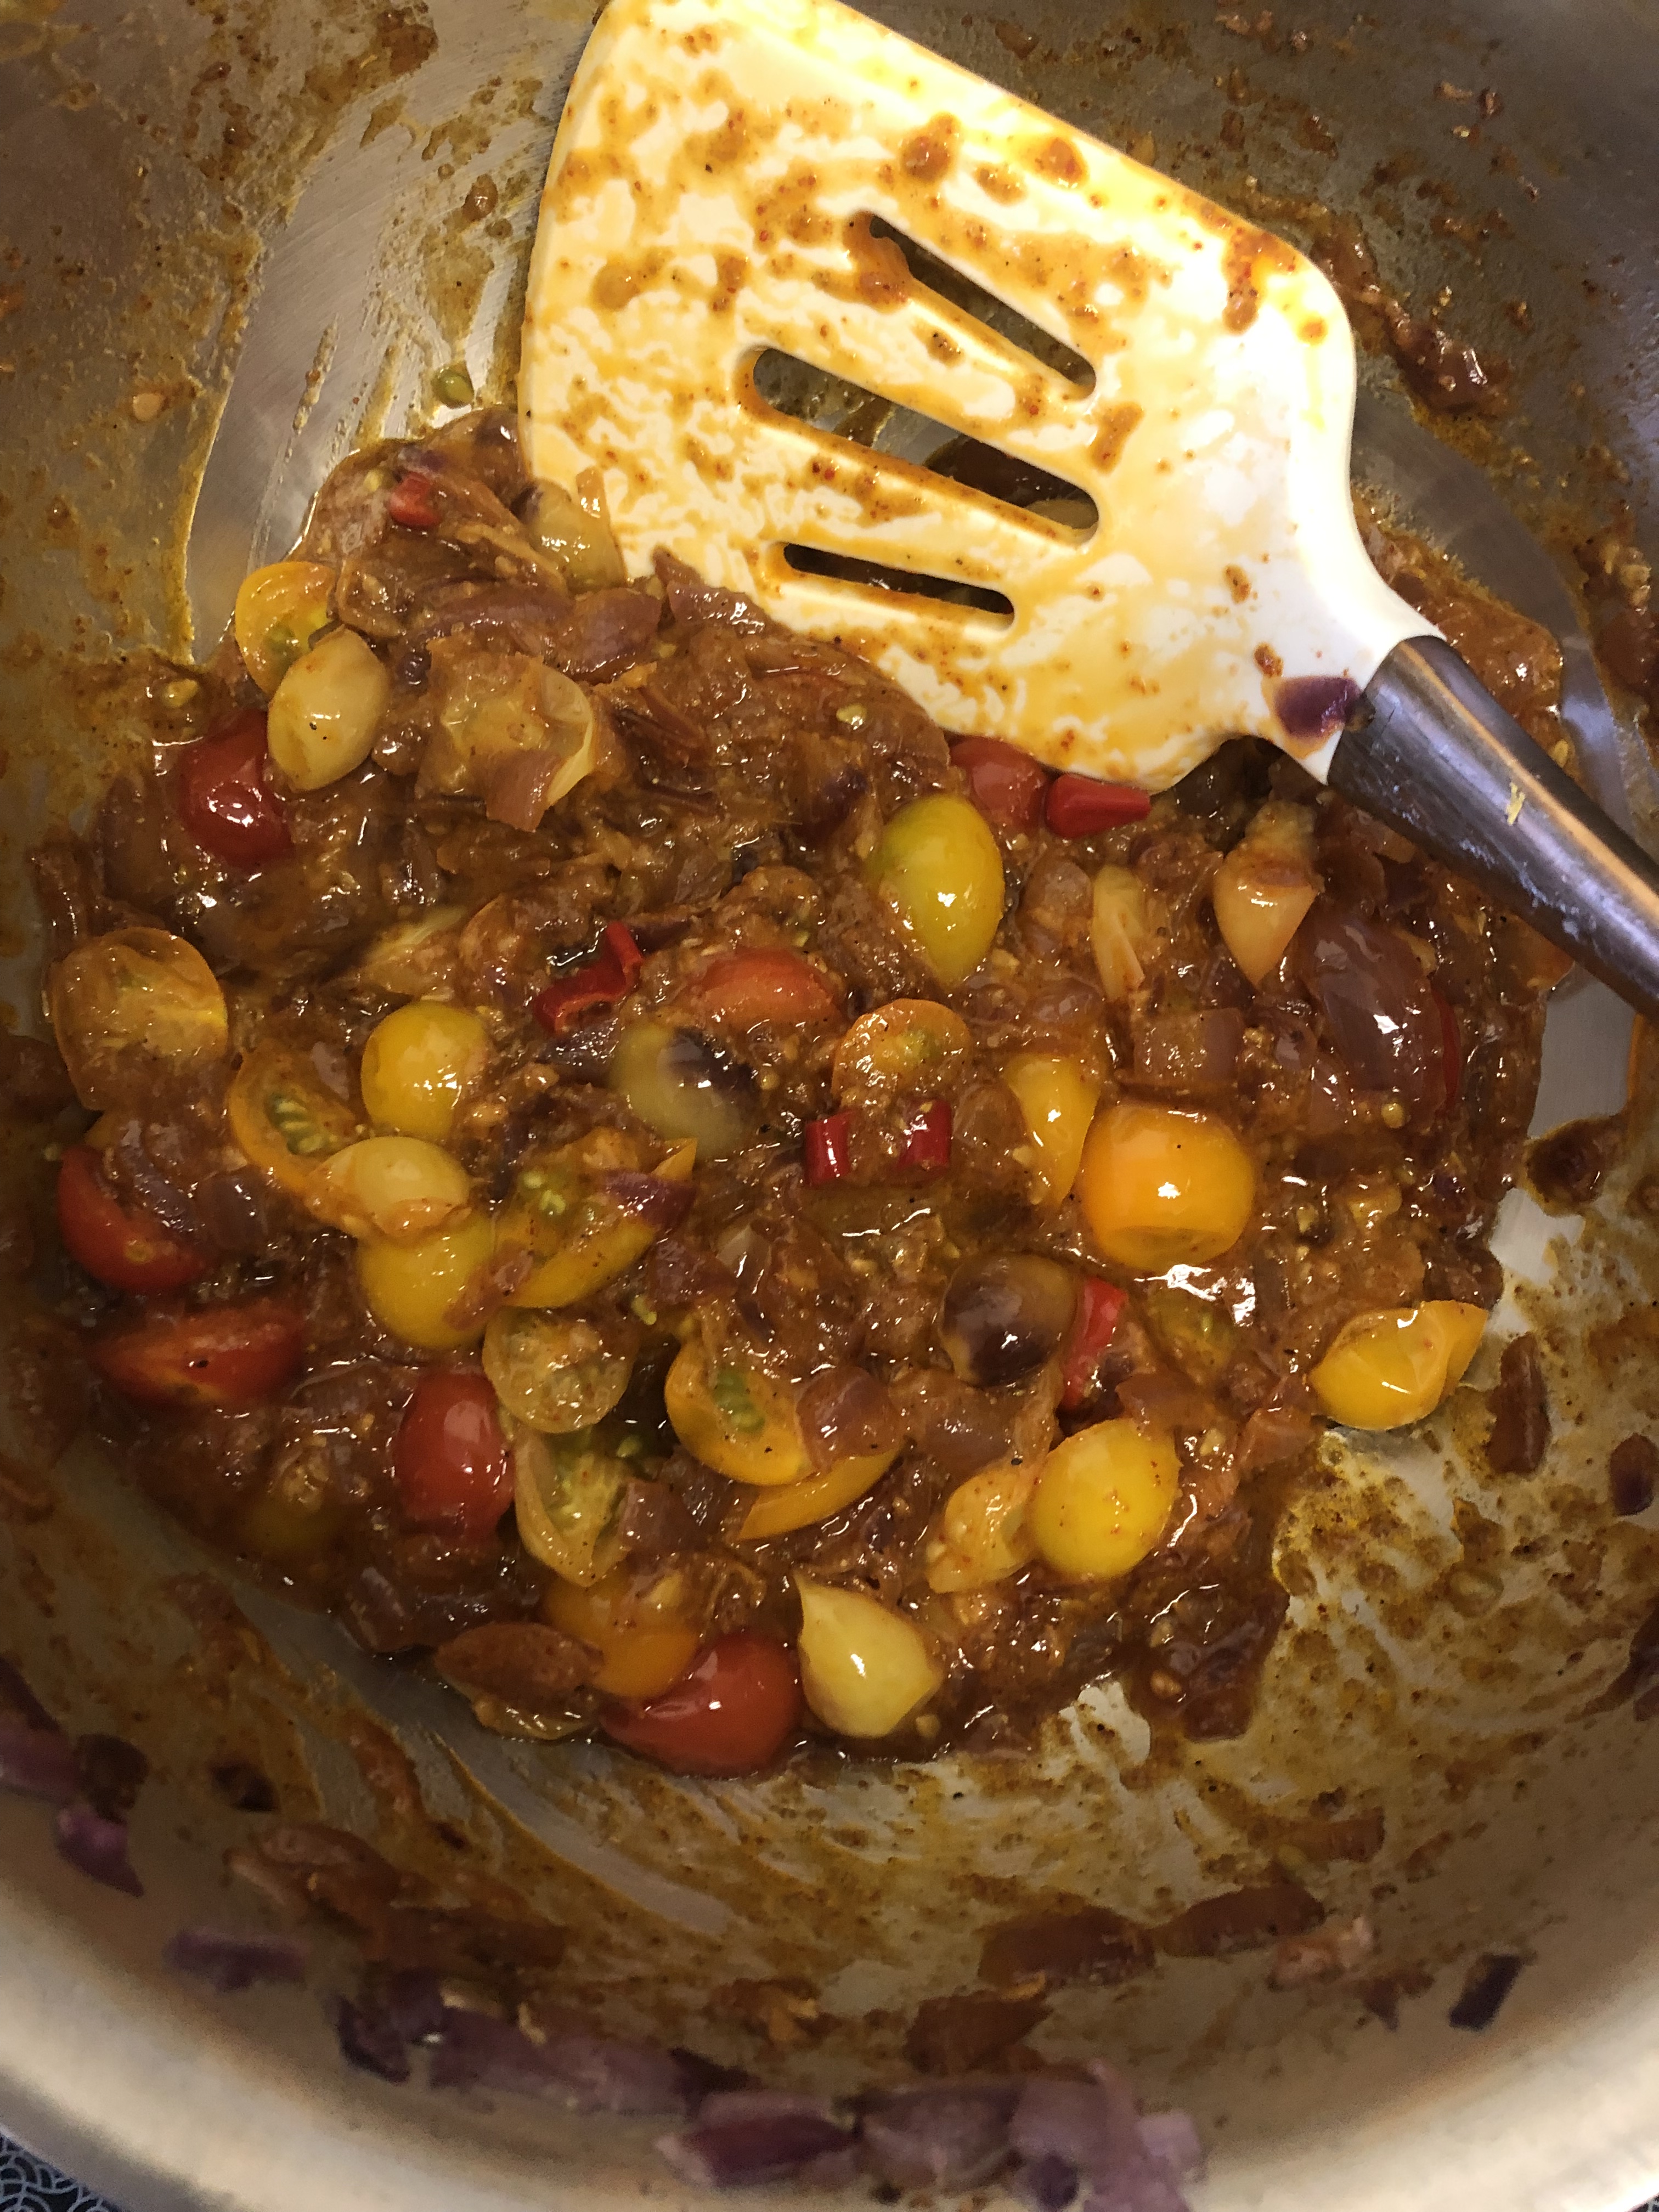
6. Then, add in the tomatoes, cover the pan, and let it all cook for another 5-10 minutes, until the oil starts to separate out from the rest of the stuff.
7. Meanwhile, rinse the spinach. I like to use kitchen shears or a normal pair of scissors and cut up the spinach in the bowl into slightly smaller bits. If you don’t like this method, you can, of course, chop the spinach on a cutting board with a knife.
8. Add the spinach to the sauce pan, then add the lentils.
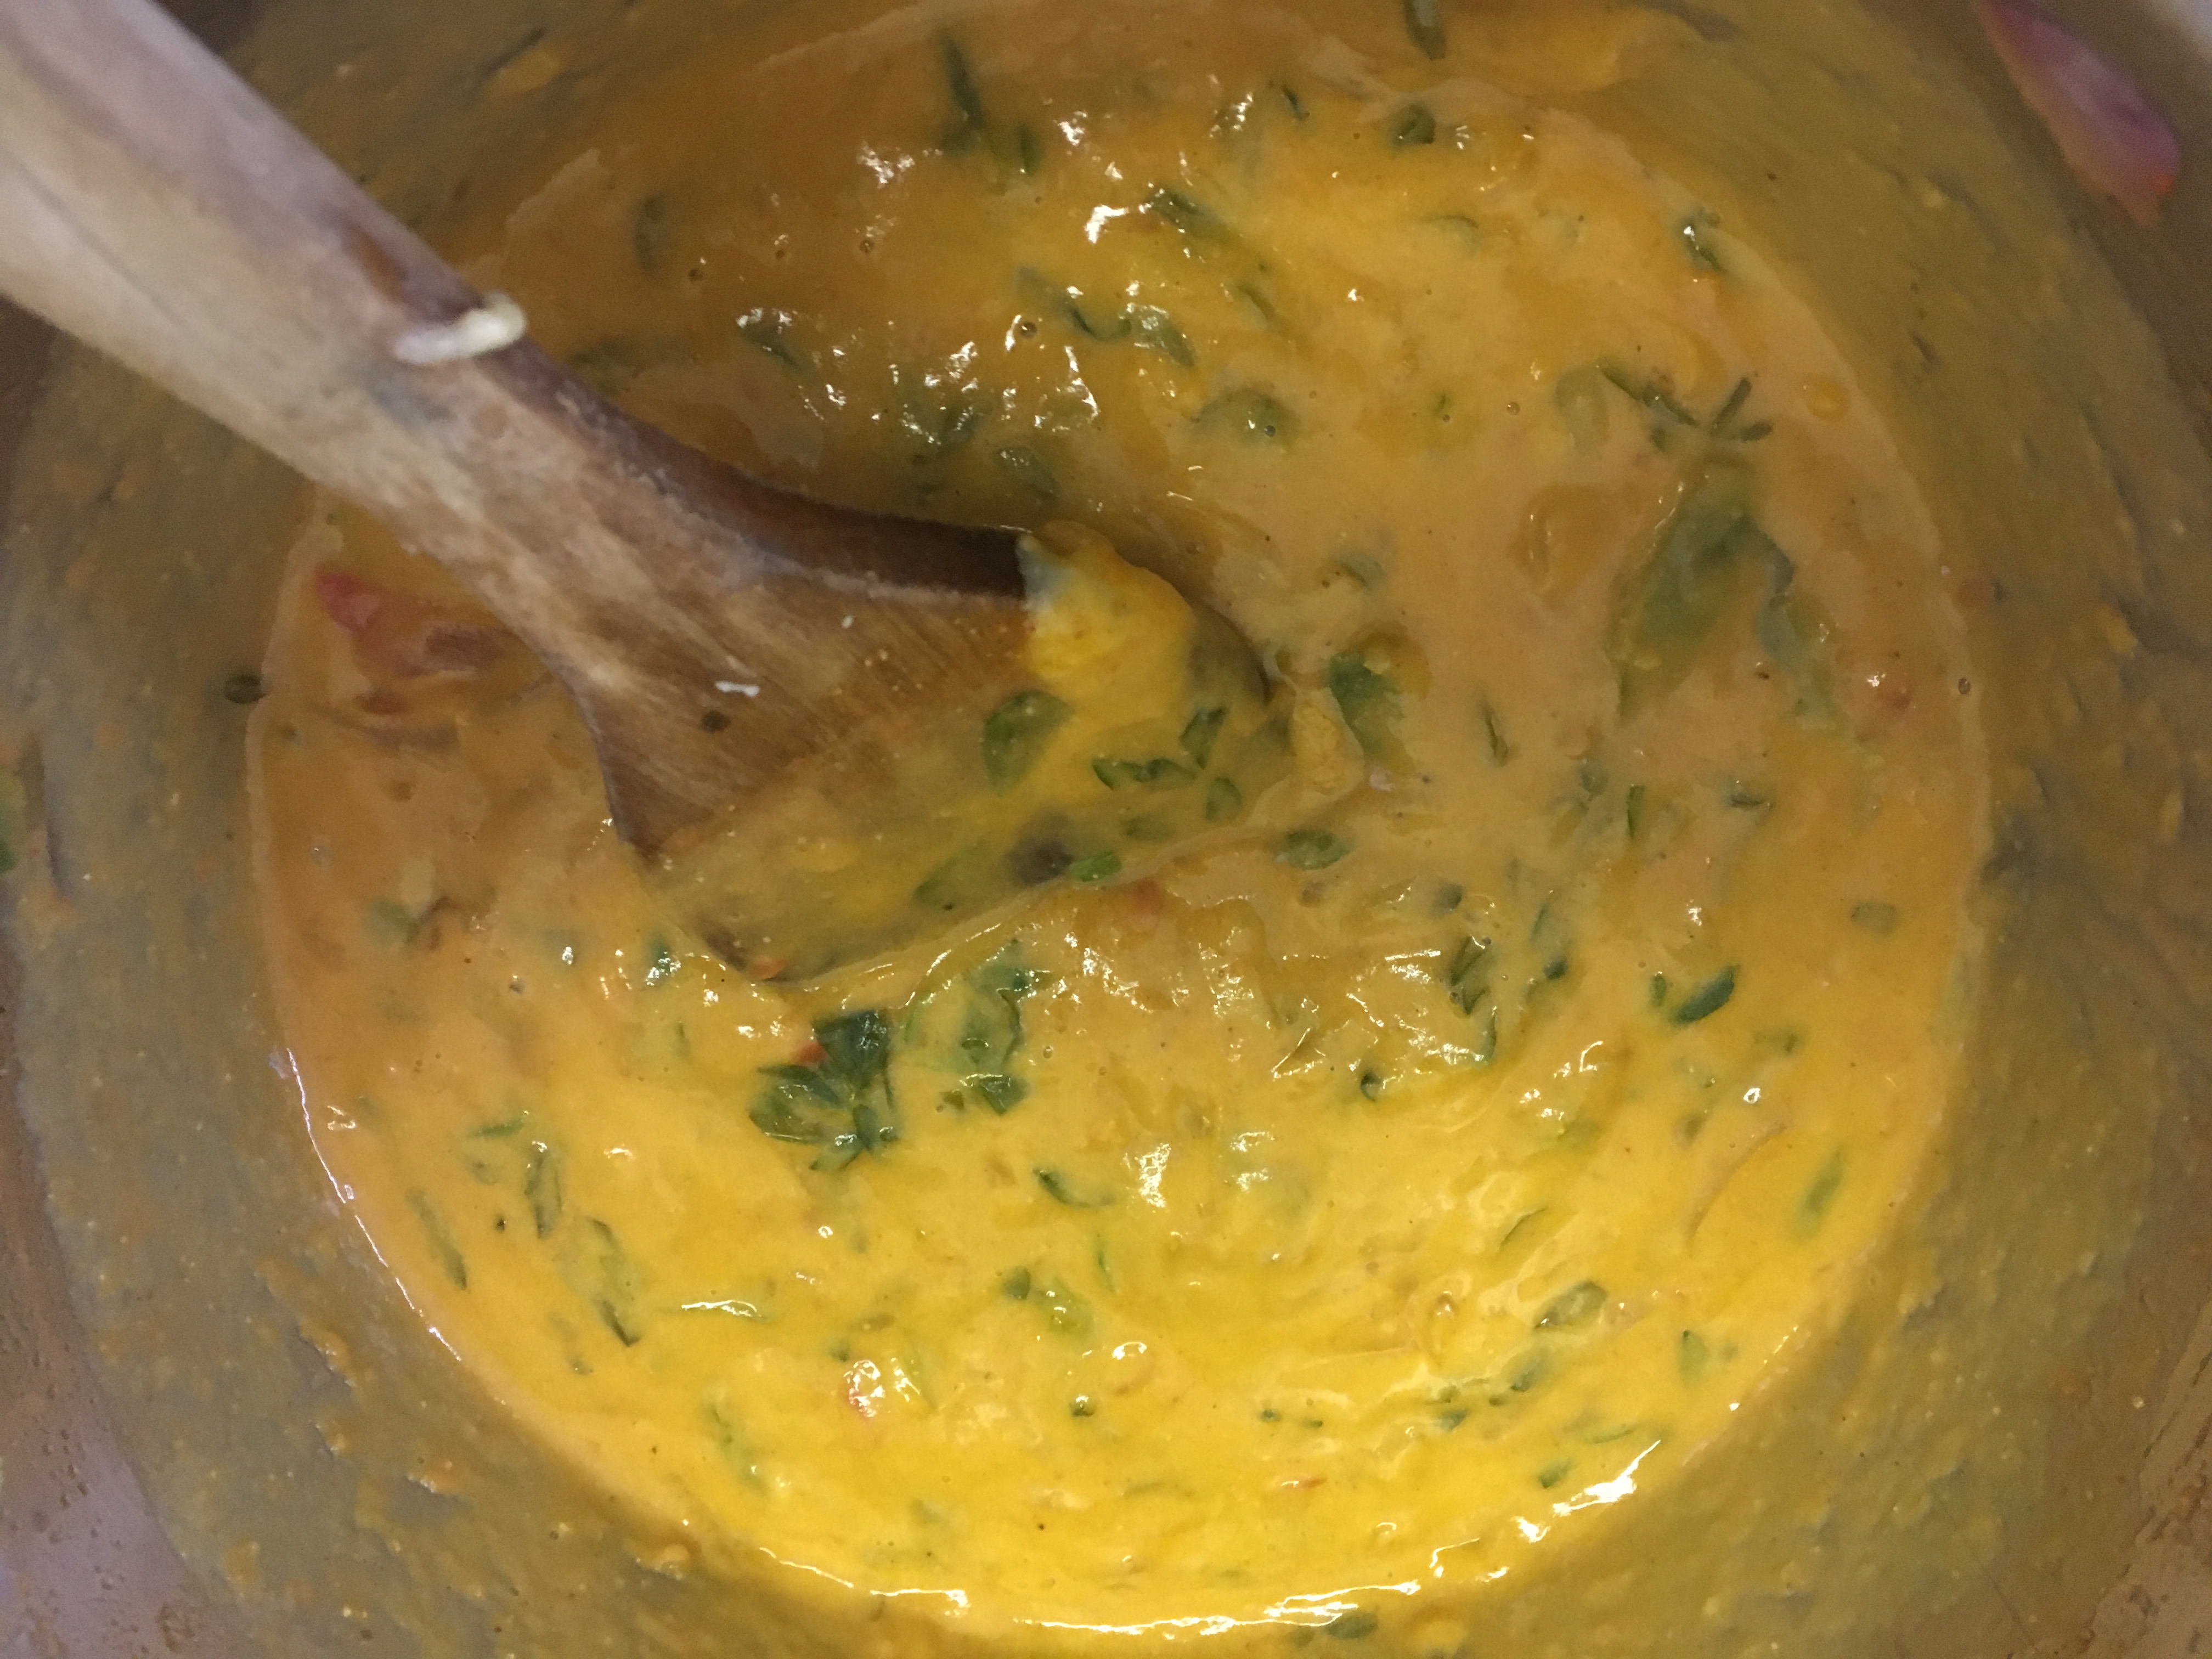
9. Pour in a cup or two of water, and let everything cook for about 8 minutes on high heat, stirring the pot intermittently to prevent the contents at the bottom from burning. You will see a foamy layer rise to the top of the dal. I like to scoop this out into a bowl and throw it out.
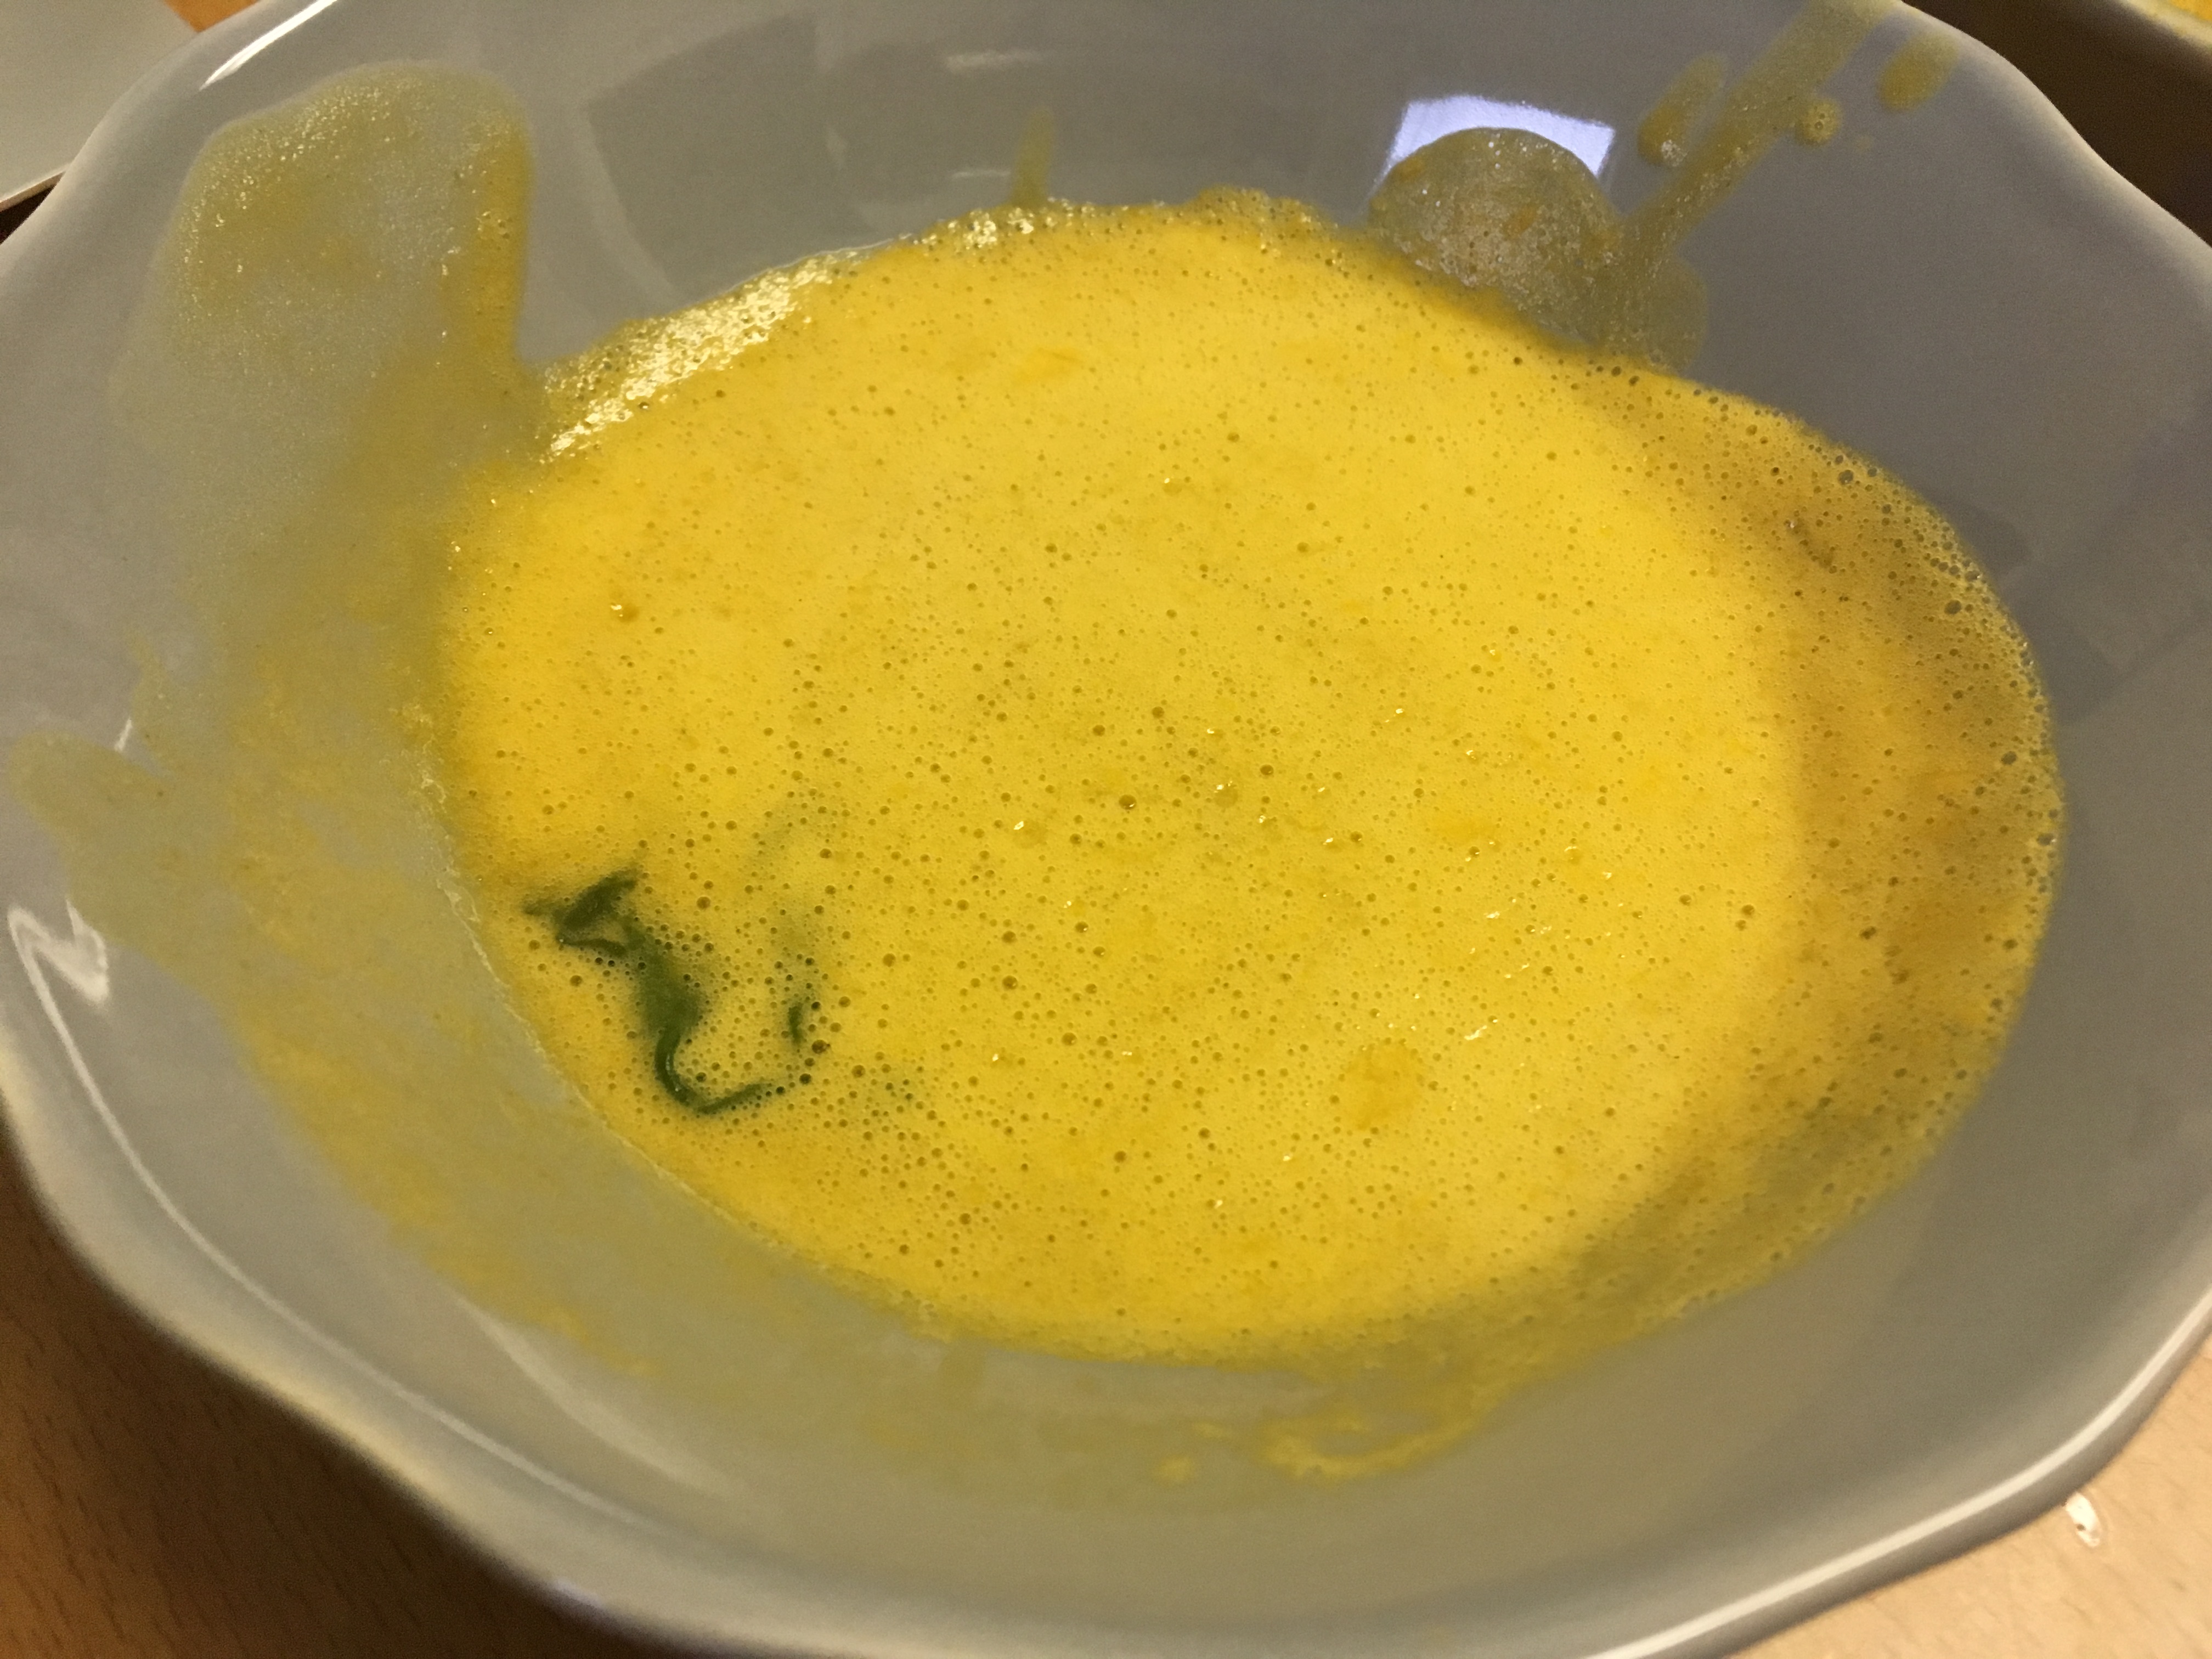
I have heard from some people who regularly cook with lentils in India that this helps reduce bloating and gas.
A note on FODMAPS for the lay person: FODMAPS can cause gastric discomfort in some of us. One may be sensitive to some or all FODMAPS to varying degrees. Symptoms can range from gas, bloating, abdominal pain and cramping, to, in my case, at least, acid reflux. For more general reading on this topic, this article is a great starting point.
The main FODMAPs that dal contains are oligosaccharides. Take a peek at this post about FODMAPS and how cooking legumes may help to reduce the FODMAP content in the food we eat. Of course, more research is needed to confirm this theory, but also, to determine the most effective/efficient ways of extracting FODMAPS from dal through cooking. I am not sure my method of skimming the foamy parts off the top of the dal is effective in removing/reducing dissolved oligosaccharides from it. Anecdotally, though, I have found it helps. Therefore, I do it every time I cook dal.
In addition, onions and garlic contain fructans, which are also a type of oligosaccharide (see this article for more on this). If you are particularly sensitive to onions and/or garlic, you could sauté them in oil (in step 4 of the recipe, above) and then, remove the onions and garlic pieces, leaving just the oil in the pan. Subsequently, continue with step 5. Frying the onions and/or garlic in oil results in some of their flavour infusing into the oil. Since fructans are water-soluble not fat-soluble, by removing the onions and/or garlic, you are able to reduce the amount of fructans that end up in the dal (see this article for more on this). Also, remember not to add any garlic to the lentils whilst cooking them in step 2, above. Similarly, forego adding garlic to the tadka in the step below (step 10).
10. The baghar/popu/tadka:
Heat a tablespoon or two of ghee in a little saucepan on high heat. Let the ghee get hot. To test if it’s hot enough, throw a single cumin seed into the pan. If it begins to sizzle, add the rest of the cumin seeds in and stir them about until they start to pop. When they start to pop, add the asafoetida, garlic cloves, and red chilies.
Once the red chillies darken, add the baghar to the lentils.
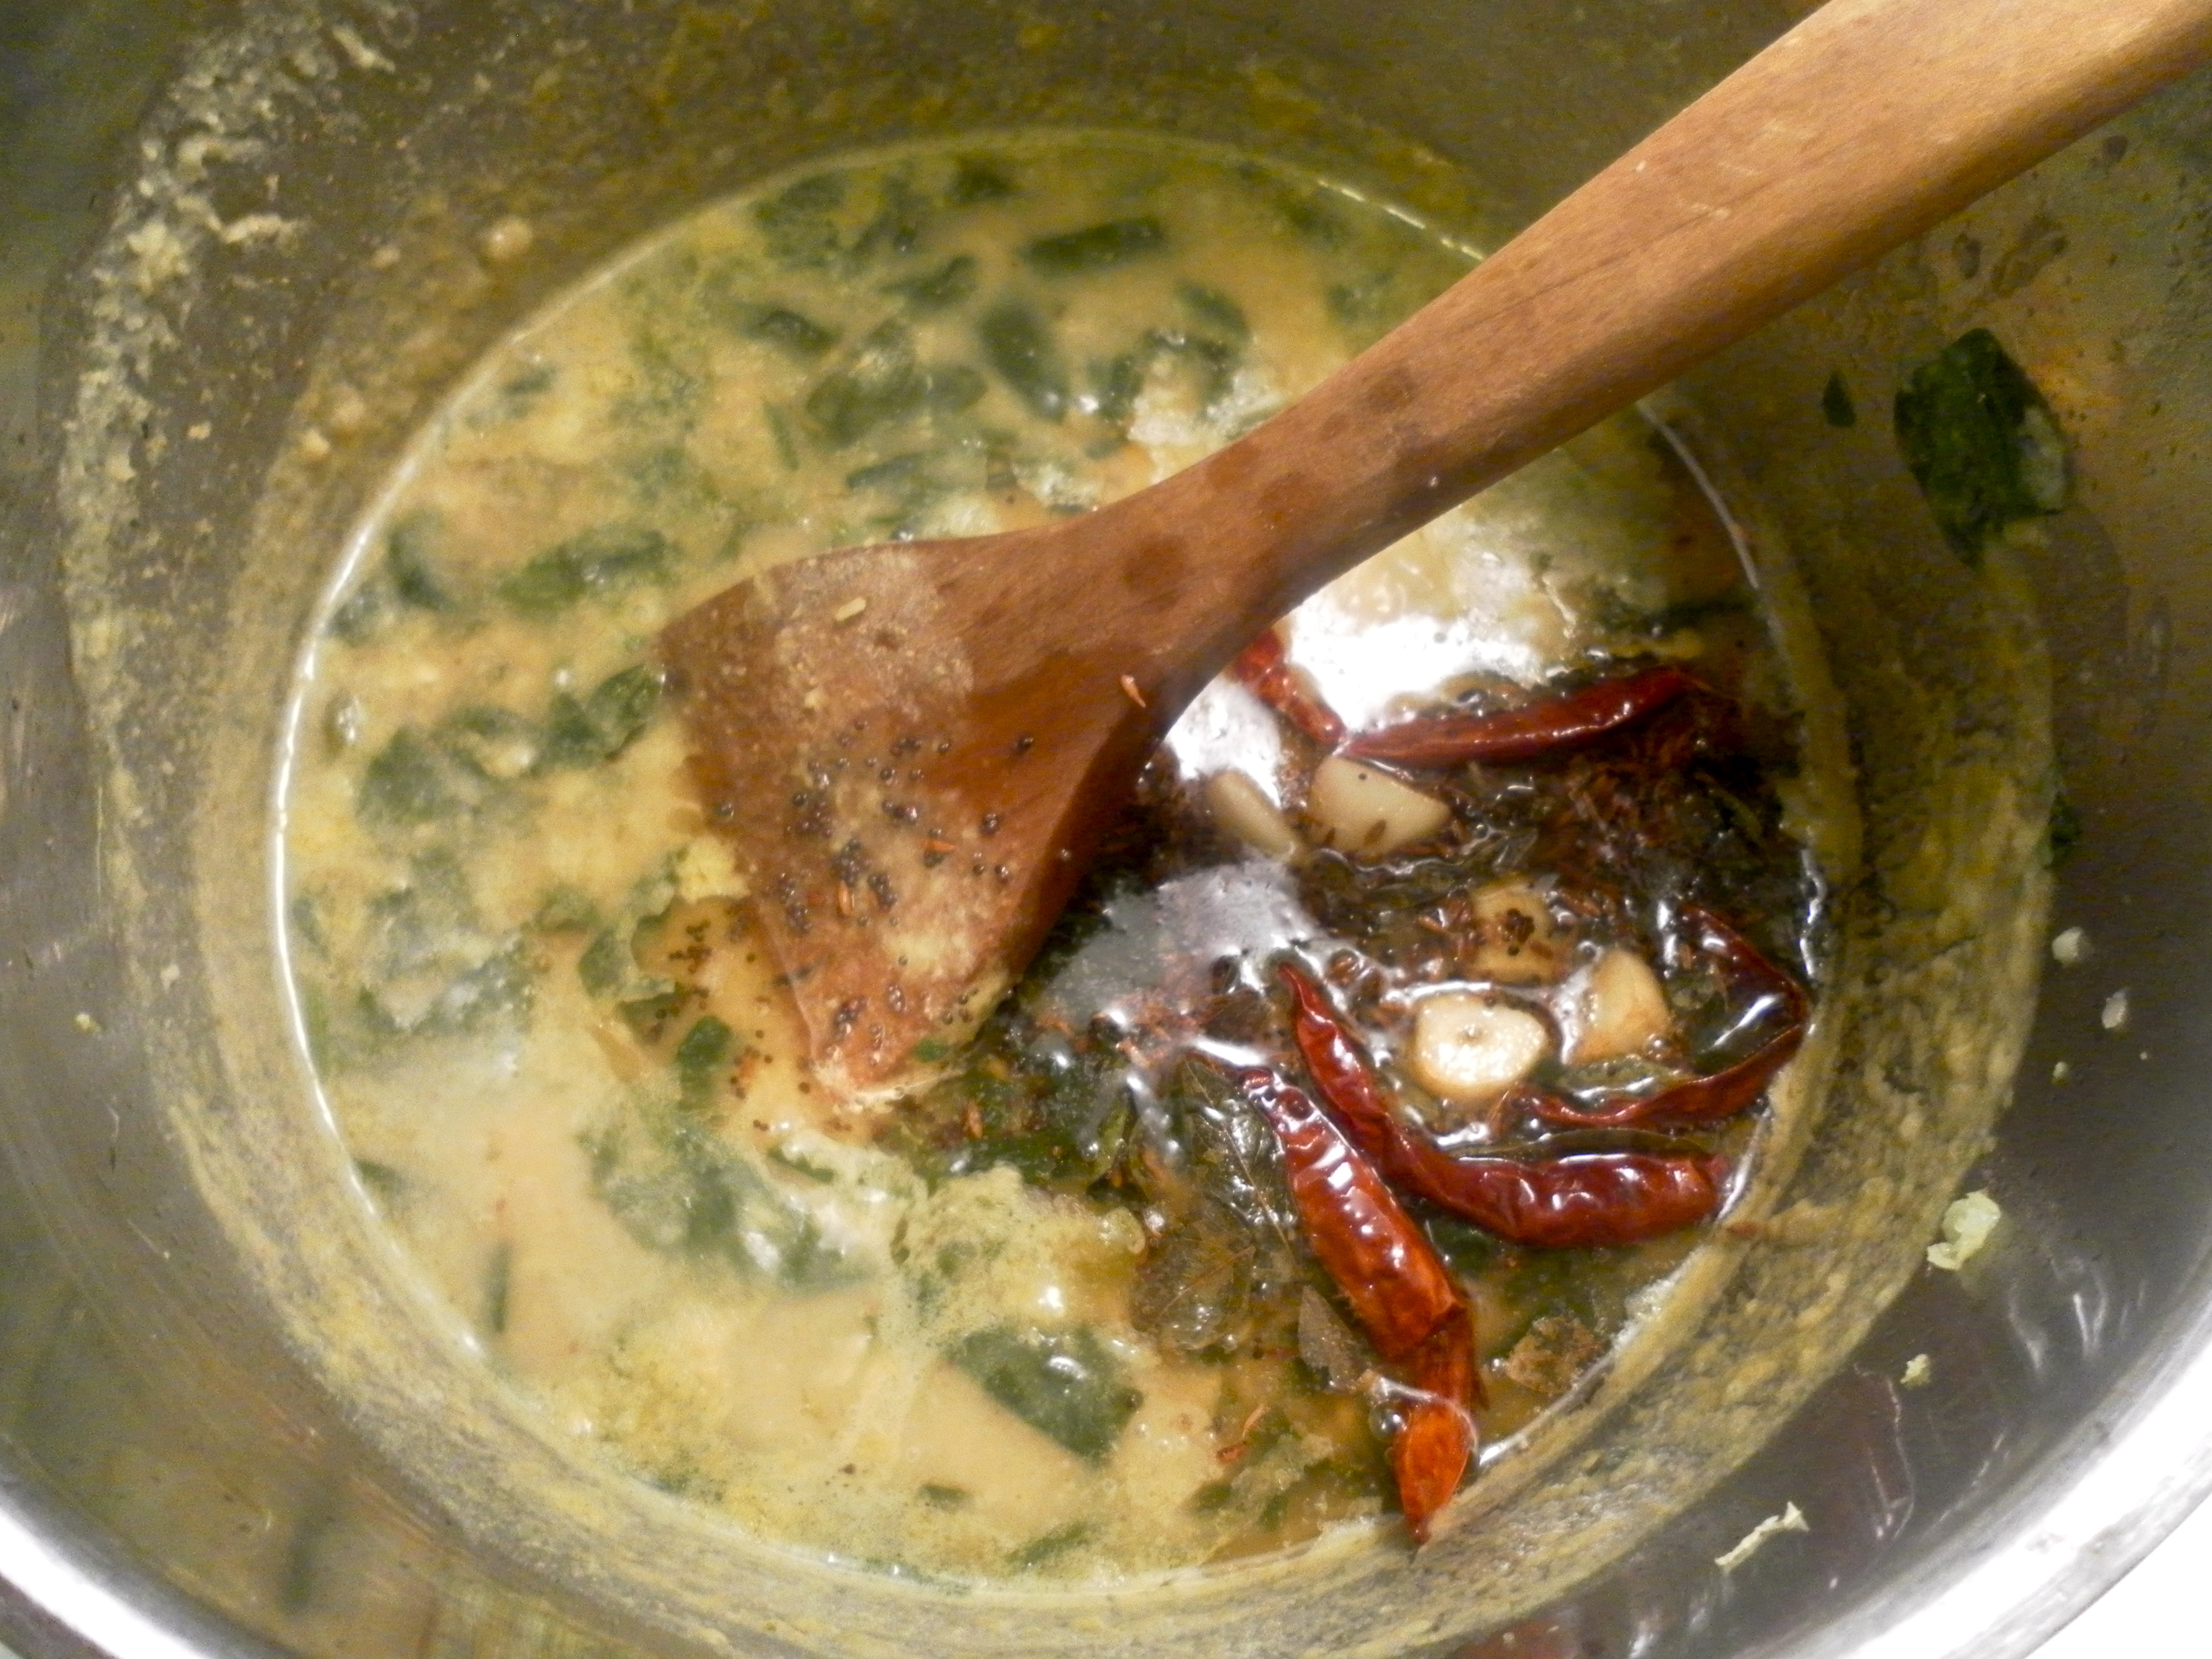
Immediately cover the pot.
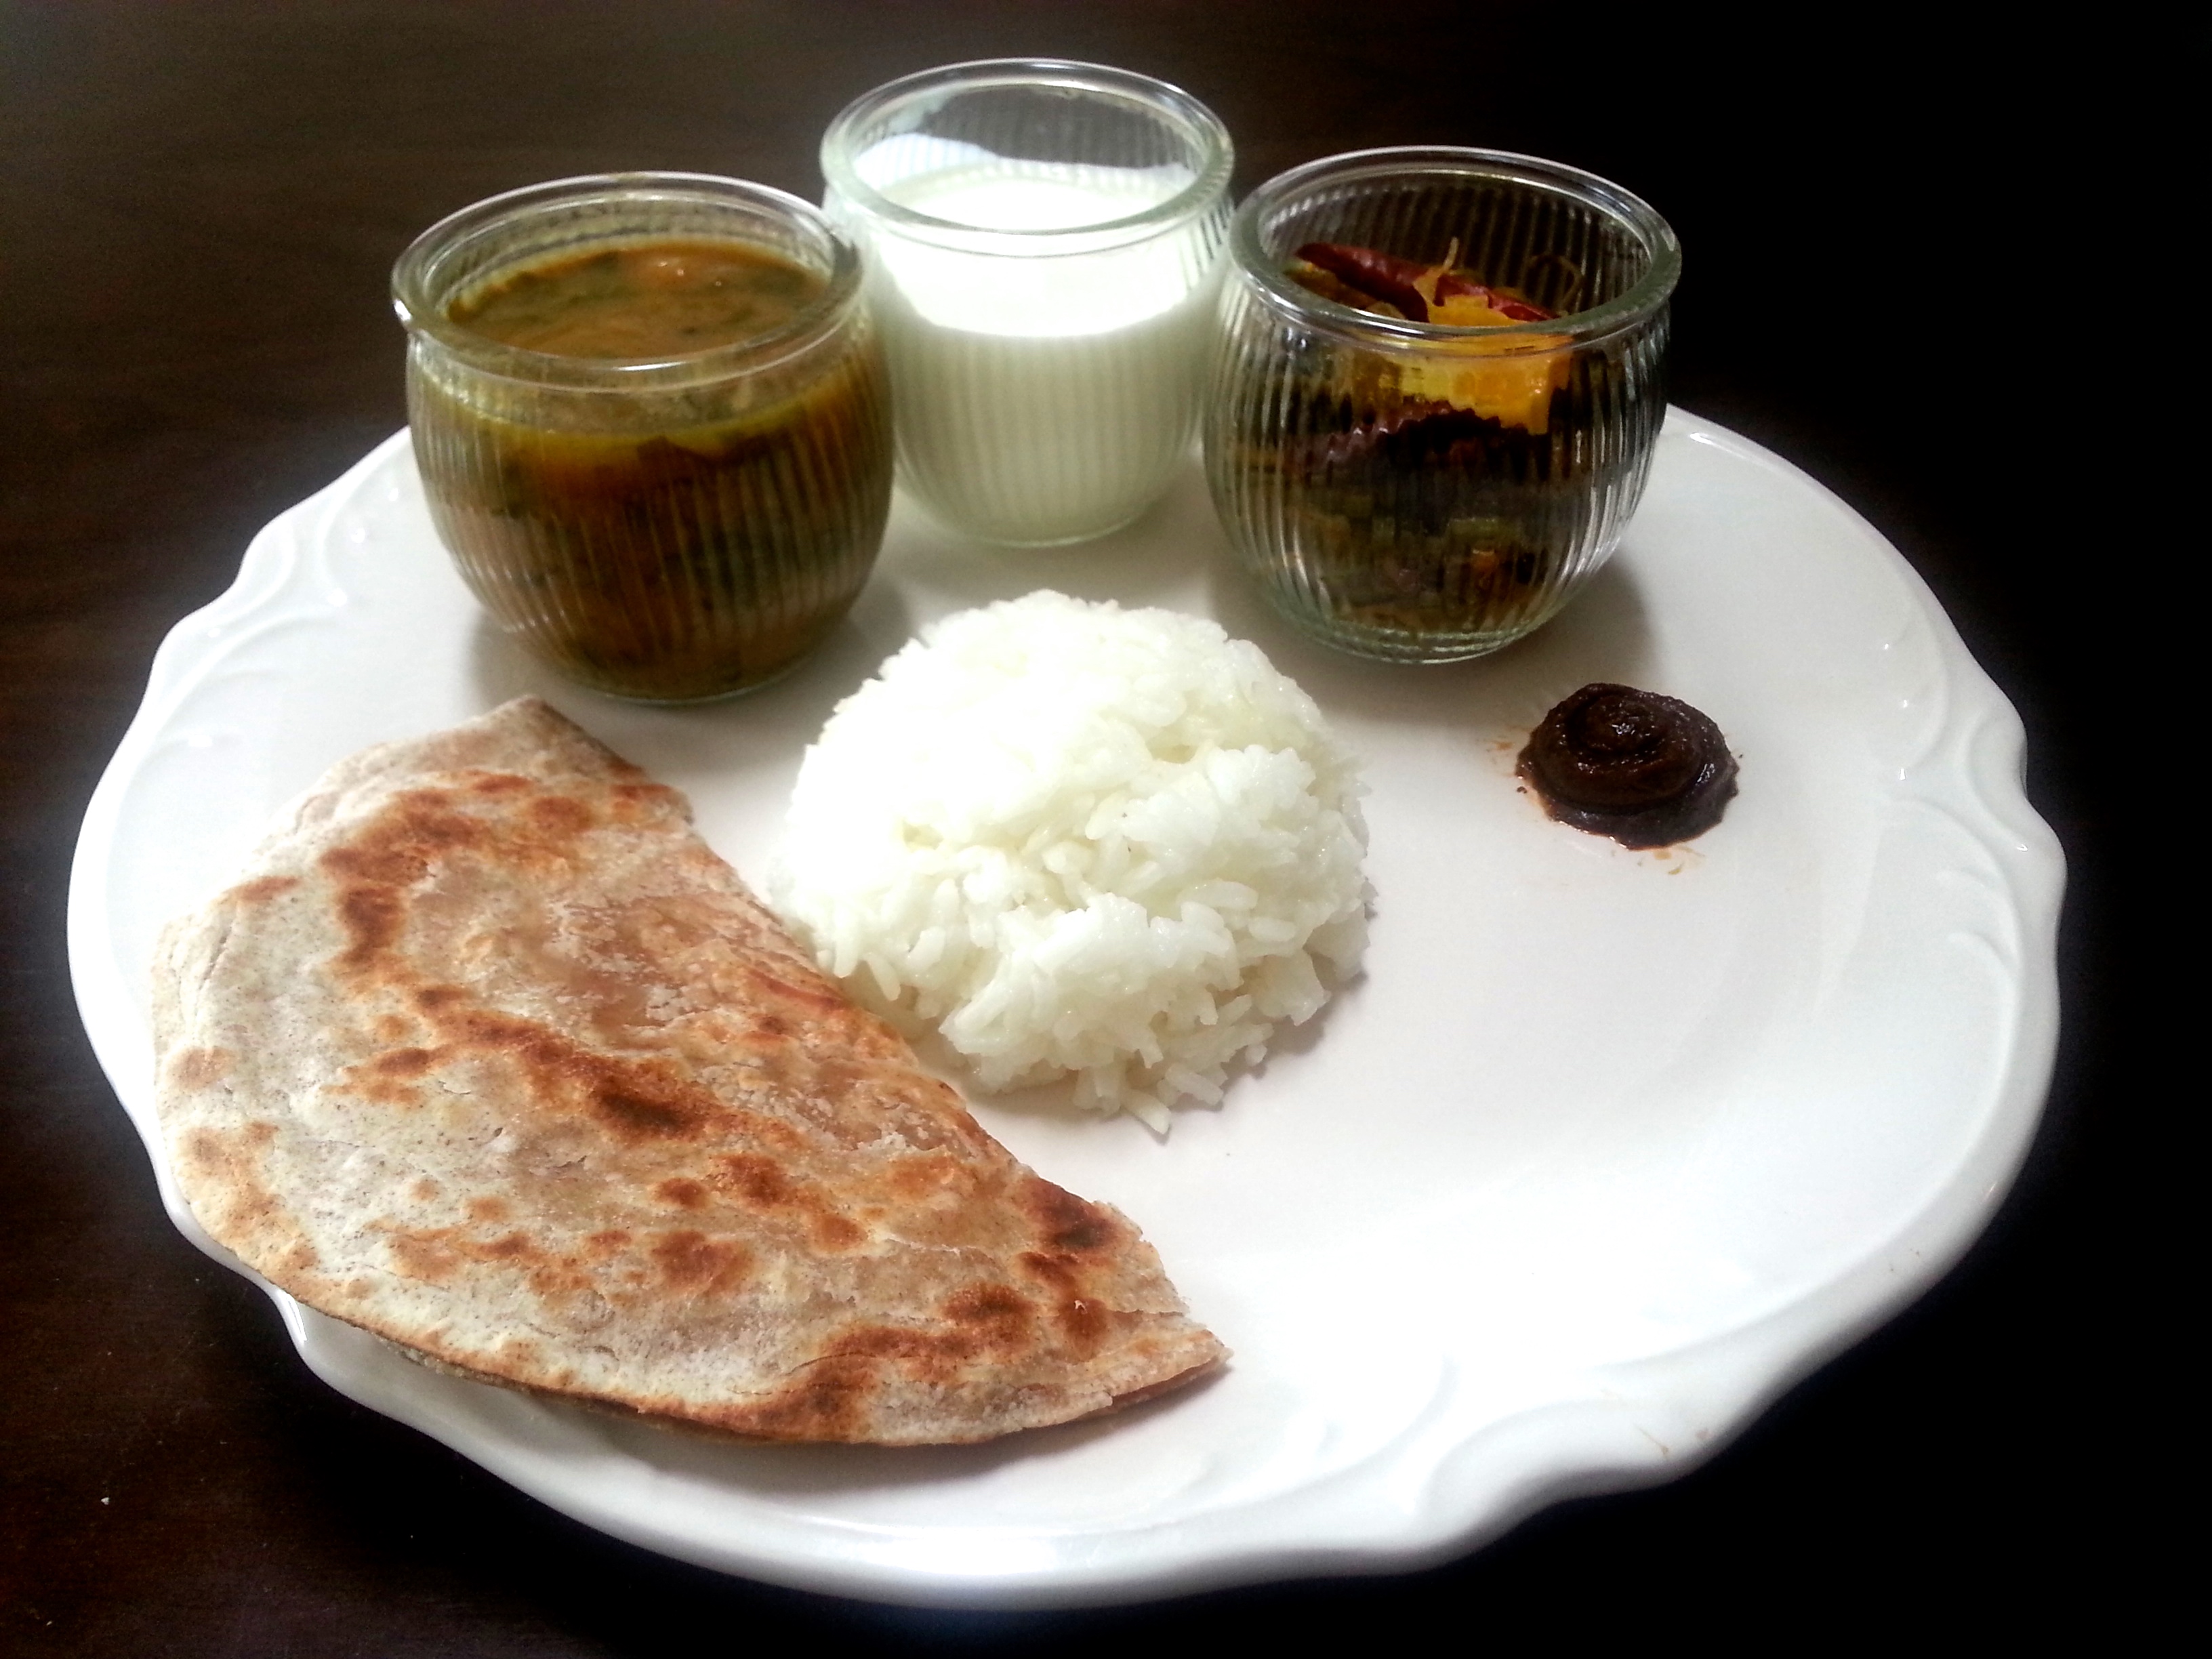
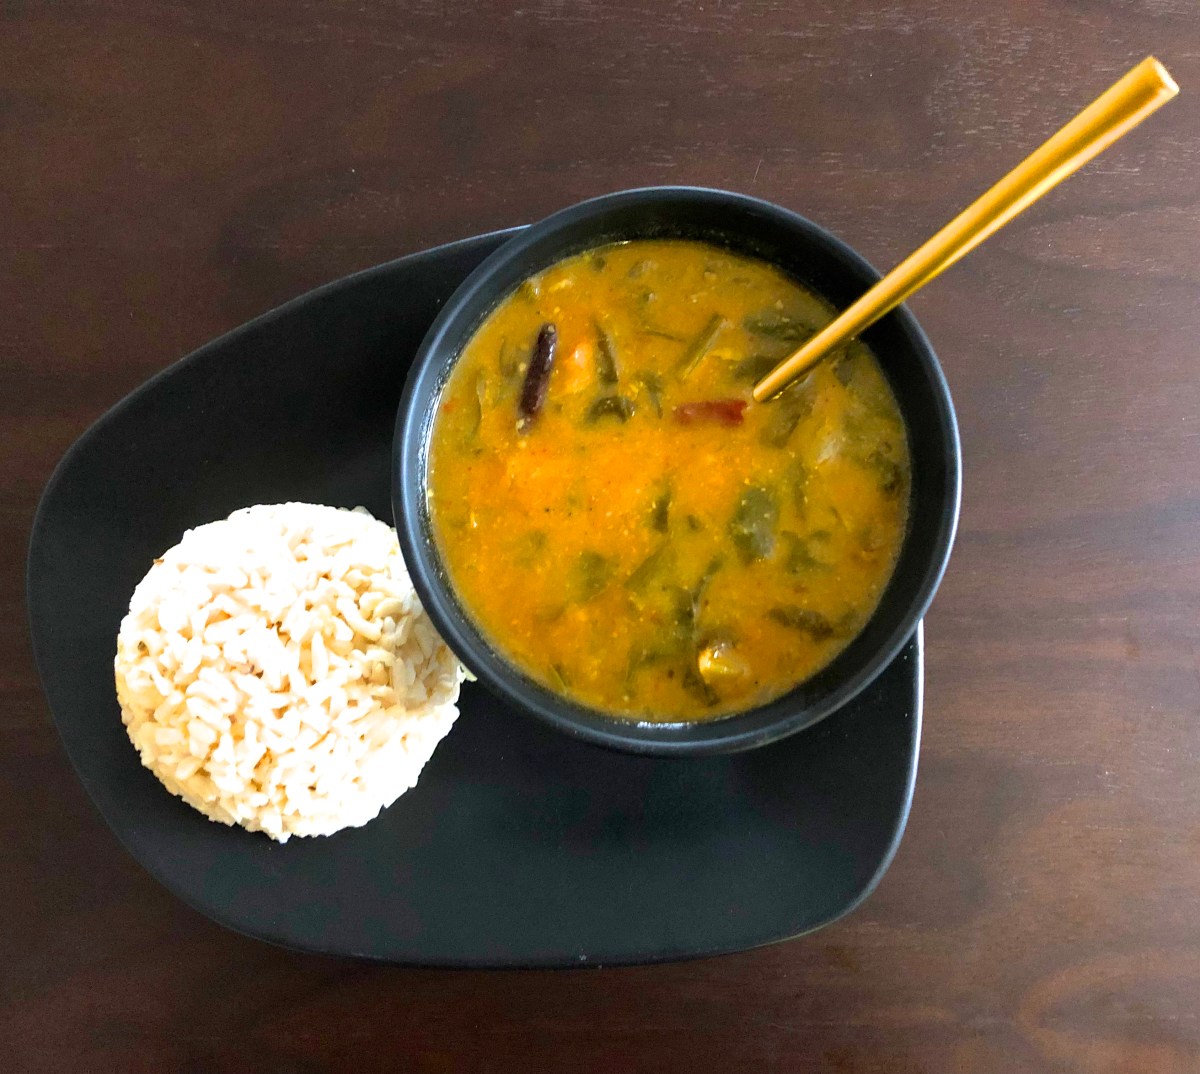
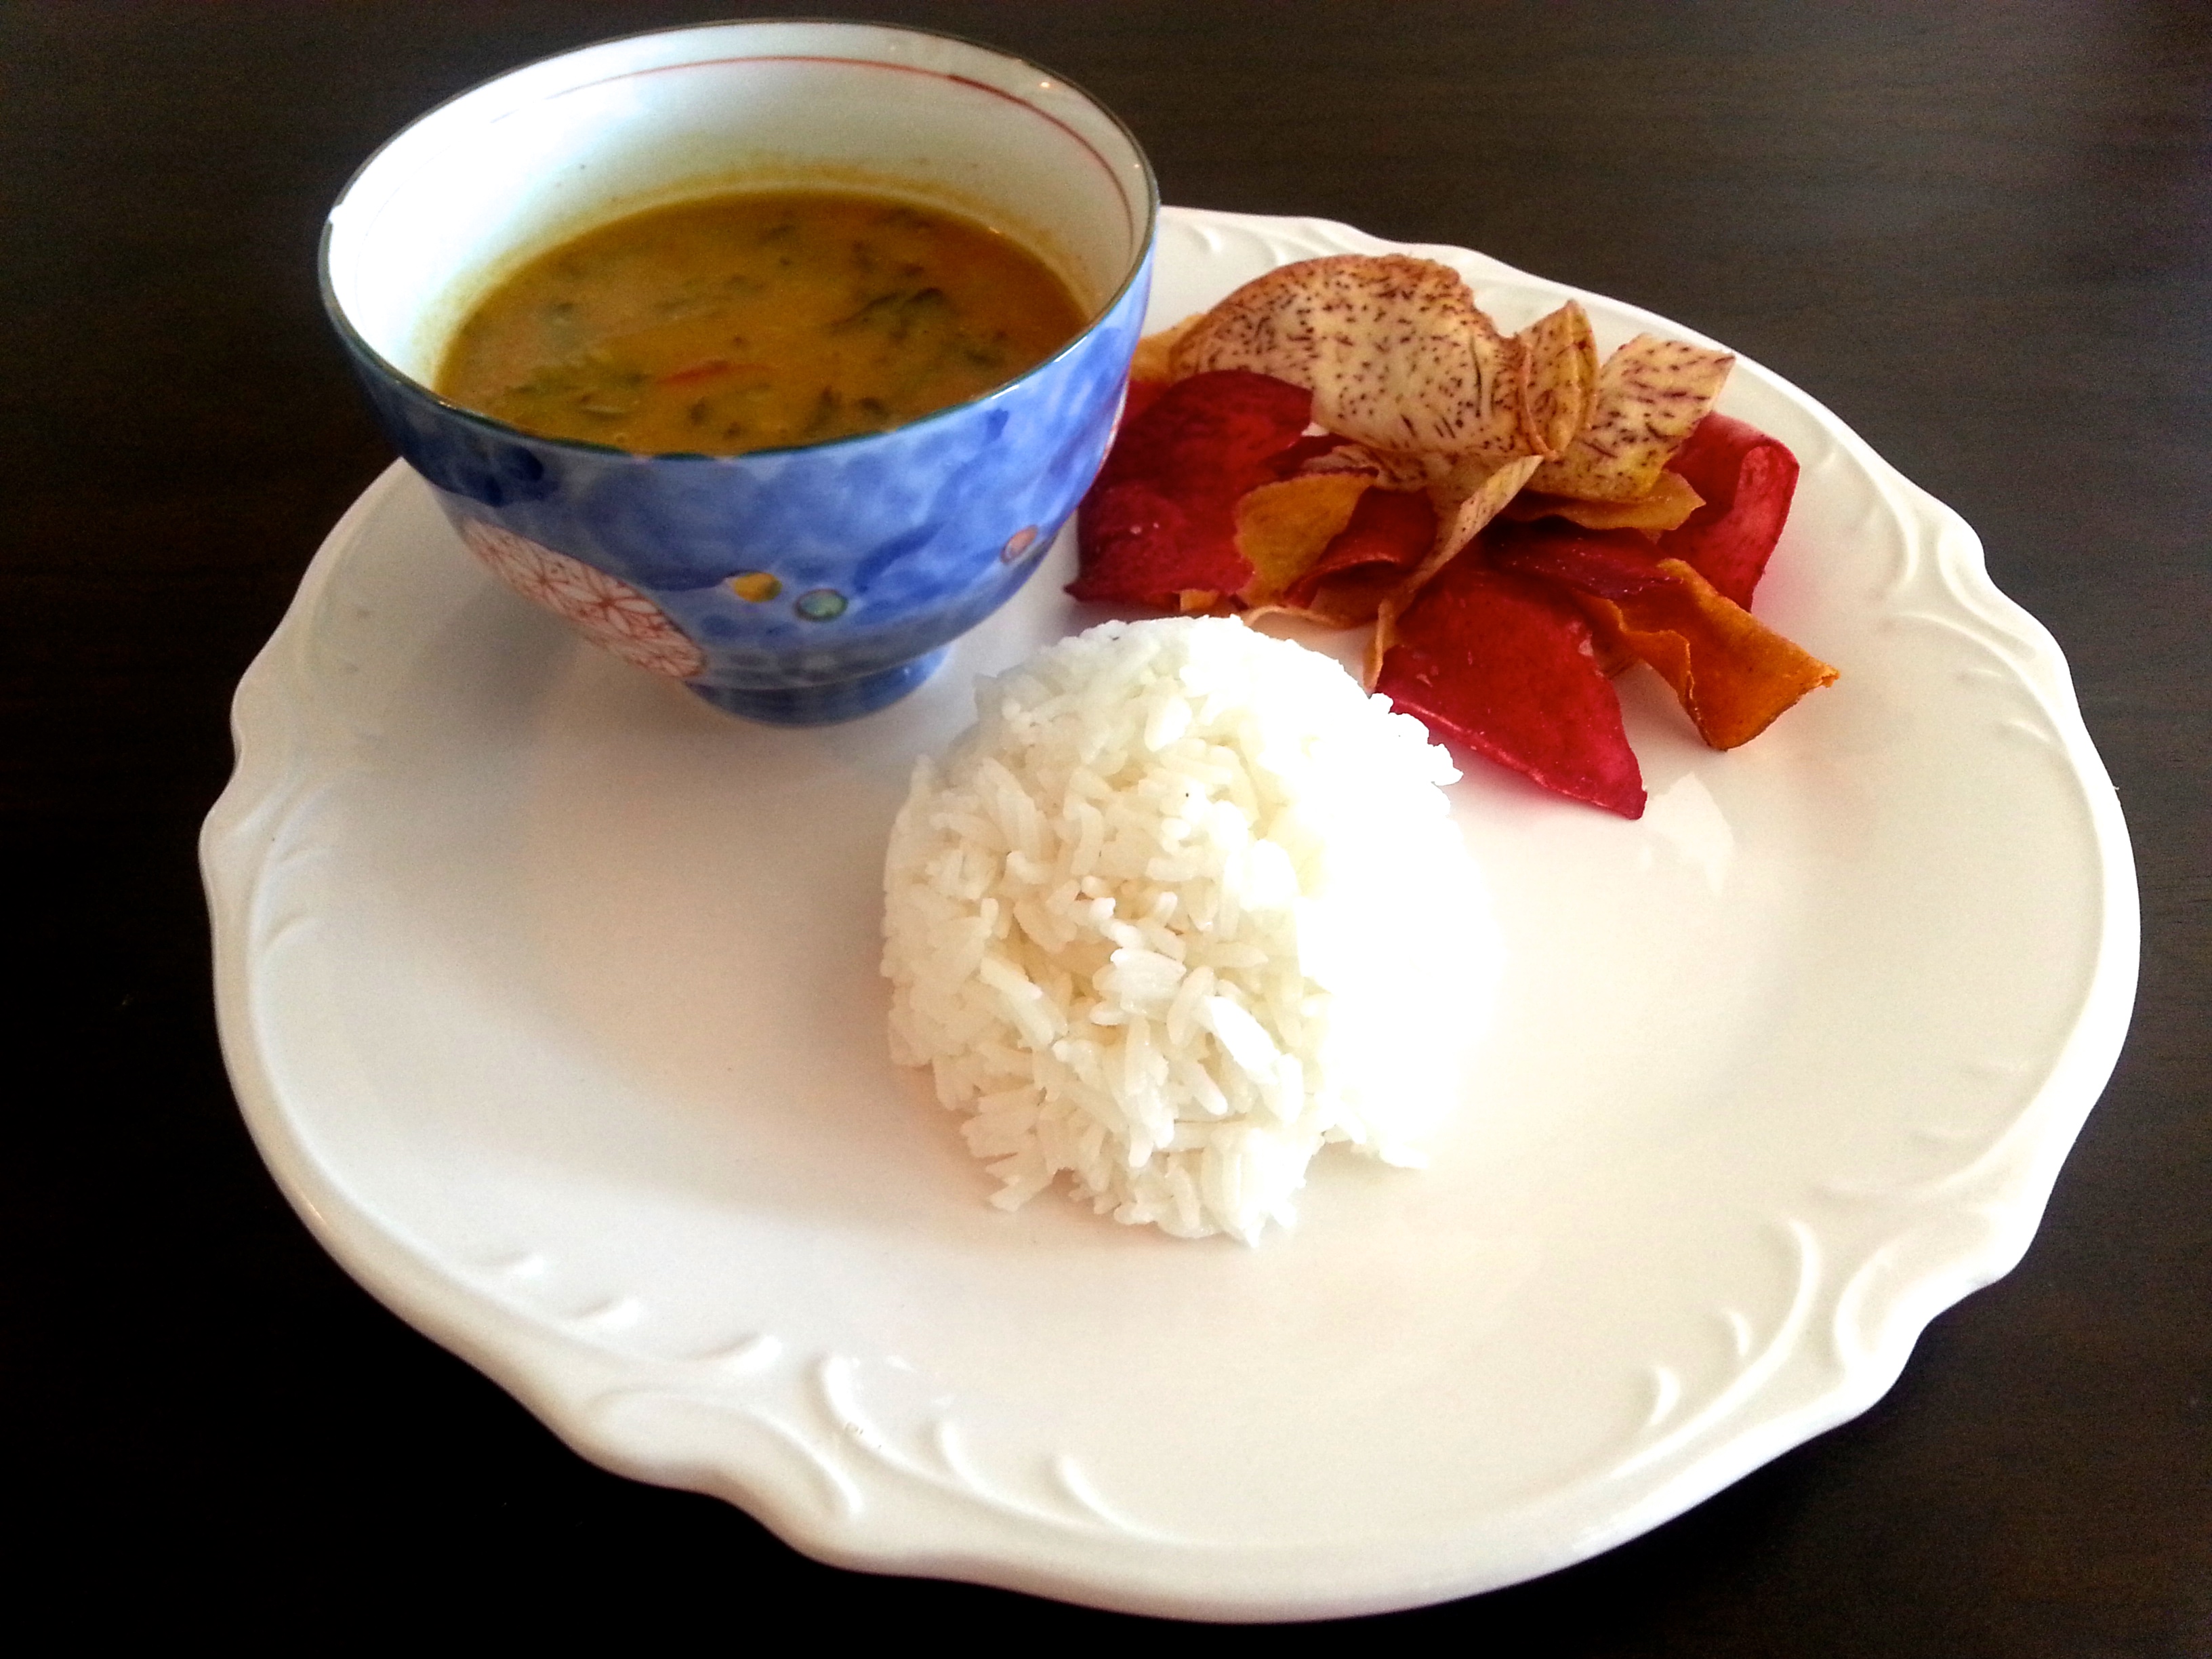
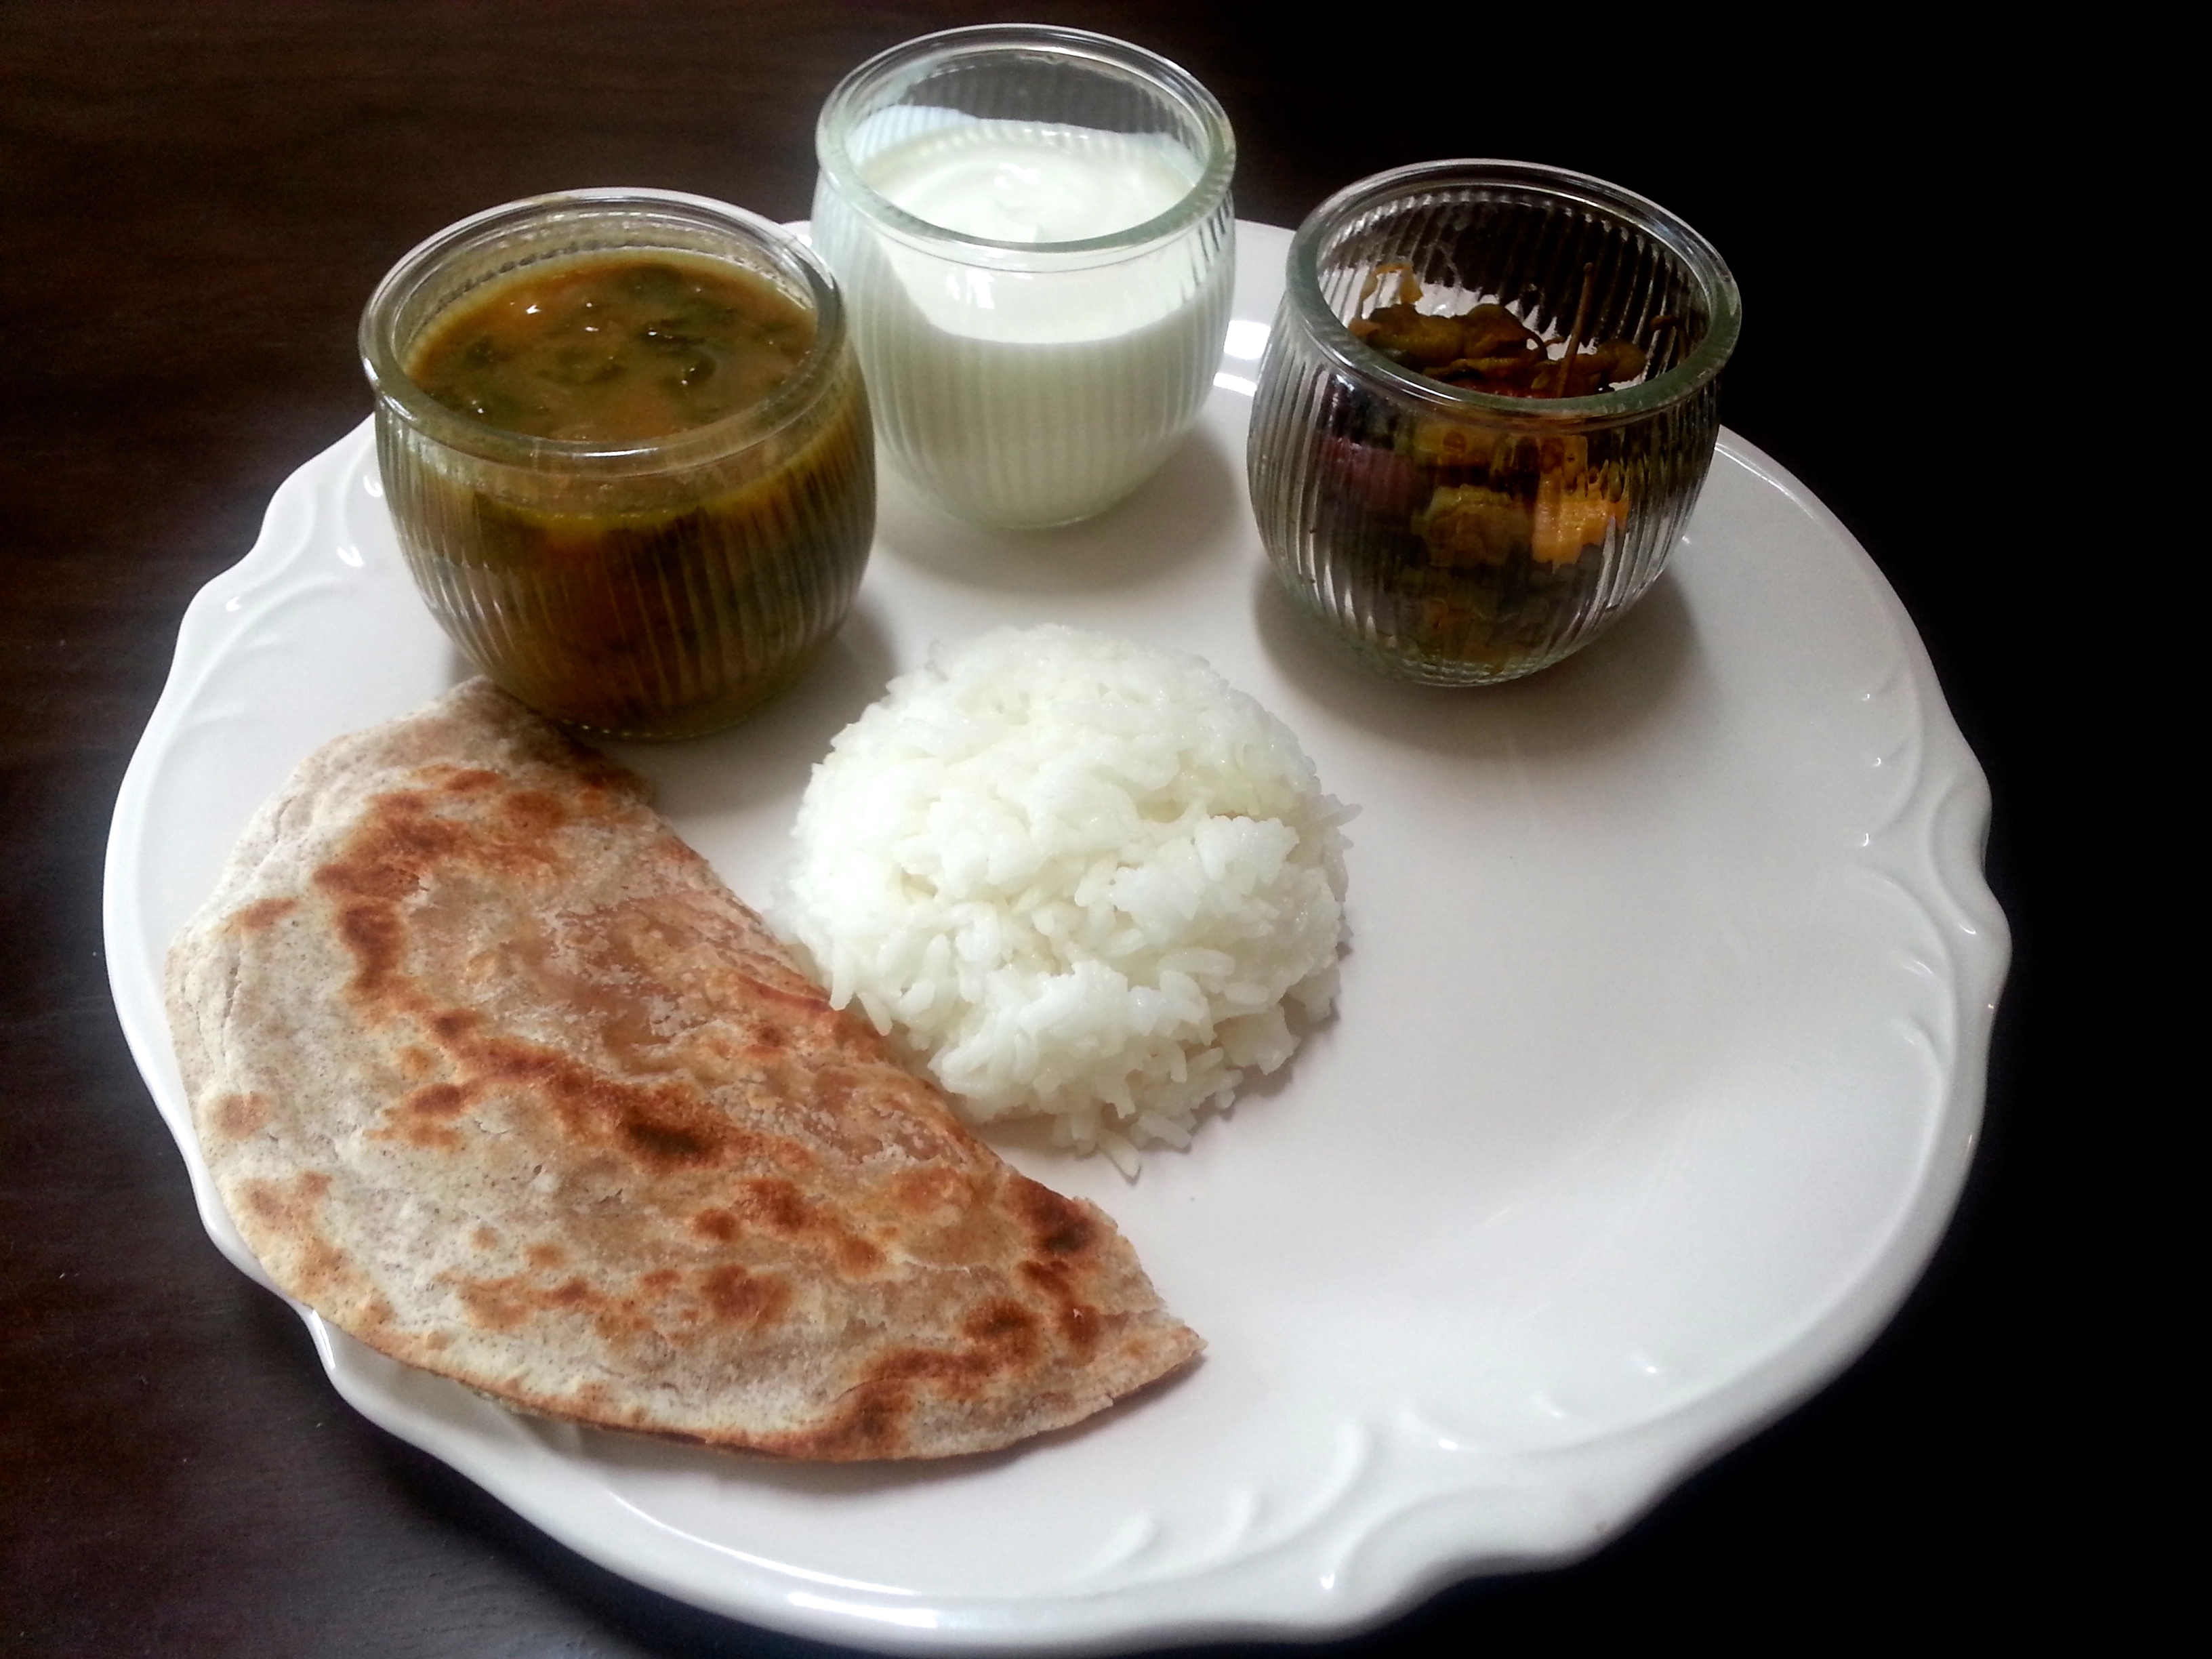
11. The dal is now ready! Taste it and add some salt to it if you like. Serve it with some hot rice and/or roti, dahi (yogurt), Indian pickle, ghee, and any other accompanying curries or vegetable sauté. I like to eat it with brown rice (it’s more nutritious and has more fibre).
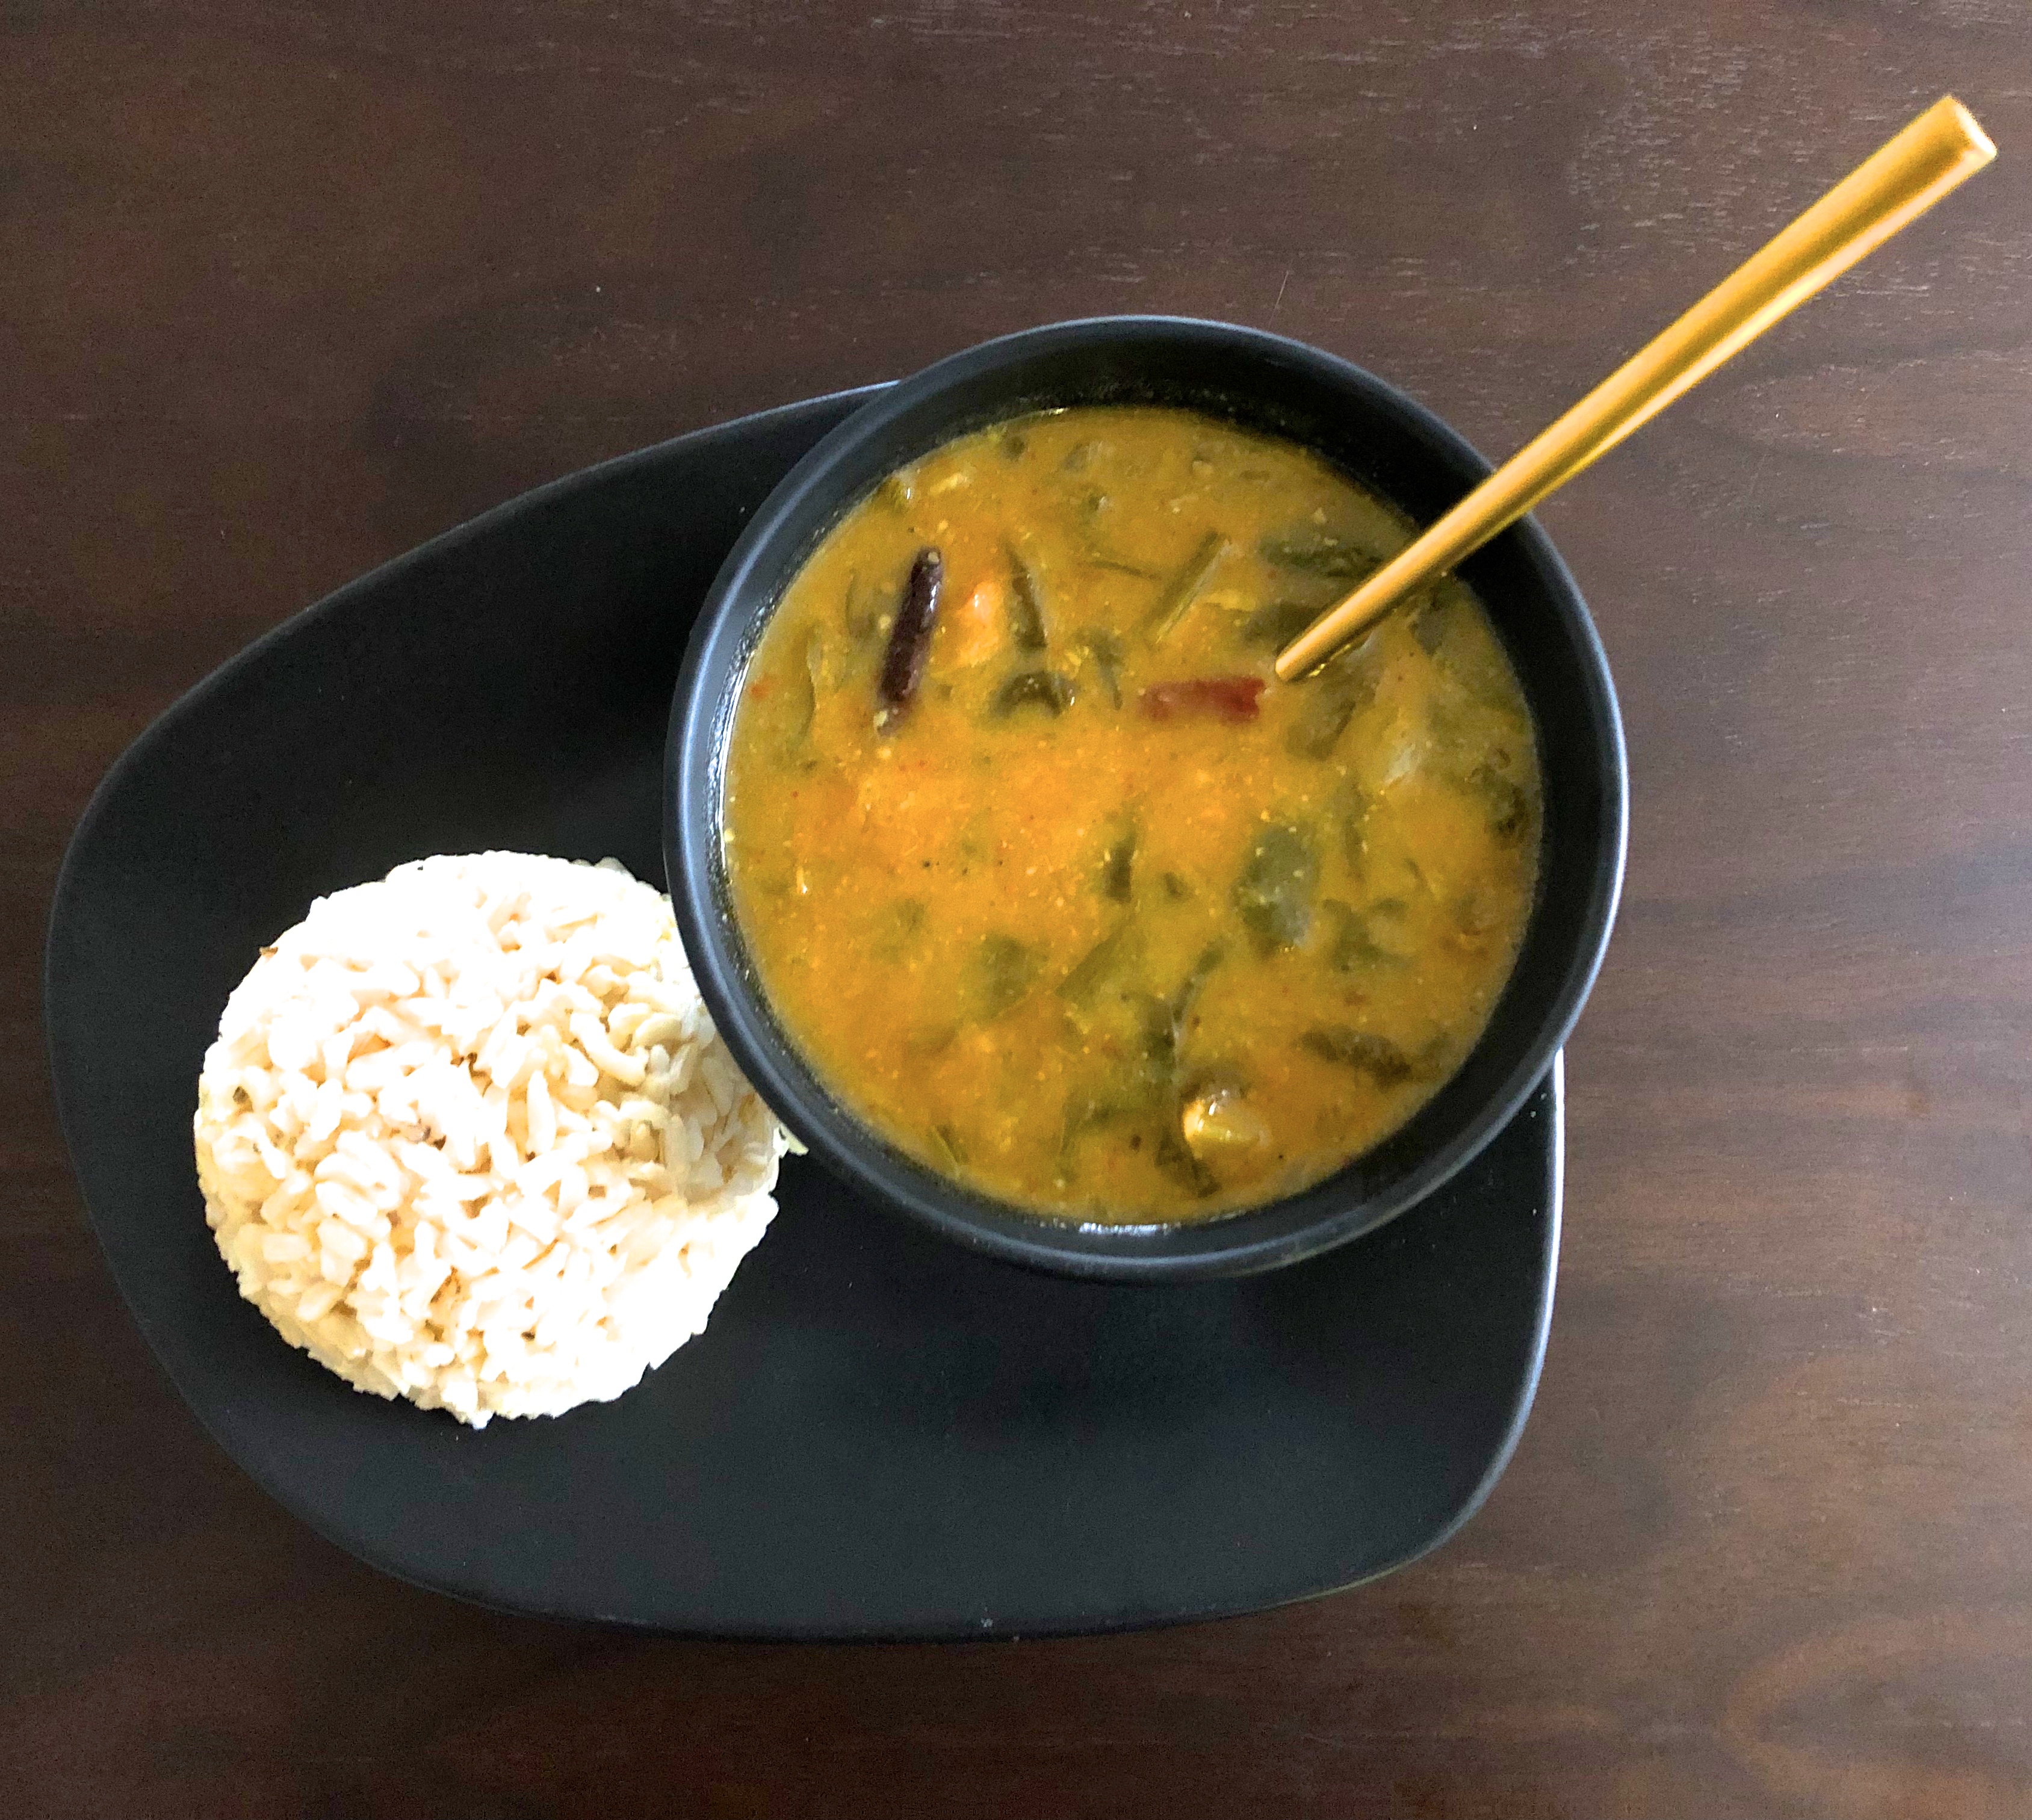
The ratio of dal to rice is up to you. My family jokes that my plate often looks like a swimming pool of dal with a few desperate grains of rice drowning to death in it 😛 Yes, some of my near and dear have a dark sense of humour 😉
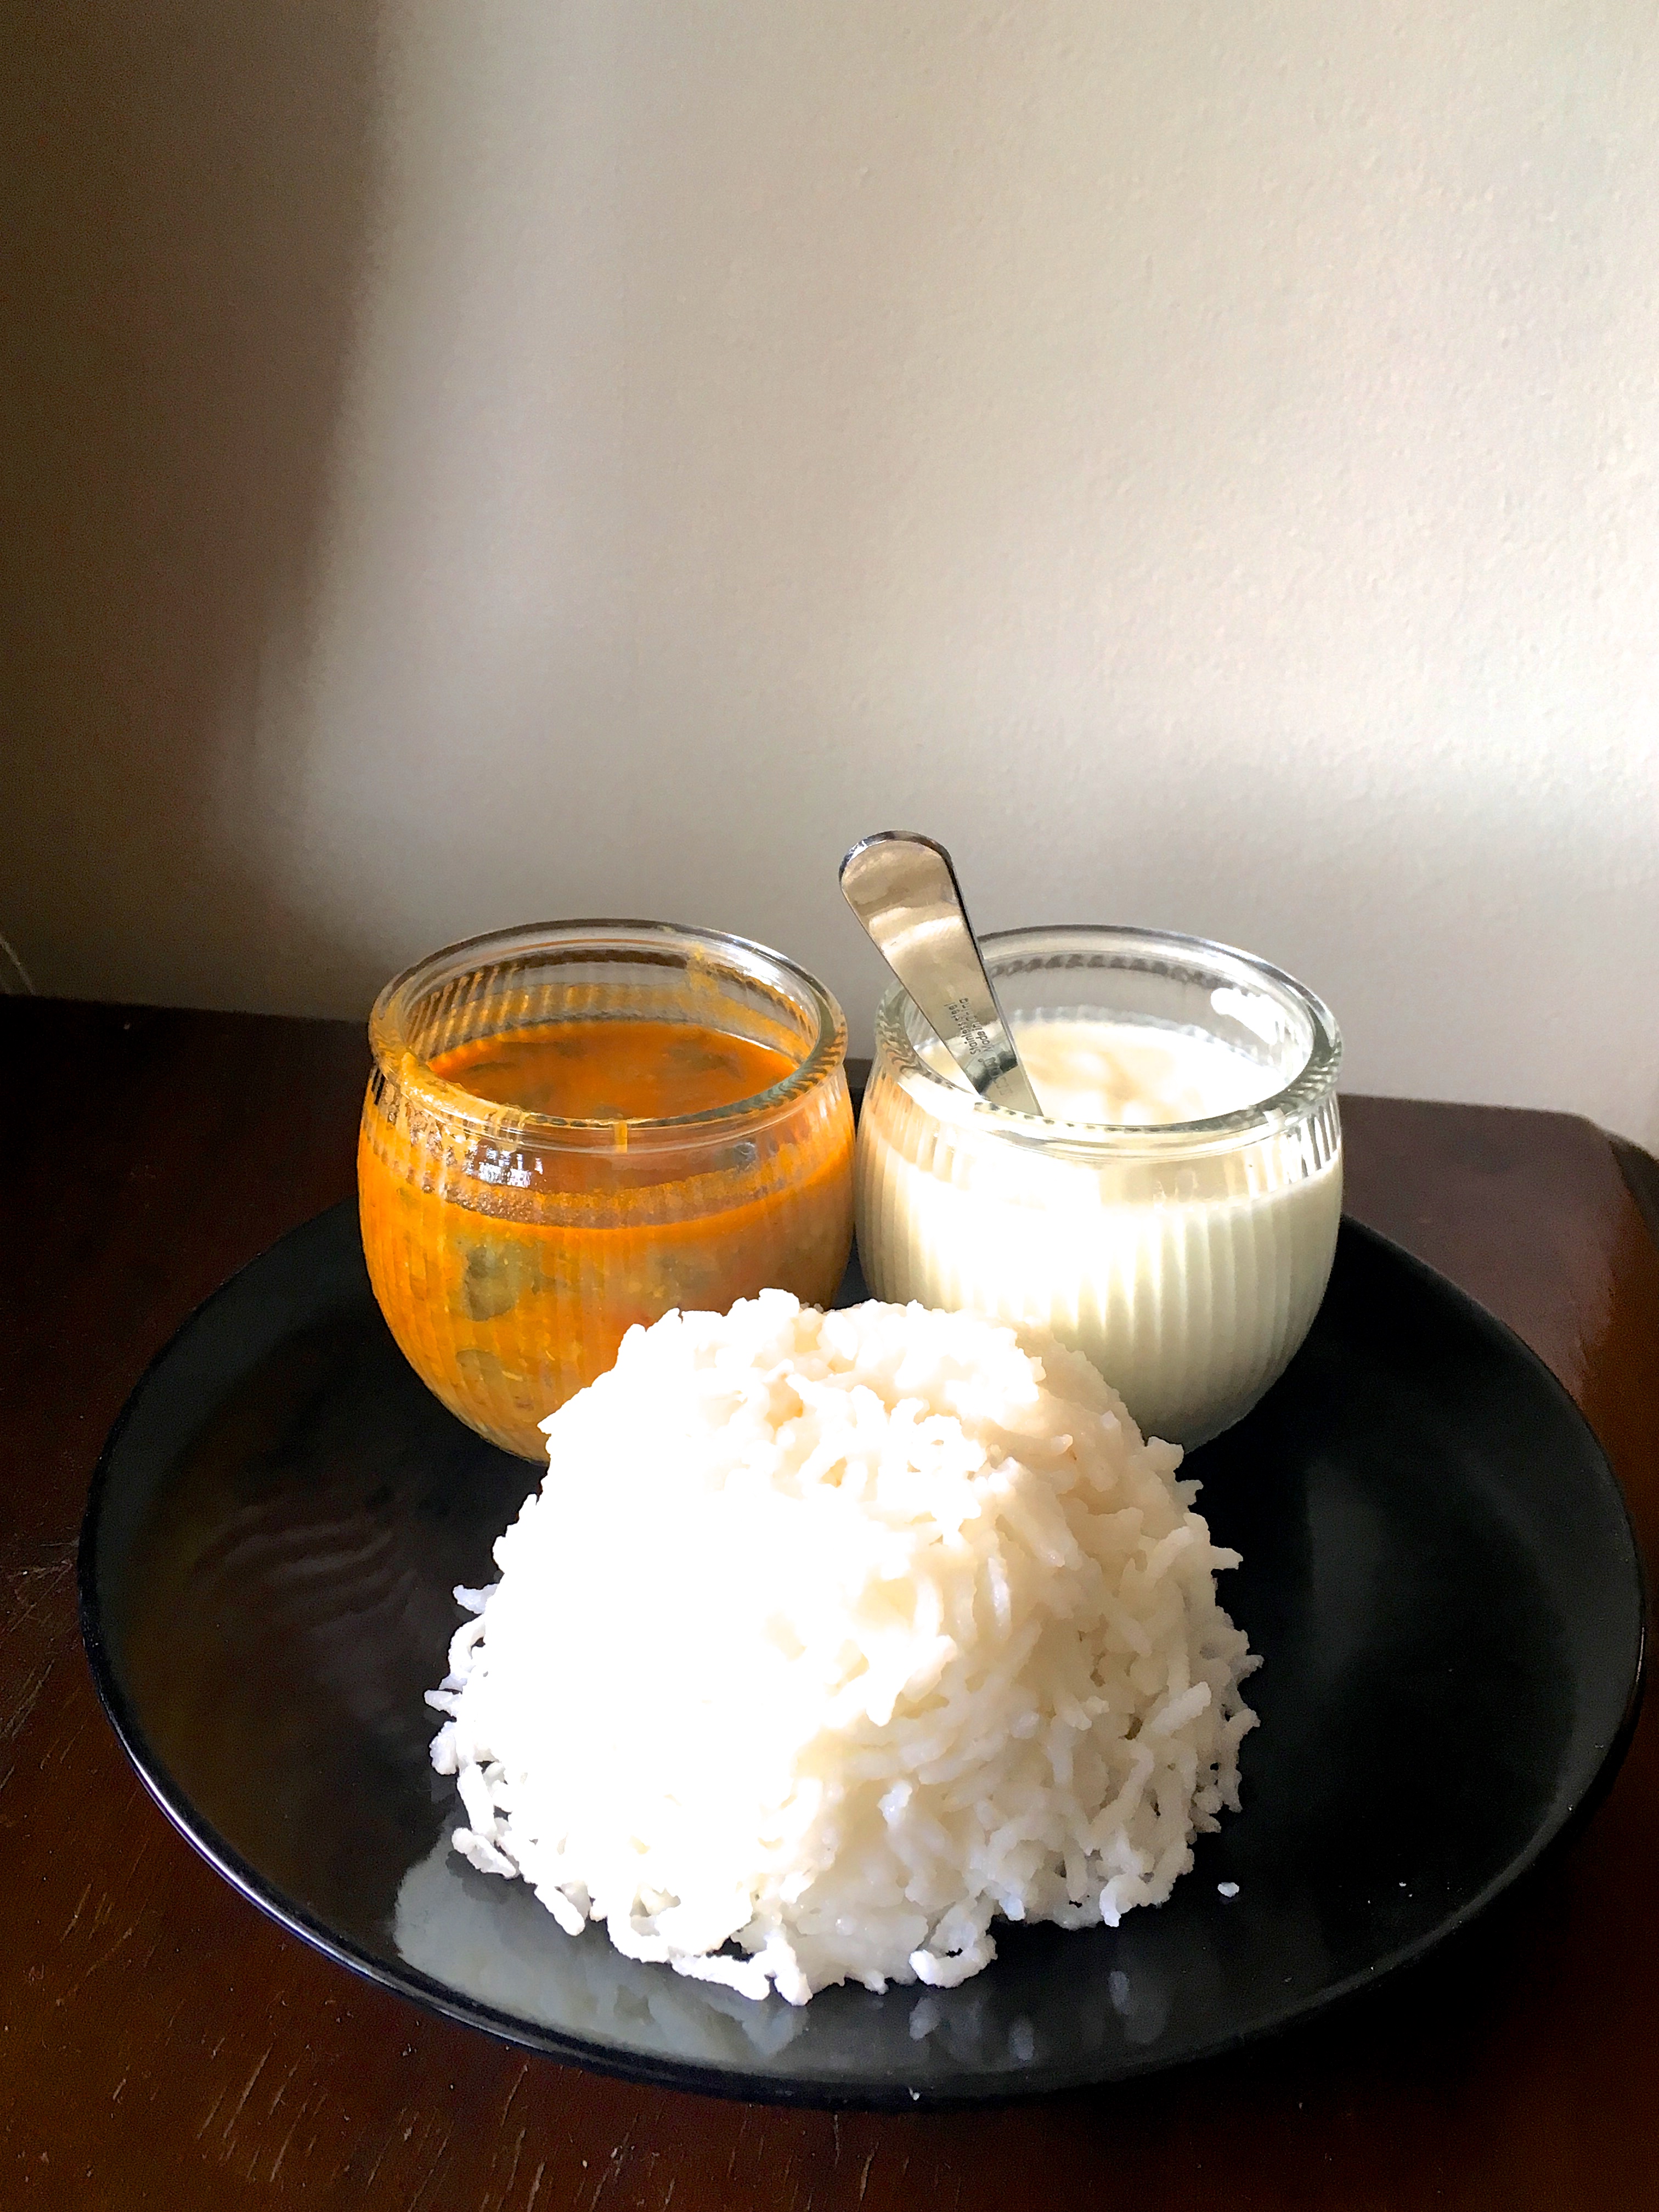
In the photograph below, it is served with white rice, roti, dahi (yogurt), some pickle (Gongura pacchadi, to be precise, which you can get in most Indian stores if you live in North America) and sautéed dondakaya (Indian Ivy Gourd).


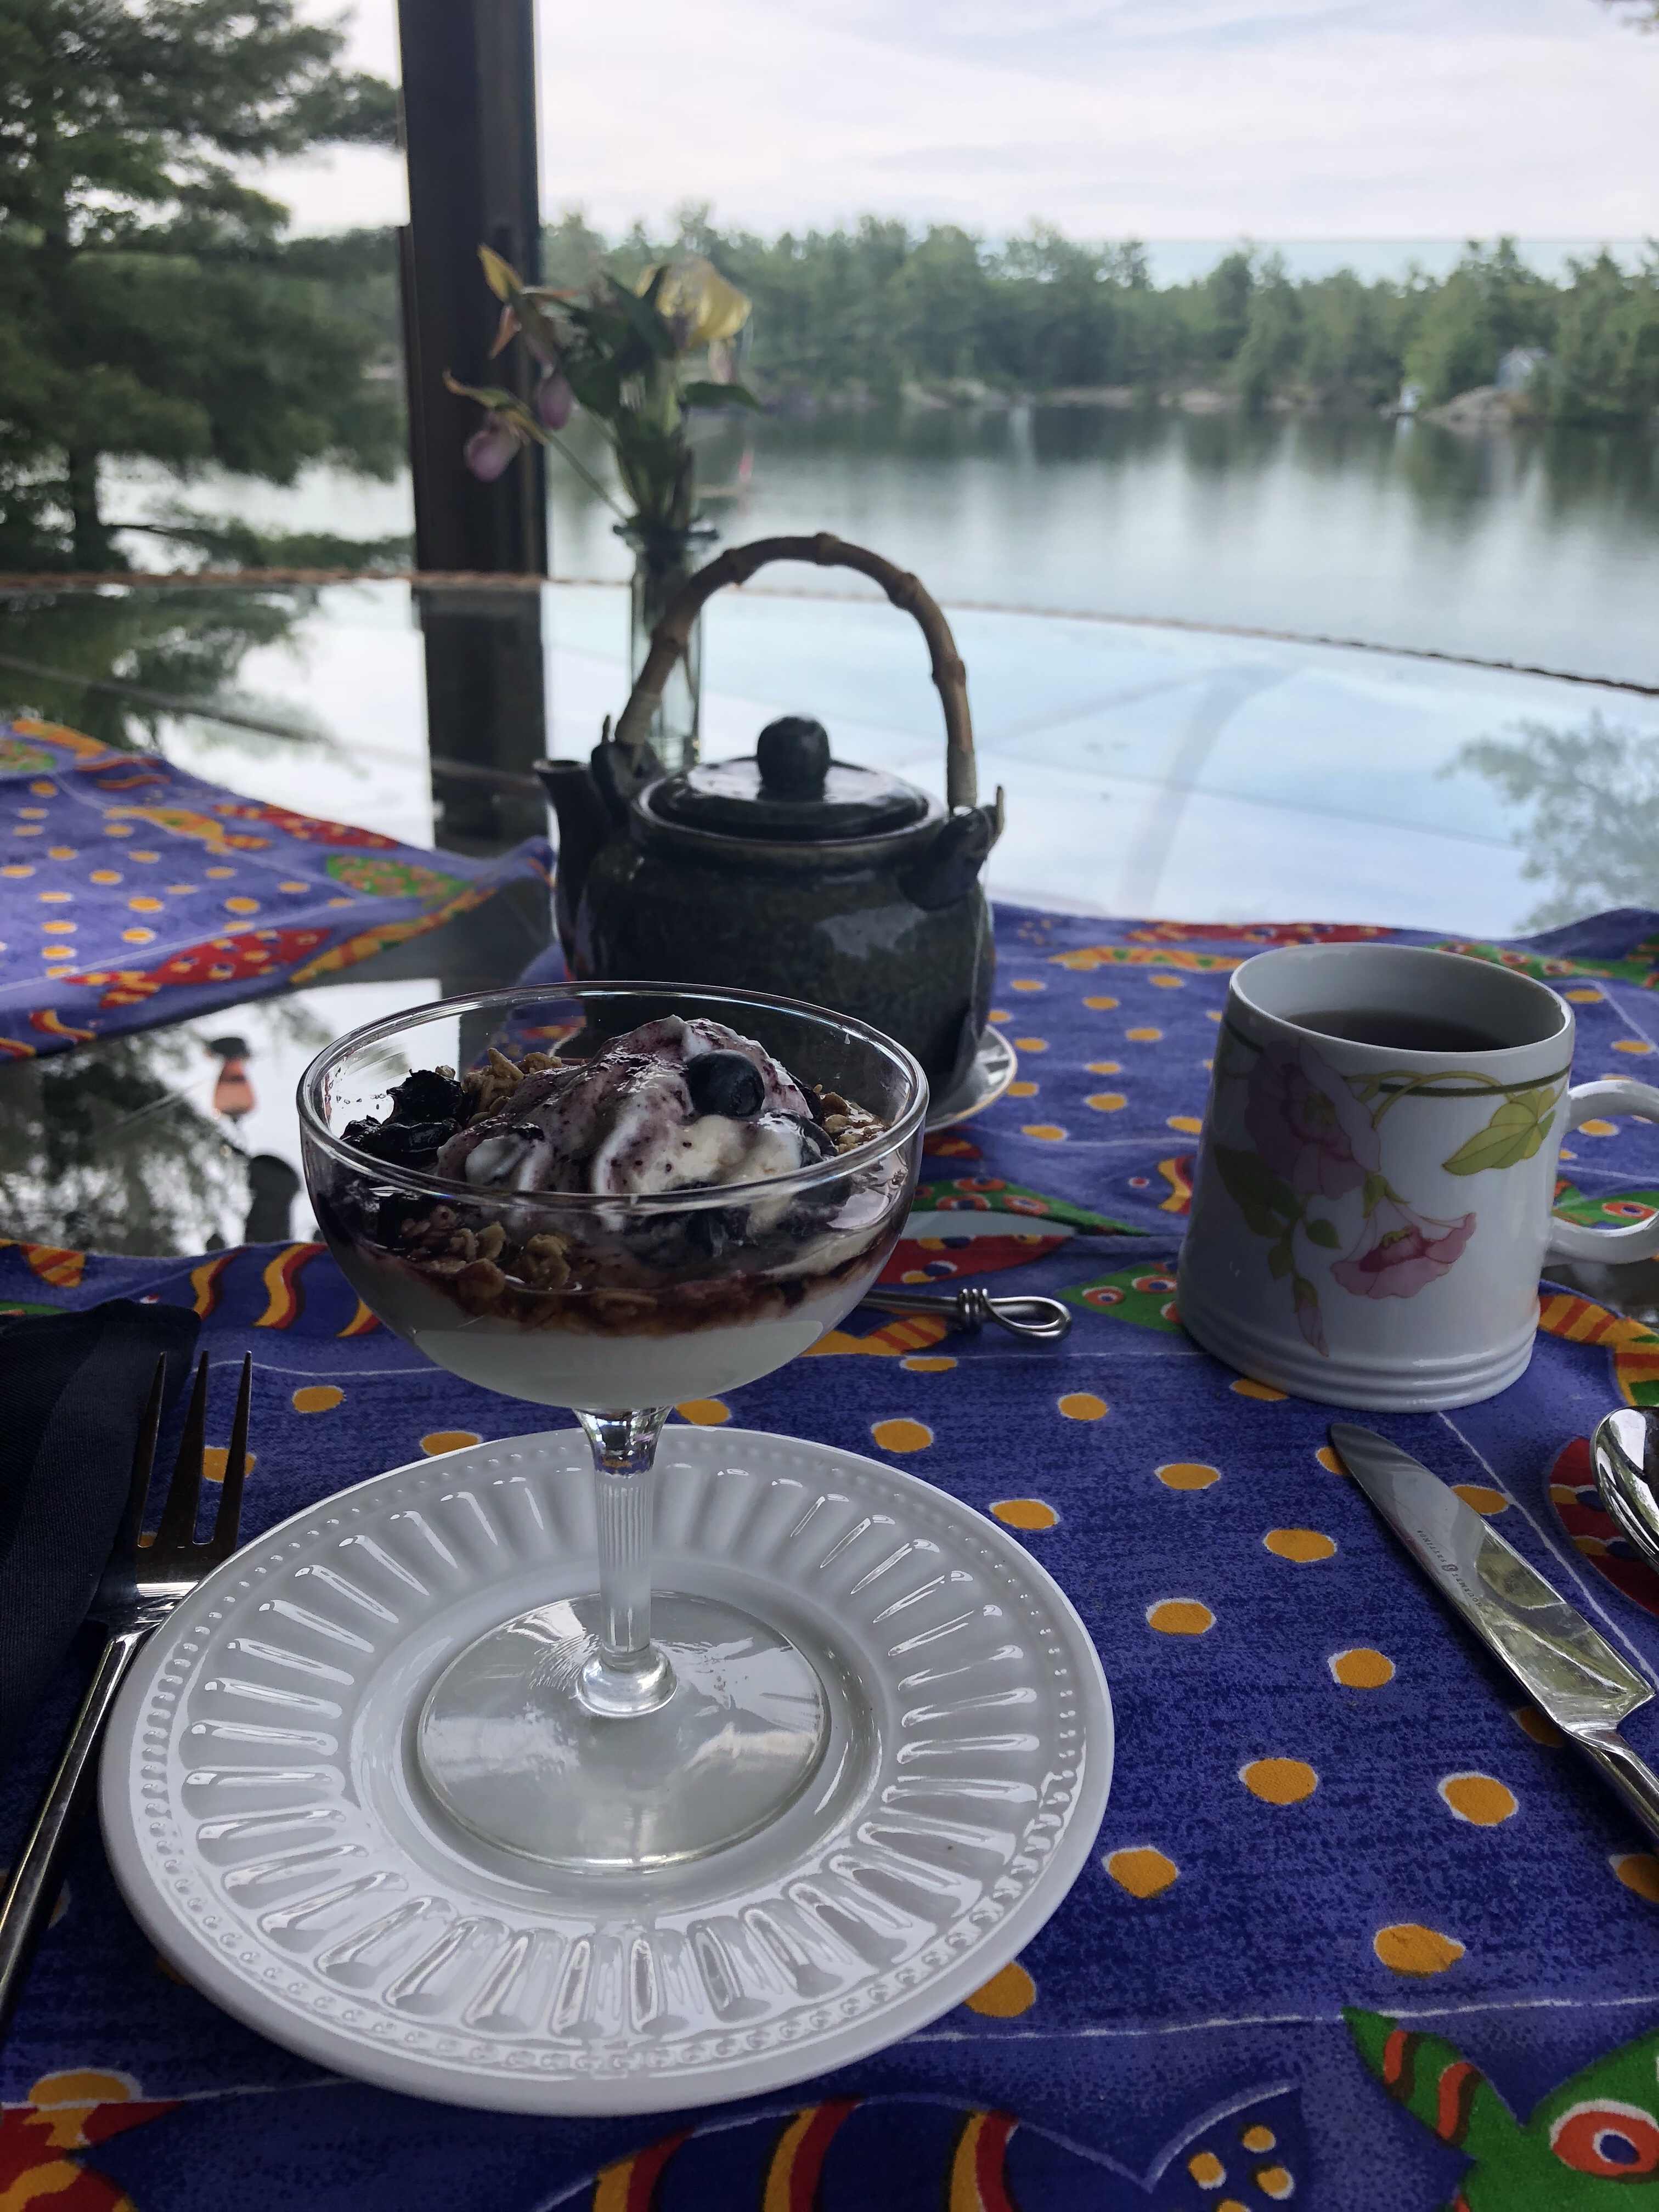


 Our hostess was very gracious and kind, and the real bonus was that there was a resident kitty at the B&B!


")