My favourite type of waffles are Belgian Liège style waffles (names after Liège, a city in Belgium). There is a little shop in Kenginston Market in Toronto that serves up some pretty delicious ones! It’s called “Wafles & More“. They also serve a a pretty good hot chocolate, should you feel like a rich, warm drink to accompany your already decadent breakfast 🙂

I woke up this morning craving some waffles and since it is New Year’s Day (and most places are closed), I knew I would have to cook some up myself. Given that Liège style waffles are made with a yeast-based dough and therefore, cannot be made on a whim, within the hour, I decided upon buttermilk waffles instead. They turned out pretty great!
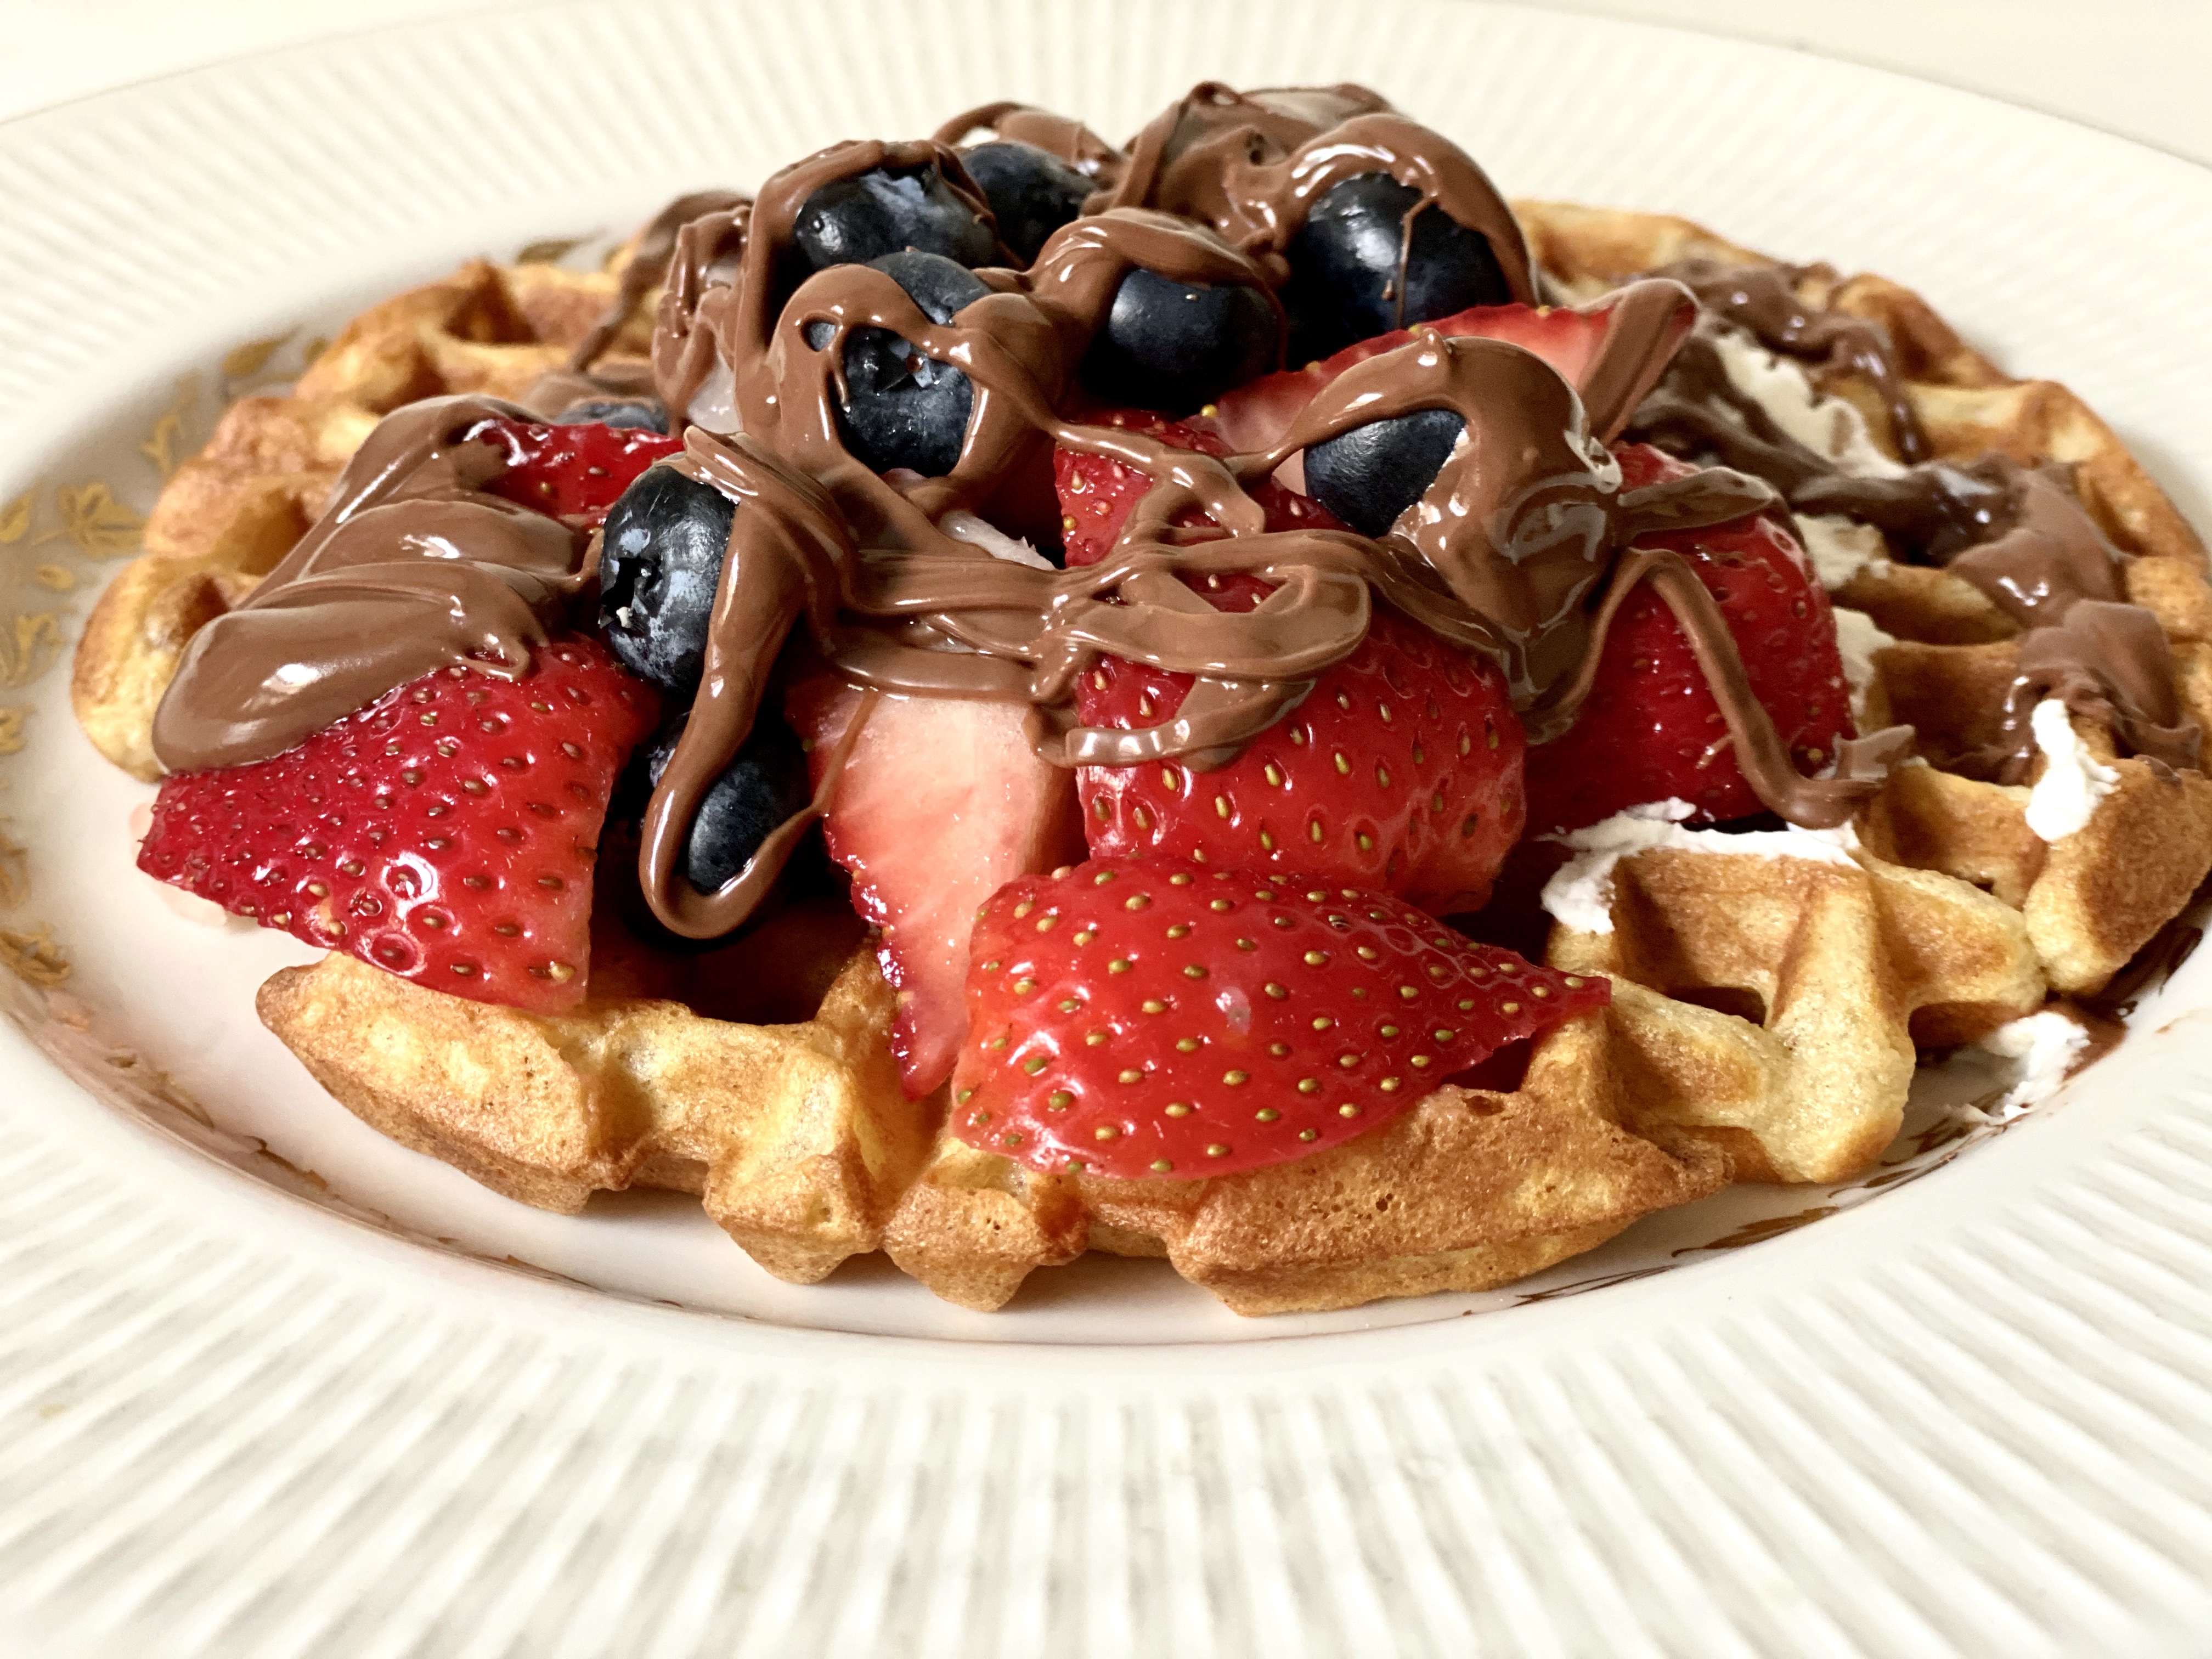
Should you want waffles that are not too sweet, with just a hint of warm molasses and sourness, slightly crisp on the top, fluffy in the middle, and glowing with a caramel-coloured hue, then try this recipe!
Ingredients:
2 cups of flour
1/4 cup turbinado, light brown, or dark brown sugar (packed)
1 teaspoon baking soda
1.5 teaspoons baking powder
1 teaspoon salt
0.5 teaspoon ground cinnamon (optional)
114 g (8 tablespoons) cultured, unsalted butter (if you can’t find cultured butter, any unsalted butter will do)
2 cups whole buttermilk
3 eggs (separated)
1 teaspoon vanilla essence
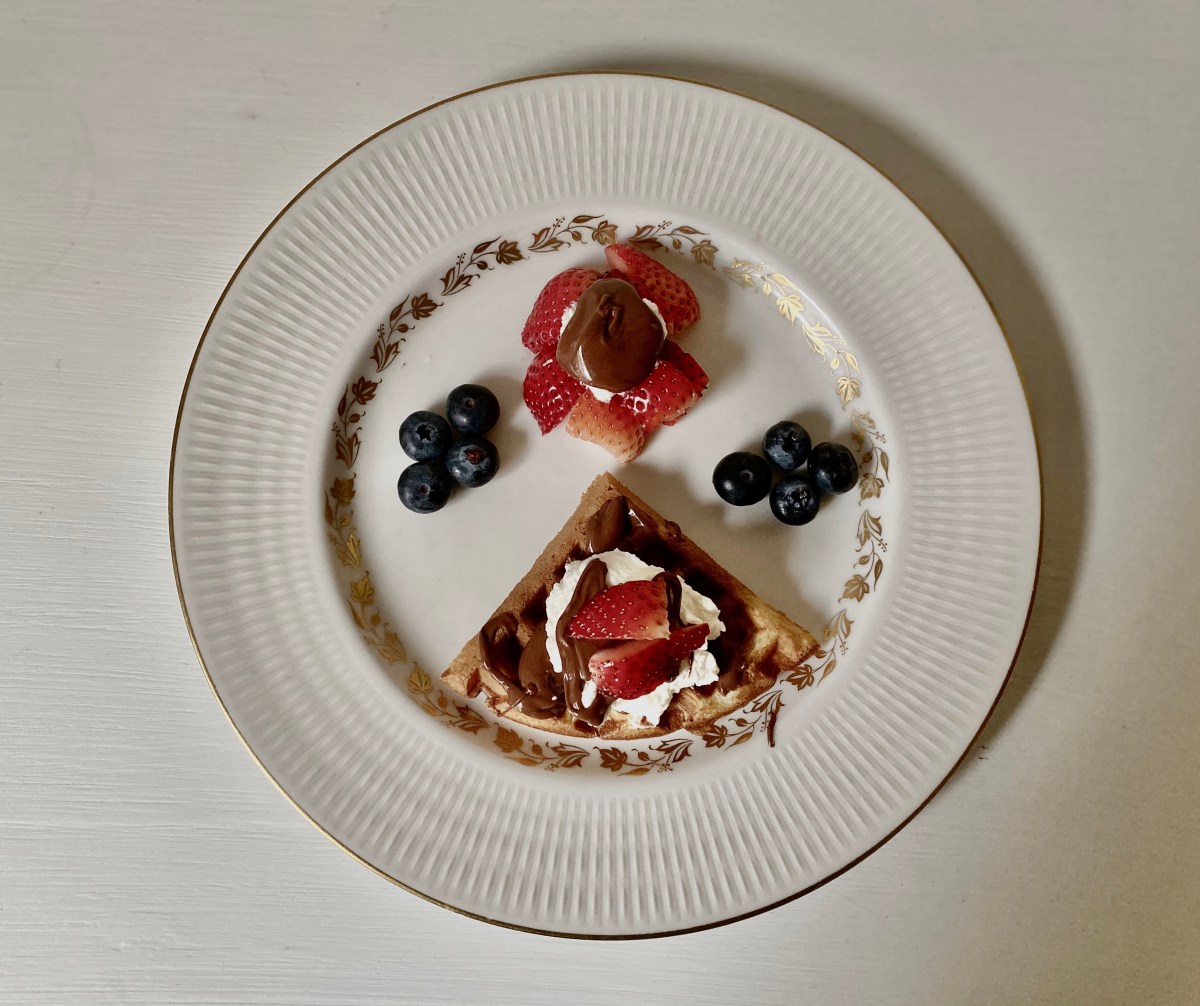
Toppings (you could use any or all of these, or throw on any toppings that appeal to you):
Whipped Cream (Ideally, flavour it with some liqueur)
Berries
Bananas
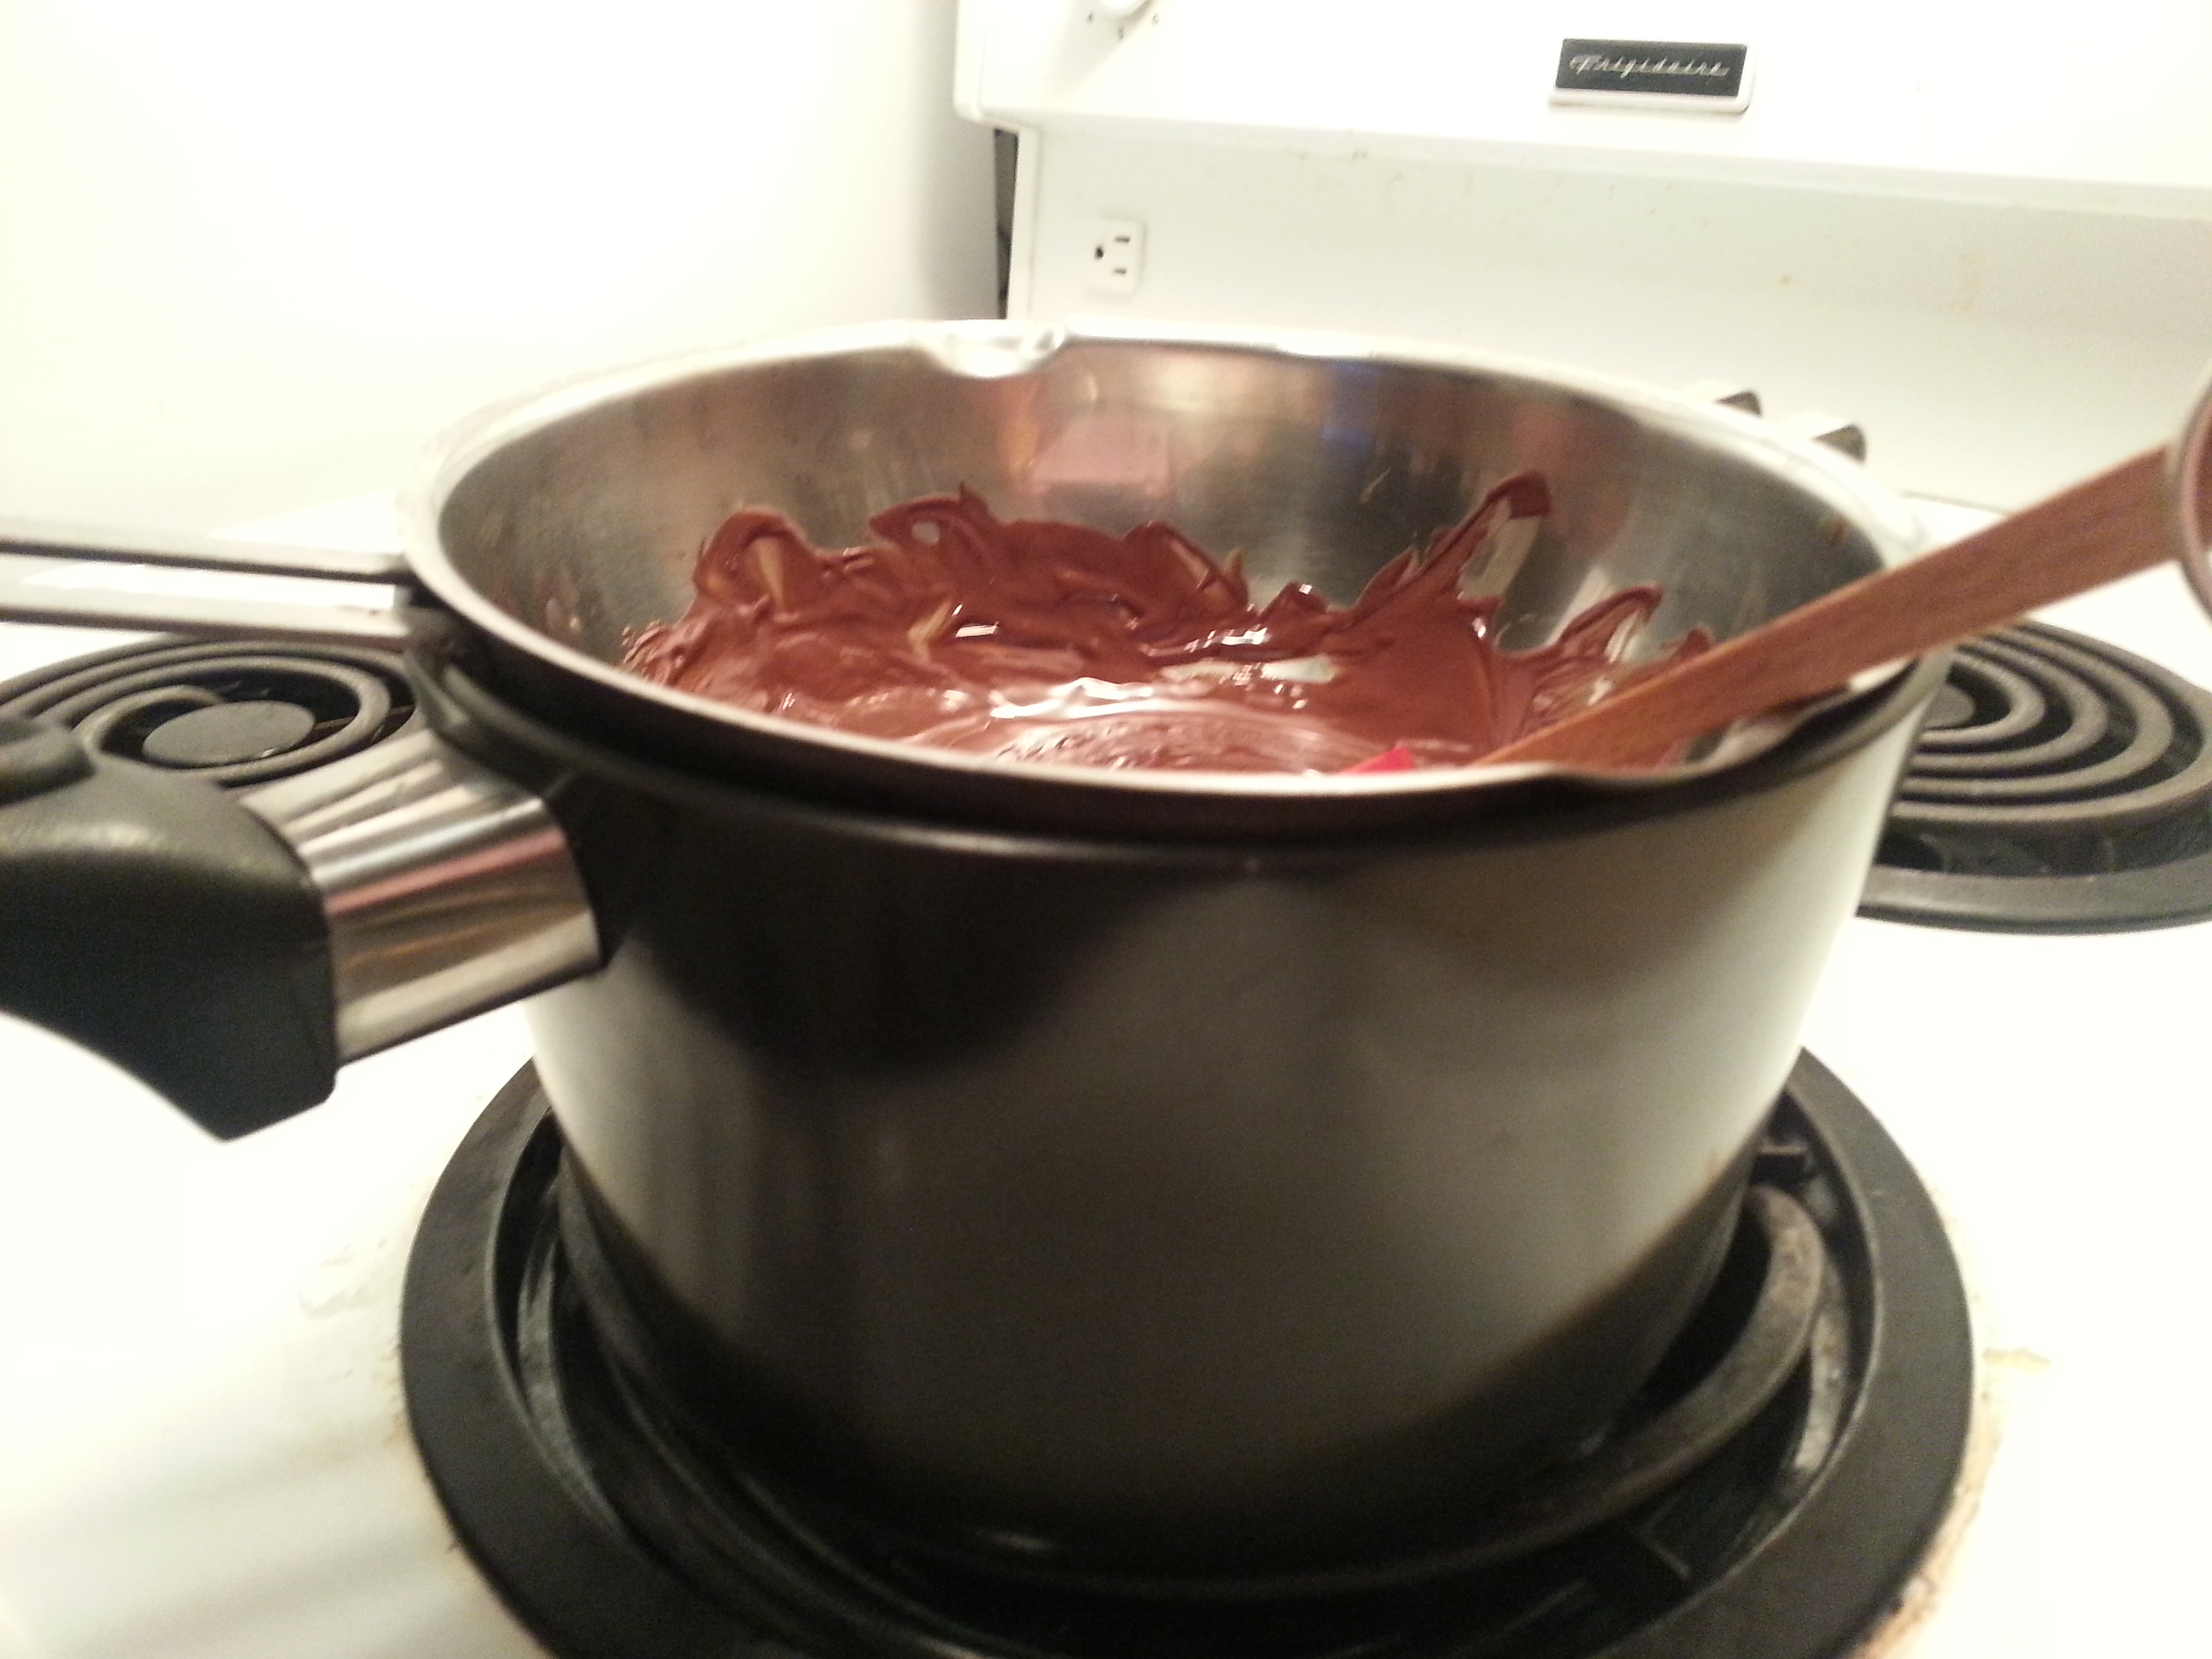
Melted Chocolate
Maple Syrup
Chocolate Hazelnut butter (go here for a recipe)
Nutella
Peanut Butter
Jam
Method:
1. Place all the dry ingredients in a bowl. Mix and then sift them all into a large bowl.
2. Warm the butter and buttermilk to just slightly warmer than room temperature.
3. Mix the butter, buttermilk, egg yolks, and vanilla essence together in a bowl. Then add this mixture to the dry ingredients and gently mix them all together with a whisk.
4. Whip the egg whites until they form stiff peaks.
5. Turn on your waffle maker.
6. Gently fold the egg whites into the mixture from step 3.
7. The batter is now ready! Spoon some into the waffle maker and let it cook for about 3 minutes. You will have to figure out how much batter to add into the waffle maker, as well as precisely how much time to let the waffles cook, after a few tries (both these variables will be influenced by the type of waffle maker you have).
8. Your waffles are good to go! Throw on some toppings and enjoy!
9. Just a note, I think whipped cream is an absolutely essential topping for waffles. I recommend whipping some up right before you start making the waffles. I also suggest adding some liqueur to the cream before you start whipping it up. I used cherry liqueur!
10. Also, if you’d like, you can make a few extra and store them in the fridge. I have found that when you’re ready to eat them, it’s best to heat them up in the oven at 350 degrees Celsius, for 2 mins on either side, after basting them with some butter.