In North America and Western Europe, while food from Northern India (and to a lesser extent, South Indian tiffin) is relatively widely available, authentic Hyderabadi food is difficult to find.
This is utterly befuddling to me, as Hyderabadi cuisine is one of the richest food traditions in the world. If Mexican food represents textural complexity at its best, Hyderabadi food represents the most wonderfully balanced and exquisite harmony of intense flavours that I have ever experienced.
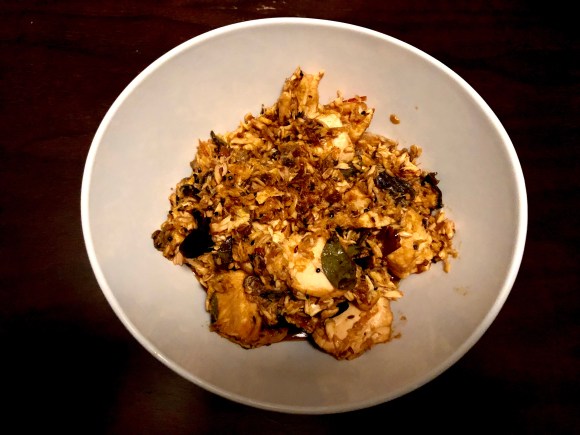
If you are looking to explore this cuisine, there is no better introduction to Hyderabadi food than Achaari Murgh (meaning pickled chicken), although this claim is likely to be perceived as blasphemy by Biryani lovers!
Since I don’t eat chicken, I make Achaari salmon instead. When I first cooked this dish, I began by following Pratibha Karan’s recipe, from her book on Hyderabadi cuisine. Over time, I have adapted the proportions of the ingredients slightly to suit my own palate.
If you would like to serve the fish with wine, I wrote an article on pairing Hyderabadi food and wine that you might find interesting.
Now to the recipe!
Equipment:
A heavy bottomed pan
Knife
Cutting board
A large bowl
Spatula
Ingredients:
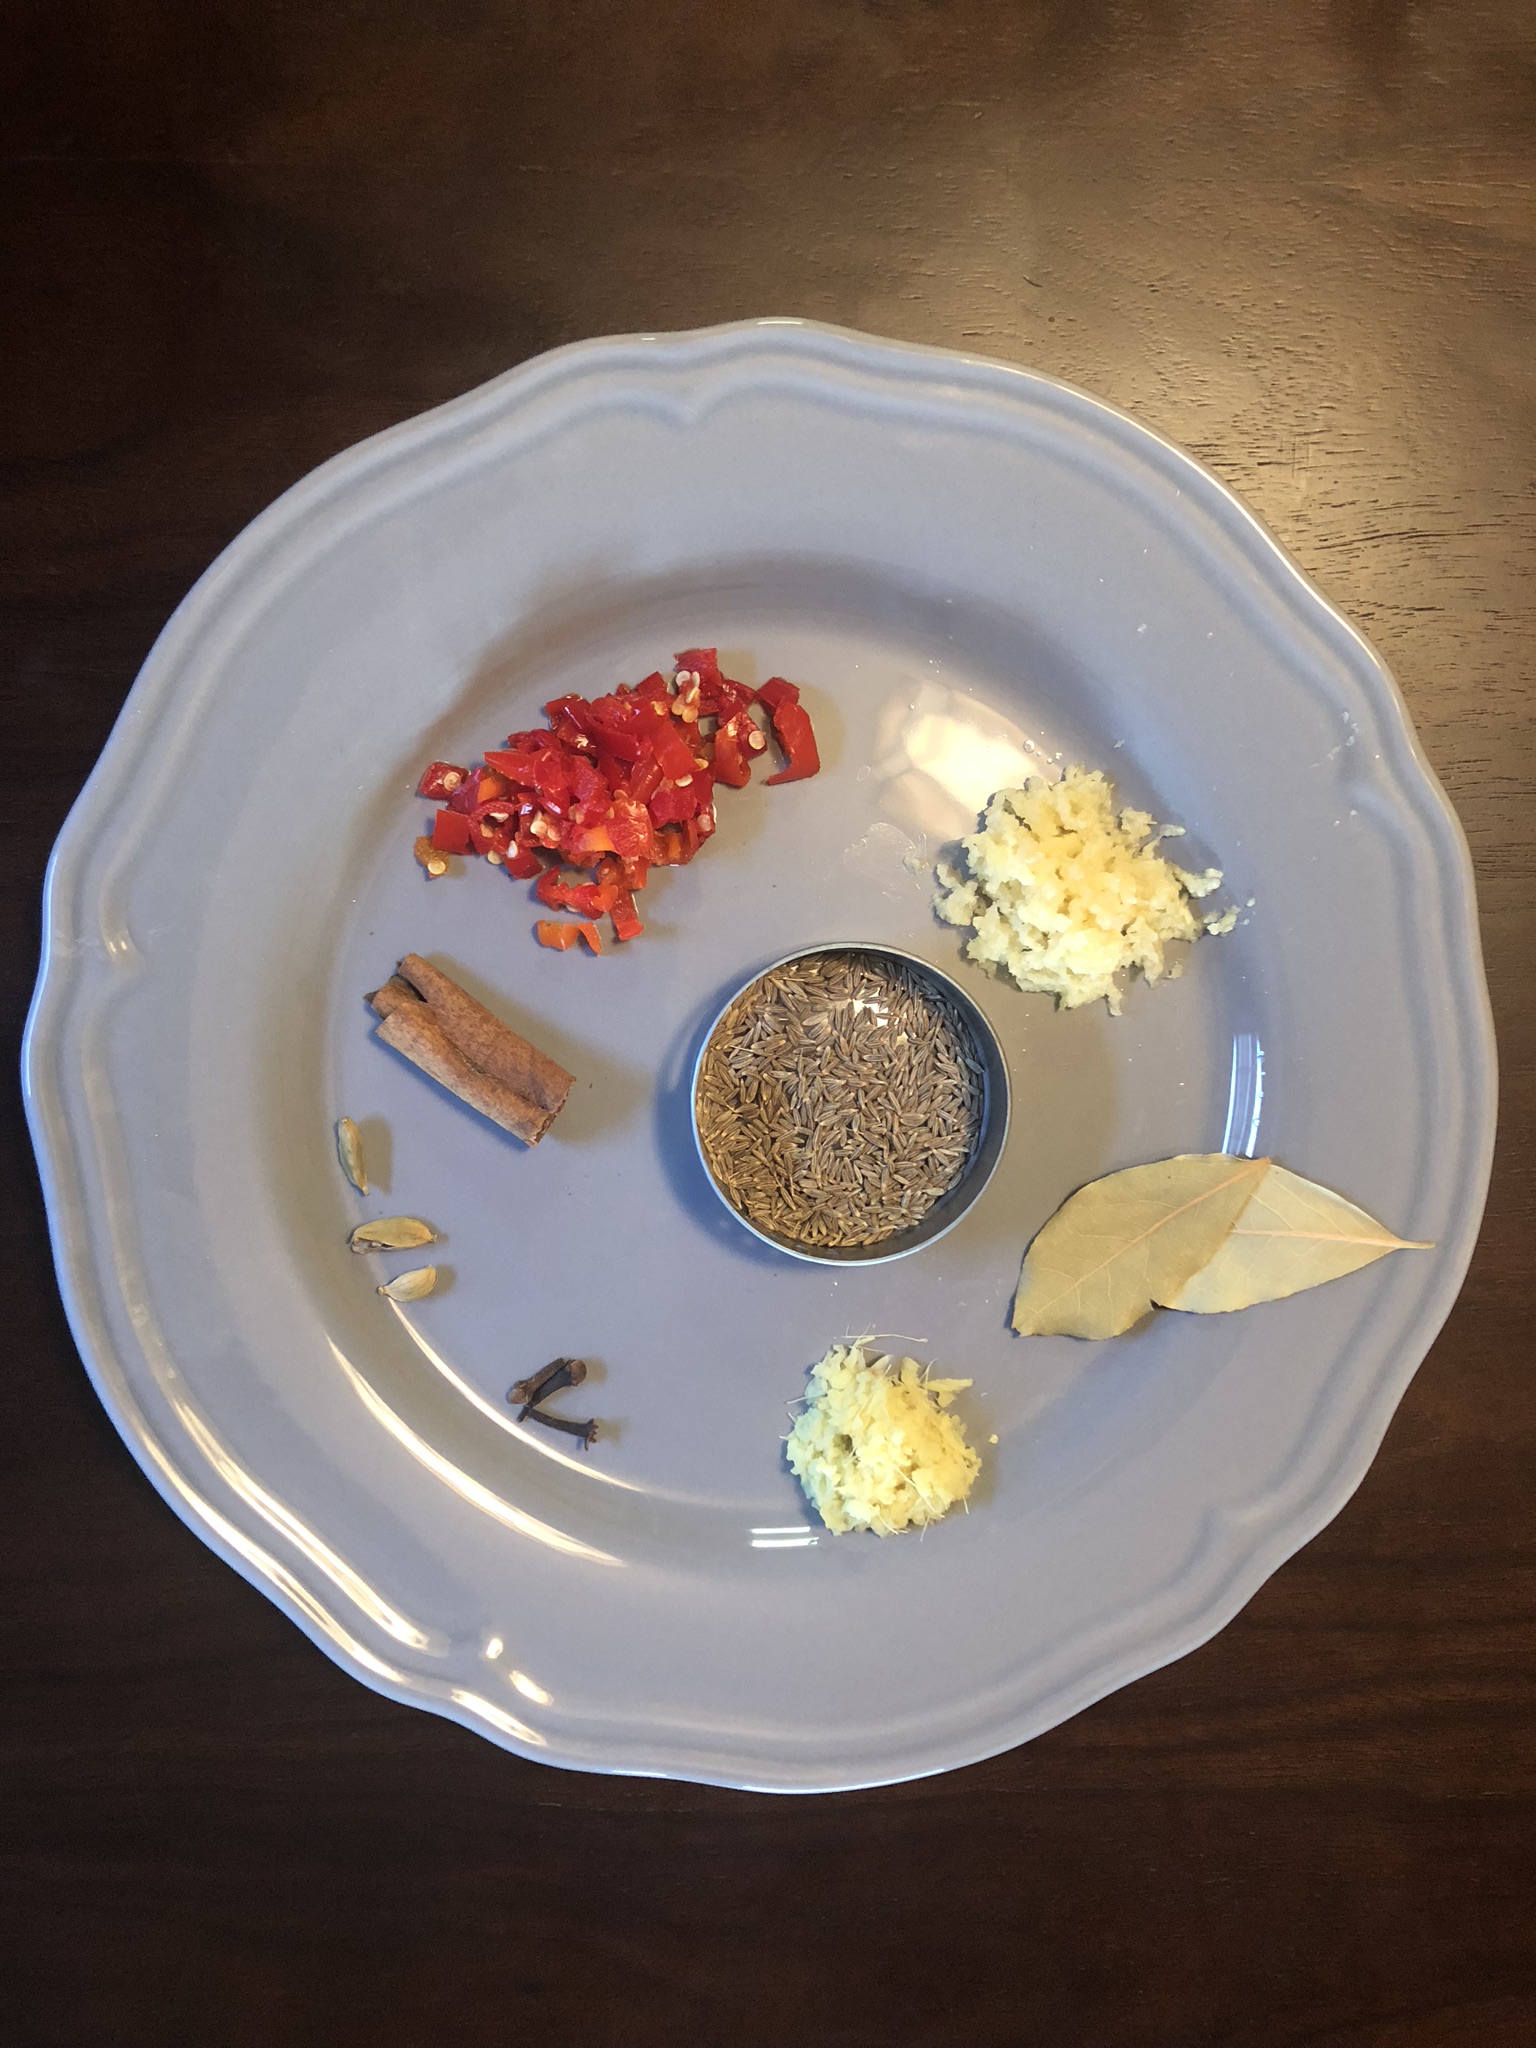
1 pound salmon
Juice of 2-3 lemons
A handful of curry leaves
2 maya habanero chillies (or any fresh chilli)
1 tsp crushed garlic
1 tsp grated ginger
2-3 tsp red chilli powder
1 tsp cumin powder
1 tsp coriander powder
Salt to taste
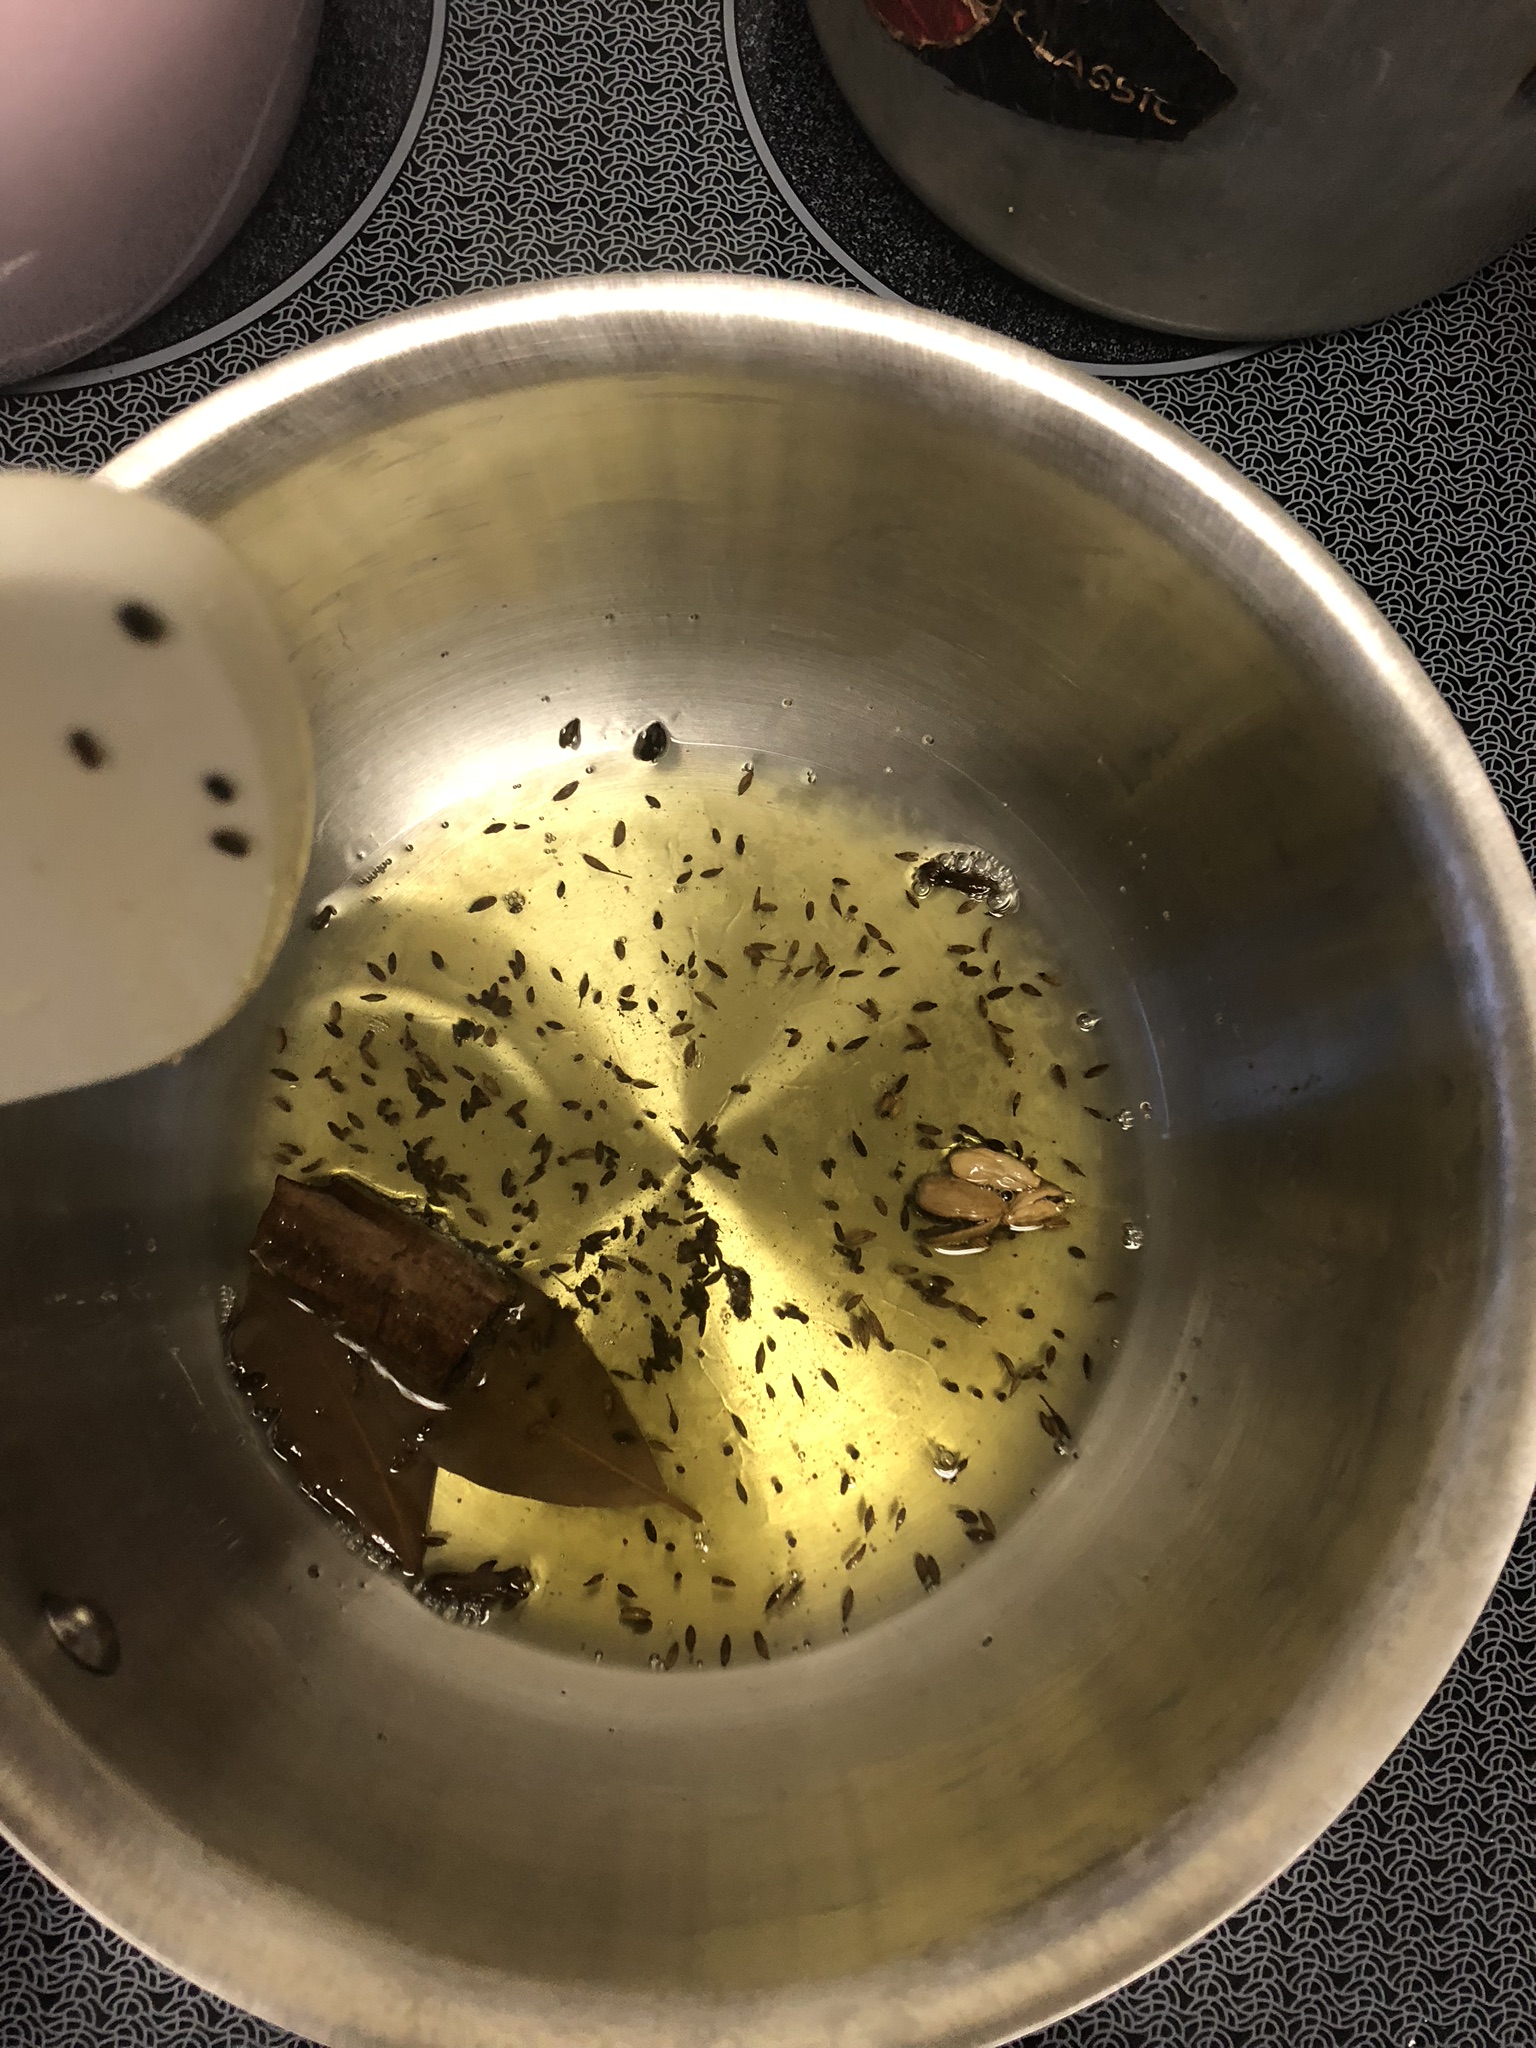
1/2 cup sunflower or avocado oil
2-4 dried red chillies
1 tsp cumin seeds
1/2 Mustard seeds
1/2 Nigella seeds
1/2 tsp Fenugreek seeds
Method:
1. In a large bowl, combine the lemon juice, curry leaves, ginger, garlic, fresh chillies, red chilli powder, salt, cumin powder, coriander powder, salt, and fish. (Do not cut the fish into smaller pieces, just add it in as is.)
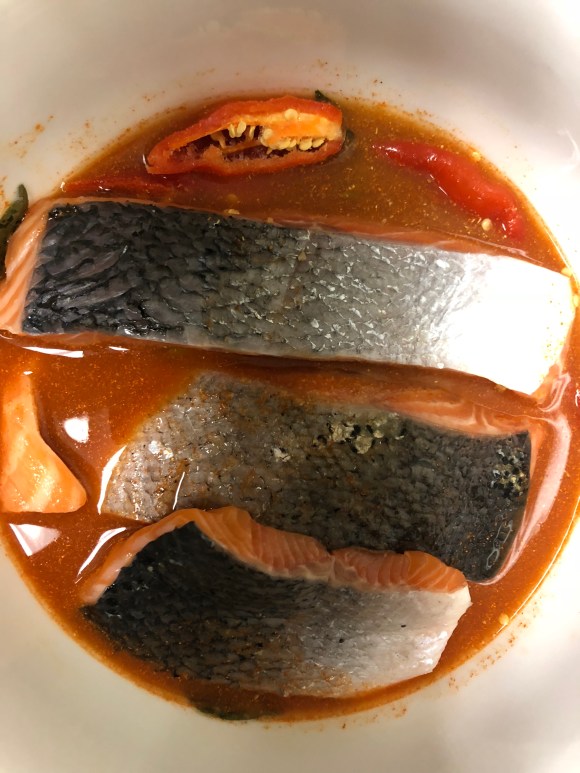
2. Let the mixture sit for 45 mins to an hour.
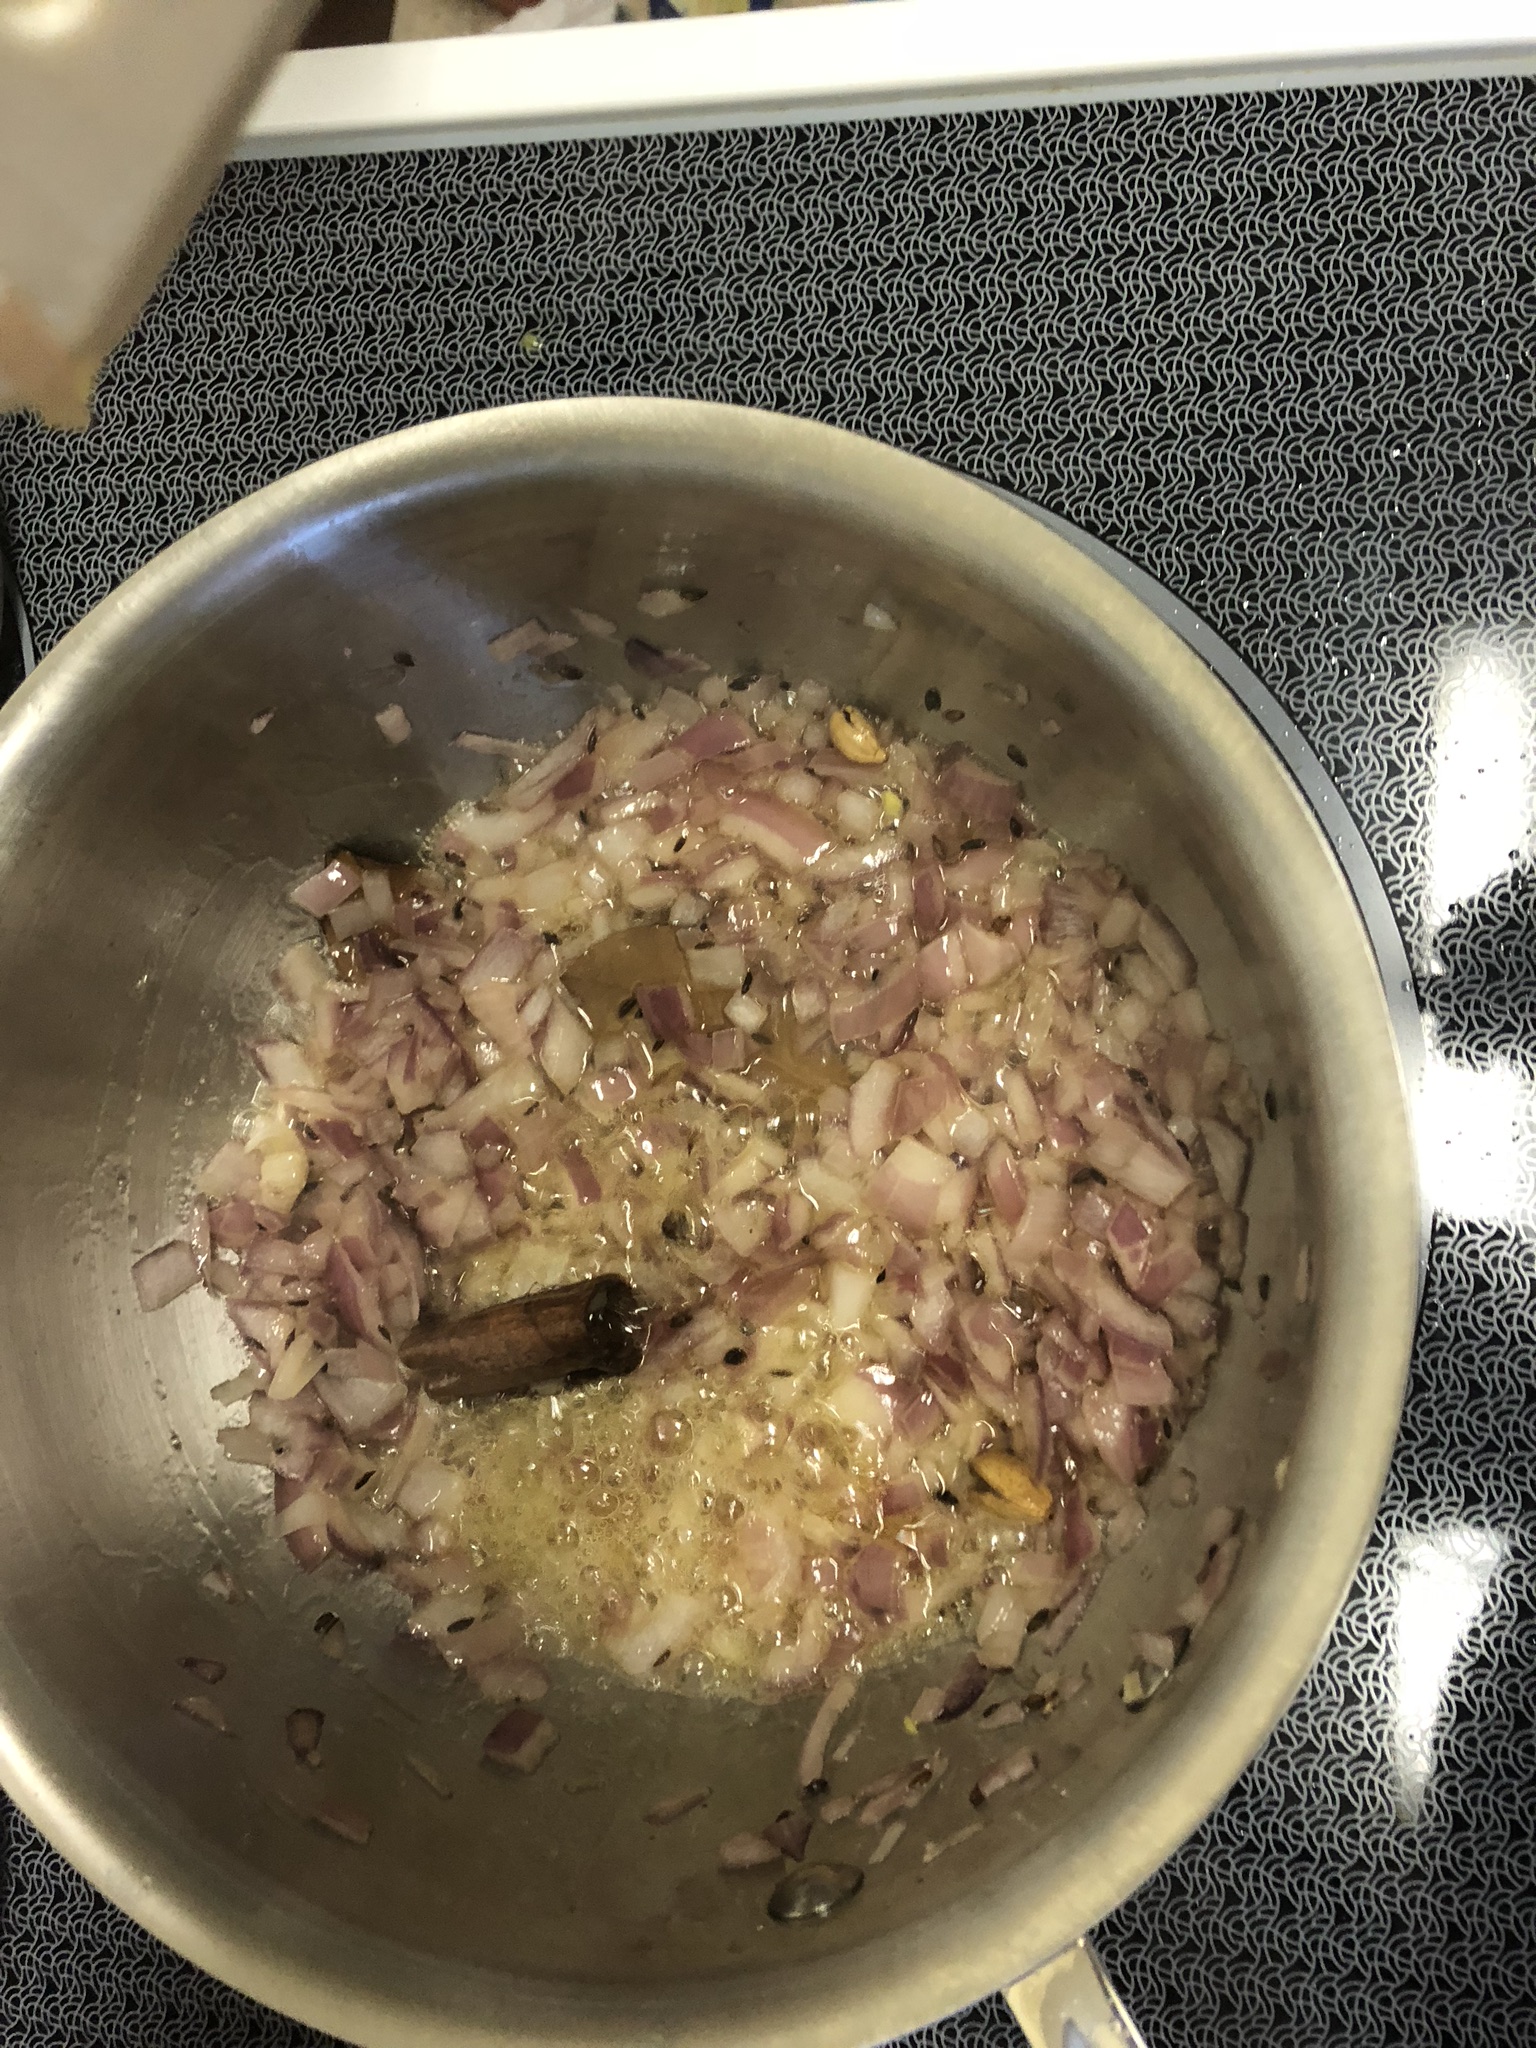
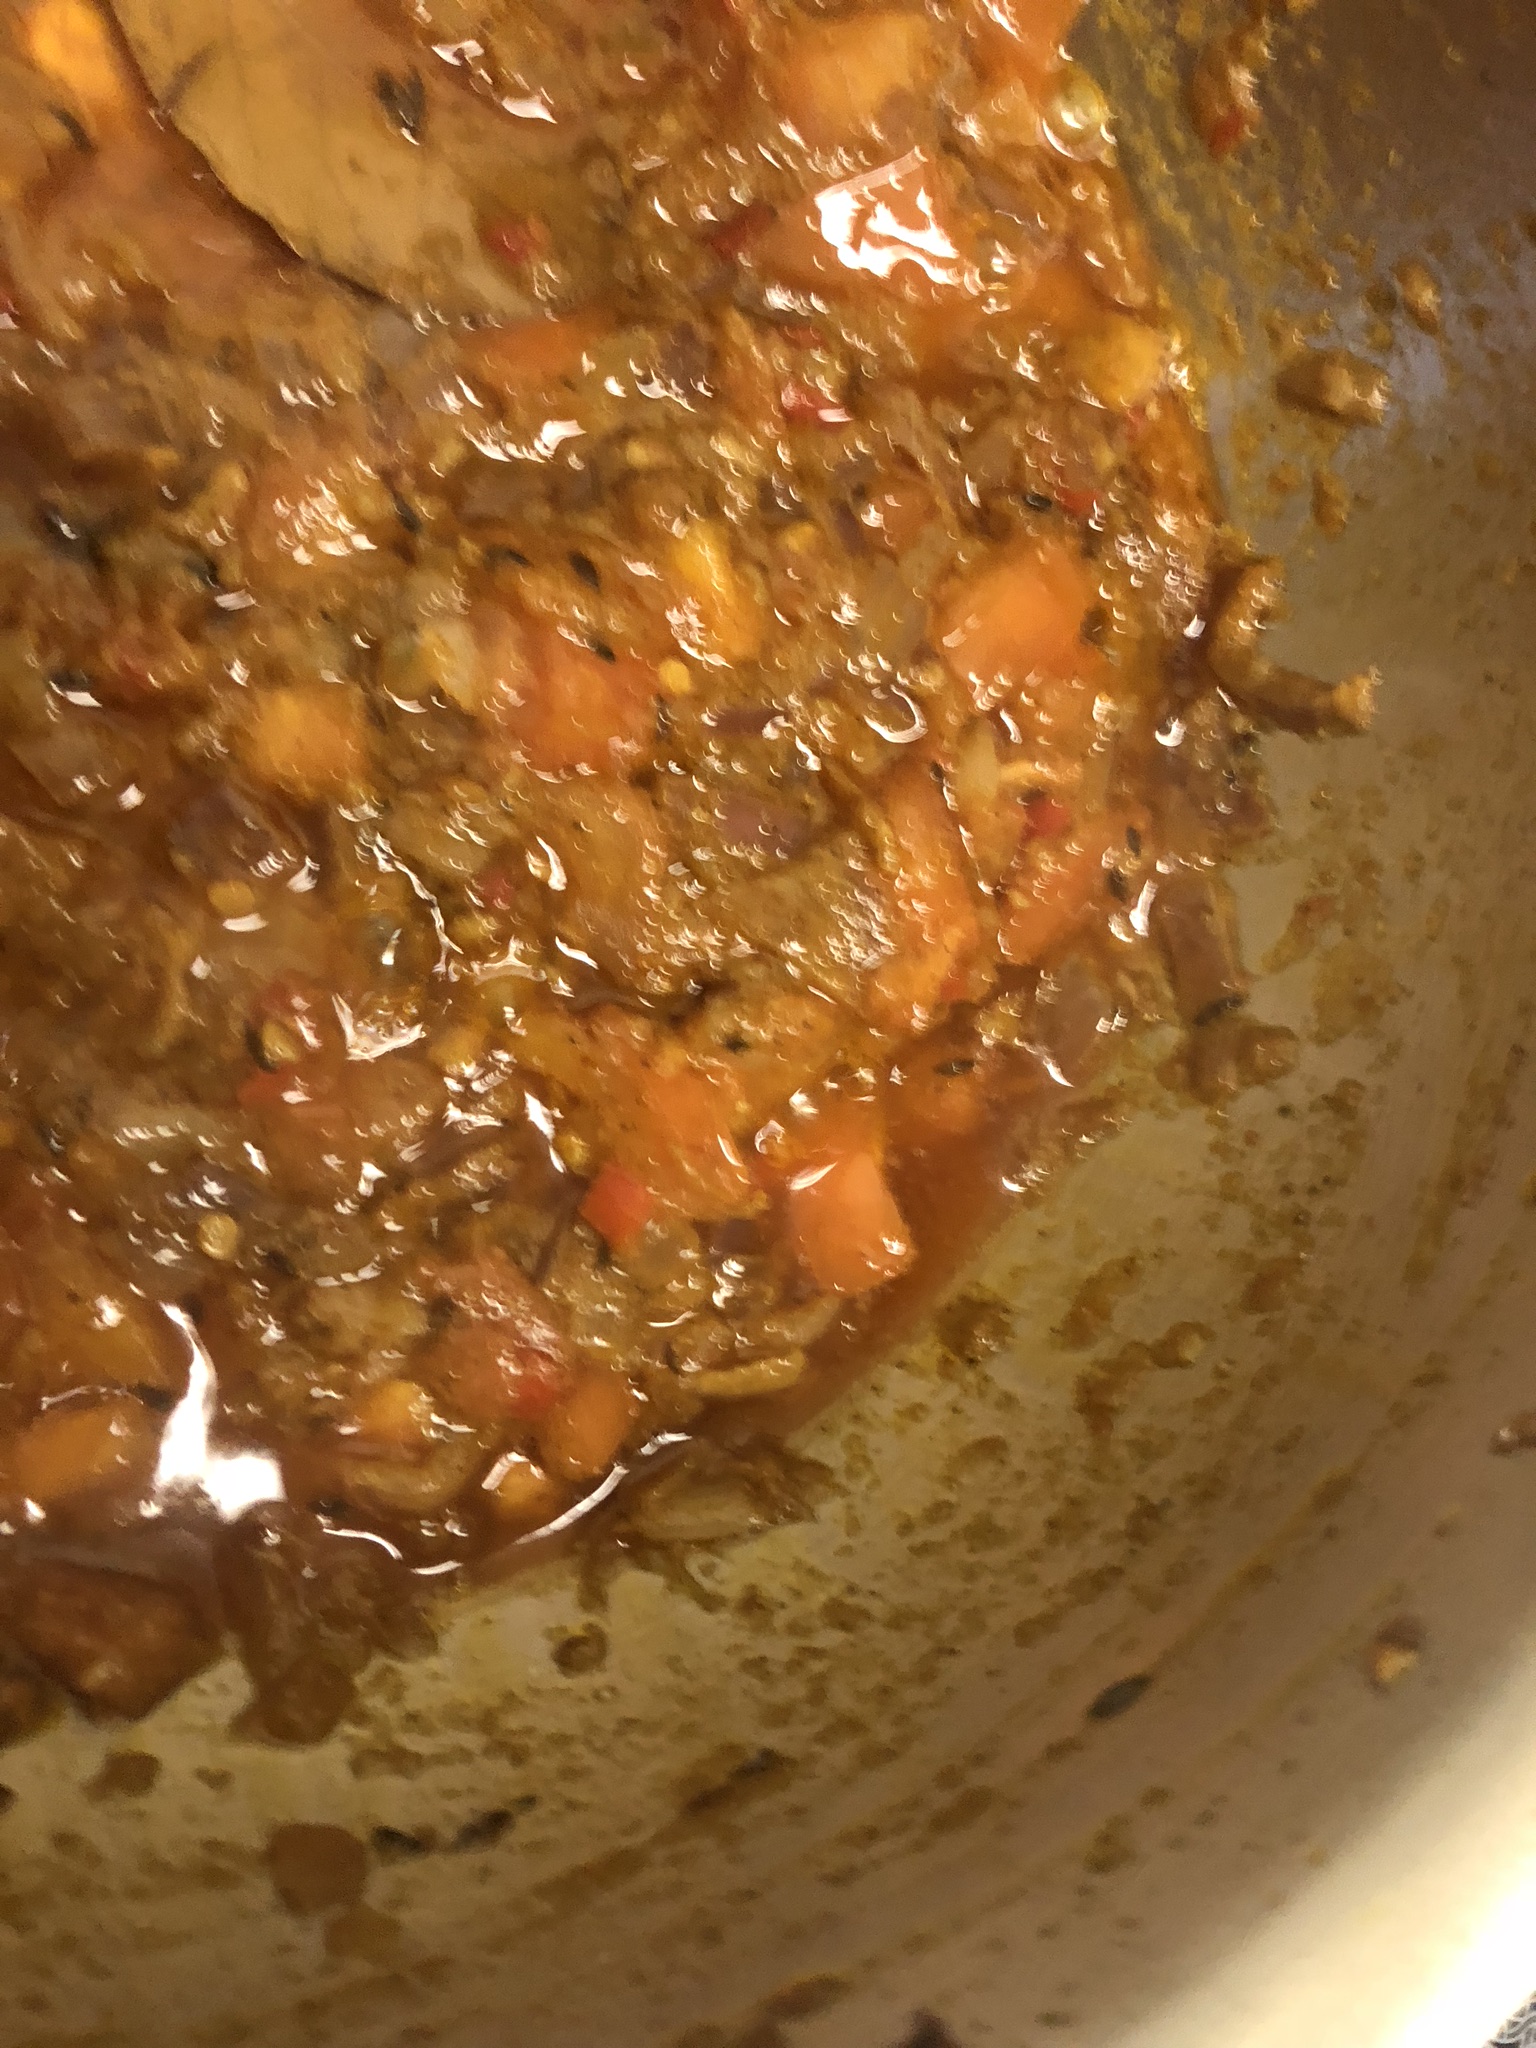
3. Pour the oil into a heavy bottom pan and turn the heat up to high. Once the oil is hot (you can test if it is by throwing in a single mustard seed and waiting until it sizzles), throw in the dried red chillies, cumin seeds, and mustard seeds. Once the seeds start to pop, toss in the Fenugreek and nigella seeds. Toss everything together and once the spices are fragrant and the red chilies darken, transfer everything marinating in the bowl into the pan.

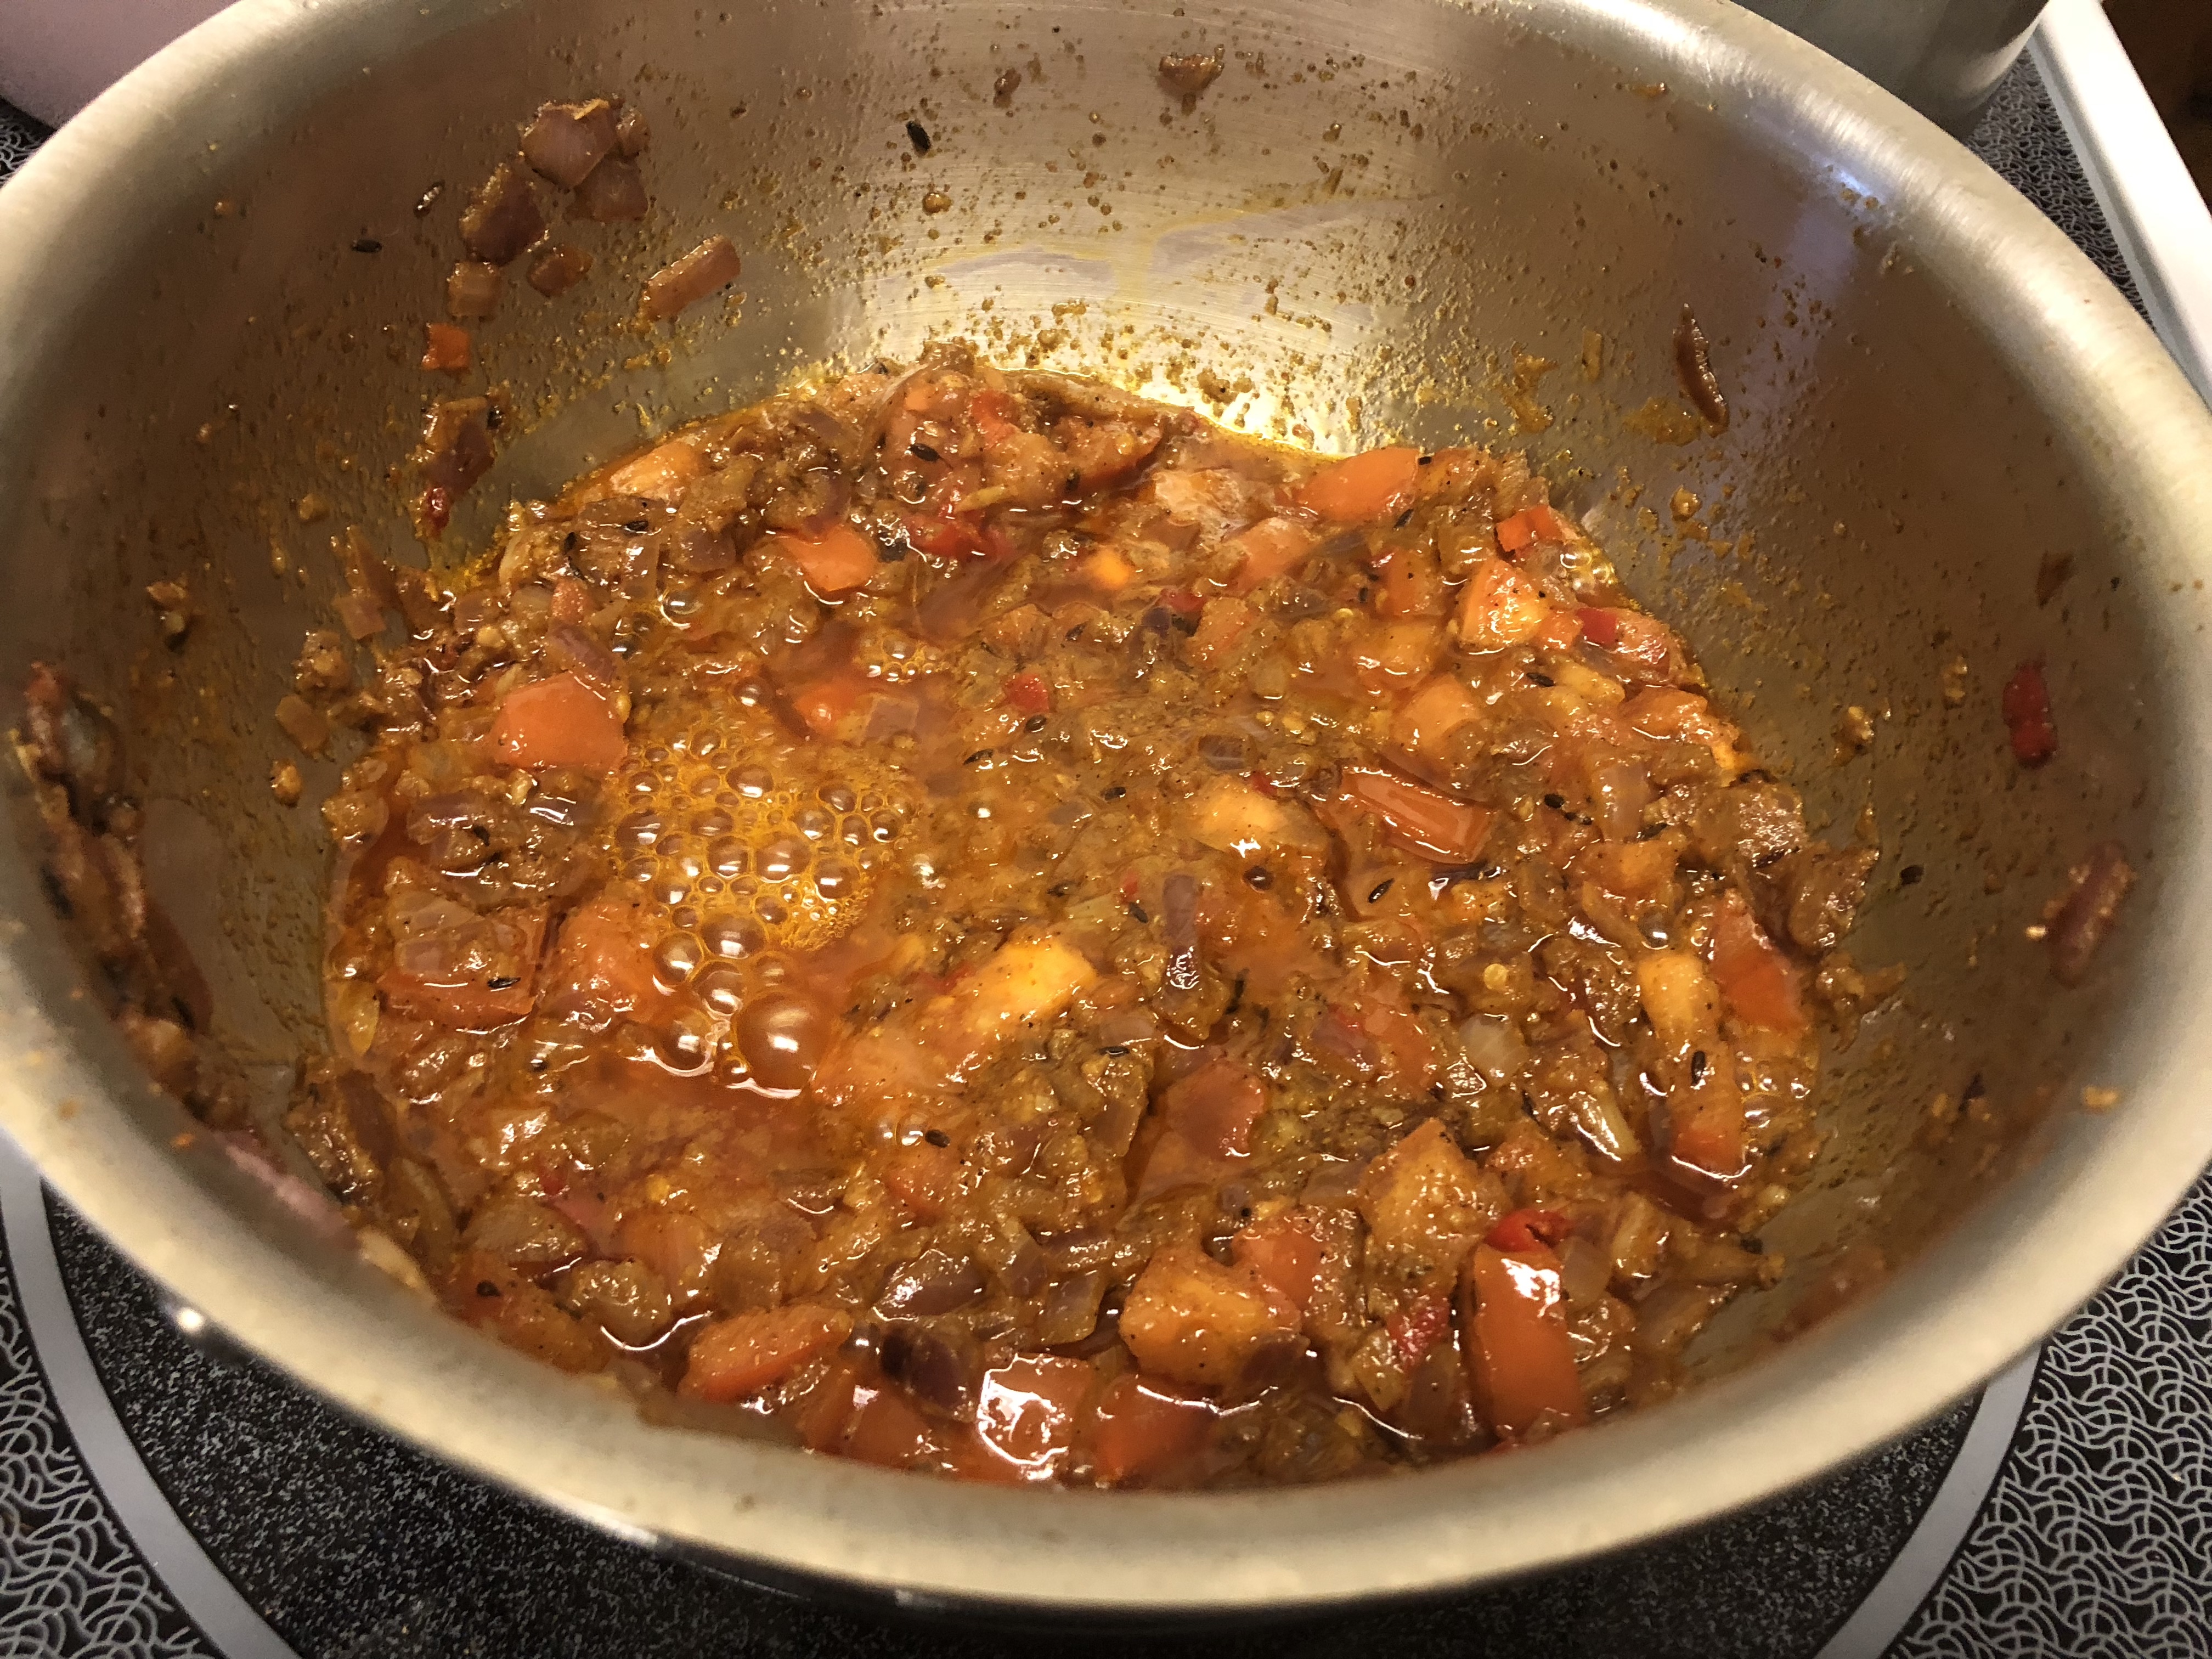
4. Cover and cook the fish on high for about 10 mins, checking on it and stirring every few mins. Then lower the heat and cook for at least 20 mins on low. Depending on the texture you like, you can cook it for a bit longer (cooking it longer will make the fish a little crisper, but also, a little drier). Check on it religiously during this time to make sure that the fish doesn’t burn or stick to the bottom of the pan.

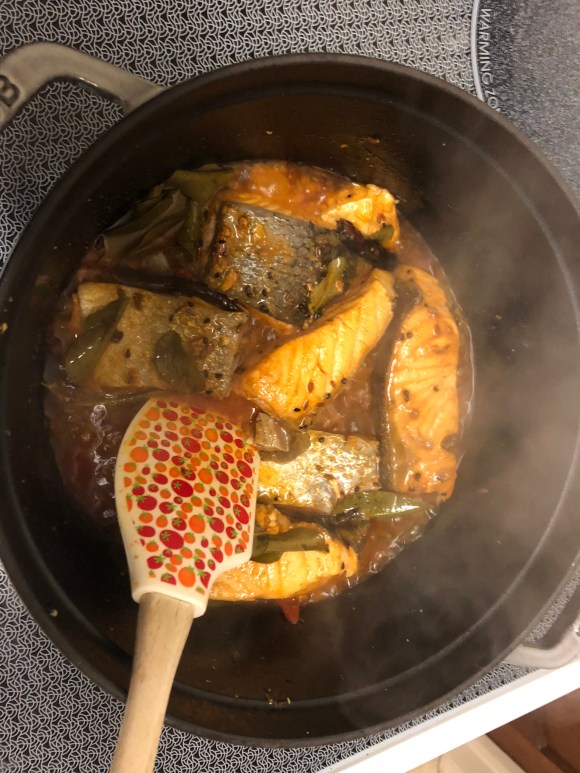
5. About half way through, start breaking the fish up a bit with a spatula. Again, break it up as little or as much as you want to, depending on your preferred texture. The fish is ready when most of the lime juice has evaporated and the fish is coated only in spices and oil.


6. Serve it with rice or roti and some yogurt! For wine pairing suggestions, go here.