Categories
Chocolate Food General Recipes

Flourless Super Chocolatey Brownies

I had a friend coming over for tea one afternoon and since she has Coeliac disease, I decided to make her some gluten-free treats. Practically everyone I know, including this friend of mine, loves brownies, so I started looking for a flour-less brownie recipe for my first completely gluten-free experiment. I found this one, by Nigella Lawson and modified it a bit.

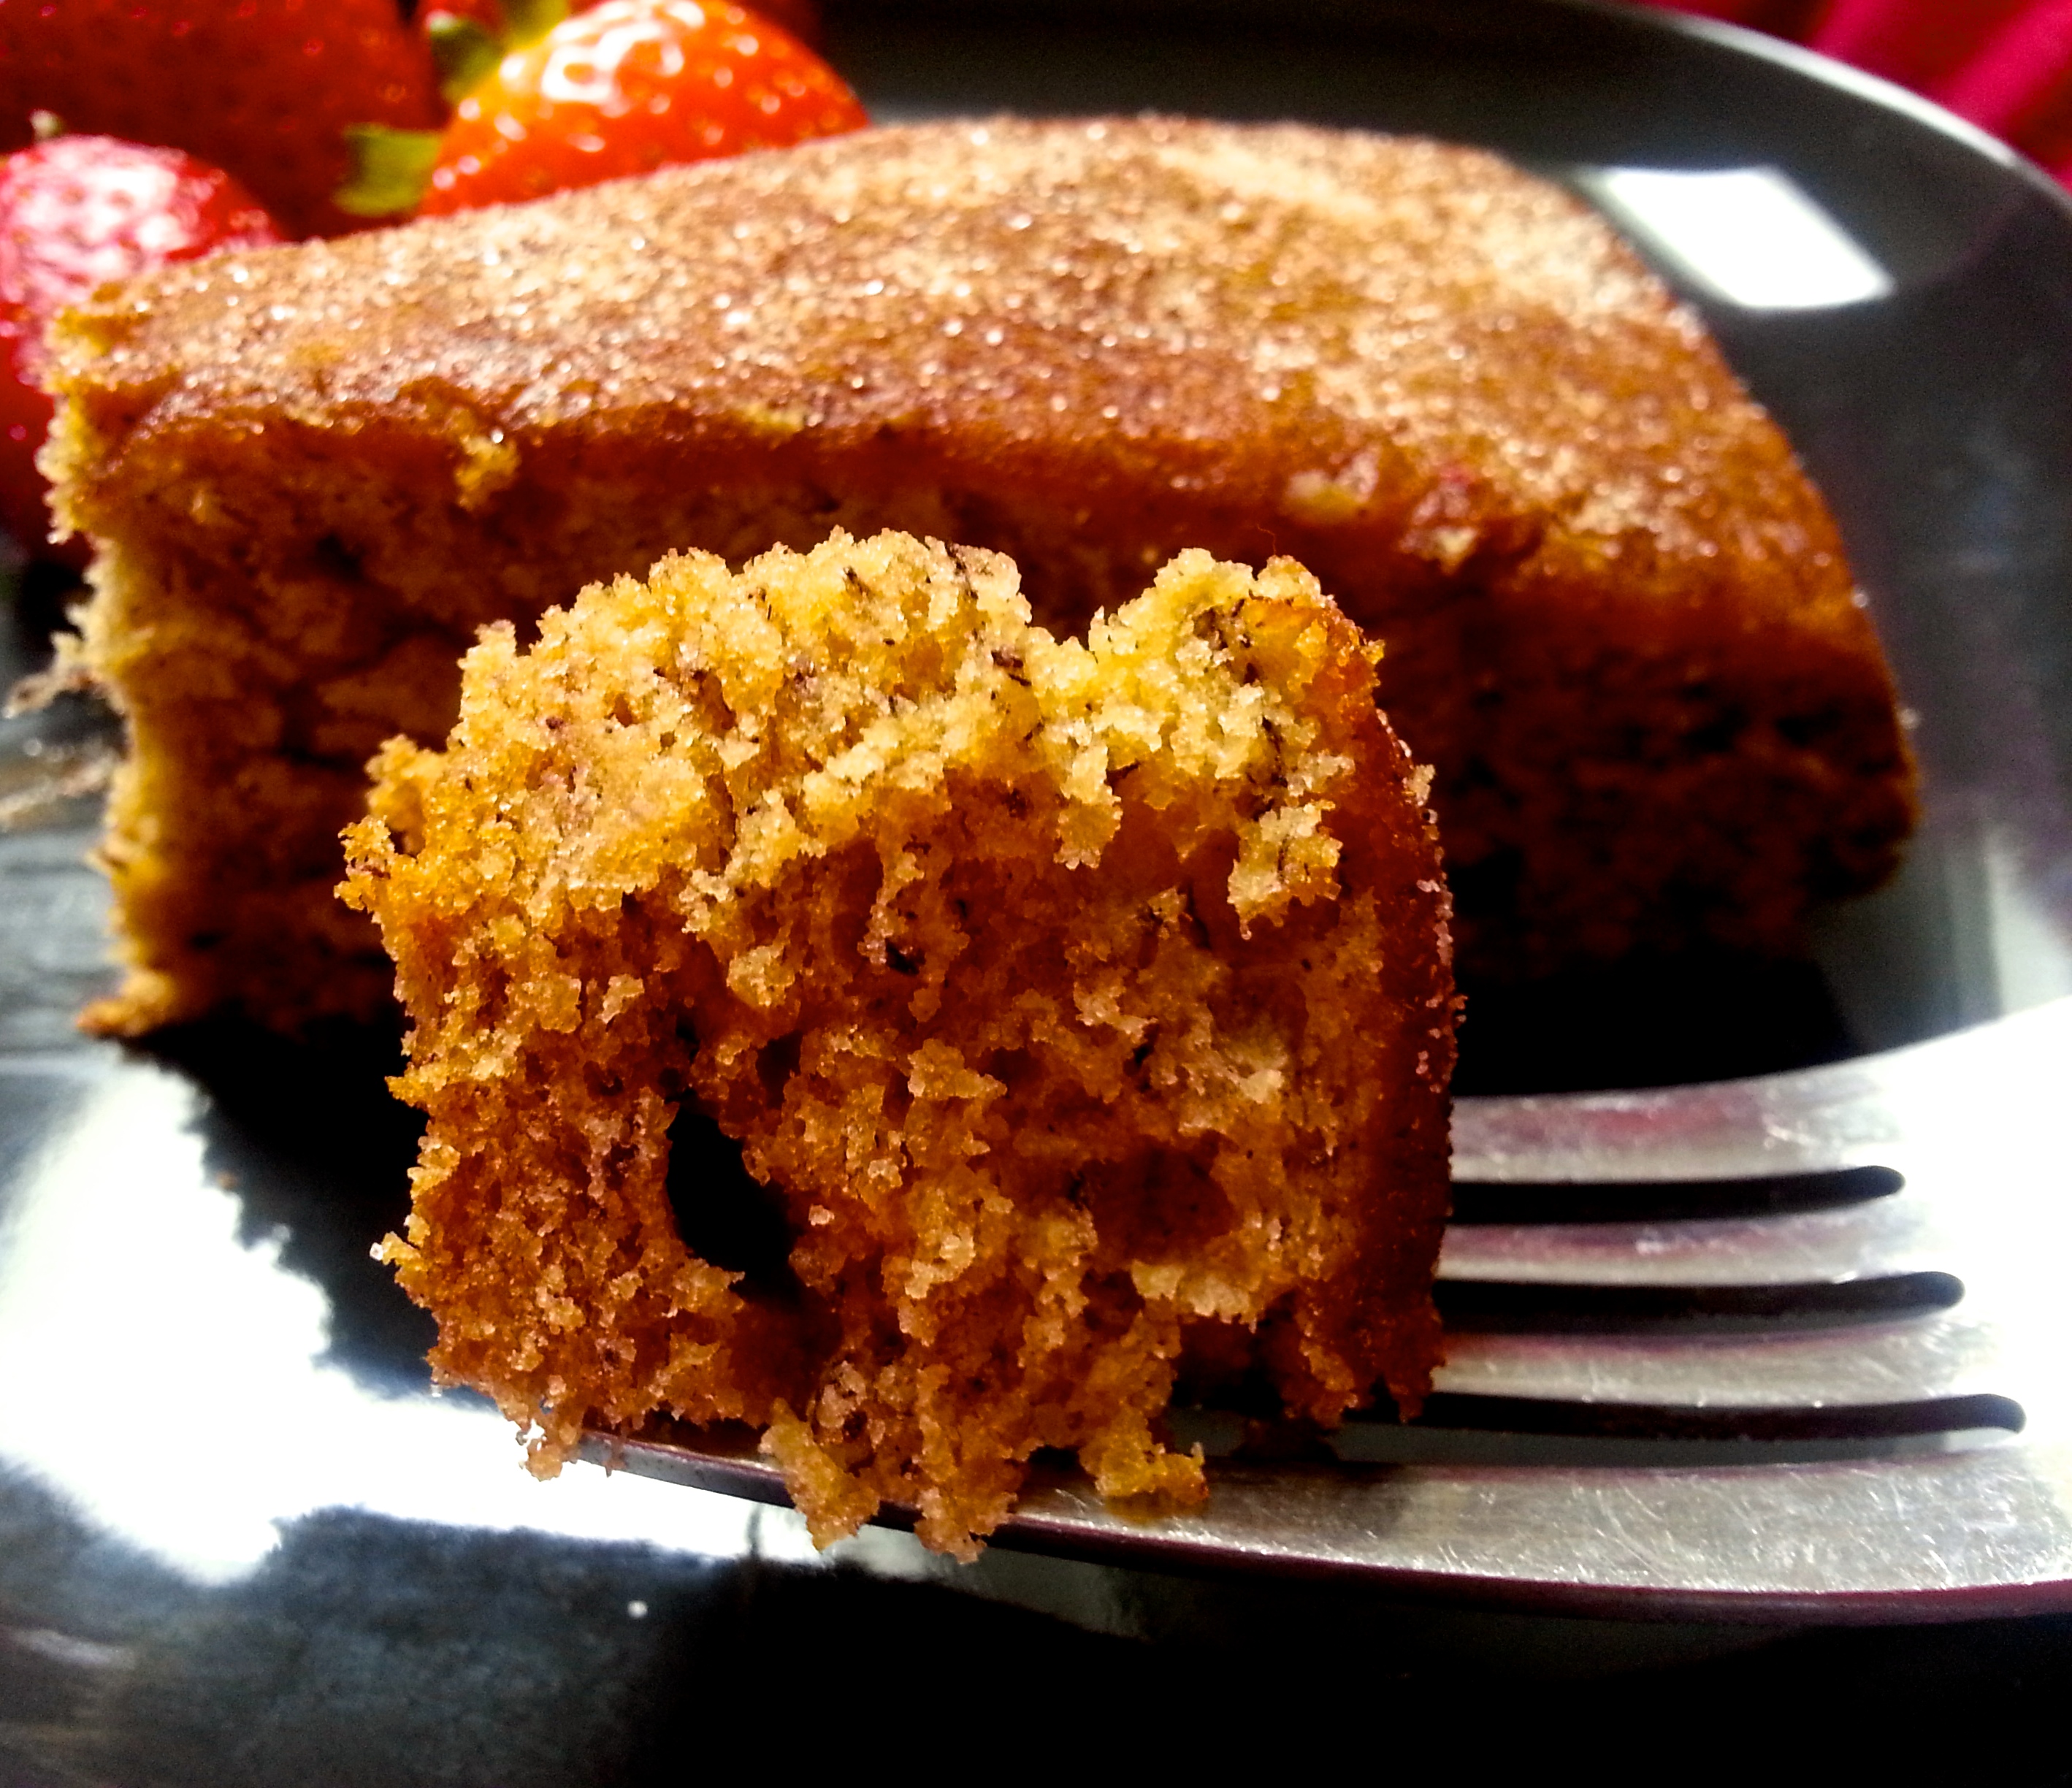
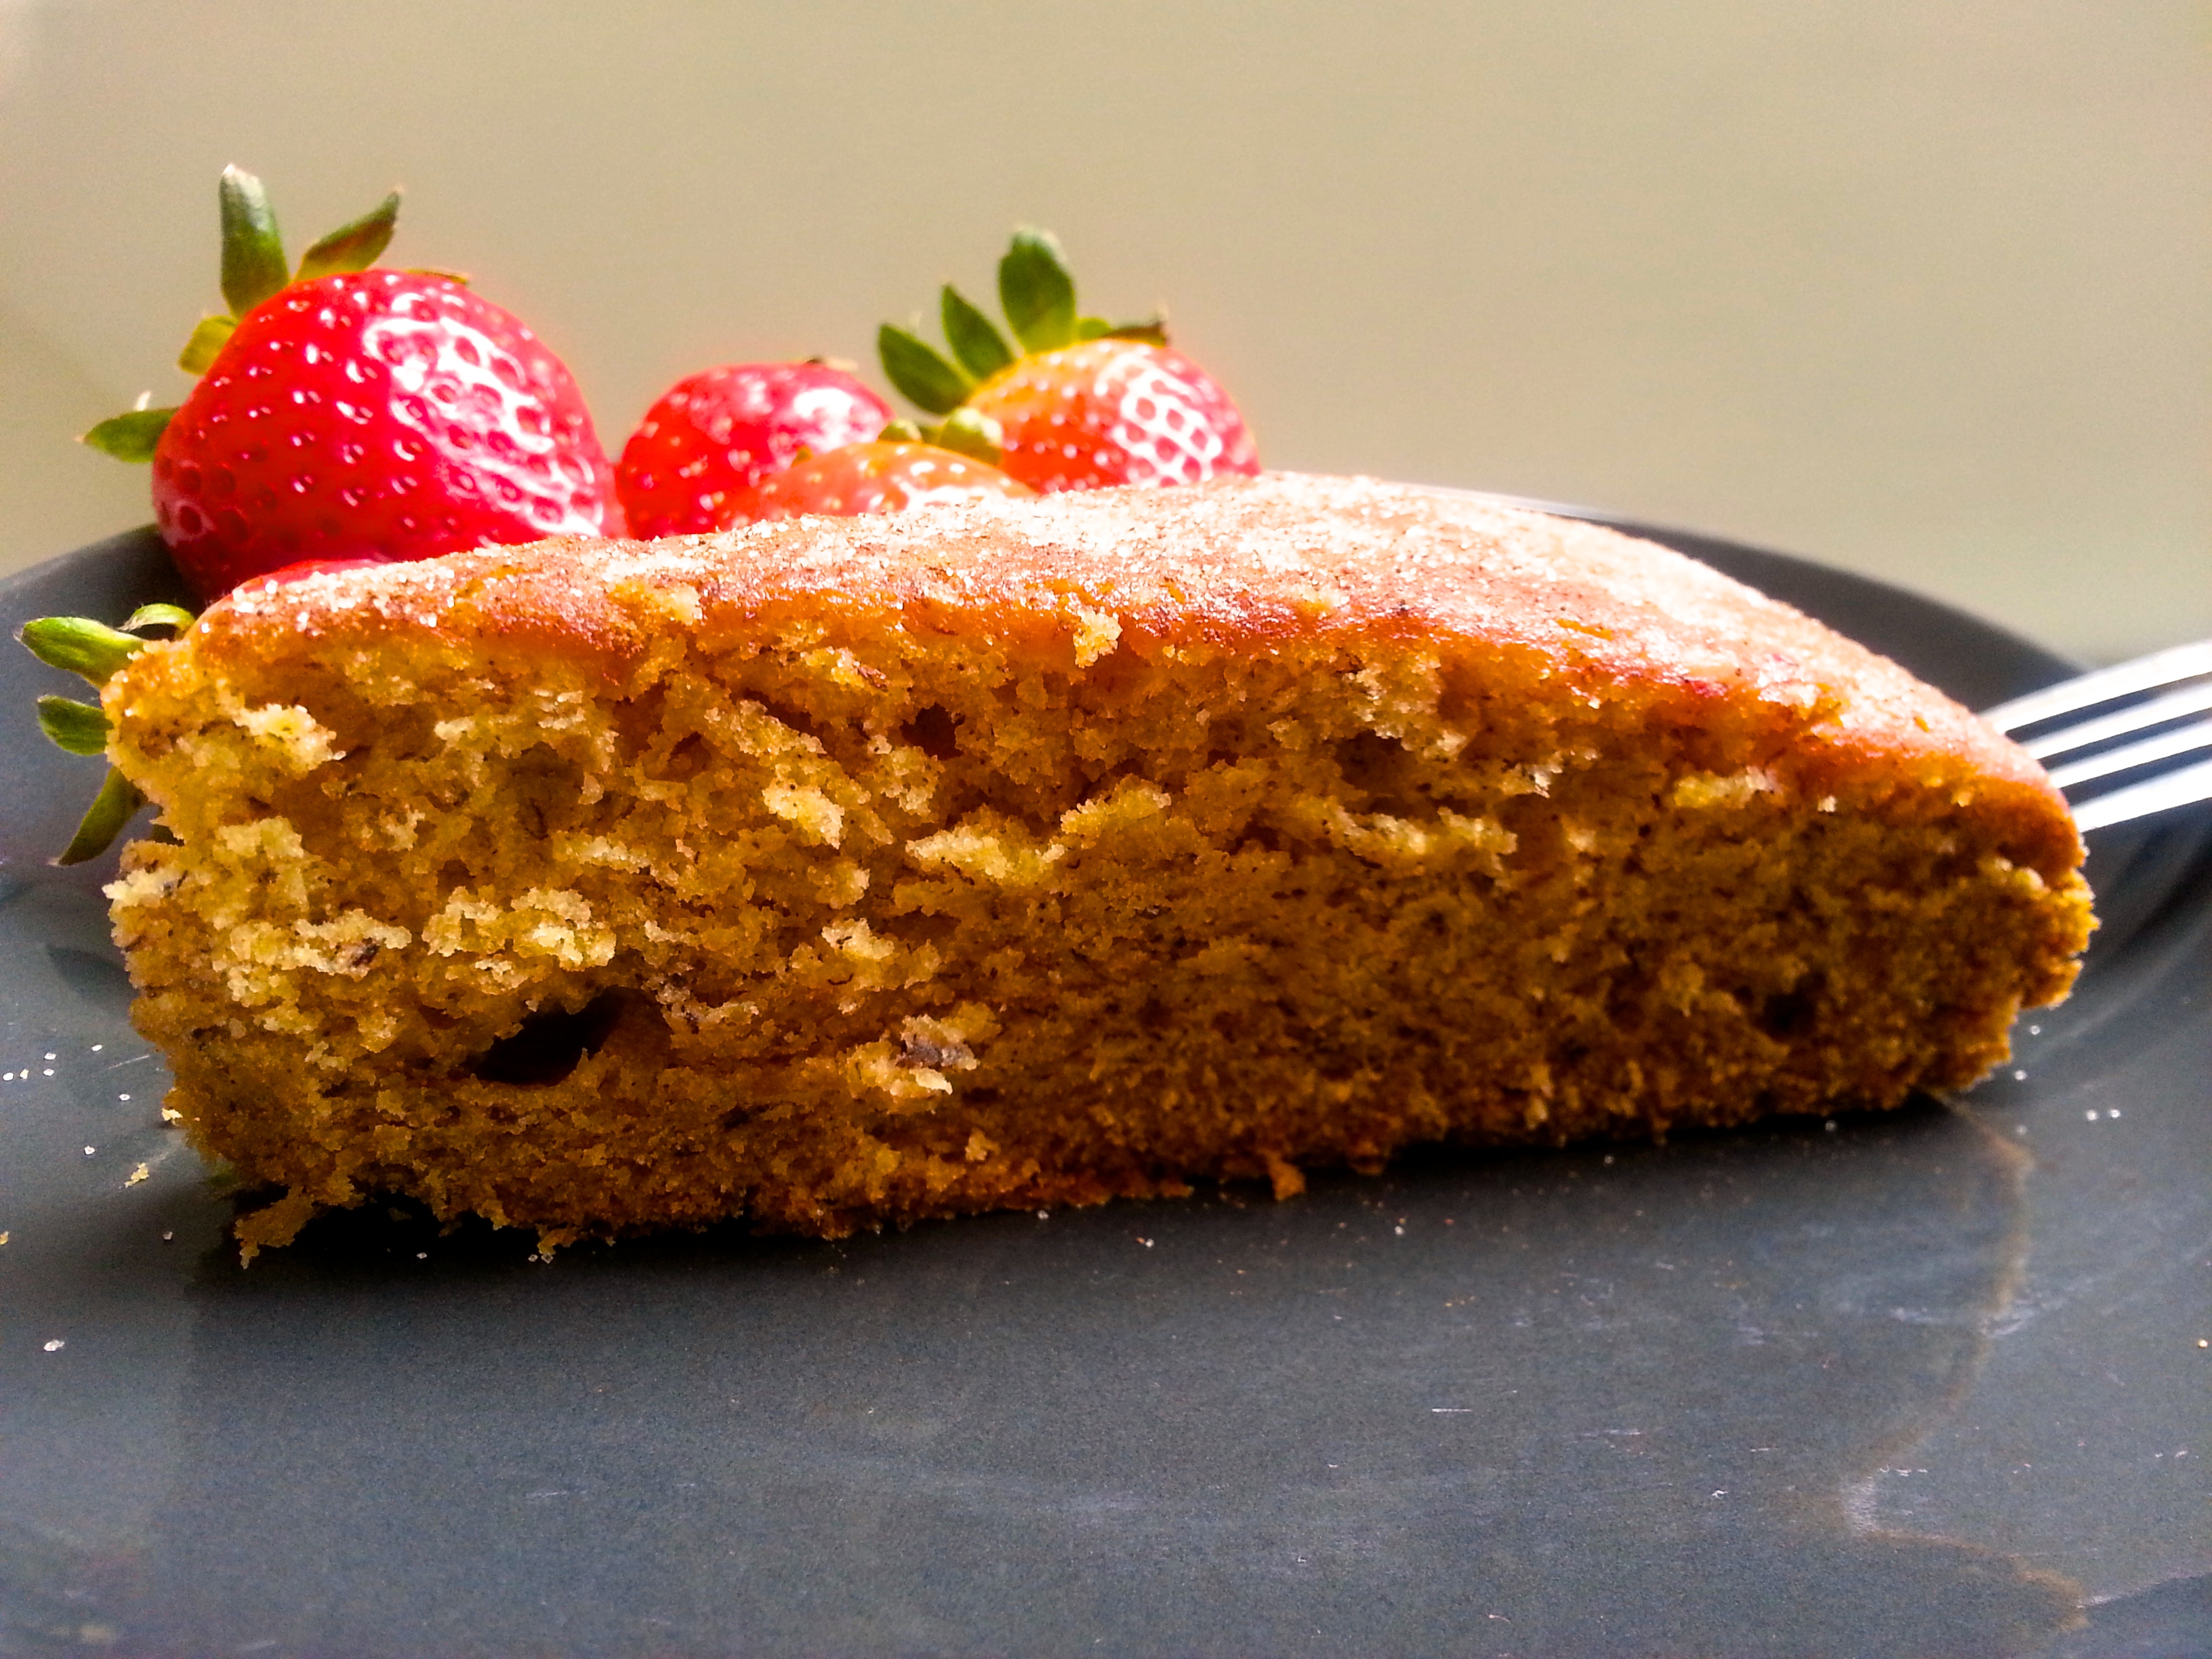
In general, I like my brownies gooey on the inside and crispy on the sides and top, with a paper-thin shiny crust on top. As it turns out, these brownies are absolutely delicious, despite the fact that they are not crisp at all; they are basically gooey and rich from top to bottom. The almond flour gives them a nice flavour as well.

Almond Meal Brownies

If you’d like to give the brownies a try, here’s what you will need:

Ingredients:

225 g semi-sweet/bittersweet baking chocolate (it is worth it to use a good quality chocolate; I use Valhrona or Callebaut )
225 g unsalted butter
2.5 teaspoons vanilla extract
200 grams granulated sugar
3 large eggs
150 grams ground almonds

Method:

  1. Start by taking the eggs out of the fridge and letting them reach room temperature. Next, pre-heat the oven to 325ยบF.
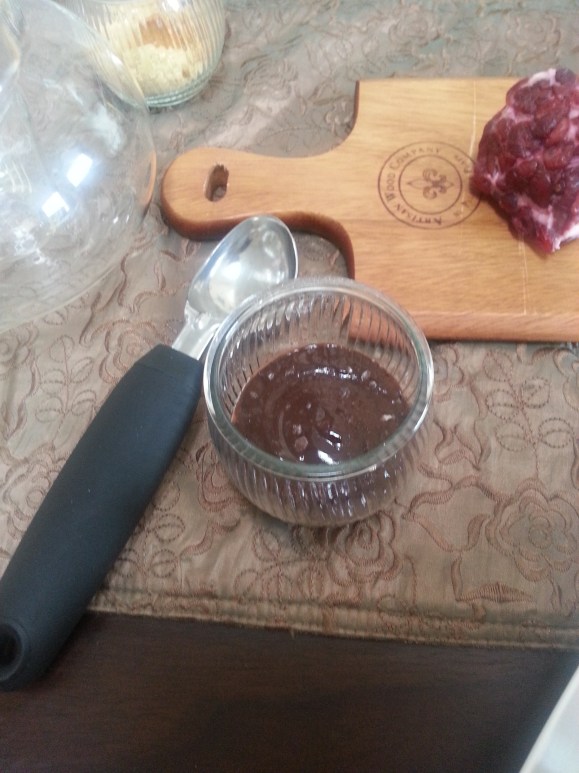
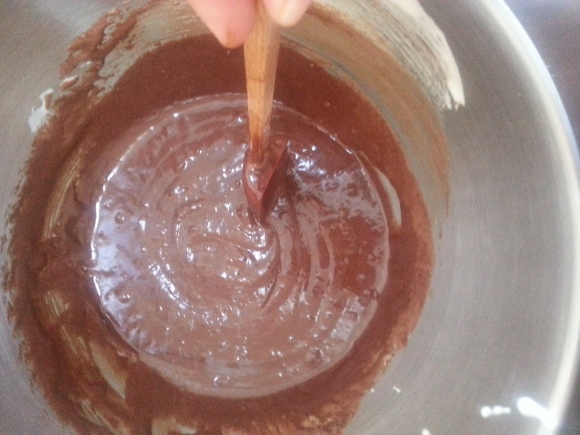
  2. Melt the chocolate and butter in a double boiler or microwave on a low heat setting. Be careful not to burn the chocolate. I would recommend using a double boiler. You can make a make-shift double boiler by simply putting the chocolate and butter in a smallish pan and then placing this pan on top of a larger pan containing an inch or two of simmering water. Make sure the bottom of the smaller pan is not touching the water in the larger pan. Stir the chocolate and butter occasionally.How to melt chocolate properly
  3. Once the chocolate and butter have melted take the smaller pan off the heat and let the mixture cool.
  4. Beat the eggs in a bowl until the whites and yellows are mixed, just for a minute or two.
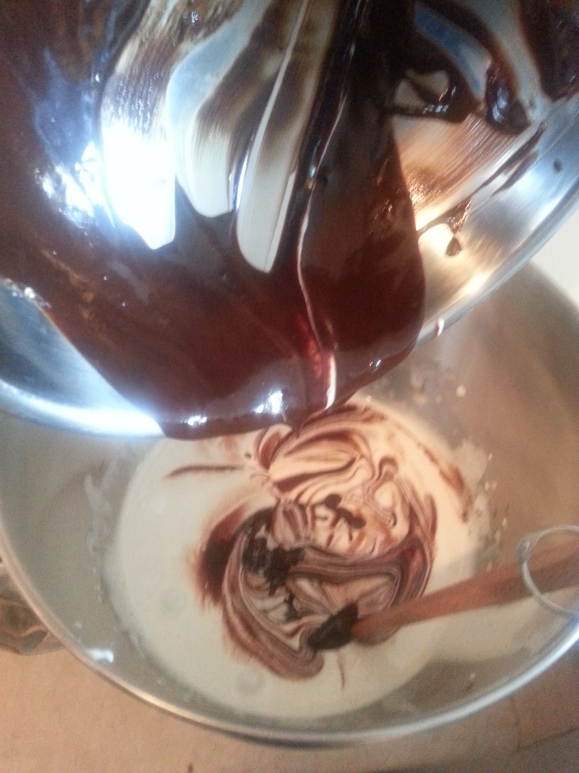
  5. Measure out the 200g of sugar into a medium-sized mixing bowl. Pour the cooled chocolate-butter mixture and vanilla essence onย the sugar and mix it all together with a ladle.
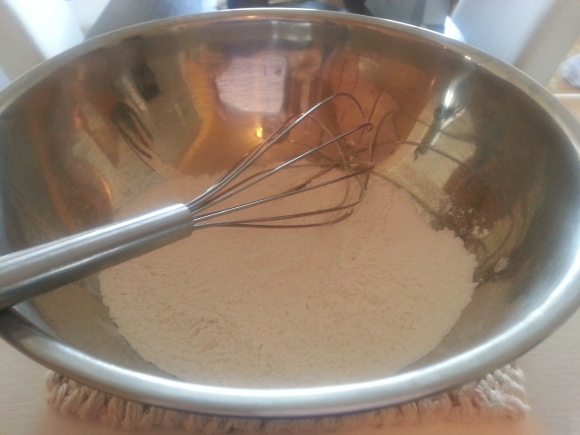
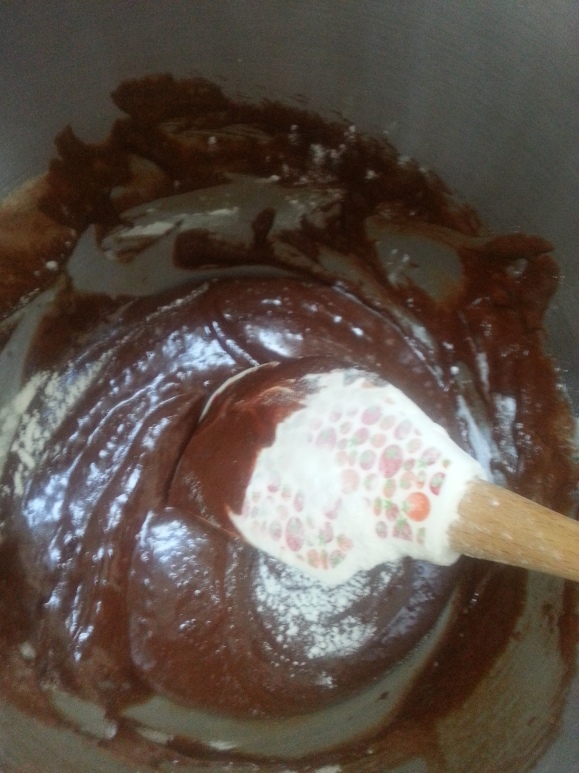
  6. Beat the eggs into the pan with a whisk, followed by the ground almonds.
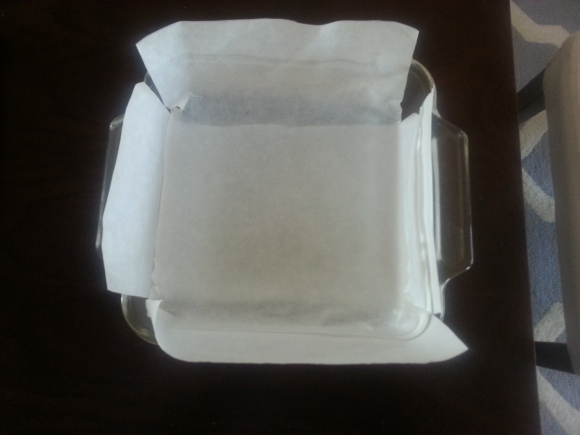
  7. Pour the batter into a 9 inch square baking pan lined with two strips of parchment paper as shown in this photograph.How to line pan for brownies
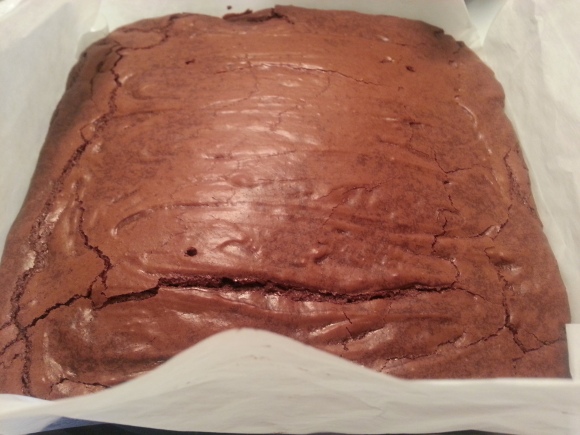
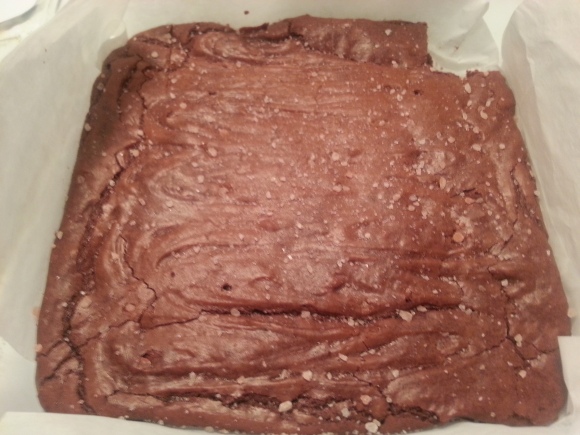
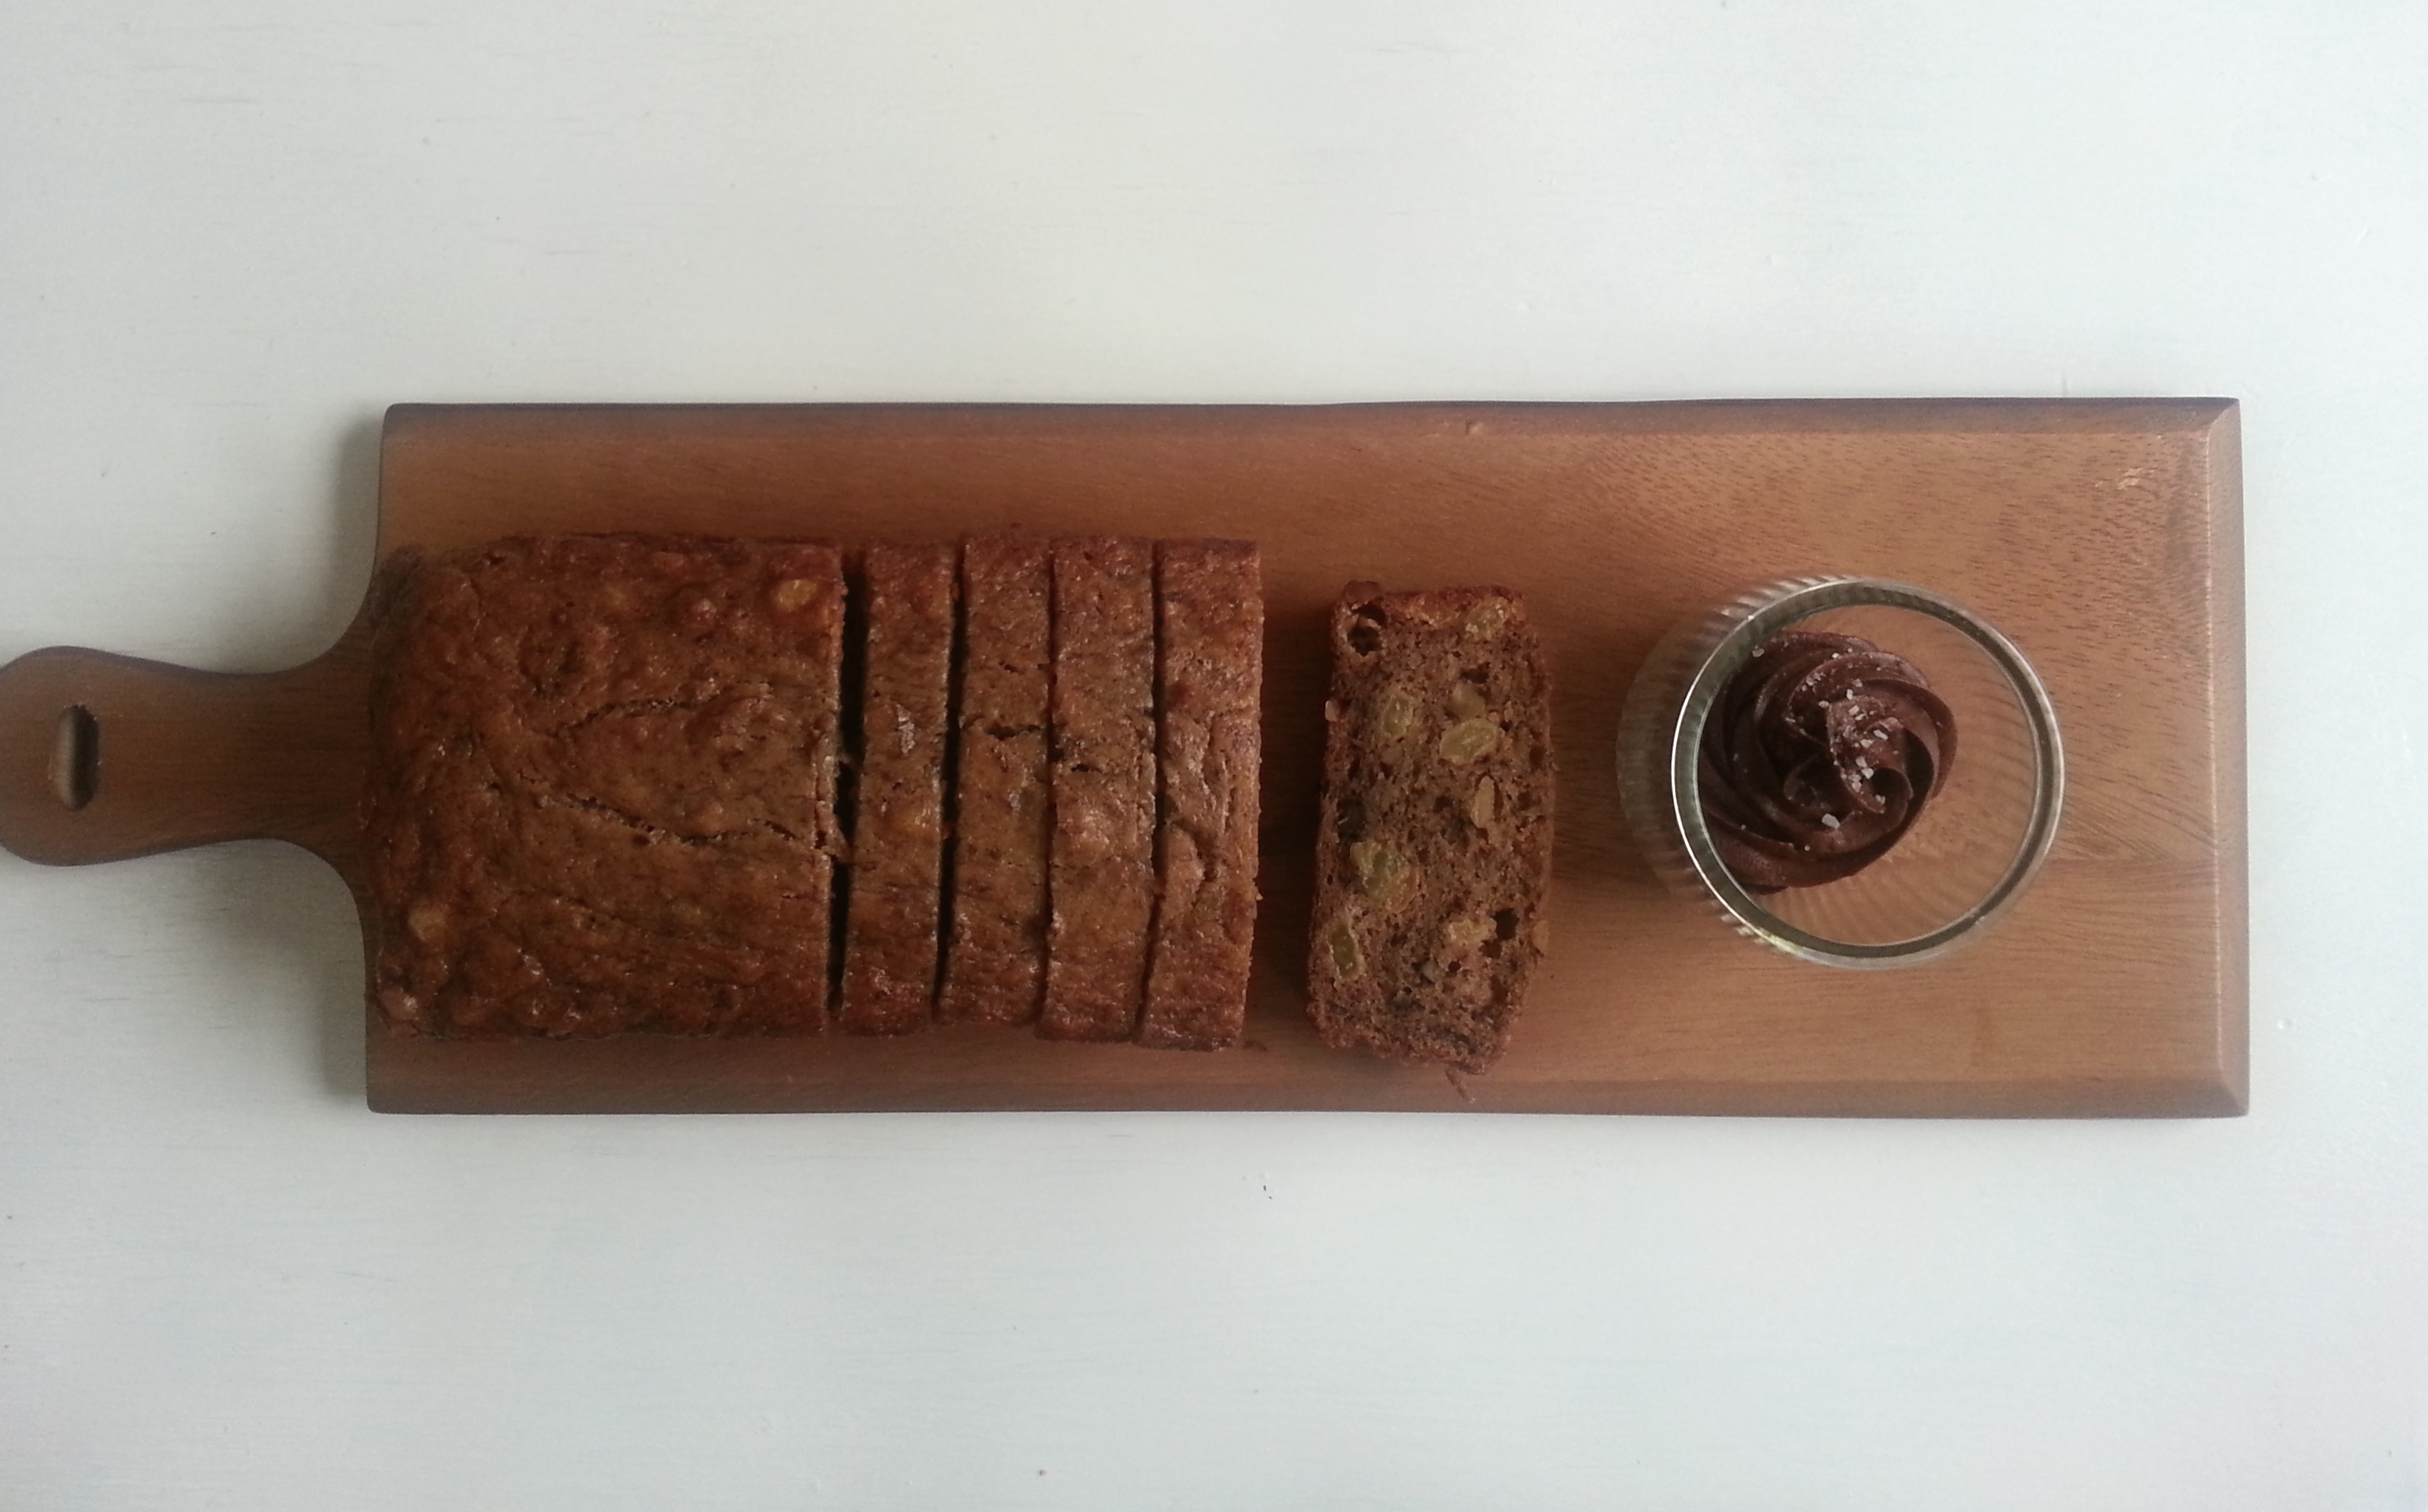
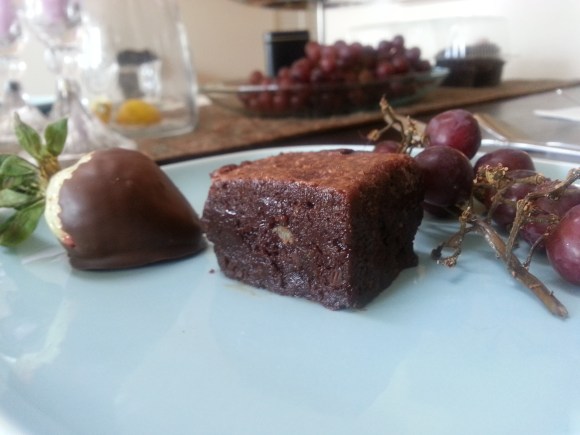
  8. Bake the batter in the oven for 25-30 minutes. While the top will set, the rest will still be pretty gooey. Once cooled, take the brownie out of the pan and cut it into little squares.Almond meal brownies

Enjoy them!

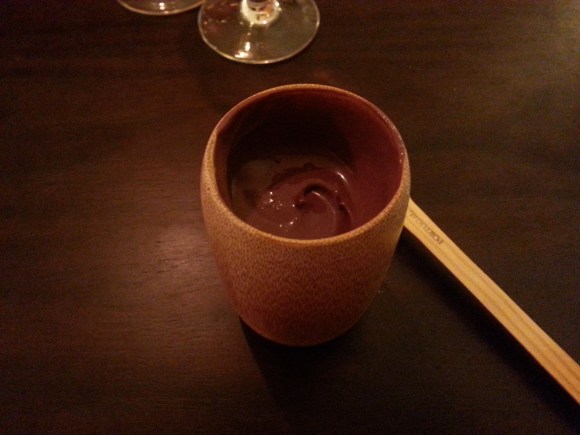
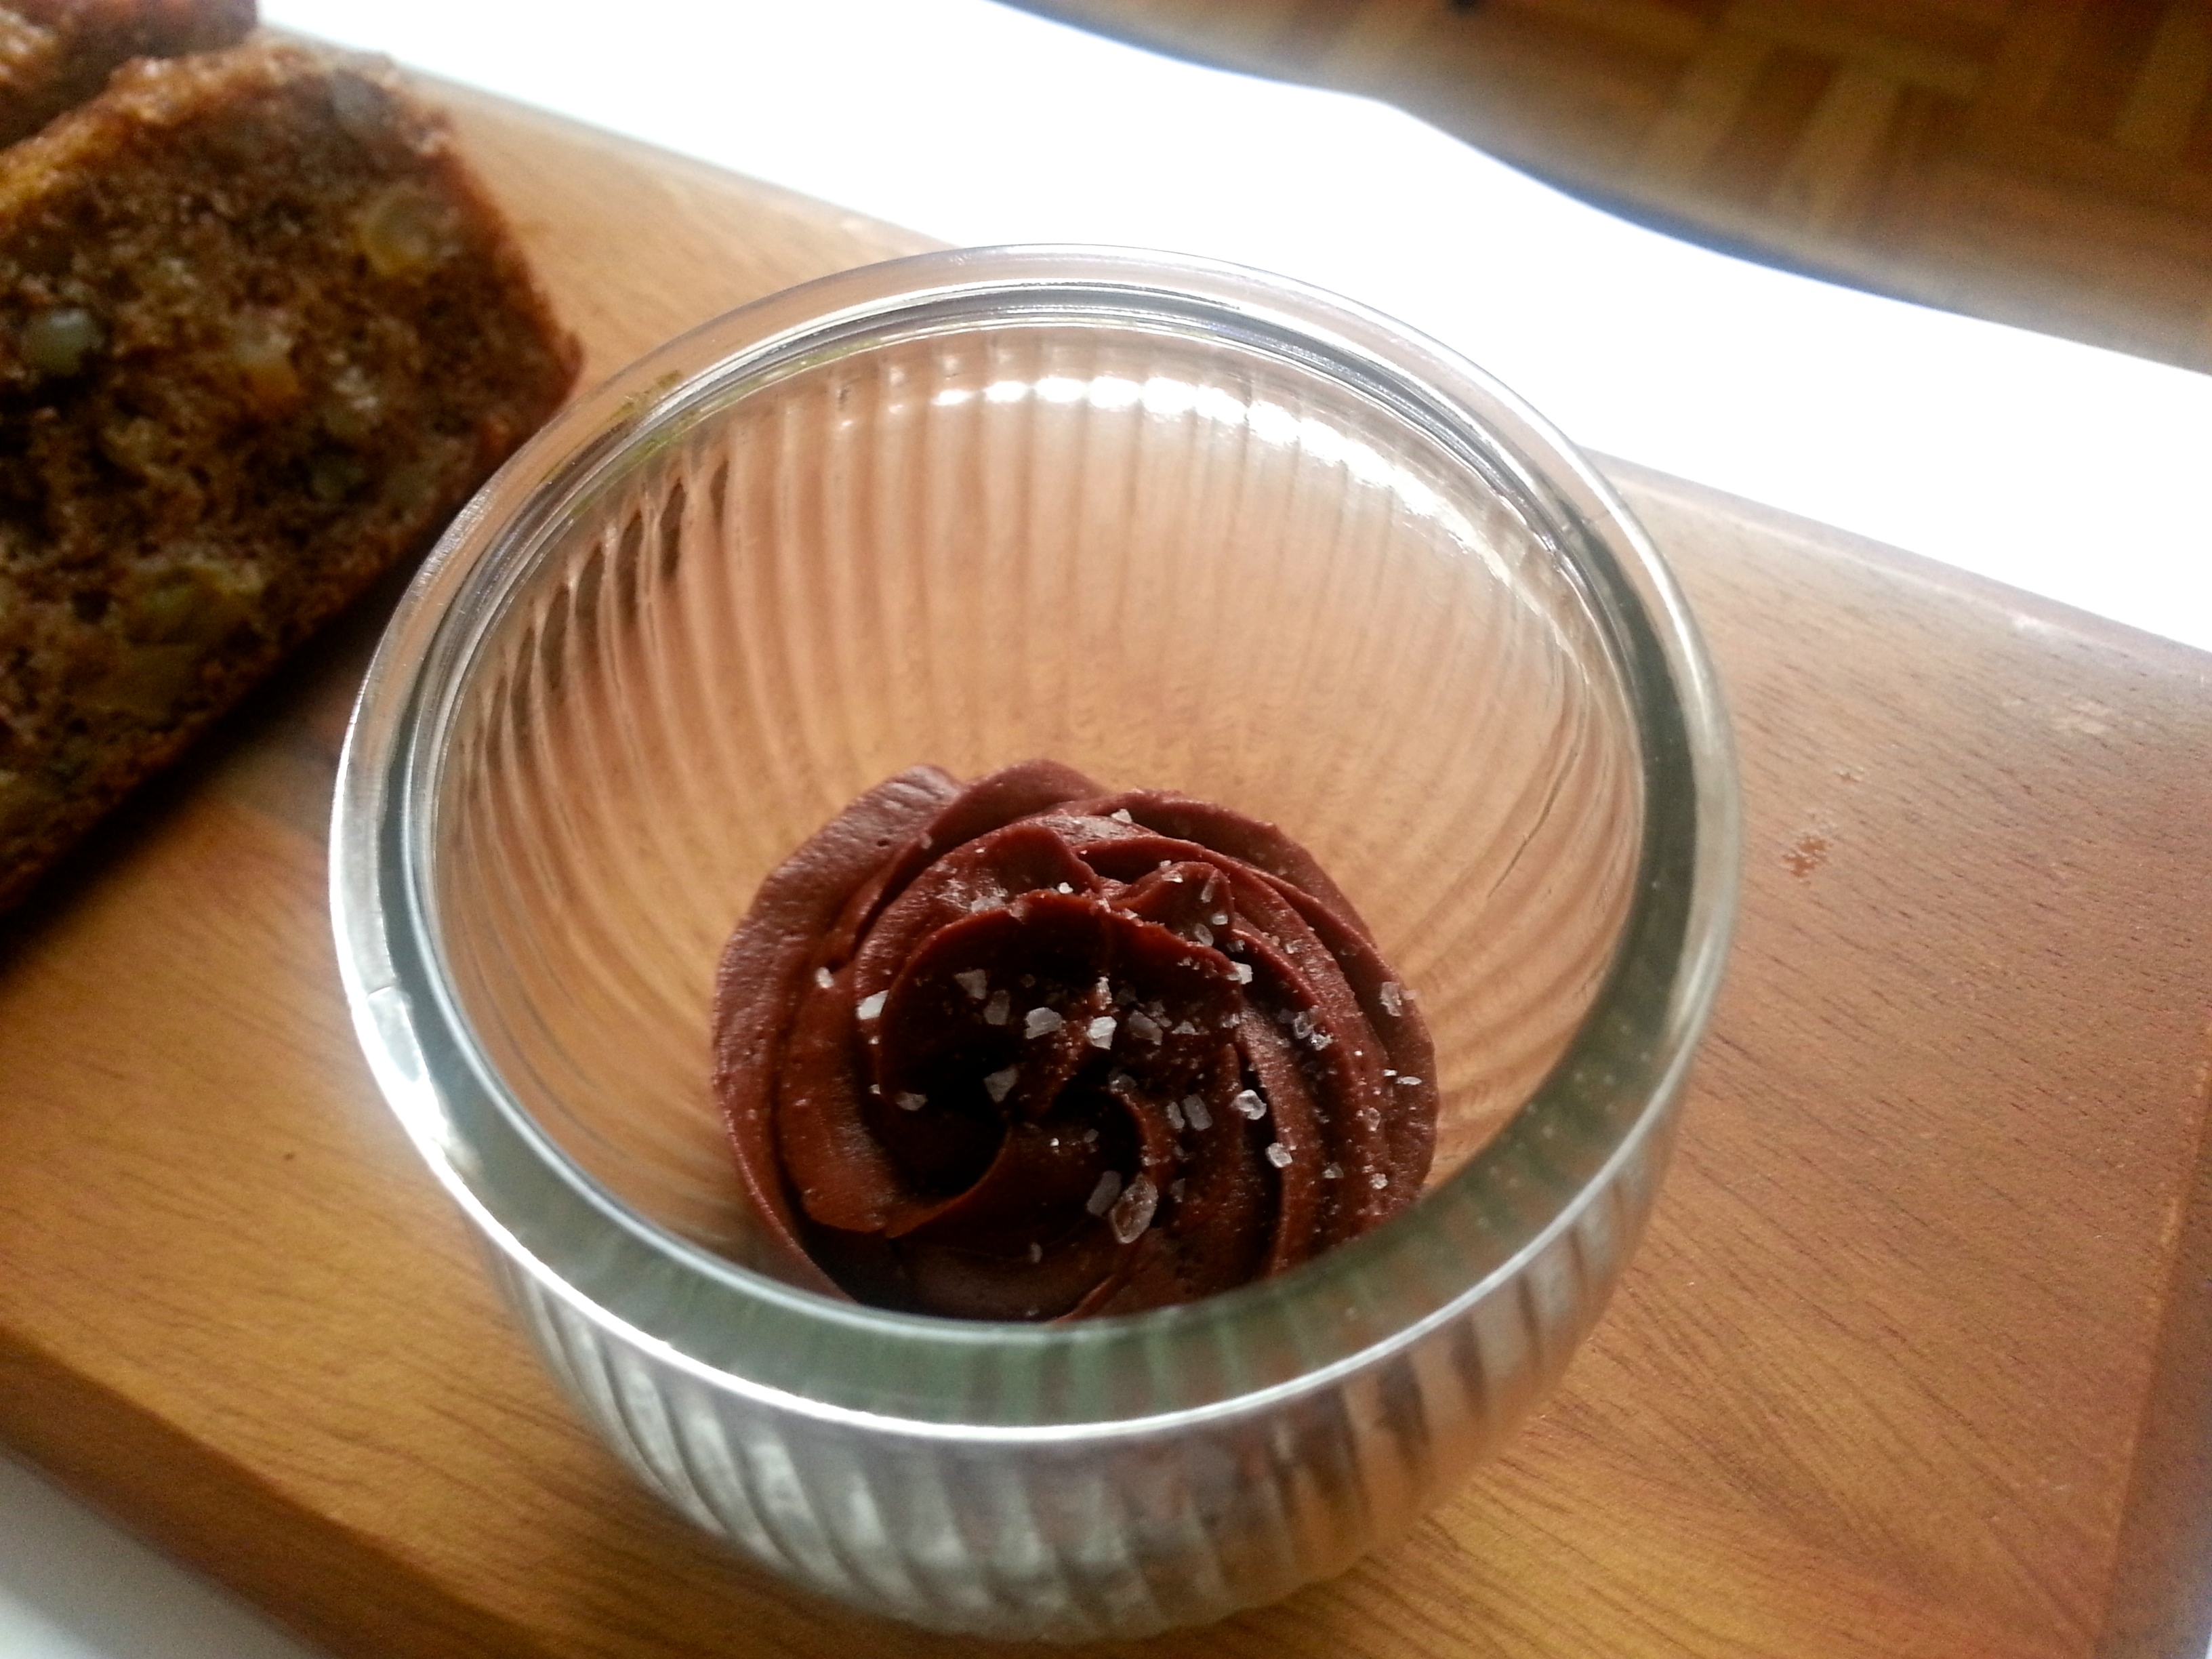
They taste delicious by themselves, but they can also be paired with ice cream, chocolate sauce and some fruit. I served them with my velvety chocolate fudge recipe (which you can find here).Brownies and ice cream 20150206_140909

Almond meal chocolate brownies

Categories
Baking Chocolate Food General Recipes

The Best Brownies in the Universe

This is not an exaggeration. These are the best brownies in the universe, IF you like your brownies chewy on the edges, crisp on the top, and gooey in the centre.

Rich gooey brownies topped with salt

Of course, there are those who say that they don’t like their brownies this way. Such people don’t actually like brownies; let them eat cake!!!!

Cake-y brownies are NOT brownies. They are a travesty.

So go ahead, give this a go, you will not regret it. And it’s a fairly easy recipe too! Thanks to Christina Marsigliese for posting the original recipe. I would recommend usingย good quality chocolate, as this is the main ingredient in the brownies; I use Callebaut or Valrhona.

IMG_0222IMG_0223

Ingredients:

  • 85 g butterย (I recommend using unsalted, as it is usually better quality butter)
  • 142 g bitterswet/semi-sweet baking chocolate
  • 2 large eggs (at room temperature)
  • 200 g granulated sugar
  • 1 tsp vanilla essence
  • 62 g all-purpose flour
  • A pinch of salt

Method:

  1. Pre-heat the oven to 350 fahrenheit (about 176 celsius).
  2. Melt the chocolate and butter in a double boiler. Alternatively, you can do it in a microwave, but be careful not to burn the chocolate. Once the chocolate is melted, set it aside to cool for a few minutes.How to melt chocolate properly
  3. While the chocolate-butter is melting, cut two pieces of parchment into two strips about 8 inches wide and at-least 14 inches long. Line an 8-inch square pan with the strips of parchment paper at right angles to each other such that they intersect in the middle, like a cross, with a two-inch over-hang on either side of the pan.How to line pan for brownies
  4. Beat the eggs and sugar in a stand mixer for about 8 minutes, until pale and fluffy. The egg-sugar mixture should fall back on itself in a gradually disappearing ribbon when you dip a ladle or whisk into it. This step is important as properly dissolving the sugar gives the brownie its wonderful texture. (If you don’t have a stand-mixer, do step 5 first, and then whip up the eggs and sugar mixture in a bowl with an electric hand-held mixer.)20151202_143923
  5. While the chocolate is cooling and the egg-sugar mixture is being whipped up in the stand-mixture, whisk together flour and salt in a separate bowl.20151202_134327
  6. Once the egg-sugar mixture is ready, add the vanilla essence and whip until incorporated.
  7. Add the cooled chocolate-butter to the egg-sugar mixture and mix with a ladle.20151202_144159 20151202_144530
  8. Fold in the flour-salt mixture gently with a rubber spatula. It is important to have a light hand here, otherwise too much gluten from the flour will be released, making the brownies harder and more like bread, rather than dense and gooey.Folding flour to avoid gluten release
  9. Pour the batter into the 8-inch pan lined with parchment paper. I like to make swirls on the surface of the batter, but this is completely optional ๐Ÿ™‚20151202_145447
  10. Bake for about 25-30 minutes (depending on your oven’sย temperament) until puffed on top, and a tooth-pick stuck into the centre of the brownie comes out mostly dry, but with a few sticky crumbs.Chewy fudge brownies with crips tops and gooey centres
  11. Sprinkle the top of the brownies with flakes of salt. I like to use Pink Himalayan Salt for the best visual effect. You can use any salt-flakes you can get your hands on.Rich dark gooey brownies
  12. Let the brownies cool for as long as you can (you’ll probably cut off a piece a few minutes into waiting :P).Himalayan Salt Brownies

Take them out of the pan using the parchment paper over-hangs and cut them into little squares.

Fudgy Gooey Brownies


Fudgy Brownies topped with salt flakes

Eat them as is, or with frozen yoghurt or ice cream. I like to serve them with strawberry frozen yoghurt because the tartness compliments the brownies’ richness. Also, the light pink colour goes well with the Himalayan salt.

Strawberry ice-cream with brownies


Categories
Chocolate Food General Recipes

Greek Yogurt Dark Chocolate Mousse!

I’ve been desperately looking for some sort of healthy way to satisfy my daily, powerful chocolate cravings. Ordinarily, I eat cake, cookies, brownies, or a chocolate bar every single day. Without exception. But recently, I’ve been trying to be healthier, which involves eating less sugar, cream, and butter. I am not saying I want to cut them out completely from my diet. For one thing, that’s impossible (for me), for another, I don’t believe that’s good for me: one needs a balanced diet with a little bit of everything. But eating cake every day, in large quantities! Well, maybe that is something I can work on changing, slightly ๐Ÿ™‚

Some research and a lot of experimentation resulted in this recipe: a dark chocolate mouse made with yogurt!

It’s pretty delicious, very creamy, and way better for you than your average dessert. Also, it involves a simple process and very few ingredients. It’s especially nice in the summer!

Low Fat Chocolate Mousse

Ingredients:

125 g good, very, dark chocolate (at least 80%; choose a brand that you like the taste of, as the taste of the mousse will depend heavily on the taste of the chocolate bar you pick)

2 tablespoons good quality cocoa powder, sifted (optional)

1 cup Greek Yoghurt, cooled for about 10-15 mins in the freezer (I used 2%; you’ll get a creamier consistency if you use a fattier yogurt.)

9 tablespoons milk

1 tablespoons sugar

1 tablespoon honey, agave, or maple syrup

2 tablespoons of your favourite liqueur such as, Frangelico, Cointreau, Grand Marnier, Kailua etc., (optional)

A pinch of salt

Method:

1. Warm 6 tablespoons of milk in a double boiler and dissolve the sugar in it. Then, add the chocolate to the milk and melt the chocolate, stirring very gently. If you don’t have a double boiler, you can use a microwave or a small saucepan, but make sure not to singe or burn the chocolate.

2. Mix the cocoa powder, honey/syrup, and 3 tablespoon of milk into a paste. (The cocoa can make the mousse a bit grainy, so skip this if you are particular about a smooth consistency and just add a few extra squares of dark chocolate in step one along with the honey/syrup and milk. I chose cocoa powder to intensify the flavour of the mousse whilst still keeping it low fat.)

3. Whip the yogurt in a medium sized mixing bowl using a whisk. Add in the liqueur (if you are using it).

4. Mix in the melted chocolate and cocoa paste (if you’re using it), along with the salt.

5. Whip gently until you have a nice creamy, smooth, mousse like consistency.

How to make Yogurt chocolate mousse

6. Place the mousse in the freezer again for a few minutes while you get your serving bowls and spoons assembled.

7. Whip once or twice again, then, spoon the mousse into your serving bowls. You should have at least 4 servings. Garnish with chocolate flakes or a raspberry, if you like.

You could use a stemless martini glass:

homemade chocolate yogurt

You could also use a wooden bowl:

Healthy Chocolate Mousse

The mousse is pretty good considering it is made with yogurt! It’s fairly creamy and the consistency is nice and thick!

Dark Chocolate mousse with Yogurt

To be fair, it isn’t the most delicious mousse I’ve ever had, but it’s better than many I’ve had in restaurants and cafes, and just think, it’s made with dark chocolate, yogurt and very little sugar!

I served it with some delicious Ice Cider that we bought on our trip to Quebec.

Low Fat Chocolate Mousse

Categories
Baking Food General Recipes

Spiced Banana Rum Cake

I’ve been baking a lot this week for some reason. I think the return of cold weather has put me in the mood for it: a warm oven giving off the aroma of vanilla, cinnamon, and nutmeg can go a long way in consoling me on these dreary grey afternoons.

My latest and most exciting baking experiment was this spiced banana rum cake.

Cinnamon, nutmeg, banana rum cake

This is a delicious and simple cake to bake; in my view, even someone new to baking will find the recipe for this cake a tough one to mess up ๐Ÿ™‚ Also, most kitchens are likely to have these ingredients lying about in them. It’s based on one of Dorie Greenspan’s recipes, taken from her iconic book “Baking: From my home to yours”.

The cake is also versatile: it can be served at different times of day in varied contexts, such as for tea, as dessert, or even as a mid-morning study-break snack. I decided to bake it on a whim this Saturday and brought it over to a friend’s for dessert. As it turns out, it’s actually an ideal dessert to take with you to other people’s homes because it is relatively easy to transport.

If you’d like to spice up your fall afternoons or a friend’s dinner party with this cake, here is a 13 step guide to making it!

Ingredients:

Note 1: I’ve provided the quantities for ingredients in grams (except for a few dry ingredients that have been measured in teaspoons and all liquids which have been measured by volume) because I find measurements by weight to be far more precise in the home-cooking context. I have also provided an approximate measurement in cups for those of you who don’t have digital weighing scales at home.

Note 2: All ingredients should be at room temperature, so set them out a few hours before you plan on starting on this cake.

Ingredients Group A:

162g (1 1/3 cup) all-purpose flour

3/4 tsp baking soda

1/4 tsp freshly ground nutmeg

1/4 tsp freshly ground cinnamon

1/2 tsp salt


Ingredients Group B:

85g (3/4 stick) of butter

75g (3/8 cup) granulated sugar

100g (1/2 cup) light brown or golden sugar

1 large egg

1 tsp vanilla extract

1.5 cups (about 2 large) very ripe bananas, mashed

1/4 cup coconut milk or yogurt


For the Rum Syrup:

1/3 cup water

50g (1/4 cup) sugar

1/4 cup dark rum/Malibu coconut rum


For the Cinnamon Sugar:

25g (1/8 cup) granulated sugar

1/2 tbsp freshly ground cinnamon


Equipment Needed:

1 or 2 mediumย bowls (if you use a stand mixer you will need only one bowl)

Whisk

Stand mixer or hand-held mixer

Measuring cups and, if available, a weighing scale

Teaspoons

2 forks

Spatula

9 inch round cake tin (preferably a spring-form pan)

Parchment paper

Oven

Narrow knife or skewer

Basting brush


Method:

1. Pre-heat the oven to 350 Fahrenheit. Butter the cake tin. Next, cut a circular piece of parchment paper with the same circumference as the cake tin. Line the tin with the parchment paper and butter the parchment paper as well. Now dust the tin (including the bottom of it which is lined with paper) with flour.

2. Whisk all the dry ingredients listed in Group A together in a medium size bowl until evenly mixed.

3. In a second medium-sized bowl or a stand mixer, beat the butter at a high speed until creamy. Next, add both the sugars and beat again until creamy (about 3-4 minutes).

4. Add the egg and vanilla to the butter-sugar mixture and beat until smooth.

5. Lower the speed of the mixer and add the mashed bananas. The mixture will look fairly unattractive at this point. Dorie Greenspan describes it as “curdled” which is pretty accurate ๐Ÿ™‚ Don’t worry about this.

6. Now add the dry ingredients in Group A to the “curdled mixture”, alternating with the coconut milk (or yogurt). Start and end with the dry ingredients. (In other words, add a third of the flour mixture, followed by half the milk, followed by a third of the flour mixture, followed by the rest of the milk, and end with the last third of the flour mixture).

7. By now, you should have a fairly smooth and delicious smelling batter. Pour this into the prepared cake tin and place in the oven to bake for 40 minutes or so, until browned on top. The cake should come away from the edges as shown below. Check if its done by inserting a toothpick. If it comes out clean, the cake is done.

Spiced banana cake

8.ย While the cake is baking, prepare the rum syrup and cinnamon sugar. For the syrup, place the sugar and water in a small bowl on the stove on medium heat, stirring until the sugar is dissolved. Once the sugar is dissolved completely bring the syrup to boil and then transfer it to a heat proof bowl. Mix in the rum, cover and let cool. In the meantime, mix the cinnamon and sugar in a small bowl using a fork until evenly mixed.

9. When the cake is done (as shown above), take it out of the oven and carefully remove the cake from the cake tin after letting it cool for about 10 minutes. Make sure you keep the cake intact and place it right side up, with the beautifully browned dome on top.

10. Using a narrow knife or a skewer, poke holes all over the cake. Now, with a basting brush, carefully brush the rum syrup all over the cake, working slowly so that the cake soaks up the syrup evenly. How much syrup you want to use is up to you; it’s not a very sweet syrup, so the cake won’t become overly sweet should you decide to be generous with the booze.

11. Once the cake has cooled and the syrup has soaked in, lightly dust the top of the cake with cinnamon sugar.

12. Serve as is, or with whipped cream and/or strawberries.

13. Enjoy!

Spiced Banana Rum Cake


Categories
Baking Food General Recipes

Boozy Banana Bread Served with Orange-Chocolate Butter

This is by far the most delicious banana bread that I’ve ever had. It’s a miss-mash ofย aย few recipes I’ve tried out before, but it’s predominantly based off of Jamie Oliver’s banana bread recipe, which can be found here. Overall, while I liked his recipe the best of all the ones that I’ve tried, it wasn’t boozy ๐Ÿ˜‰ and his chocolate butter, while delicious, was a bit too sweet. So, I played around with the recipes for both the bread and the butter a bit and came up with this one.

Also, just a clarification, the bread doesn’t actually have a strong taste of alcohol; I was just being flip and I liked the alliteration in the title.

This bread is a great addition to a tea party!

Banana bread with rum raisins

Or, you could just make up a loaf, and eat a slice or two every day as an afternoon snack, with tea ๐Ÿ™‚

Banana bread with rum raisins

Anyway, if you want to try it, here’s what you will need, and what you will need to do.

Ingredients:

For the Banana Bread:

1 cup walnuts, shelled and chopped

2 handfuls raisins (ideally golden raisins)

Enough rum to submerge the raisins completely (about 100 ml)

500 g frozen, very ripe bananas, (measure the weight once you have peeled the bananas)

125 g unsalted butter

125 g dark brown sugar

2 large eggs

200 g unbleached, all-purpose flour

2 teaspoons baking powder

1 teaspoon bicarbonate of soda

1 teaspoon ground cinnamon

A couple of pinches of salt

A couple of pinches of salt


For the Chocolate Butter:

The zest of an orange

100 g good quality dark chocolate (at least 70% cocoa solids), coarsely chopped

100 g unsalted good quality butter

50 g icing sugar (you might want to play around with the amount of sugar you use based on the bitterness of the chocolate you are using and of course, on your taste)

Largish flakes of salt (I like the pink salt because it looks nice on top of the butter)

General notes about ingredients: Leave the eggs and butter out on the kitchen counter for a few hours before you begin making the bread so that they are at room temperature. Also, unless otherwise specified, when I list the amounts of dry ingredients you should use in a recipe, I mean levelled tea spoons, table spoons, and cups.

Method:

Place the raisins and rum in a little pot or saucepan and place the pot/pan on medium to high heat on the stove.ย Once the rum is boiling, take the pot/pan off the heat, cover it, and set aside for at least an hour, until the raisins have soaked up all the rum ๐Ÿ™‚

Rum soaked raisins in banana bread

Pre-heat the oven to 170 degrees celsius (325 degrees fahrenheit). Sift together all the dry ingredients into a medium bowl. Take two half litre loaf tins (or a single one litre tin) and line them with parchment paper that has been buttered on both sides. Once the oven has pre-heated, place the walnuts on a baking tray and toast them in the oven for 4-5 minutes, until they are slightly darker in colour and you can smell an aroma coming off them. Be careful not to over-toast them. While the nuts are being toasted, mash-up the bananas in a bowl. You don’t have to make a smooth paste of them, it’s ok if there are a few chunky bits in the banana paste.

Next, beat the butter and sugar together using a stand mixer or hand-held mixer (egg beater) until the butter and sugar form a smooth, creamy mixture (say for about 5 minutes at medium to high-speed). Now, beat in the eggs, one at a time. Once you have an even/smooth mixture, mix in the bananas, walnuts, and rum-soaked raisins with a spatula or spoon, followed by the dry, sieved ingredients. The batter is pretty thick; as you can see, my wooden spatula was standing up in the batter without any support:

Banana Bread with Raisins and Walnuts

Pour the batter into the prepared tins and bake in the middle shelf of your oven. You will know the bread is done when you poke it with a tooth pick or skewer and it comes out clean. This should take about an hour, depending on your oven.

20140330_223841

While the bread is baking, you can get the chocolate orange butter ready.

Melt the chocolate in a double boiler (you can also do this in a microwave, in which case, make sure to use a low heat setting and monitor the chocolate, so as not to burn it). Once the chocolate has melted, take it off the heat and stir in the orange zest. Set the chocolate aside. In another bowl mix the butter and sugar with a hand-held mixer until smooth and creamy. Finally, stir the orange-infused chocolate into the sugar-butter mixture.

It’s ready! You can serve and/or store the butter in a bowl, on a little plate, or even in a butter dish.ย Whichever way you choose to serve/store it, sprinkle some coarsely ground salt on top of the butter; it’ll look nice and taste even better ๐Ÿ™‚

Delicious chocolate butter infused with orange zest

One thing to note, the butter is best served/eatenย at room temperature when accompanying the bread. Of course, it tastes great cold if you’re just eating spoonfuls of it by itself. Fair warning though, it’s pretty unhealthy and you might feel quite ill if you eat too much, so moderation is advised!

This is the bread, once it was baked and sliced up:

Delicious soft, dense Banana Bread

Great snack- banana bread with chocolate butter

Categories
Cooking Food General Indian Cooking Recipes

Spicy Fish Keema

I spent half of my childhood in a Southern Indian city called Hyderabad. What I love the most about this city is its food. Hyderabadi cuisine is spicy, complex, and flavourful, with a fascinating history. (I’ve already touched upon some of this, including the story of the origins of Hyderabadi food and its evolution (involving the Mughals and the Nizams) in a previous post.) On top of all this, several Hyderabadi dishes play an important role in my own personal history. For instance, I have memories of delicious Biryani lunches with my father at Nizam Club, during which we would have long chats about communism, god, black holes, and the senselessness of vegetarian Biryani (I maintained, and continue to maintain, that Biryani must be made with mutton, or, in an emergency, with chicken; my father, is more flexible in principle, but frankly, seems to agree with me in practice), amongst other things.

Another dish that I love and associate fond memories with is Kheema. Kheema is spicy minced meat, and it’s made in different parts of India in slightly different ways. Kheema reminds me of Hussein, an elderly, gentle, kind, funny, patient man, who was our chauffeur. I used to be driven to and from school by Hussein, whom I was really very fond of. As it turned out, Hussein’s wife made the most delicious kheema, and every time she made some, he would bring me left-overs the next morning, which I would eat for lunch in school. This was a special treat as my parents’ was a vegetarian household, and no meat was ever cooked or served in it. 

Of and on, over the past decade, I’ve craved kheema made just like that. But, I no longer eat meat, and in any case, I have no idea how to make kheema that tastes like Hussein’s wife’s recipe. Today, I decided that I was going to make some kheema, one way or another; I was gripped by a craving so powerful, that I set about crafting a recipe with a kind of single-minded determination that I only wish I could summon when I sit down to write a chapter of my thesis. Although I don’t eat meat, I do eat fish, so awful as this is likely to sound to a Hyderabadi, I decided to make fish kheema. Using a recipe for “Bhuna Kheema” and adapting it quite a bit (for instance, I used tomatoes, which isn’t common in Hyderabadi recipes, and of course, I was using fish instead of mutton/chicken), I arrived at this creation:

image

It was delicious, even if it wasn’t quite authentic, and it still had a distinct flavour profile that resembled the kheema from my child hood! If you’d like to try it, here’s what you will need:

1 pound fish fillets (any white fish should do, used haddock)

2-3 tablespoons oil (the more you use, the better the kheema will taste, up to a point of course)

1/2 stick cinnamon

2 bay leaves

A handful of curry leaves

4 cardamom pods

3-4 cloves

1 large red onion, (dice 3 quarters and slice the remaining quarter)

1 teaspoon crushed garlic

1 teaspoon grated ginger

10 sprigs of coriander, chopped

5-8 mint leaves

6 green chillies, chopped

Salt to taste

1/2 teaspoon turmeric powder

2 teaspoons red chilli powder (I used 1 teaspoon Kashmiri mirch powder and 1 teaspoon extra hot red chilli powder that I bought at an Indian store)

1/2 teaspoon coriander powder

1/2 teaspoon cumin powder

1 teaspoon garam masala powder

2 medium tomatoes, chopped

Juice of 1 lime

Method:

Boil the fish in a pot of water with 1 teaspoon of salt. Cool the fish and chop it into bite sized pieces.

Heat oil in a pan and fry the bay leaves, cinnamon, cardamom, curry leaves, and cloves. Once the spices become fragrant, add the onion and fry until golden brown. Now, add the grated ginger and crushed garlic, and fry for a few minutes.

Next, add the chopped chillies, followed by the mint, coriander, salt, turmeric powder, chilli powder, coriander powder and garam a masala. Fry for a bit, and then add the chopped tomatoes. Fry some more.

Finally, add the boiled fish with a little bit of water, and toss. Using a flat ladle, break up the fish into little pieces, whilst stirring everything on medium to high heat. Continue periodically stirring the mixture until the water dries up, and the fish begins to look like mince meat. At this point, take the fish off the heat, squeeze some lime juice on it, stir it, and serve it with some coriander and/or mint leaves garnished on top. You can eat kheema with naan, roti, chapati, parathas, or just by itself. I ate it with chapatis and dahi (Indian-style Yoghurt), and made a cup of lemon tea to wash it all down.

image

image

Categories
Baking Cooking Food General Recipes

Baked Mushroom Arancini (Baked Risotto)

Risotto is one of my favourite Italian dishes. The only problem with it is that while it tastes great right off the stove, it doesn’t re-heat well. As a result, until recently, I’d usually make up a big pot of the stuff, and then be left with a lot of cold risotto that tastes sub-par when reheated in the microwave. Alternatively, I’d make just a little, and then have to cook something from scratch for my next meal.

That is, this used to be my problem with making risotto, until I tried some arancini (fried risotto balls) at a restaurant. While eating the arancini, I had an epiphany, and now I have a whole new risotto-system ๐Ÿ™‚ Now, I make up a pot of risotto, eat it fresh off the stove for a meal, and then use the left over risotto to make arancini. I basically roll the left-over risotto into balls, which I refrigerate, and then bake them (instead of frying them because it’s healthier and easier) whenever I am ready for my next meal.

And just like that, I have a delicious, hot meal in a few minutes!

Baked Risotto

If you’d like to try making some, here’s the recipe for the arancini part of the process. For my risotto recipe, go here. There are also plenty of recipes out there on the great Internets. For instance, you could try Jamie Oliver’s mushroom risotto, the recipe can be found here. (I’d skip the celery part of the recipe, though, if I were you, (yuck!))

Ingredients:

1 pot of risotto (Whichever recipe you use, make sure to chop the mushrooms into fairly small pieces, rather than slicing them. if the mushroom slices are too large, it becomes difficult to shape the risotto into balls for the arancini)

1 cup (approx.) panko crust

3-4 egg whites

1 cup (approx.) flour

Goat cheese or mozzarella to taste for the arancini filling (optional)

Method:

Cool the risotto in the fridge for at least a few hours. Once you’re ready to shape the risotto into balls, place three bowls and a baking sheet lined with parchment paper on the counter, table, or wherever you are going to be working. Put the panko crust in one bowl, egg whites in another bowl, and flour in the third.

Using an ice cream scoop, portion some risotto into your hands and shape it into a sphere, about the size of a tennis ball. (If you’d like to make arancini with goat cheese or mozzarella centers, flatten a scoop of risotto in your palm, place the cheese at the centre of the flattened risotto, and then wrap the risotto around the cheese). Now, roll the ball in the flour and place it on the baking sheet. Repeat this process until all the risotto is used up.

Next, dip each flour-coated ball into the egg white, immediately roll it in the panko crust, and then place it on the baking tray.

Baked Risotto

Once you’re done coating all the balls, you can bake them immediately, or you can store them in Tupperware, and bake them when you’re ready to eat them.

To bake the arancini, pre-heat the oven to 400 degrees Fahrenheit, and place the arancini in the oven on a baking tray lined with parchment paper. Bake the arancini for about 15 minutes, until they are crisp and golden brown on the outside. Finally, enjoy!

They’re a great meal, but they’re also great as appetizers for a party.

Categories
Cooking Food General Indian Cooking Recipes

Easy Fish Tikka Recipe Served with Mint Chutney

Tikka is one of my favourite appetizers, but unfortunately, good tikka is surprisingly difficult to come by outside India. Craving decent tikka (especially fish tikka), I have tried multiple recipes over the years, and finally, I think I’ve found the perfect combination and balance of ingredients. This recipe, arrived at after some fine-tuning and re-mixing, and much experimentation ๐Ÿ˜‰ is also relatively easy to follow.

Mmmm just look at how delicious this looks:

Tandoori tikka recipe

If you’d like to try it out, here is the recipe!

Ingredients:

1 pound fish cut into 1.5 inch cubes (I’ve found that haddock works really well for tikka)

For the Marinade:

6-8 large cloves of garlic

1/2 tablespoon grated ginger

1/2 cup fresh coriander leaves

3 tbsp lime juice

1 tbsp grated lime zest

1 tbsp kashmiri red chili powder

1 tsp freshly ground cumin powder

1/2 tsp garam masala

1 tsp salt

1 tsp rock salt

2 tbsp vegetable oil

1 tsp mustard oil

1 tbsp gram flour

1/2 cup yoghurt

Method:

Set aside the gram flour, yoghurt and half the oil. Put the rest of the marinade ingredients in a blender, or food processor, and process into a smooth paste.

In the meantime, fry the gram flour in the oil that was set aside, until the flour darkens a bit and becomes fragrant (this should take about one, or one and half minutes).

Combine the fried flour, spice paste, and yoghurt in a bowl, then add the fish pieces to this. Marinate the fish in the mixture for at least 4 hours, or even overnight (place the fish and marinade in the refrigerator during this time).

image

When you’re ready to serve the tikka, broil the fish in the oven (at the highest setting for about 15 minutes, basting half way through with butter), or, if you can, grill it over a barbecue. I think it tastes best when it’s grilled on the barbecue, but broiling works well enough, at a pinch.

Serve the tikka with mint chutney (to make chutney at home, blitz a cup of coriander leaves with half a cup of mint leaves, 2-3 green chillies, 2 tbsp of lime juice, 3-4 tbsp of greek yoghurt, and rock salt to taste. Add more yoghurt if you want a thicker consistency, or if the chutney tastes too hot for your liking). You can also garnish the plate or tray you serve the tikka on with onions sliced into rings, or green chilies.

And there you have it, a delicious appetizer, that I sometimes eat with roti or rice as a main course. It also makes for a great snack at cocktail parties.

Fish tikka

Categories
Baking Chocolate Food General Recipes

Easy Chocolate Cupcakes (with Dark Chocolate Centers and Cream Cheese Frosting)

Dearest readers, I must begin by apologizing for my long absence. I’ve had a very busy summer indeed. But, I am back now, and I thought a great way to apologize would be to bake you all some delicious cupcakes.

Yes, yes, I know that some people are saying that cupcakes are ‘dead’ now and all that, but really, that’s all stuff and nonsense. Like chocolate, cupcakes are forever, or at least, chocolate cupcakes are forever. I can’t speak for lemon flavoured ones, or even about Kiwi ones, or really about any fruit flavoured ones, but chocolate ones, mmmmm…. even contemplating a world without chocolate cupcakes is enough to drive me to utter and complete despair.

I mean, just look at this cupcake:

Easy Recipe for chocolate cupcakes

Can you imagine this ever not being delicious?

So you see, I am convinced that cupcakes are here to stay, whatever the naysayers may say (I agree with most things on Jezebel, but on the issue of cupcakes, Jezebel and I disagree, vehemently, see: http://jezebel.com/fuck-cupcakes-475125988.)

So, given their classic status (at least in my home and heart), here is a delicious and easy recipe for chocolate cupcakes, with some optional frills you can add to make them even more yummy!

Ingredients:

(I’ve divided the ingredients into three groups, so it’s easy to refer to them collectively in the recipe.)

Group A:

1.5 cups unbleached all-purpose flour

1.5 teaspoons baking powder

0.5 teaspoon baking soda

3-4 pinches of salt

Group B:

1 cup sugar

0.75 cups cocoa

0.75 cups sunflower or vegetable oil

1 teaspoon vanilla essence

2 eggs

1 cup 1% milk

Group C (for frosting and chocolate fillings):

Icing sugar (to taste, usually not more than a cup)

8 ounces cream cheese

About 140 g dark chocolate (this amount will vary depending on the darkness of the chocolate you choose and your taste as well).

About 40 g milk chocolate

1 teaspoon vanilla essence

Method:

1. Pre-heat the oven to 350 degrees Fahrenheit (180 degrees celsius).

2. Whisk all the ingredients in ‘Group A’ together in a bowl.

3. Whisk the sugar and cocoa together in another bowl. Add all the other ingredients in ‘Group B’, except the milk, and beat with an electric mixer on medium to high-speed, until the mixture is smooth.

4. Now beat the ‘Group A’ ingredients into the mixture from step 3, a few spoonfuls at a time, alternating with the milk. Beat until smooth. This is your cupcake batter. You can mix a handful or two of chocolate chips, if you like, at this stage.

5. Ladle or pour the batter into cupcake cups placed in a cupcake or muffin baking tray.

6. Place the tray in the oven and bake for about 20 minutes, until a toothpick inserted in the centre of the cupcakes comes out clean. Do not over bake as the cakes will then end up dry.

7. Once the cakes have cooled, take them out of the mold/tray. You can eat them as they are, or you can give them dark chocolate centers and frost them.

8. To give them chocolate centers, melt 6 squares (about 60 g) of your favourite dark chocolate (make sure it’s not too dark, as you want the centre to be soft at room temperature, rather than hard and gritty) with 4 squares (about 40 g) of milk chocolate in a bowl in the microwave on a very low heat setting, or in a double boiler. While the chocolate is melting, use a cupcake corer, or a knife to carefully bore a hole into the cupcakes from the top, to about midway into the cupcake (make sure not to go all the way to the bottom), and take out some of the cake to create space for the chocolate. Once the chocolate is melted, spoon some chocolate into each cupcake. Let the chocolate cool. (Note: don’t wash the bowl you use in this step to melt the chocolate in, just yet.)

9. In the meantime, place an 8 ounce brick of cream cheese in a bowl, and beat it with an electric mixer, until it’s smooth and creamy. Add a teaspoon of vanilla essence, and a few tablespoons of icing sugar, then beat the mixture, and taste it. Keep adding sugar by the spoonful until it tastes just right. Now melt about 8 squares of dark chocolate (80 g) (my measurements for the chocolate are approximate because each person will want different amounts of chocolate in the frosting; so go by what tastes right) in the same bowl used in step 8. Pour this chocolate into the cream cheese-sugar mixture. Make sure that the chocolate is only warm, not hot. Now beat it all together until smooth. Your frosting is ready.

10. Spoon the frosting into an icing bag (if you don’t have one, you can spoon the icing into a sandwich bag or other type of plastic bag and cut a whole at one corner of it). Holding up each cupcake, swirl frosting on it.

11. Top off the cupcake with dark chocolate shavings, if you feel like.

12. You can also make cupcakes with mint buttercream frosting, as shown in the photo below. Just beat a cup of unsalted butter with a few drops of mint essence, a few drops of green food colouring, and icing sugar to taste. Then follow the same steps for frosting the cupcakes as described in 10 and 11.

13. Eat the cakes yourself, or throw a cupcake party for your friends ๐Ÿ™‚

Cupcakes with chocolate cream cheese icing

Chocolate cupcakes with mint buttercream frosting

Categories
Food General Recipes

Mint-Limeade for a Summer Study Break

My protest against the weather continues, as I explore yet another summery treat at home this morning, pigheadedly refusing to acknowledge that it is cold and frigid outside. Given the huge windows and skylight in my apartment, it isn’t that difficult to pretend that it’s summer; all I have to do is imagine that it’s as warm and sunny outside as it is on my couch. So imagine I did, and made up this pitcher of fresh mint limeade:

Cool fresh, minty limeade/lemonade

Limeade, is of course easy to make, and most people could easily make up a pitcher in minutes, without thinking to look up a recipe for it. So I am not posting a recipe for it here so much as sharing my take on, or version of traditional limeade, which, by the way, I maintain, is useful not only to deluded summer enthusiasts like me, but to everyone really. Every once in a while, even when it’s not summer, we all need a nice refreshing drink to hydrate and cool ourselves. It also makes for a great drink on a morning (or afternoon), following a late night filled with a little too much, ahem, shall we say merriment? Not, of course, that I am ever in need of such a treatment. No one who knows me, or has read this blog, could ever accuse me of excess of any sort ๐Ÿ˜‰

I made the limeade very light, using about 1 tablespoons of dark brown sugar, 1 teaspoon of maple syrup, the juice of 2 limes, 2 pinches of salt and a handful of torn mint leaves, for a pitcher of limeade. You could of course intensify the flavour by adding more sugar, syrup, or even more lime juice. It’s best to add the sugar and syrup in small increments, tasting as you go, since each person’s preference is likely different.

Mmmm, I think I am going to make up a pitcher of this stuff for all my summer tea parties ๐Ÿ™‚