Warm cookies, fresh out of the oven, crisp on the outside, gooey on the inside, full of chocolate chunks- doesn’t that sound simply heavenly? So often, I think about baking cookies, and then decide that it’s not worth the trouble, considering how short-lived the joy is of eating them warm out of the oven. I’ve only ever liked fresh, warm cookies, you see. Once they’ve cooled, I lose interest in them. In fact, the only way I really enjoy cold cookies is by breaking them into chunks and dropping them into chocolate ice cream 🙂
But now, I have found a way to eat warm, fresh cookies everyday, whenever I want, and you can too! Just follow this recipe for cookie dough, then shape the dough into little balls, and freeze them raw. When you’re ready to eat a cookie, simply pop a dough-ball into the oven and 10 minutes later, enjoy!

If you’re having a party, and want to serve warm cookies at it, but can’t be bothered with baking them on the day of the party, then this freezing method works perfectly for that too. I did this for my birthday party, and everything went smoothly! I just popped the frozen dough-balls into the oven and then chatted with friends until 10 minutes later, they were ready 🙂
If you’d like to try the recipe I use, here it is! It’s from ‘Baking Illustrated’ published by the famous ‘Cook’s Illustrated’ magazine editors.
Here’s what you will need:
1¾ cups unbleached all-purpose flour
½ teaspoon baking soda
1 teaspoon salt
12 tablespoons unsalted butter, divided
¾ cup (5¼ ounces) dark brown sugar
½ cup (3½ ounces) granulated sugar
2 teaspoons vanilla extract
1 egg
1 egg yolk
2 handfuls of dark chocolate chunks
In a medium bowl, whisk the dry ingredients together. Next, in a microwave-safe bowl, melt the butter and let it cool until it is luke-warm. Add the two types of sugar to the butter and beat until smooth. Then, add the egg, egg yolk, and vanilla extract and continue beating at medium to low-speed until the mixture is smooth. Next, at a low-speed, beat in the dry ingredients. Once they’re mixed in, add the chocolate chunks, and try to mix them in with a spatula or your hand, until they are somewhat evenly distributed. Your dough is now ready!
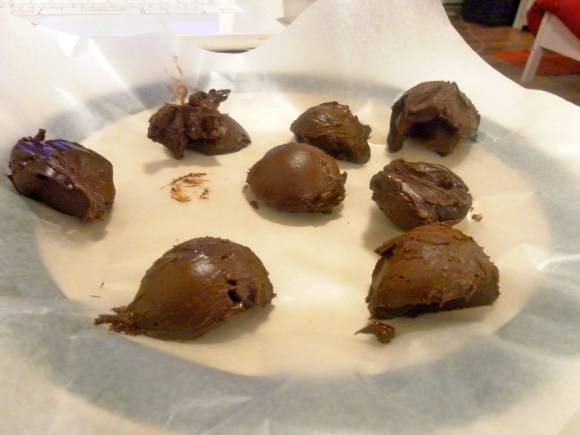
The final step involves shaping the dough into balls. It’s best to move to the dining table for this last step as it takes about 5-10 minutes, and you don’t really need access to things in the kitchen or the sink for this. Place a sheet of parchment-paper or wax-paper on a baking sheet. Using an ice cream scoop, scoop out a little portion of the cookie dough on your palm and roll it into a ball. The size of this portion can very, depending on how large you want your cookies to be; I scooped out about a ping-pong ball sized amount. Roll the dough up into a ball, then tear it apart at the centre. Rotate the two halves so that the uneven, torn surface faces upwards, and re-attach the two bits together into a make-shift, but clearly imperfect sphere. (Apparently, this uneven surface makes the cookie look better once baked. (I am not entirely certain of this, to tell you the truth. One day, I shall be brave enough not to follow this instruction, and then I will let you know what happened.))
You’re almost done! Place the baking sheet in the freezer for about 2 hours, until the dough is frozen. Then take the sheet out, place the balls in a freezer bag and pop them back into the freezer. Whenever you’re ready to eat a cookie (or three), pre-heat the oven to 325 degrees farenheit, place a dough-ball on a baking sheet covered with baking-paper and bake for 10-12 minutes, until golden brown on top.
It’s best to let the cookie cool a bit on the tray and then on a cooling rack. But if you’re impatient, like I am, these cookies taste good minutes after they’re out the oven too, as you can see from the picture below, I could hardly wait to bite into my cookie 😛
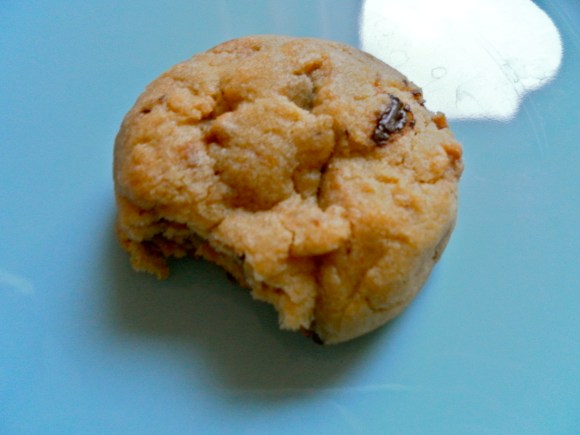
Mmmm…deliciousness!
You could also enjoy it, all warm and gooey, with a glass of cold milk!