In North America and Western Europe, while food from Northern India (and to a lesser extent, South Indian tiffin) is relatively widely available, authentic Hyderabadi food is difficult to find.
This is utterly befuddling to me, as Hyderabadi cuisine is one of the richest food traditions in the world. If Mexican food represents textural complexity at its best, Hyderabadi food represents the most wonderfully balanced and exquisite harmony of intense flavours that I have ever experienced.
If you are looking to explore this cuisine, there is no better introduction to Hyderabadi food than Achaari Murgh (meaning pickled chicken), although this claim is likely to be perceived as blasphemy by Biryani lovers!
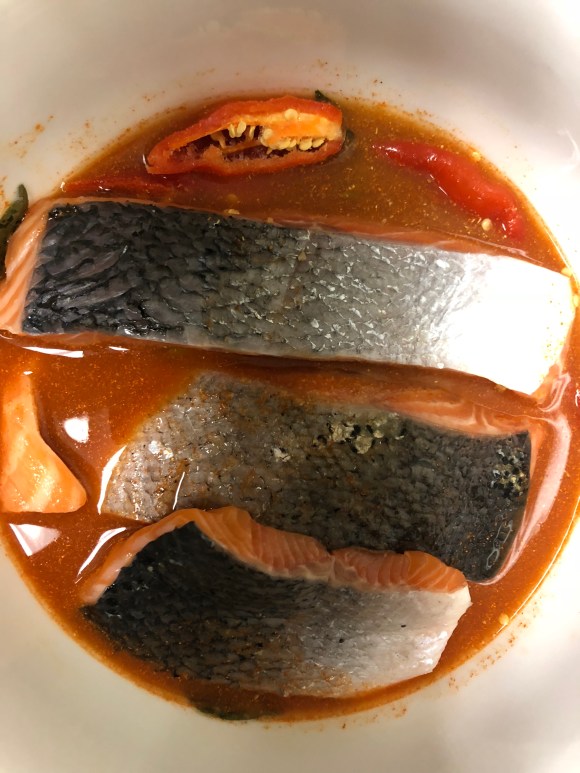
Since I don’t eat chicken, I make Achaari salmon instead. When I first cooked this dish, I began by following Pratibha Karan’s recipe, from her book on Hyderabadi cuisine. Over time, I have adapted the proportions of the ingredients slightly to suit my own palate.
1. In a large bowl, combine the lemon juice, curry leaves, ginger, garlic, fresh chillies, red chilli powder, salt, cumin powder, coriander powder, salt, and fish. (Do not cut the fish into smaller pieces, just add it in as is.)
2. Let the mixture sit for 45 mins to an hour.
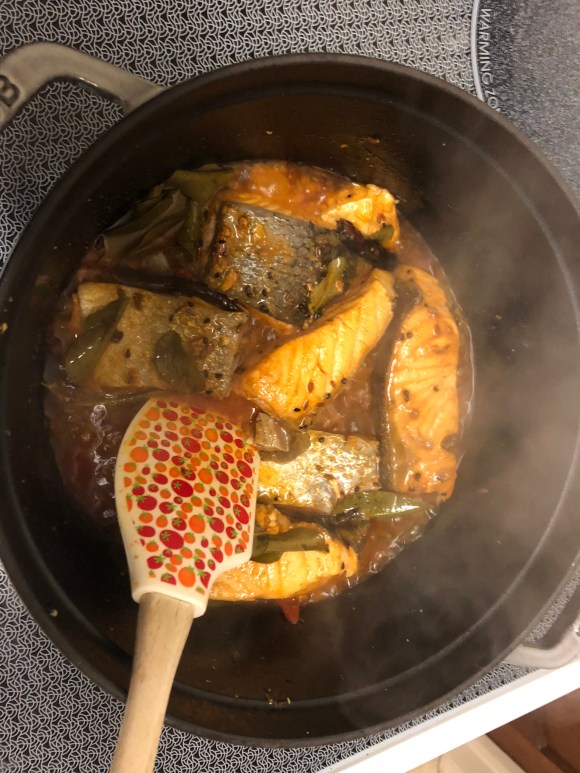
3. Pour the oil into a heavy bottom pan and turn the heat up to high. Once the oil is hot (you can test if it is by throwing in a single mustard seed and waiting until it sizzles), throw in the dried red chillies, cumin seeds, and mustard seeds. Once the seeds start to pop, toss in the Fenugreek and nigella seeds. Toss everything together and once the spices are fragrant and the red chilies darken, transfer everything marinating in the bowl into the pan.
4. Cover and cook the fish on high for about 10 mins, checking on it and stirring every few mins. Then lower the heat and cook for at least 20 mins on low. Depending on the texture you like, you can cook it for a bit longer (cooking it longer will make the fish a little crisper, but also, a little drier). Check on it religiously during this time to make sure that the fish doesn’t burn or stick to the bottom of the pan.
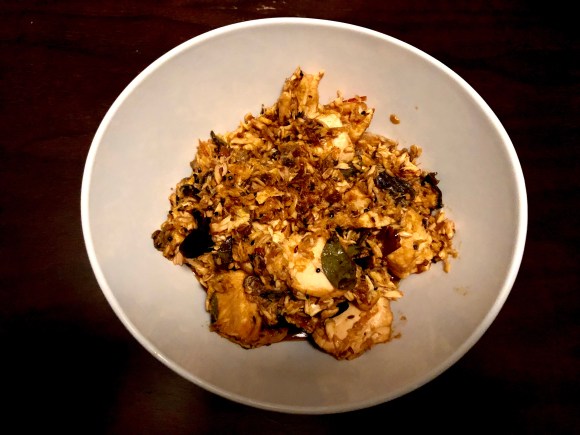
5. About half way through, start breaking the fish up a bit with a spatula. Again, break it up as little or as much as you want to, depending on your preferred texture. The fish is ready when most of the lime juice has evaporated and the fish is coated only in spices and oil.
6. Serve it with rice or roti and some yogurt! For wine pairing suggestions, go here.
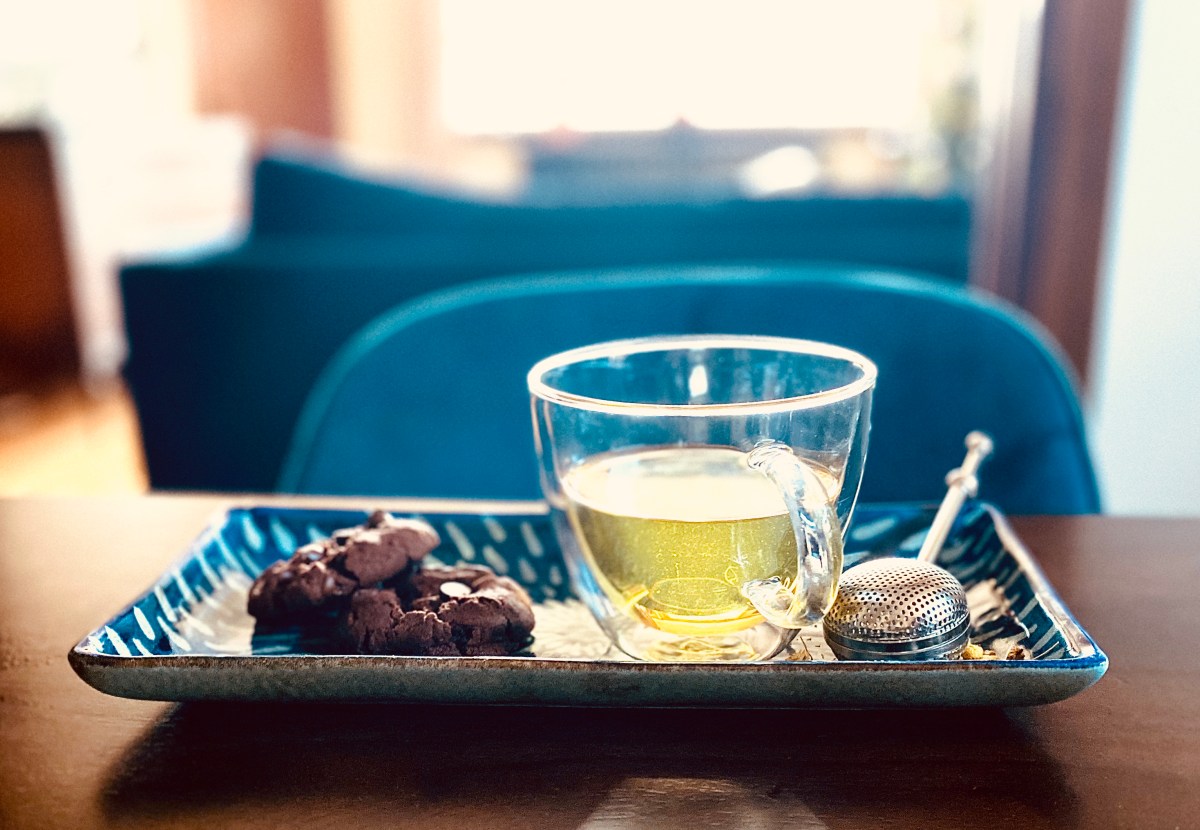
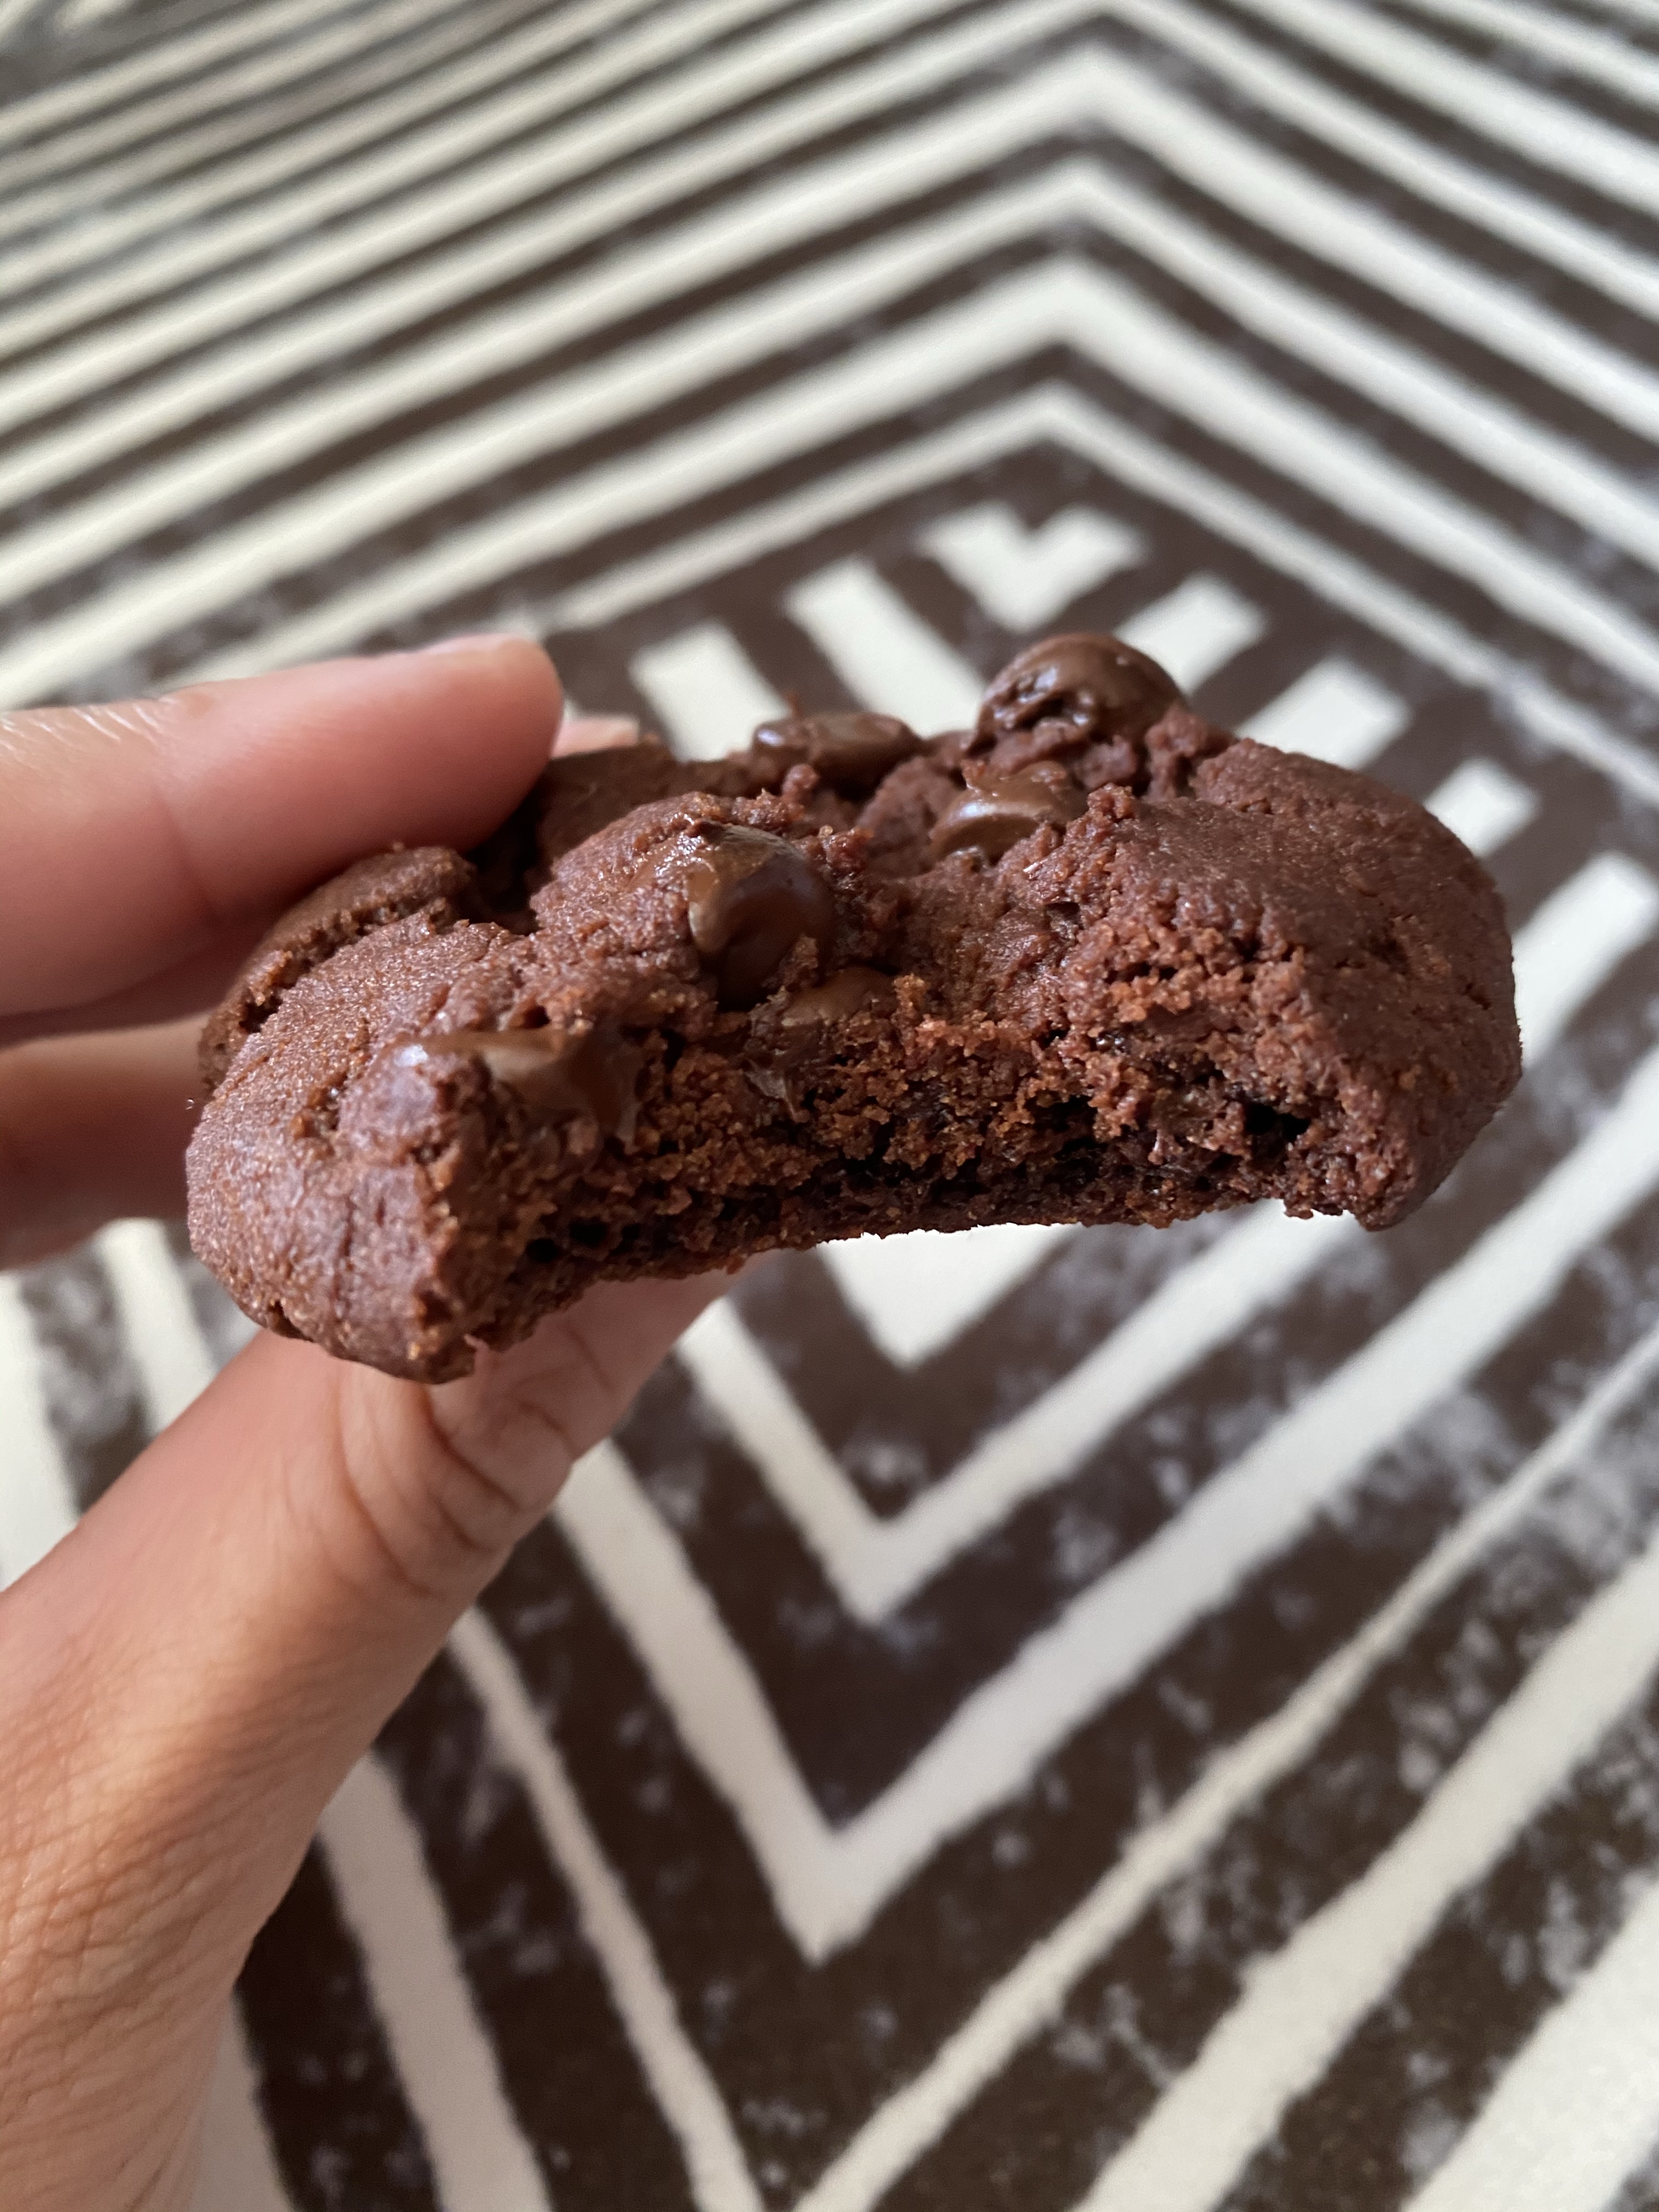
I woke up grumpy, feeling rickety, tired, and ancient. By late afternoon, however, I was quite cheery, even contemplating having a 10 minute solo dance party in my living room. This transformation was in large part thanks to a quick twenty minute yoga session and then, this plate of perfect cookies, alongside a cup of chamomile tea.
What does the perfect cookie taste like, you might ask? What does it feel like when you bite into it? How does it smell? Well, that of course may vary from person to person. To me, a perfect cookie is a chocolate cookie. It is filled with dark chocolate chips and possibly dotted with lightly toasted nuts. It is crisp on the top, bottom, and on its sides, but has a gooey centre. It has the distinct aroma and taste of rich cocoa, a hint of vanilla, and finally, the caramel-like taste of brown sugar. It looks like this:
If this sounds and looks like something you might like, then I suggest giving this recipe a shot! Oh and these cookies are completely vegan!
I will say, some people may find these cookies a bit sweet. The trouble is that the recipe requires at least this amount of sugar in order for the cookies to have a crispy exterior and a gooey centre. Moreover, these cookies, while undoubtedly sweet, were not unpleasantly so, to me (just to calibrate my palate/preferences, most North American milk chocolate tastes saccharine to me). Especially, when paired with some unsweetened coffee or tea to offset their sweetness and also, to compliment their crisp and gooey texture.
I sipped on some chamomile tea, made by brewing dried chamomile flowers from our garden, while I ate them.
I think a cup of coffee with these cookies would be great too!
If you want to give making the cookies a shot, here’s what you will need:
Ingredients:
100 g (about 1/2 cup) white sugar
100g (about 1/2 cup) dark brown sugar (if you want to use light brown sugar, use 125g of it and then, reduce the white sugar by 25 g)
112g (about 1/2 cup) vegan butter (I use Earth Balance)
60 g cocoa (about 2/3 cup) (use the best cocoa you have as the better it tastes, the better your cookie will taste)
1 teaspoon baking soda
2 pinches of salt
1-2 tablespoons of almond milk
2 handfuls of vegan semi-sweet chocolate chips (or chop up a bar of your favourite vegan dark chocolate) (you can add less or more, per your preference)
2 handfuls of walnuts, chopped and lightly toasted (toast them in a frying pan until slightly browned and fragrant)
Equipment:
Stand mixer, handheld mixer, or a whisk and strong arms
2 large bowls
1 sieve
A weighing scale or measuring cup
A teaspoon
A baking tray
Some parchment paper
An oven
Method:
Cream the butter and sugar (i.e. beat them together in a stand mixer or in a large bowl with a handheld mixer/eggbeater or whisk) until they form a creamy, thick, pale yellow mixture.
Add in the vanilla extract and continue beating the mixture until the extract is incorporated into it.
Sieve the dry ingredients into a second bowl (flour, cocoa, baking powder, and salt).
Add the dry ingredients to the wet ingredients and mix them altogether with your hands. It will seem like a thick dough. Add in a tablespoon of almond milk and mix it in. If the dough still seems very dry, add in another spoon of the milk.
Toss in the chocolate chips and walnuts and mix them in.
Roll the dough into individual little balls. (I got about 14).
You can bake them all on a baking tray lined with parchment paper (ideally unbleached and compostable) at 350 F for about 12 minutes or so. The cookies are ready when they are slightly firmed up on their sides. They will still seem soft in the centre, but will firm up in about 10 minutes if you just let them cool on the tray.
Alternatively, flash freeze the dough balls in the freezer (i.e. freeze them on a tray or plate) for about 2-3 hours, and once they have frozen, throw them into a freezer ziplock bag and then the freezer. This way, you can pop your head into the freezer and grab some dough whenever you want a fresh cookie! If you choose this route, bake the frozen dough balls directly, without defrosting them, at 350F, but for about 3 minutes longer.
The only problem with the freezing method is that it isn’t very energy-efficient because it involves heating up the oven multiple times. What we’ve been trying to do in our home is to bake various different things in the oven at the same time. For instance, one can also toast bread at 350F. Alternatively, we heat up the oven to 350F, bake the cookies, and then increase the oven temperature to a higher temperature to bake other things, like bread, for example.
Whatever method you choose, I recommend enjoying your warm cookies with a glass of milk, coffee, or tea!
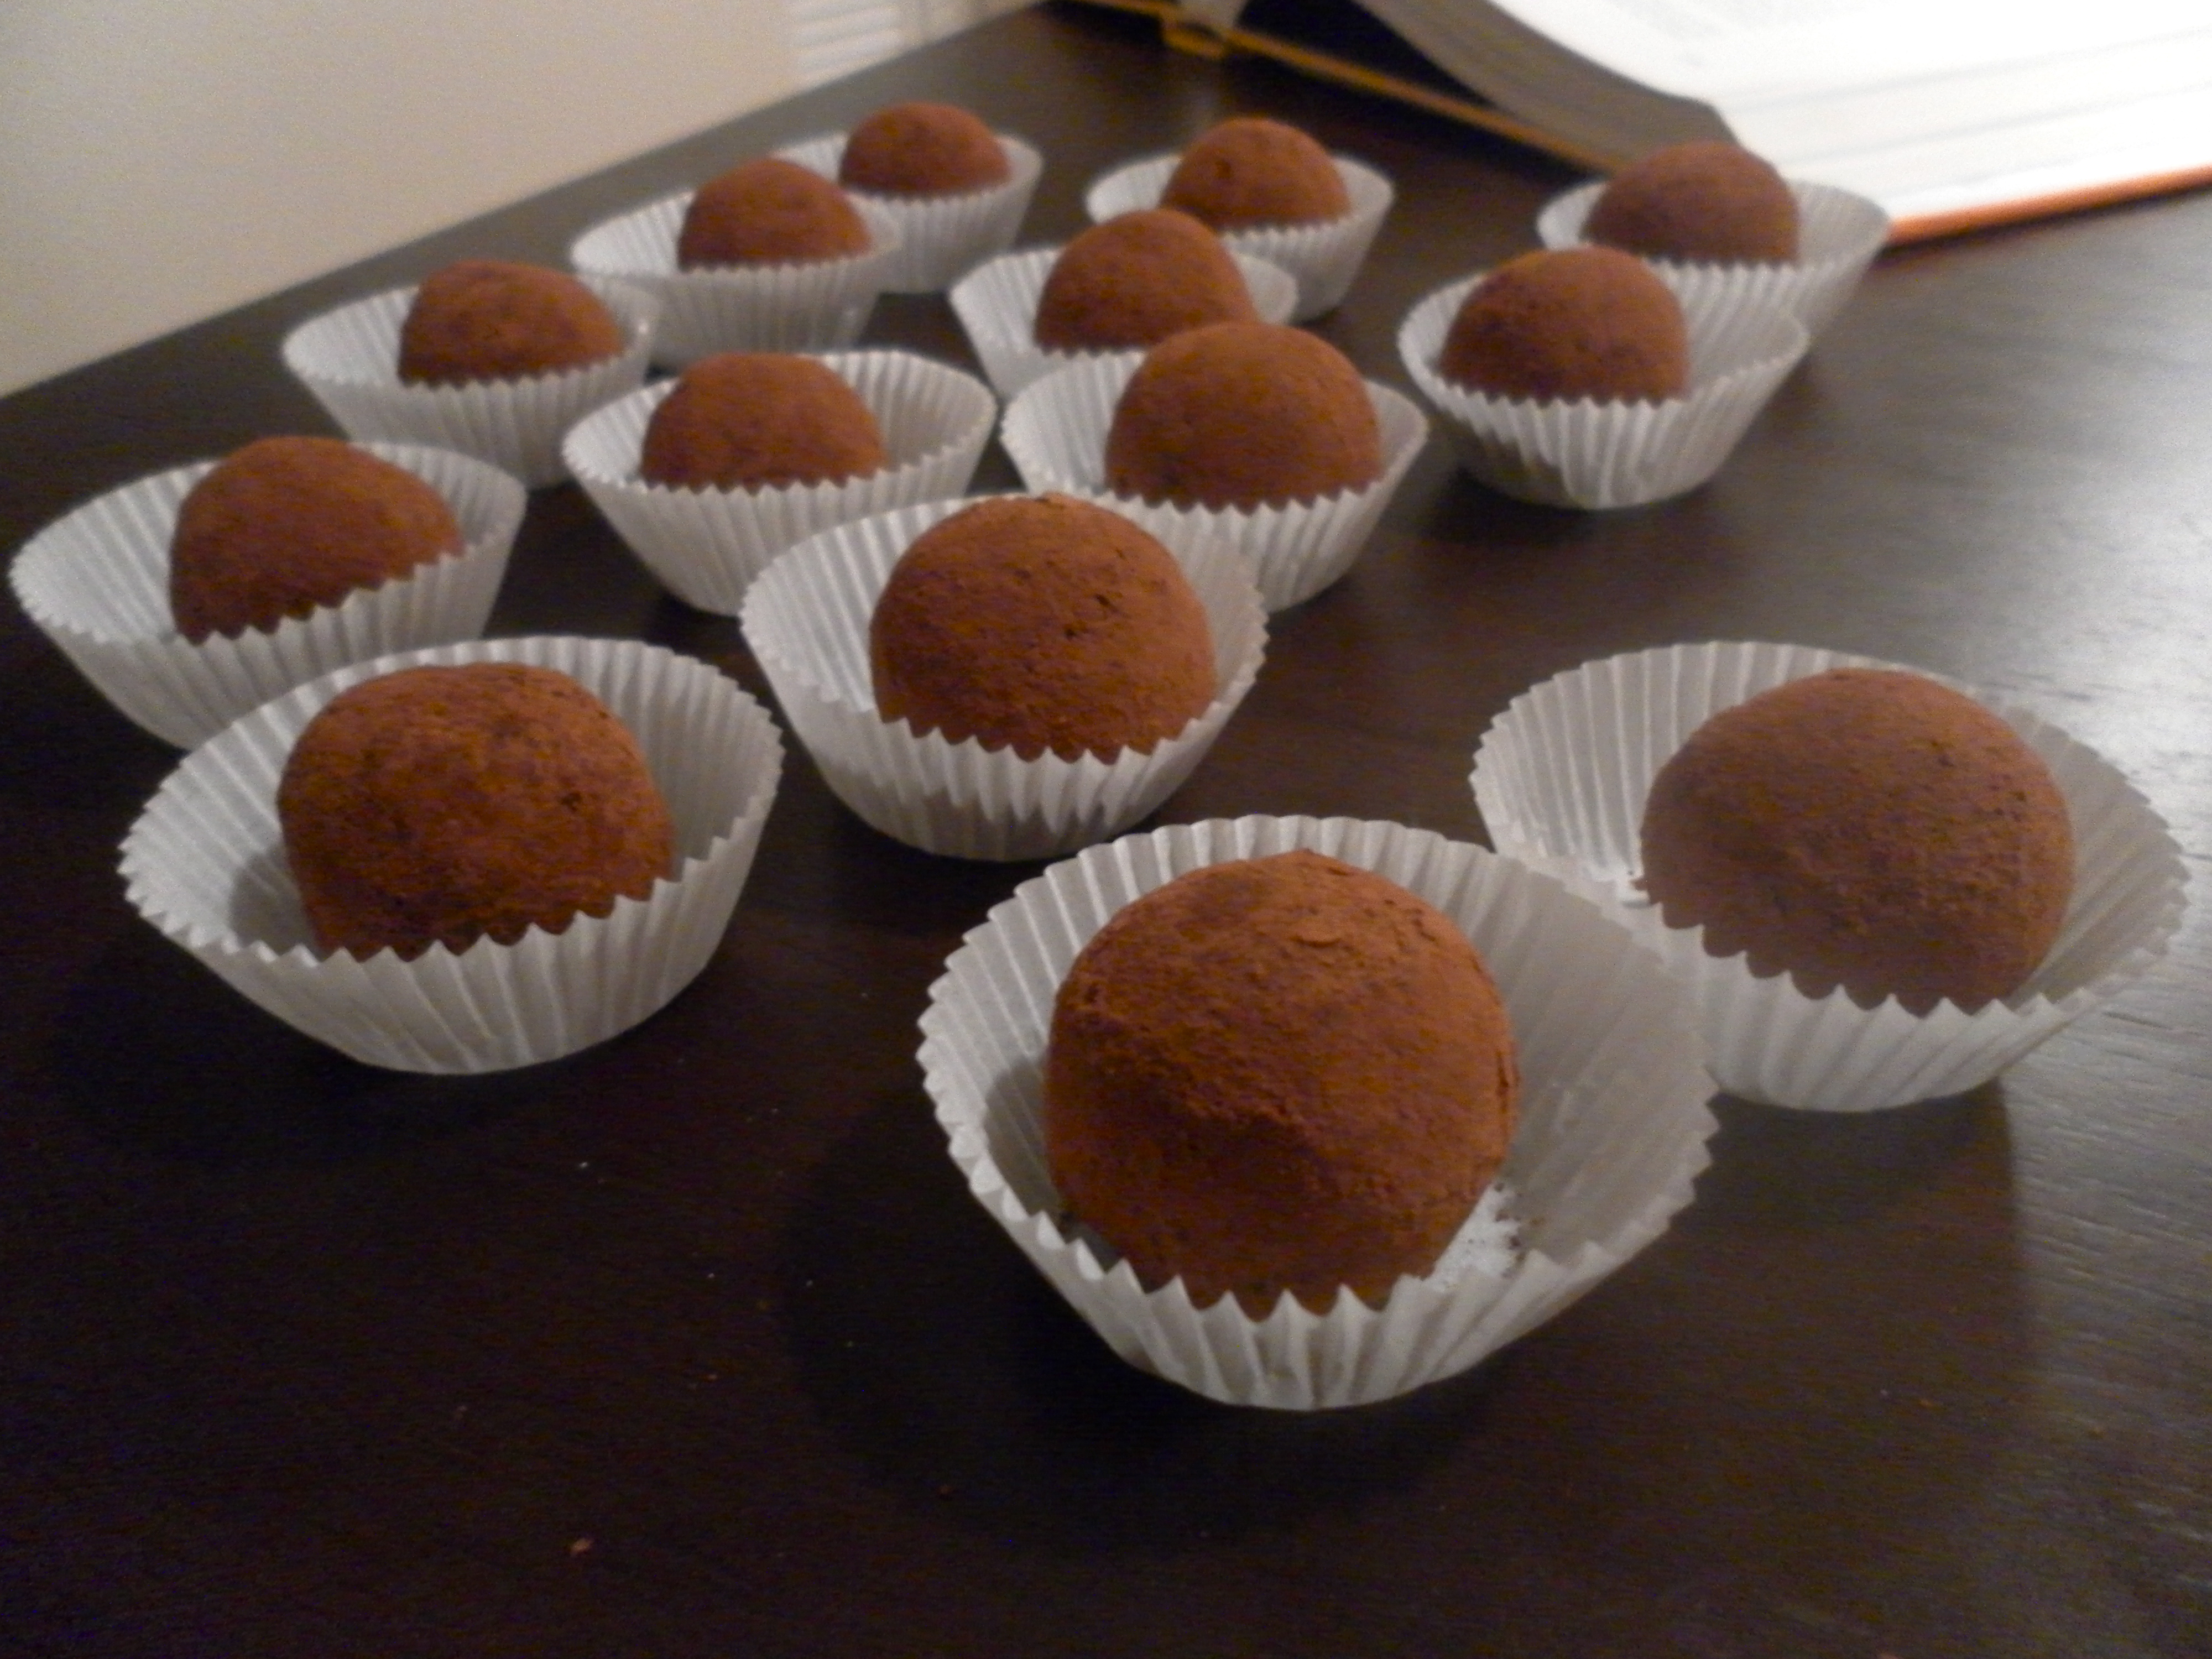
My latest chocolate-related invention: Masala Chai Chocolate Truffles!
How did I come up with this curious combination of chocolate and masala chai (Indian-style black tea)? I was planning my birthday party earlier this month, and I was trying to think of snacks and desserts that I could serve at the party. I wanted to be able to do most of the work in advance, preparing at least some of the foods days in advance, but I also didn’t want to compromise on their taste. Truffles, are of course a great choice given these criteria. So I decided to make some of my usual favourites: Cointreau truffles, mint butter-cream truffles and almond butter-cream truffles. But, I also wanted to be a bit adventurous and try something new and quirky. I’d made myself a cup of tea, and was sipping it, while I thought about what new flavours I could throw together, when the obvious occurred to me: tea-truffles. And then I thought, “Why not masala chai truffles, just to spice things up?”. They turned out surprisingly well, and were quite a hit.
If you’d like to give them a go, here’s how.
Equipment you will need:
A cutting board and knife OR a food processor
2 medium-sized bowls
2 plates
Parchment sheet, baking sheet or foil
Little paper cups to put the truffles in.
Ingredients:
8 Oz (approx 225 g) good dark chocolate (at least 70-80 % cocoa solids)
1/2 cup cream (whipping cream in Canada or heavy cream or double cream elsewhere)
2 pinches of salt
1 tea bag masala chai (available in most grocery stores)
A few tablespoons of cocoa powder
Method:
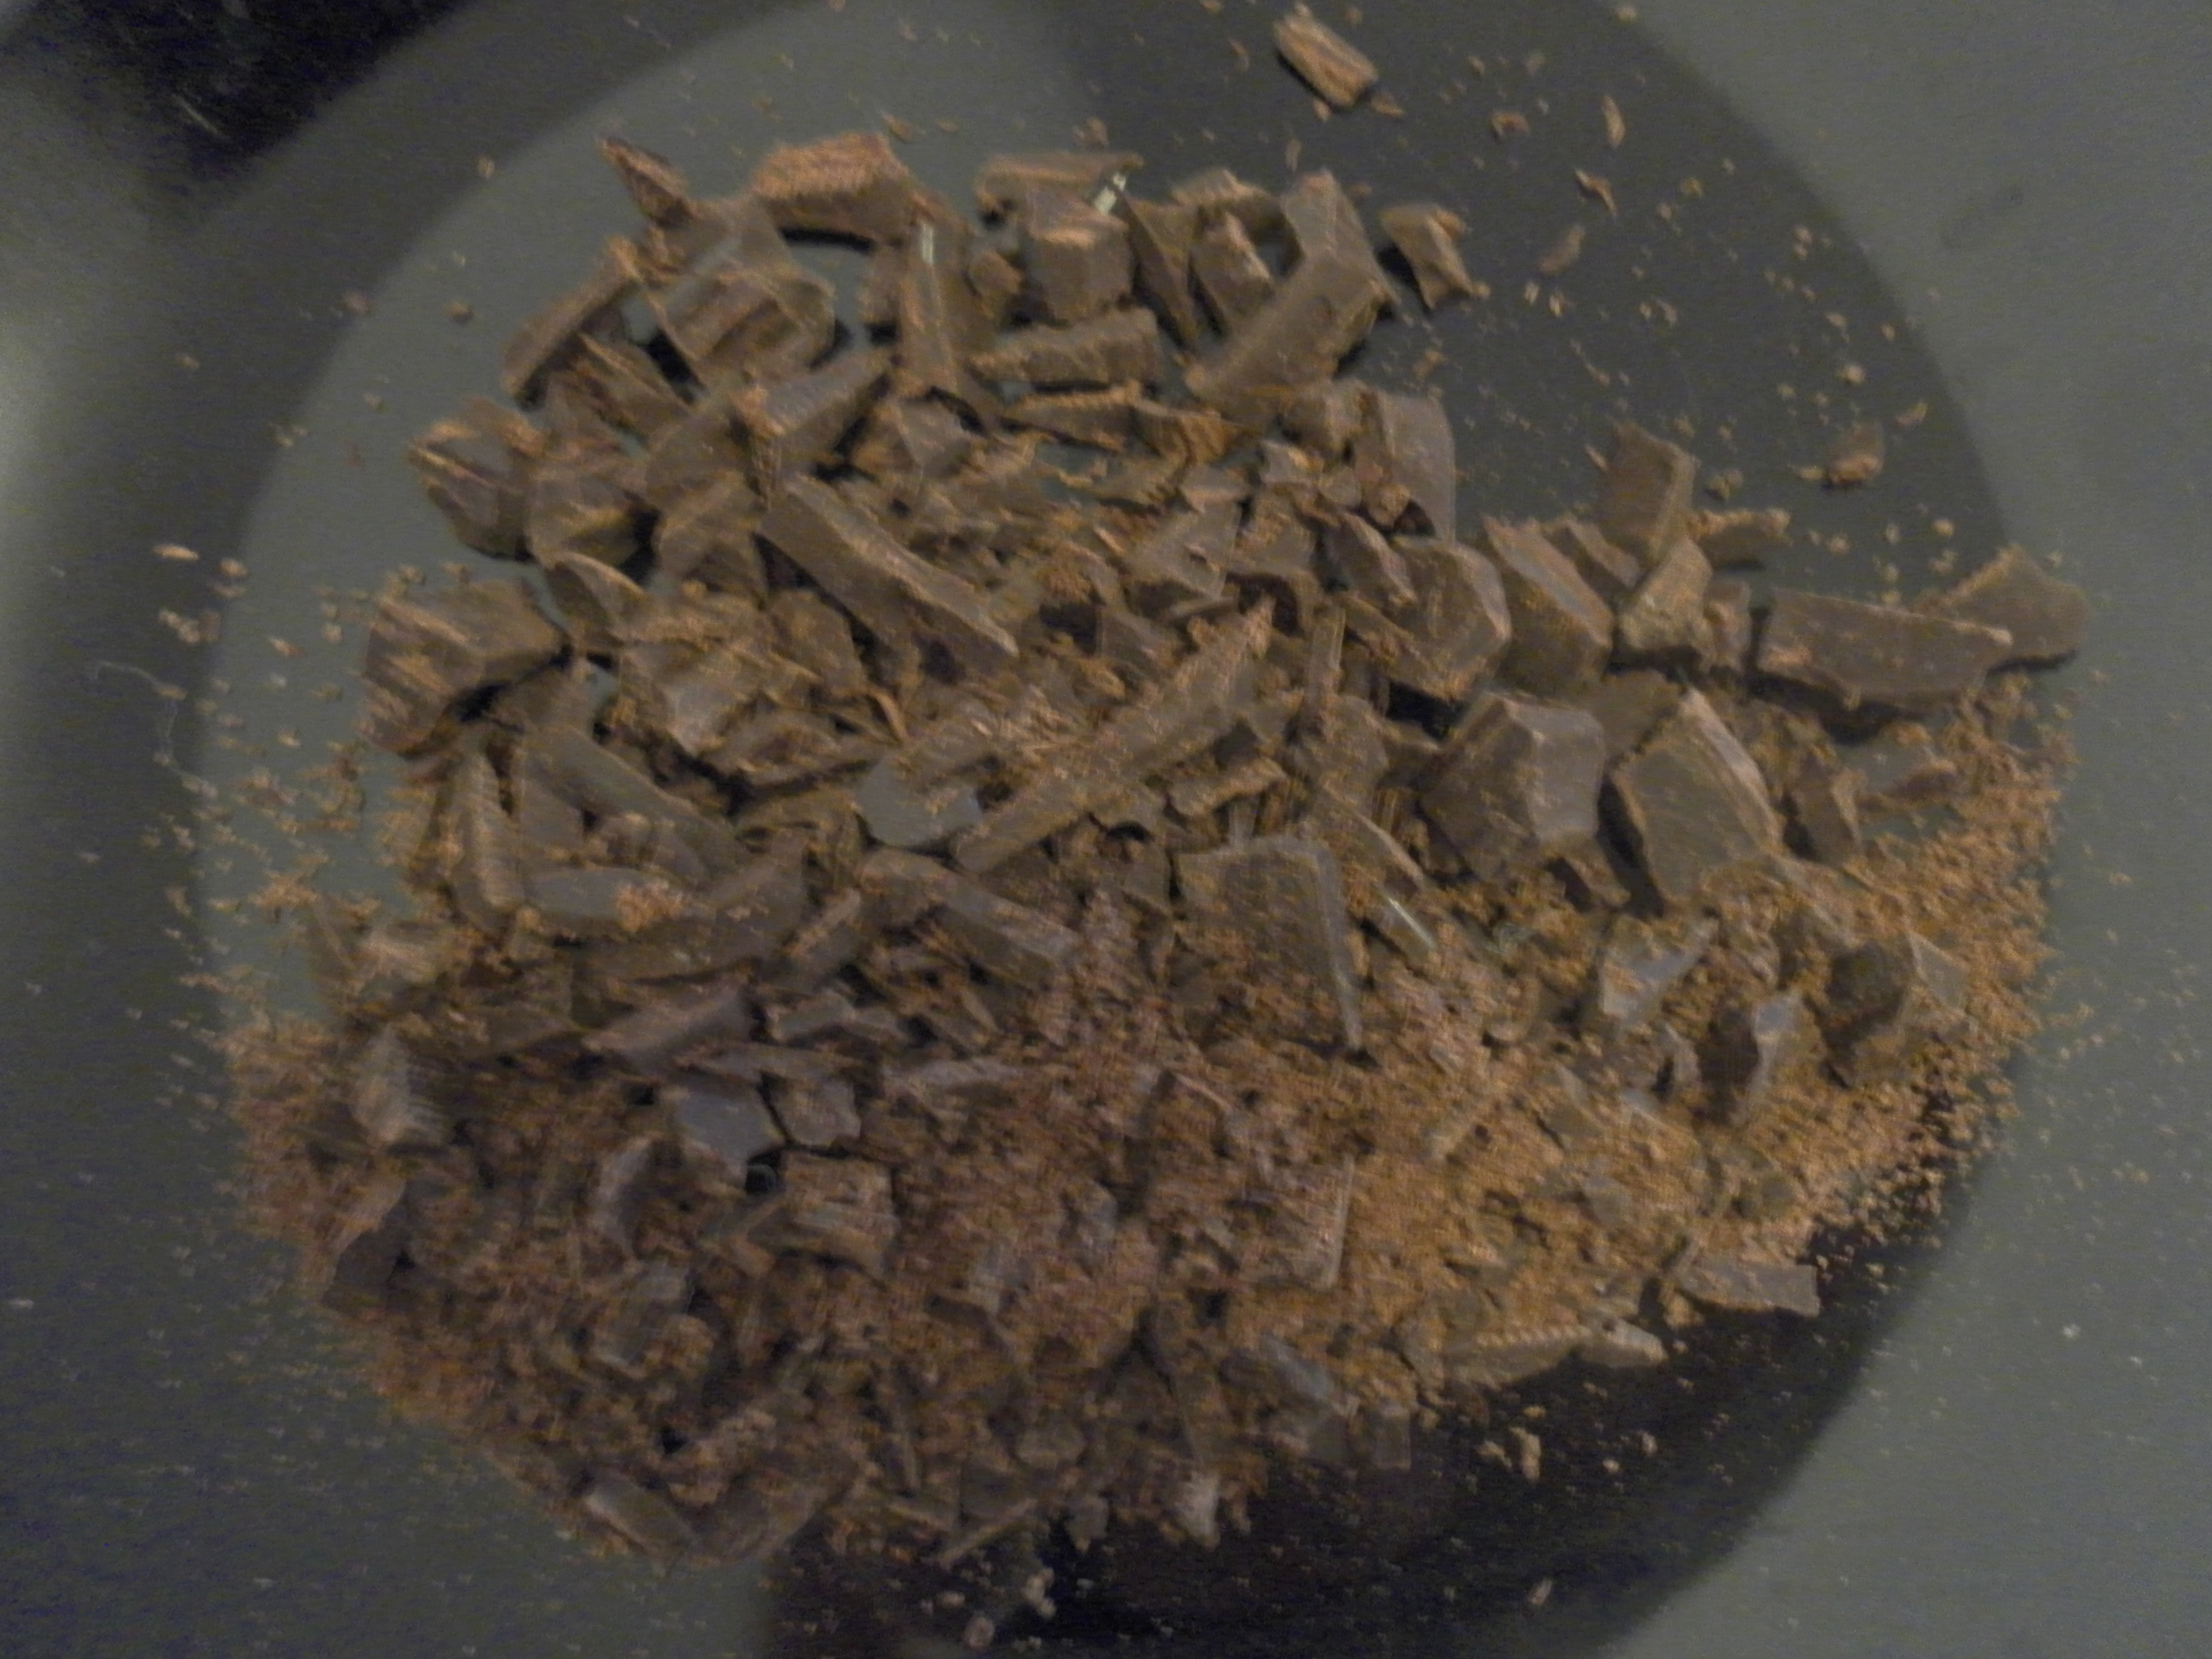
Chop up the chocolate on a cutting board into fine pieces with a large knife. This is the tiresome part of the recipe. I have a food processor, so I just break the chocolate up into individual squares and then throw it into the processor. The reason you want the chocolate broken up into fine bits is because you want it all to melt evenly when you pour in the hot cream. Throw the chocolate bits into a bowl.
Next, get the half cup of cream to a gentle simmer and immediately turn off the heat. Add the tea bag to the cream, and let it steep for about 5 minutes.
Heat the cream again to a gentle simmer, and pour the hot cream through a strainer lined with a cheese cloth (as shown below), into the bowl with the chocolate.
Using a ladle, make sure all the chocolate is covered by the cream. Let it sit for 2-3 minutes. Then add the salt, and delicately mix everything with a whisk.
It’s important not to be rough because then you will get air bubbles into the chocolate. That wouldn’t be good as you want the chocolate to taste smooth and rich.
Once you have a smooth mixture (this is called chocolate ganache), place the bowl in the fridge for about half an hour, until it firms up. The length of time you will need to leave it in the fridge will depend on the temperature inside your fridge, so keep checking on it. You want the ganache to be just firmed up, but not hard.
In the meantime, take out the plates and place a sheet of parchment or foil on each of them. Once the chocolate mixture is ready, take it out of the fridge and spoon out the chocolate in small portions on the parchment or foil (use an ice cream scoop if you have one). The portions should be approximately the size you want the truffles to be.
Now, roll each scoop/portion of chocolate about in your hand until it is more or less spherical, then place it back on the parchment. I would recommend washing your hands periodically, while you do this, as you will get chocolate all over them, and it will be more difficult to shape the truffles if you’ve got melted chocolate on your hands. Also, the washing will help to cool your hands. The truth is, I have to wash my hands periodically anyway because I can’t resist licking some of the chocolate off every once in a while 😉
Once you’ve shaped all the truffles, take another bowl and put about 2 tbsp of cocoa powder in it. Take each truffle in your hand, roll it about for a second or two in your hands, just enough to warm the surface and then roll the truffle in the cocoa powder, until it is covered. Finally, place it in a paper cup. Repeat until all the truffles are done.
I’ve heard it being said that this process can be messy and/or arduous; I didn’t think it was either; I did however end up smelling like chocolate all day 🙂
You can put the truffles in the fridge for two to three weeks, but take them out a few hours before you serve them, so that they’re at room temperature. They also make for a great present, just put them in a nice box and voilà! you have a handmade, personalized present!
Sometime ago, I wrote about how relatively easy it is to make refried beans. Now that I’ve figured out a recipe for beans that works for me (and by that I mean that it is a wholly vegetarian recipe and it’s super-spicy) I’ve been making refried beans a lot lately. My favourite ways to eat beans include: beans on top of rice, beans inside burritos and quesadillas, and even just beans on more beans with lots of cheese on top 🙂 And then of course, there is the refried bean pizza 🙂
My latest bean-related experiment involves mixing two iconic foods from Mexican and French cuisine respectively: refried beans and crepes. Here’s how it turned out:
If you want to try it out, here’s what you will need:
For the Filling:
One serving of re-fried beans, go here for my recipe.
Freshly grated aged cheddar, to taste
Chunks of mozzarella, to taste
1 tsp cayenne pepper
1 tsp freshly ground cumin seeds
For the crepes:
1 cup all-purpose flour (leveled)
1/4 teaspoon coarse salt
1 1/2 cups whole milk
4 large eggs
3 tablespoons unsalted butter, melted
Method:
I started by making the crepes. I just threw all the ingredients for the crepes (in no particular order) into a food processor (you call also use a blender/mixie) and whizzed them all together until I got a smooth mixture. The batter will be pretty thin, quite unlike pancake batter.
Now for making the crepes. I heated a skillet, melted a little butter on it and poured a ladle of batter on it. Then, I swirled the batter about to make a thin layer completely covering the entire skillet. I cooked the underside of the crêpe for about 3 minutes. Using a rubber spatula I loosened the edges of the crepes and then flipped the crêpe over and cooked the other side for about 2 minutes. Then I placed the crêpe on a plate, covered it with plastic wrap and repeated the crepe-making process until I’d used up all the batter. (You can also store the batter in the fridge for a day or two if you prefer.)
Now I was ready to stuff the crepes with their filling! (You can stuff and bake a couple at first and store the rest of the crepes in the fridge. Since they’re all wrapped up in plastic, they will stay fresh.)
But first, I had to pre-heat the oven, which I did to 350 F. While the oven heats up, start filling the crepes with refried beans and cheese and lining them up on a baking tray. To keep the crêpe nicely wrapped and beans snug inside, I used a toothpick.
Once the oven is warmed up, place the crepes in the oven and bake for 10 minutes or so. Monitor them and reduce the temperature, or take them out sooner if they look like they are browning too much. You just want them to be a nice golden colour with the edges starting to crisp up.
Once they are ready, take them out of the oven, sprinkle with cumin and cayenne pepper and enjoy!
If you don’t want to spend the time decorating the crêpe with cayenne pepper and cumin polka-dots like I did, you can just lightly dust the crêpe with the spices:
They made for a perfect snack while working on my dissertation.
Sometime ago, I wrote about how relatively easy it is to make refried beans. Now that I’ve figured out a recipe for beans that works for me (and by that I mean that it is a wholly vegetarian recipe and it’s super-spicy) I’ve been making refried beans a lot lately. My favourite ways to eat beans include: beans on top of rice, beans inside burritos and quesadillas, and even just beans on more beans with lots of cheese on top 🙂 But now, my new favourite way to eat beans is on a pizza!
One evening, a few months ago, I had this brain wave: mixing Mexican spicy deliciousness with the most delectable and beautiful carb-related food invention in the world, namely, thin-crust pizza. I’ve been eating way too much pizza ever since.
If you want to try it out, here’s what you will need:
1. Pizza dough
2. One serving of re-fried beans, go here for my recipe.
3. One onion, sliced
4. Freshly grated aged cheddar, to taste
5. Chunks of mozzarella, to taste
6. 1-2 tbsp cayenne pepper
7. 1 tsp freshly ground cumin seeds
8. 1 red or yellow bell pepper, chopped coarsely or cut into slivers
9. 1 jalapeño, sliced horizontally
You can make your own dough, and if you have the time, I would recommend doing this. I didn’t make my own this time though. You see, I was really excited about the idea of this fusion pizza, trying to work out the various toppings I’d put on it, and I didn’t want to wait any longer than I had to. So I ran out and got some fresh dough from the deli-section of the supermarket.
I left the dough out on the counter to let it warm to room-temperature and buttered and floured a pizza pan (you should use a pizza stone if you have one). About 30 minutes later, I set the oven temperature to 360 fahrenheit, sprinkled a spoonful of flour on the counter and began working with the dough. After kneading it a bit on the counter I made the dough into a ball, flattened it gently, and kept pulling it apart, all the time moving it around and flipping it over so that it wouldn’t stick to the counter. When I’d pulled it and stretched it into something resembling a circle, I placed the dough on the pan and then slowly and patiently spread it out to the sides of the pan:
Because I wanted a thin crust pizza I made sure to spread the dough as thin as possible. However, I like a slightly thicker crust along the edges, so I made the outer edges thicker.
Next, I sprinkled some sliced onions on this and popped it into the oven for about 12 minutes, until it looked liked this:
That is, it was slightly cooked and the base had risen a bit. You can see little bubbles; I am given to understand that this is a good sign for a pizza base 🙂
Finally, I spread the refried beans on the base with a knife and topped this off with the rest of the sliced onions, bell pepper slivers or pieces, jalapeño slices, and cheddar and mozzarella cheeses.
It’s also fun to play around and make a multi-topping pizza. I did a pizza tonno combined with the refried bean pizza the very next day:
I popped the pizza back into the oven once I was done with the toppings, and let it bake for another 10 minutes, until the cheese had melted and the onions had crisped a bit.
You’re wondering why a (large) third of the pizza is missing aren’t you? It’s because I had to eat some of the pizza as soon as it came out of the oven, while it was still hot! The side-effects of my greed were: burnt fingertips and a picture of an incomplete pizza.
I would advise you to give the pizza a few minutes to cool; it’ll also be easier to cut and serve when it’s isn’t sizzling and just out of the oven.
Don’t wait too long though, it’s best eaten hot. Cut yourself a slice or two, sprinkle some cayenne pepper and cumin powder on top and you’re ready to eat!
I love the spicy, cheesy, softness of the pizza centre melting and folding away, leading up to a freshly baked, thicker, crisp edge..mmmm.
My very first post on this blog was about a Nutella cake. While baking that cake, I used a recipe from Nigella Lawson’s book, ‘How to Be a Domestic Goddess’, as a guide. I really liked that cake, as is evident from my post about it, but there was one thing about it that bothered me. I didn’t like the fact that the cake called for Nutella, which is after all a processed food from the supermarket. I’d rather make a cake from scratch, or as close to from scratch as is possible for someone who lives in a little apartment in a big city. That way, I have a little more control over what goes into it. Last week, I tried making a more ‘wholesome’ and ‘homemade’ option as it were, based off a recipe from ‘Baking Illustrated’.
How did it turn out you ask? Well see for yourself:
Truly, I liked the taste of this cake even better than my earlier attempt; the big bonus of this new recipe is that the cake turns out even more hazelnutty, which is GOOD, because hazelnuts are heavenly 🙂
If you want to make this cake too, here’s what you will need:
Equipment:
A 23 cm or 9 inch spring-form pan, two large bowls, two smaller bowls, a hand-held or stand-alone mixer or a whisk, a food-processor or mortar and pestle, and a tea towel.
Ingredients:
For the Cake:
6 free range eggs (I insist on free-range after seeing some horrific videos of how chicks and hens are treated in “egg factories”.
A pinch of salt
1 stick of unsalted butter
200 g hazelnuts
1 cup granulated sugar
2 tablespoons all-purpose flour
175 g dark chocolate (at least 70% cocoa solids)
For the Icing:
150 ml heavy cream or whipping cream
150 g good quality dark chocolate (at least 70% cocoa solids), chopped
2-3 Tablespoons fo Frangelico
A pinch of Salt
2 handfuls of hazelnuts
A half cup or so of dark chocolate flakes (you can make these by using a paring knife or a vegetable peeler on some dark chocolate).
Preparing the Ingredients:
To begin with, I made sure to lay all the ingredients out on my dining table. When you’re baking, unless the recipe otherwise specifies, it is best to use all ingredients at room temperature. Next, I turned on the oven and preheated it to 350 degrees Fahrenheit.
Preparing the hazelnuts: I toasted the nuts (both those you need for the cake and those you need for decorating the top of the cake) in the oven at 350 Fahrenheit for about 10 minutes, tossing them once or twice in-between. Once they were lightly browned and I could smell the delicious hazelnutty aroma, I took them out of the oven and let them cool for a bit. Then, I placed them in a tea-towel and rubbed the nuts against each other until their skins peeled off.
Next, I put 200 g of the toasted and skinned nuts in a food processor, along with 2 tablespoons of flour and 1/4 cup of sugar and processed them till fine (you could also use a coffee grinder or mortar and pestle).
Preparing the chocolate: I melted the chocolate in a microwave, taking care to use a low heat setting, so as not to burn the chocolate.
Preparing the eggs: I separated the egg yolks from the whites, placing 5 egg whites in a large bowl and 6 egg yolks in a smaller bowl. (You can throw away the extra egg white or use it in a face or hair mask.)
Some people think separating the egg white and yolk and beating them separately is a waste of time, but it isn’t if your recipe does not call for baking powder/soda. This is because all the air in your cake will have to come from the egg whites, since there is no chemical raising agent added to the cake.
I was now ready to begin! What follows are step-by-step instructions to re-create the rich nutty cake I made today! Enjoy!
Method:
1. Place the butter in a large bowl and beat until fluffy. Next, add the remaining three-quarters of sugar, one-quarter at a time, until creamy and almost white. Now add the egg yolks two tablespoons at a time, beating well throughout. Next, add the melted chocolate (which would have cooled a bit by now) and beat the mixture until the chocolate is blended in. Then, gently stir in the hazelnut meal that you have already prepared in the food processor.
2. Now we beat the egg whites; this is the slightly tricky part of the recipe. Add a pinch of salt to the whites and then beat them until they are ‘stiff but not dry”. What this means is that you want to be able to make the foamy whites rise to a peak with your finger.
Stiff egg-whitesAnother way to test this is to take a clean dry egg and try to float it on top of the egg-white foam. If it sinks you’re not done. If it floats completely you’ve overdone it. If it sinks just a quarter of an inch, well you’re egg-whites are perfect then! Make sure the bowl and the whisk you use are perfectly clean, i.e. they are free from oil and water.
3. Once the egg whites are ready, add a dollop of the egg-white-foam to the mixture from step 1 and mix it in. Next, very gently and with a light hand, fold in the rest of the foam. This is important; don’t be rough at this stage; because we want to preserve the airy-ness and lightness of the foam. Here is a video that shows you how to do it:
4. When you’re done folding the foam in, pour the batter in a greased and floured 9 inch or 23 cm springform pan.
5. Slide the pan into the oven and set the timer for 50 minutes. I would go and check on the cake toward the tail-end of this period, say around 45 minutes in. The cake is done when you can insert a tooth-pick gently into the cake, about halfway between the centre and the edge of the cake, and it comes out clean when you pull it out.
6. When it’s done, take the cake out and cool it on a cooling rack. Once it has cooled remove the sides of the pan.
(At this stage of the process, I already noticed one thing that was better about this cake when compared to my earlier Gianduja cake. The surface of this cake was smoother; there were no cracks on this cake at all. Also, it was more evenly baked. (The small nick visible in the picture was made by me with a knife, it wasn’t a crack on the surface.)
7. Now the cake is ready and it’s time to make the icing! Heat 150 ml of cream and 150 g of chopped chocolate in a saucepan over low heat. Once it’s melted, add a pinch of salt and the Frangelico. Mix and let the ganache sit on the counter and cool for a bit. In the meantime, take the 2 handfuls of hazelnuts you toasted earlier, and crush them in a mortar or pestle or processor. I like to crush them into small chunks, you can choose to crush them more finely, or coarsely, whatever works for you.
8. Once cooled a bit, pour the ganache over the cake and spread it evenly over it, using an icing spatula or a large, broad knife.
I couldn’t glaze the cake until the day after I baked it because I had errands to run. Mysteriously, more than a quarter of the cake just disappeared overnight, so I ended up glazing the left-over part of the cake 😛Next, garnish the cake with crushed hazelnuts and dark chocolate flakes and serve with a shot of Frangelico 🙂
This rich hazelnut cake tastes best when served with FrangelicoAlso, a little tip, if you’re going to store the cake for a while, make sure to heat it up quickly in the microwave when you take it out of the fridge. Just heat for 20-30 seconds on a low setting; both the cake and the icing taste waaay nicer that way.
Mmm this cake was utterly delicious, it’s totally worth the effort of baking it, I promise!
Yesterday, the weather was lovely. Although the sky was cloudy and the sun managed to peek out only once or twice, the air was warm and breezy. In the evening, after a grueling Pilates class, I went out for a little stroll in the neighborhood. As I was walking past a green-grocers, it occurred to me that I ought to be healthy and buy some fruit. “I could make myself a healthy fruit shake”, I thought to myself. Going to yoga or Pilates sometimes does this to me; it inspires me to be uncharacteristically open-minded about eating healthy fruit. (It has yet to have any effect on my general aversion to veggies though; THAT would be a real miracle!)
There were several pretty, colourful and bright fruit in the store, but a little basket of strawberries drew my attention the most, and so I bought it. On the walk home, my mind did what it usually does, it wandered to chocolate. “What about strawberry chocolate truffles?” I thought to myself. “Or wait! What about strawberry cream-cheese centered chocolate truffles” I asked myself. Ooooh that sounded delicious, wonderful, so good in fact, that I set about executing my devious plan right then and there. I rushed over to the yucky supermarket across the street from my apartment and bought some cream-cheese. Three hours later, I ended up with this (I took a bite out of it so I could show you the delicious creamy center:
Dark Chocolate Truffles with Strawberry Cream Cheese CentersAnd here I am chronicling my adventure.
Since my last cream-cheese truffles (brown sugar-coated truffles with orange cream centers) came out so well, I decided to follow a similar process for today’s project. I began with a traditional dark chocolate ganache (made with cream) which I used to make the truffles themselves. Next, I incorporated the cream cheese and strawberry flavours I love so much into the recipe by making cream cheese centers for the truffles. This is the one fairly tricky part of the process. Actually shaping the truffles with the cream cheese centers can be messy and it requires patience. Finally, instead of coating the truffles in brown sugar (as I did with my last batch) I dipped the truffles in dark chocolate. They were pretty good, and if you like strawberries, you will like these EVEN more, so give them a try, why don’t you?
Ingredients for the Truffles:
100 g dark chocolate (since the strawberry cream cheese filling was a little sweet, I used chocolate with 85% cocoa solids)
Chop up the chocolate into small pieces (you could also process it in a food processor) and place it in a bowl. It’s important to chop up the chocolate into little bits so that it melts evenly when you pour the cream over it. It should look like this:
Chopped up chocolate to make a ganacheHeat the cream in a pan until it just begins to bubble and then pour it over the chocolate:
Let the mixture stand for a few minutes. Then very gently mix the chocolate and cream:
Add the vanilla and salt and mix until you have a smooth ganache:
Cover the bowl and let the ganache cool to room temperature, then place it in the fridge.
While the ganache is chilling, let’s make the cream cheese filling. The first step is making some strawberry juice. Wash the strawberries thoroughly and then hull them (for instructions on how to do this, go here). This is what they should look like:
Hulled StrawberriesChop up the hulled strawberries and then process them in a food processor or mixer:
Isn’t this a beautiful rich colour?
Strain this pulp to get strawberry juice. We’ll be using this to flavour the cream cheese.
Set the juice aside. Take another bowl, put the cream cheese in it, and whip it up with a mixer, until it’s smooth.
Softened cream cheeseNow, add two tablespoons of icing sugar and whip it all up.
Taste the mixture. If you think it needs more sugar add some more. When it tastes right, add strawberry juice to taste, one teaspoon at a time. You should add as much juice as you think tastes good, however, remember that the more juice you add the thinner the filling will become, and the thinner the filling, the more difficult it is to work with when shaping the truffles.
I had to add some more sugar at this stage to thicken it. It tasted good even with the sugar, but it was more than I would ordinarily have added. When the filling tastes just right to you, pour the cream cheese filling into an icing/frosting bag or a sandwich bag and put it in the fridge.
Once the ganache has been in the fridge for about an hour, take it out and see if it’s firmed up. It should be firm but not hard. Take a large plate and cover it with foil or butter paper. Portion out the ganache on the foil or butter paper, with each portion measuring about a tablespoon full.
Place the plate in the fridge. In about an hour, take it out along with the cream cheese filling. Now you’re ready to begin shaping the truffles.
Pick up a scoop of ganache and shape it into a ball. Flatten it on your hand like a mini-tortilla or chapathi. Next, squeeze a bit of cream cheese filling out of the frosting bag (if you were using a sandwich bag cut off one of the bottom tips of the bag) on the center of the ‘chocolate chapathi’:
Fold the chocolate over the cream cheese filling and roll the whole thing carefully into a ball. I don’t have a photograph of this because by this time my hands were covered in chocolate. Repeat this until all the ganache has been used up.
Almost Ready-Truffles!For the final step, carefully melt 50g dark chocolate (using either a double boiler or a microwave on a very low heat setting). Let the chocolate cool a bit (we don’t want to wait for it to harden, but we don’t want it to be too warm either).
Once the chocolate has cooled somewhat, take a truffle and dip it into the chocolate. Roll it about in the chocolate until it’s completely coated and then use a fork to fish it out. Place the truffle back on the foil/butter paper. Repeat this process with all the truffles. Once you’ve dipped all the truffles, take a toothpick and trace a circle around the bottom of each truffle. This is so that we don’t have a lot of excess chocolate stuck awkwardly to the bottom of the truffle once the outside chocolate has hardened. Place the truffles somewhere cool to cool. They should be ready to eat in 20-30 minutes. Serve in little paper cups. Enjoy!
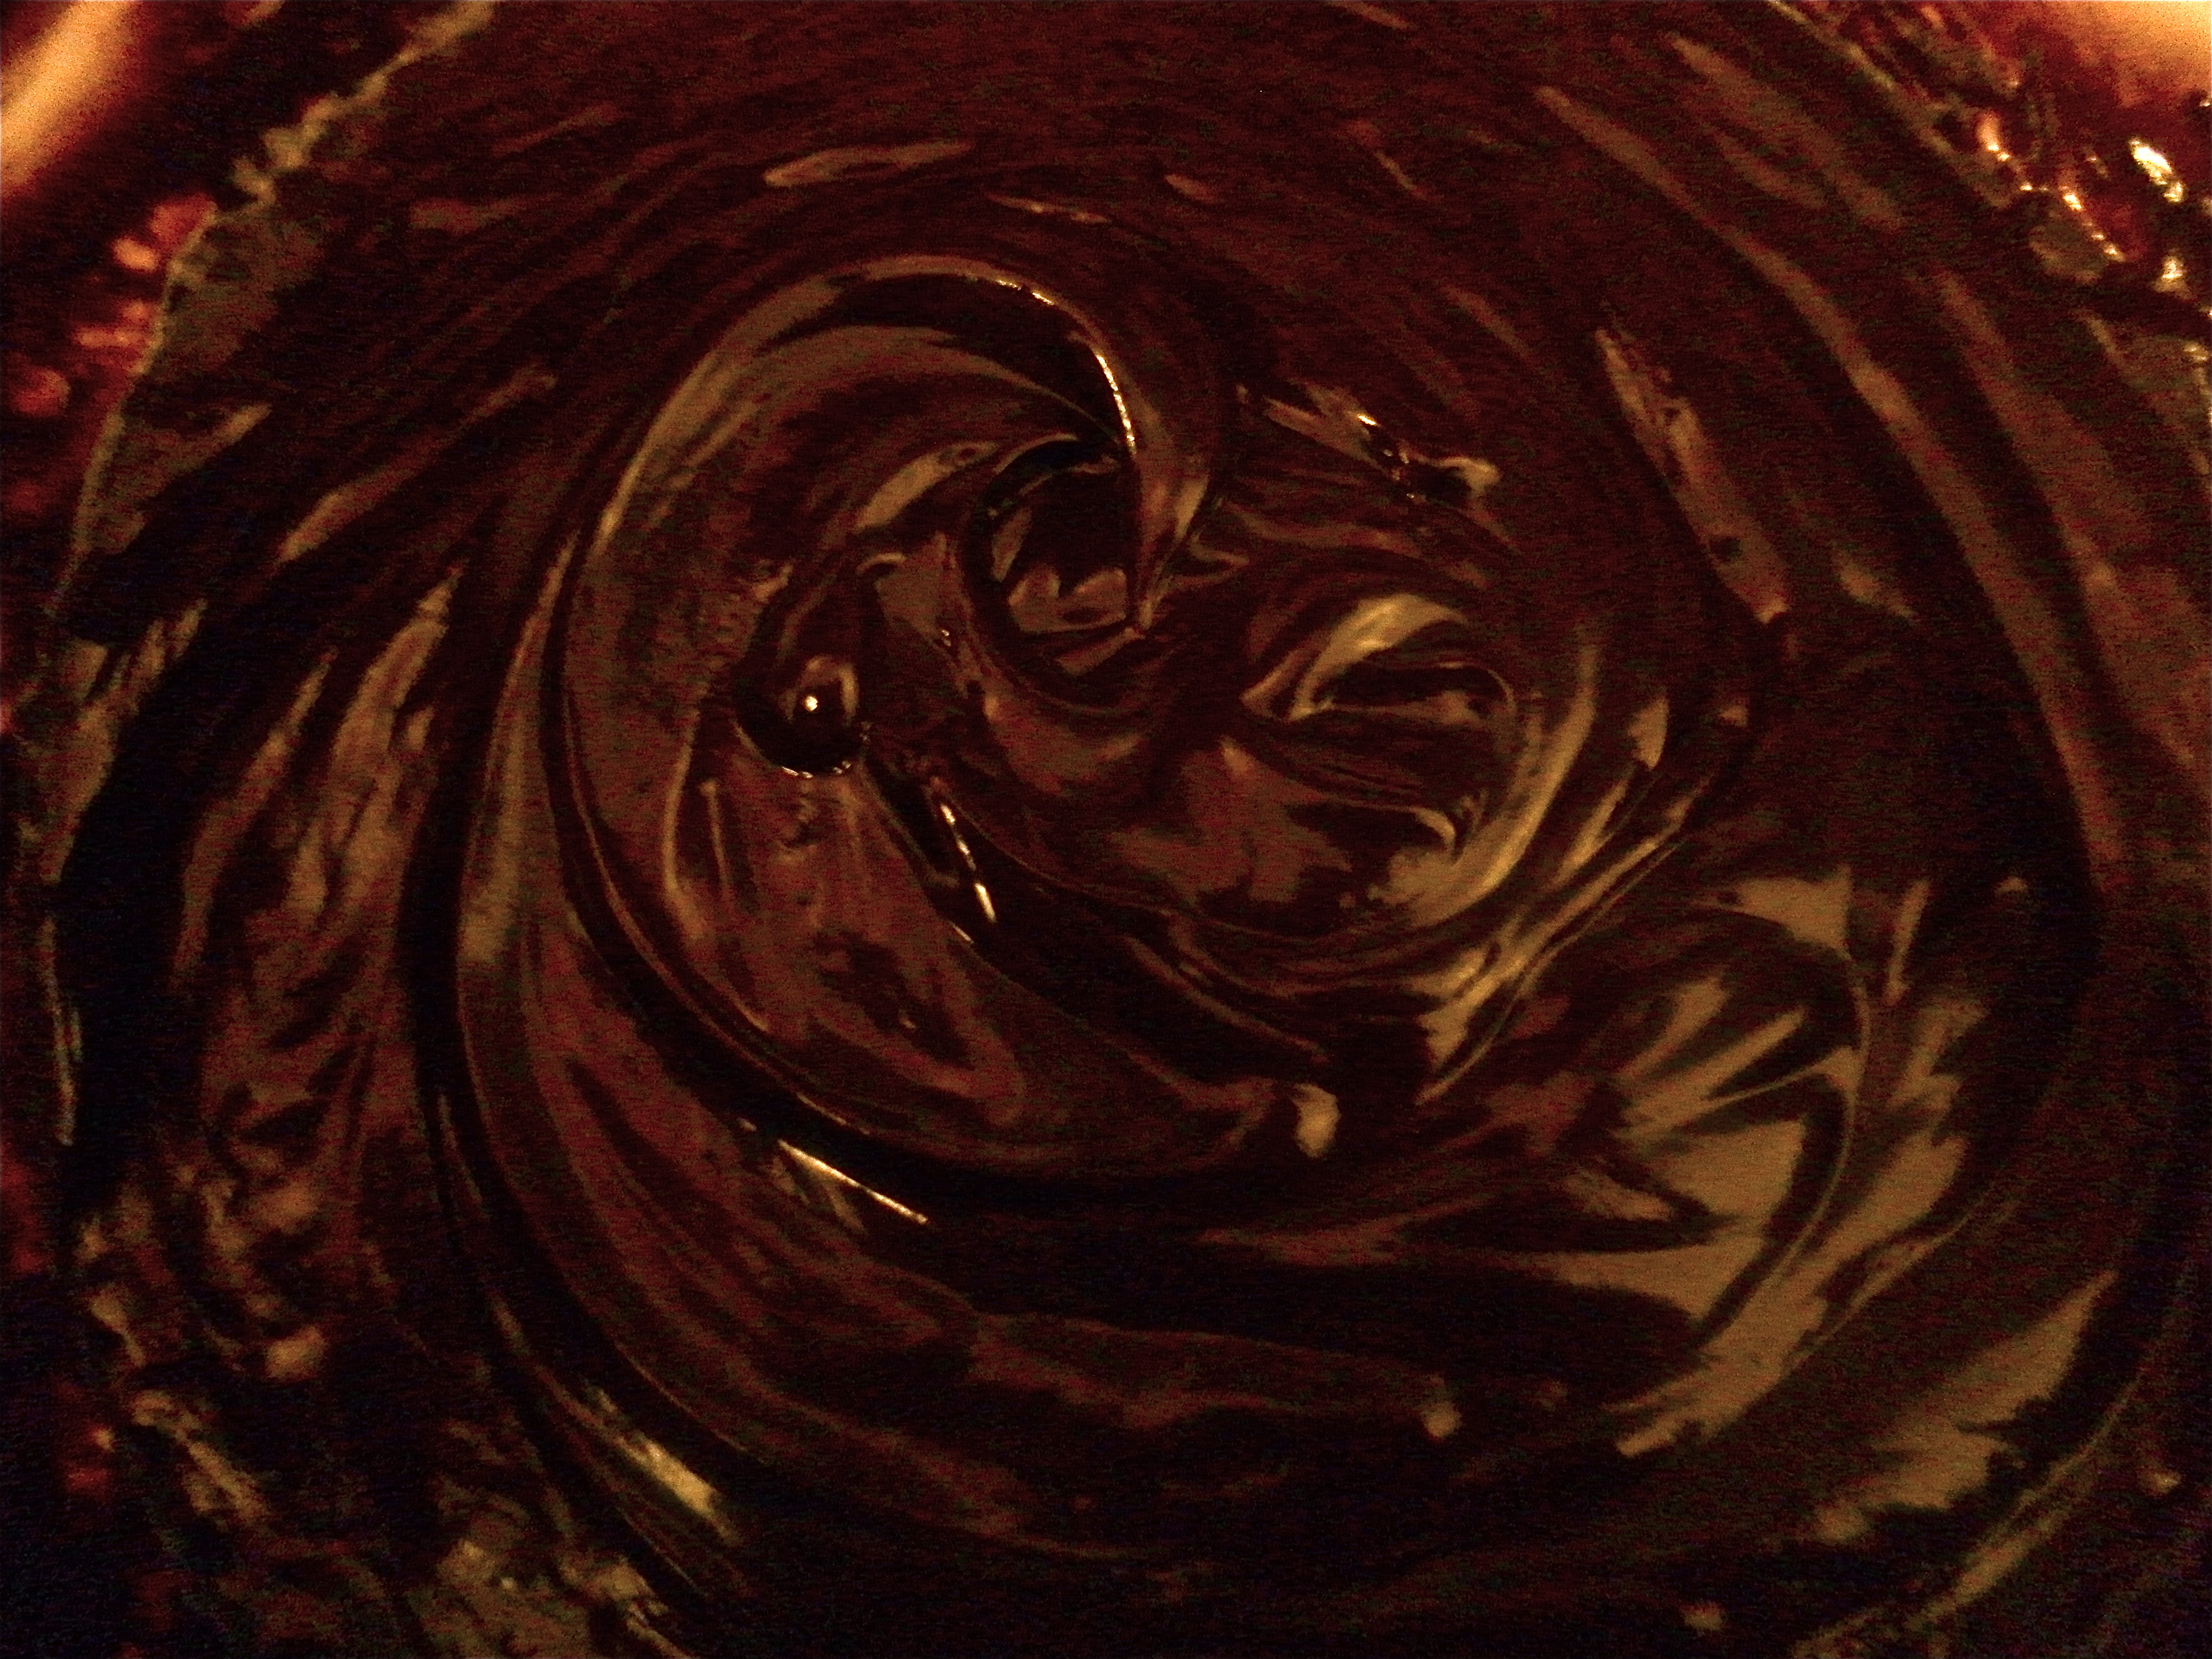
I am taking chocolate fudge cupcakes to a friend’s birthday party tonight! I baked them late last night and took a break from work this afternoon to frost them. I decided to fill them with dark chocolate ganache and top them off with either Gianduja chocolate frosting or Peanut butter-cream frosting. I will write about how the cakes turned out soon enough, this post however is all about the ganache. More specifically, it is about how to break a chocolate ganache and then, fix it. Why, you ask, would you want to know how to break a ganache? Well, because then you’ll know what not to do when YOU make your next ganache, of course. And if you manage to break your ganache in a unique and entirely different manner than the one chronicled below, why then read on, and you will find how to fix it!
A dark chocolate ganache should taste smooth and rich. This is how it should look:
This is how a chocolate ganache ought to look; a broken ganache will look oily and goopy not smooth and even like this.Unfortunately for me, things went horribly wrong. I ended up with an awful, goopy, oily mess. I didn’t take a picture of it, but here is a link to someone else’s photograph of a ruined ganache that looks very much like mine did.
I think this might be because I added cold vanilla extract from the fridge, when in fact, I should have ensured that it was at room temperature.
I panicked and tried various ways of fixing it. First, I heated it on low in the microwave. When that didn’t work, I tried heating it in a double boiler. Finally, I tried to fix it by adding a few tablespoons of warm milk one at a time. After each table-spoon, I gently stirred the mixture with a whisk. And Voila! It worked! Here is what I ended up with:
Fixed, but slightly thin, ganacheIt is smooth and even, the way it out to be. However, the mixture is a bit thinner than my previous ganaches have been. It’ll firm up in a bit I am sure, and since I am using it as a filling for cupcakes this might even be a happy accident, as it might be nice to have a softer filling inside the cakes. On the other hand, if I was going to be making truffles with this ganache, I might have a problem on my hands.
Ps. I washed my hands before I dipped my finger in that ganache!
Today, I am going to be writing about food without writing about food. “How”, you ask, “is this possible?” Read on my aspiring domestic goddesses and gods and you will see!
In a previous post (a recipe for chocolate brazil-nut butter), I raved about The Body Shop’s brazil-nut body butter. While this is my favourite flavour, a close second, is their cocoa butter body butter. Despite how much I love this product though, the truth is that I’ve always wanted a body-butter that was even more, well cocoa-ey. (By now, if you’ve been reading one or two of my blog-posts, you know that I am definitely not a “less is more” type of person; more is definitely better in my book!) In the past, I’ve made my own body and face oils, having been inspired and coached by an old friend of mine, Ralph, who now practices naturopathy and Ayurveda in South Germany. So the concept of making my own skin-products isn’t entirely new to me; I’ve just never gotten around to it.
Then, in December last year, before I pushed off to India for the holidays, I had friends over for dinner, and one of them mentioned making her own lip balm. This got me thinking, and I resolved to make my own body butter someday. And then, I promptly tucked away said resolve somewhere in the back of my mind and forgot all about it. What with packing, flying to India and having wildly inappropriate dance parties with my insane family (and by this I mean my parents, Aunts, and Uncles happily prancing about to bollywood dance music with us young’un’s), I just didn’t have the chance to give it a go.
And then today, I woke up with a rather inexplicable craving for homemade body butter. It may have something to do with an email I got yesterday from The Body Shop asking me to “Indulge in Chocomania: it’s Sinfully Good and Totally Guilt Free”. Guilt free? Really? Not when I am spending what is literally my entire week’s entertainment budget on lotions and potions that smell like the food I would be buying if I had any money left!
So I went out exploring in my neighborhood and bought some pure shea butter and cocoa butter. And then, I made my own, deliciously decadent body butter and I am not exaggerating in the least when I say that the smell, texture, and look of it had me giggling, smiling and babbling excitedly.
The first whiff of it was absolute, pure delight. Try it and you’ll see what I mean!
Equipment:
A double boiler or a microwave
Hand-held mixer or whisk
One medium bowl and one large, deep bowl
Jars to put the body butter in
Ingredients:
(All the ingredients I used were organic)
100 ml pure Cocoa butter
50 ml pure Shea butter
2 tbsp Vitamin E oil (at least 2000o IU)
3 tbsp Sweet Almond Oil
1/4 to 1/2 tsp Vanilla Essence or Vanilla Oil
1 Tbsp Mineral Water
Method:
You can buy cocoa butter in the form of “chips”, or in a jar. If you buy it in a jar, you might have to place the jar in warm water for a bit, just to soften it up a bit, before you take it out. I placed both the shea butter and cocoa butter jars in a bowl of warm water in the sink for about 5 minutes.
Now measure out the cocoa butter and shea butter into the medium bowl and place it in the microwave. I would heat it on a very low setting (time defrost) for about 20 seconds at a time, checking on it periodically. You want the butters all melted and looking like this:
It’s important to do this carefully as you don’t want to overheat the butters. Once the butter-mixture is nice and melted, stir it a bit and place it in the freezer for 5 minutes to cool down. Then, add the sweet almond oil and vitamin e oil, stir and put the mixture back in the freezer for another 5 minutes or so, until the mixture has firmed up. Once firm, take it out, add a tablespoon of water and using the hand held mixer or whisk, beat the mixture.
At this stage in the process, I was taking in the wonderful smell when I realized the only thing that would make this smell better would be vanilla essense. Since I bake a lot, I had some lying about, and so I added 1/4 tsp to the mixture and whipped it up into a wonderful, light, creamy and delicious smelling mixture 🙂 When I smelt it, I felt it needed some more vanilla, so I added another quarter teaspoon. On a side-note, I would have used vanilla oil if I had some around because vanilla extract has alcohol (which dries the skin). However, if you don’t have any lying about, I am sure the essence is fine, since you’re using such a small quantity of it.
When you feel it’s suitably fluffy and you’re happy with the texture, scoop the mixture into clean, dry jars!
And there it is, your very own, delicious body butter that will have you smelling like something you want to eat. I am not sure why I want to smell like something I’d eat, I just do! It makes me wildly happy and if this sounds like the sort of thing that makes YOU cheerful, go ahead and give it a go- it’s easy!
This was my latest chocolate experiment: Cointreau Truffles!
How did I settle on this particular flavour? Well, I bought a whole bottle of Cointreau at the Delhi International Airport last month you see. And today, wanting to make a new type of truffle I looked about my kitchen, and my eyes fell upon the bottle. I was torn between trying out Cointreau truffles and red wine truffles; in the end this seemed like a better bet. It turned out to be a good choice; they were delicious!
Equipment you will need:
A cutting board and knife OR a food processor
2 medium-sized bowls
A grater or citrus peeler or vegetable peeler
2 plates
Parchment sheet or wax paper (at a pinch, you could use aluminium foil)
Little paper cups to put the truffles in, preferably orange paper cups
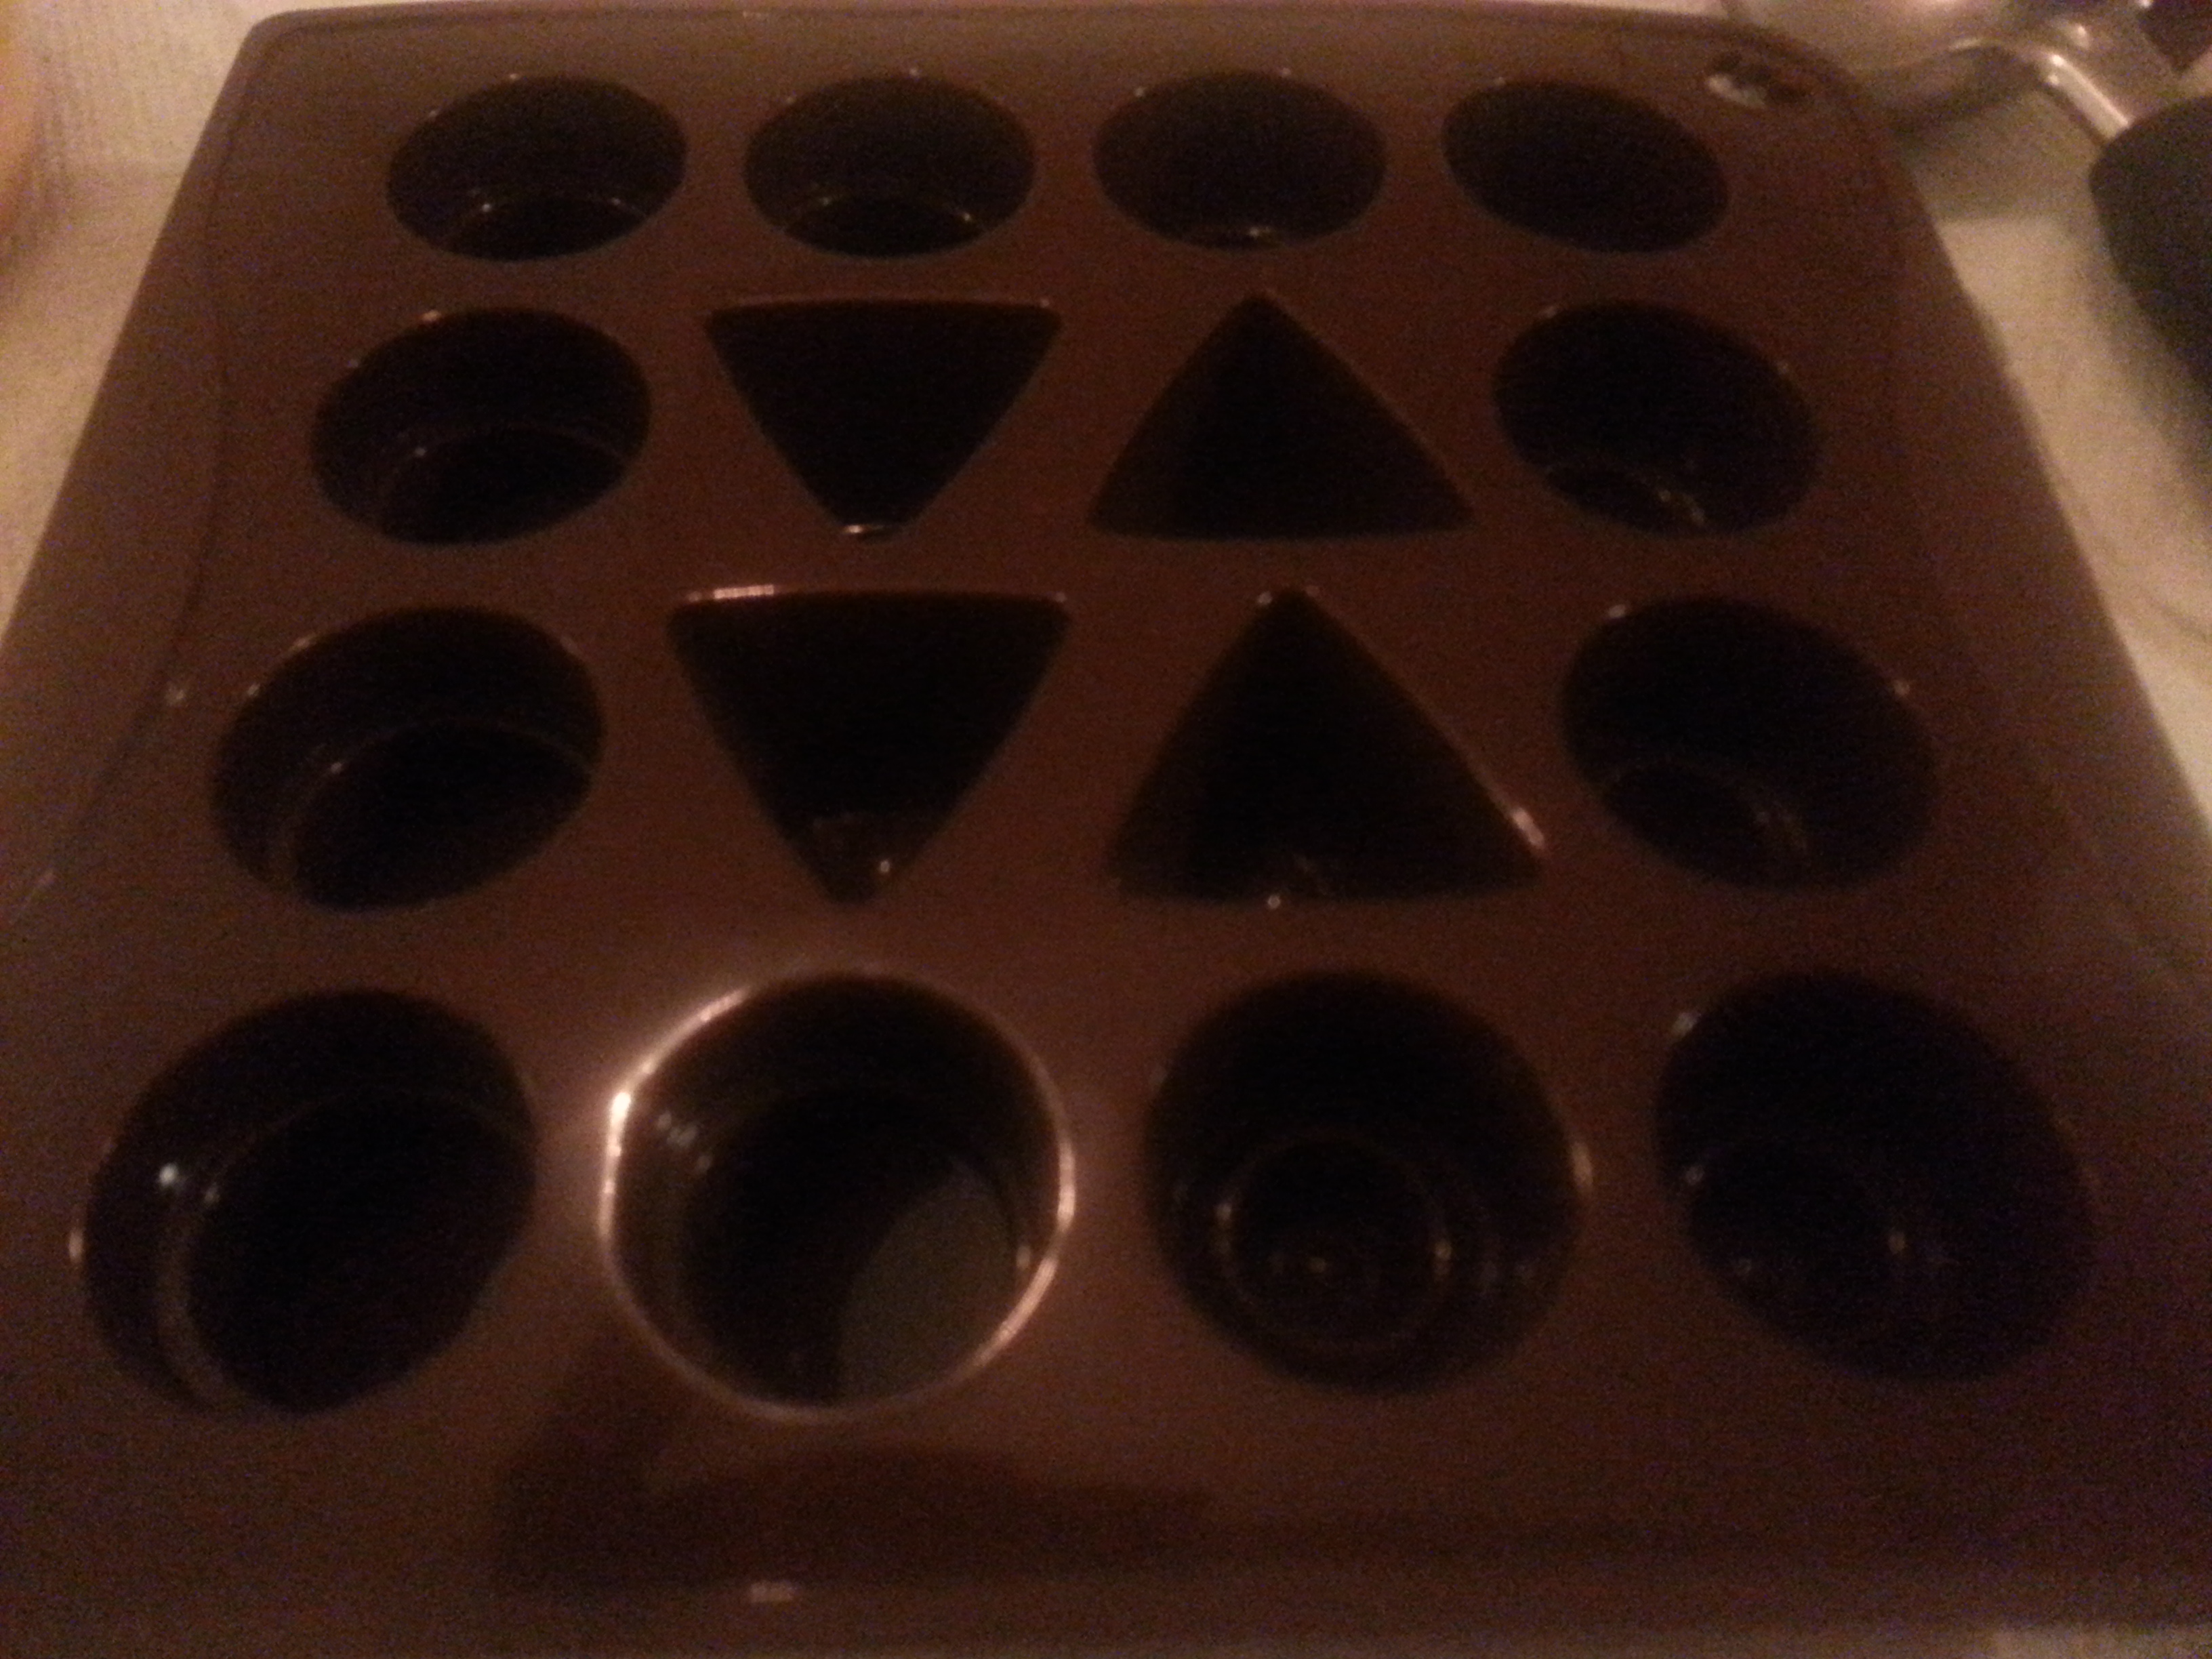
Silicone Chocolate Mold (optional)
Ingredients:
8 Oz (approx 225 g) good dark chocolate (at least 70-80 % cocoa solids)
1/2 cup cream (whipping cream in Canada or heavy cream or double cream elsewhere)
2 pinches of salt
1 tbsp Cointreau (you could probably also use Grand Marnier)
1 orange
A few tbsp of cocoa powder
Method:
1.Peel or grate the rind/peel of the orange. Get the half cup of cream to a gentle simmer and immediately turn off the heat. Add the orange zest to the cream and let it steep for about an hour.
2. In the meantime, chop up the chocolate on a cutting board into fine pieces with a large knife. This is the tiresome part of the recipe. I have a food processor, so I just break the chocolate up into individual squares and then throw it into the processor. The reason you want the chocolate broken up into fine bits is because you want it all to melt evenly when you pour in the hot cream. Throw the chocolate bits into a bowl.
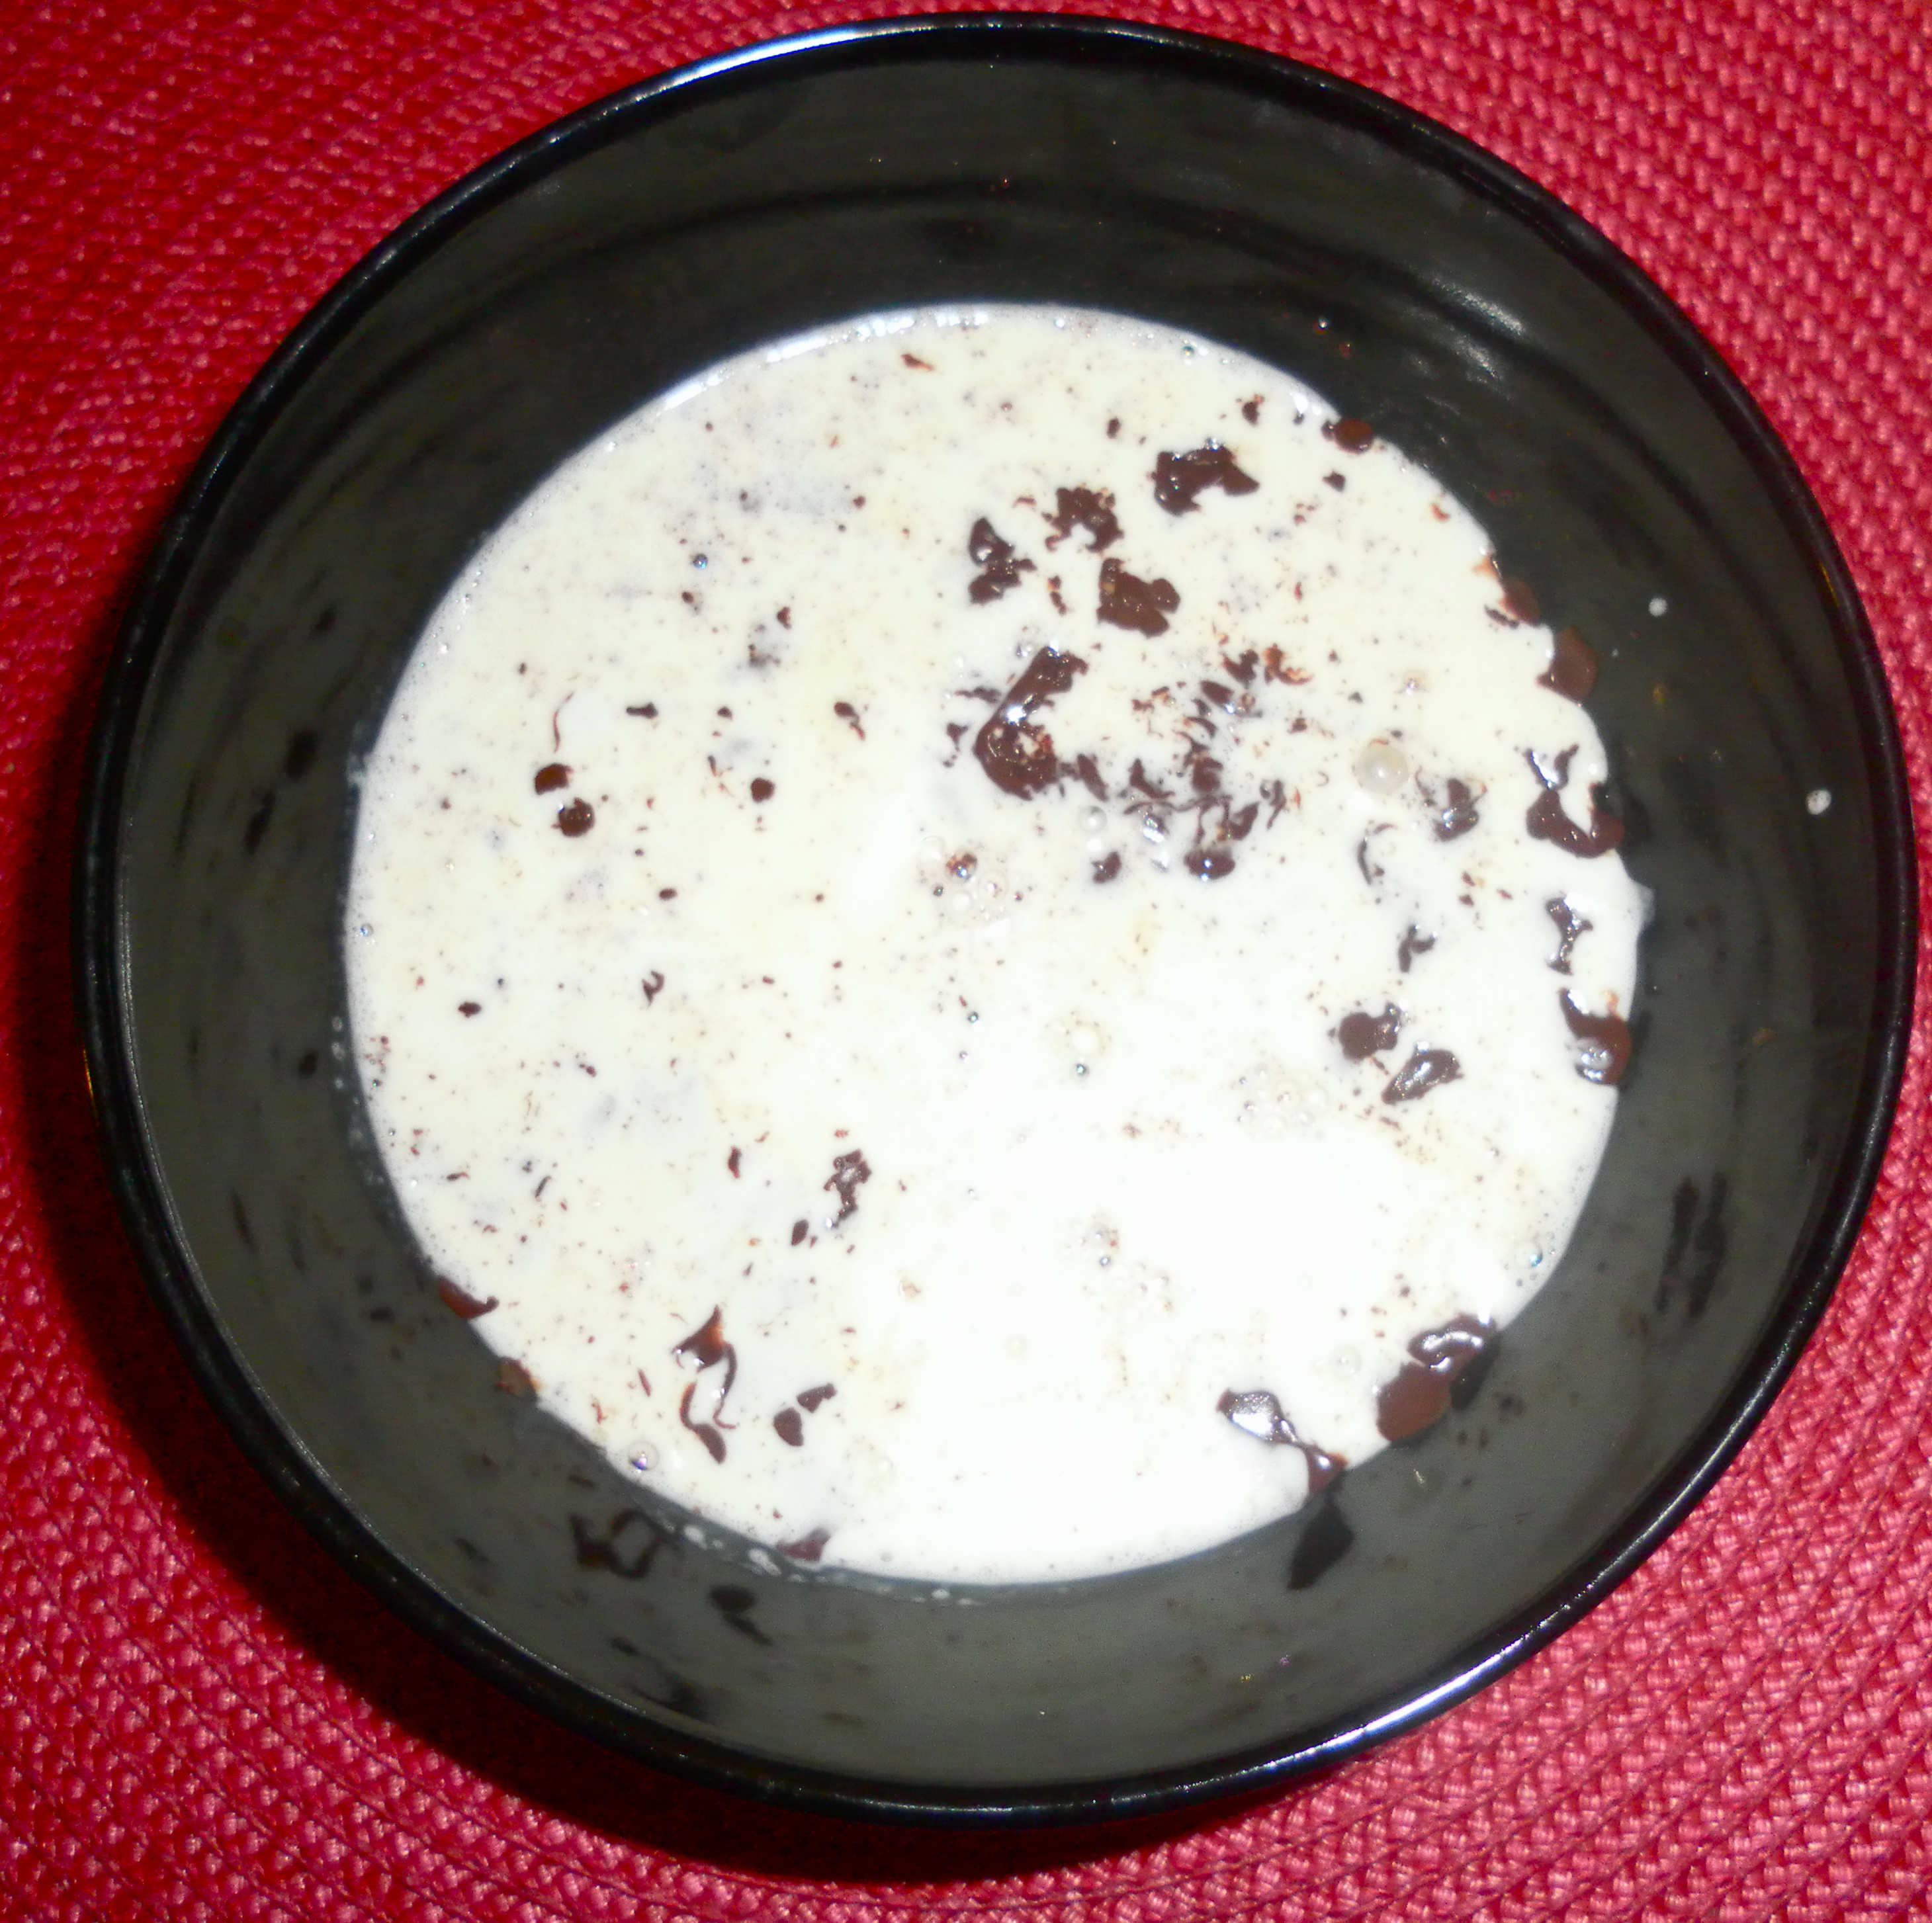
3. Once the orange peel has steeped in the cream for about an hour, re-heat the cream again to a gentle simmer, and pour the hot cream through a strainer into the bowl with the chocolate. Using a ladle, make sure all the chocolate is covered by the cream.
4. Let it sit for 2-3 minutes. Then add the Cointreau and salt, and delicately fold the mixture. It’s important not to be rough because then you will get air bubbles into the chocolate. That wouldn’t be good as you want the chocolate to taste smooth and rich. You might also break the ganache (see this post for more on this).
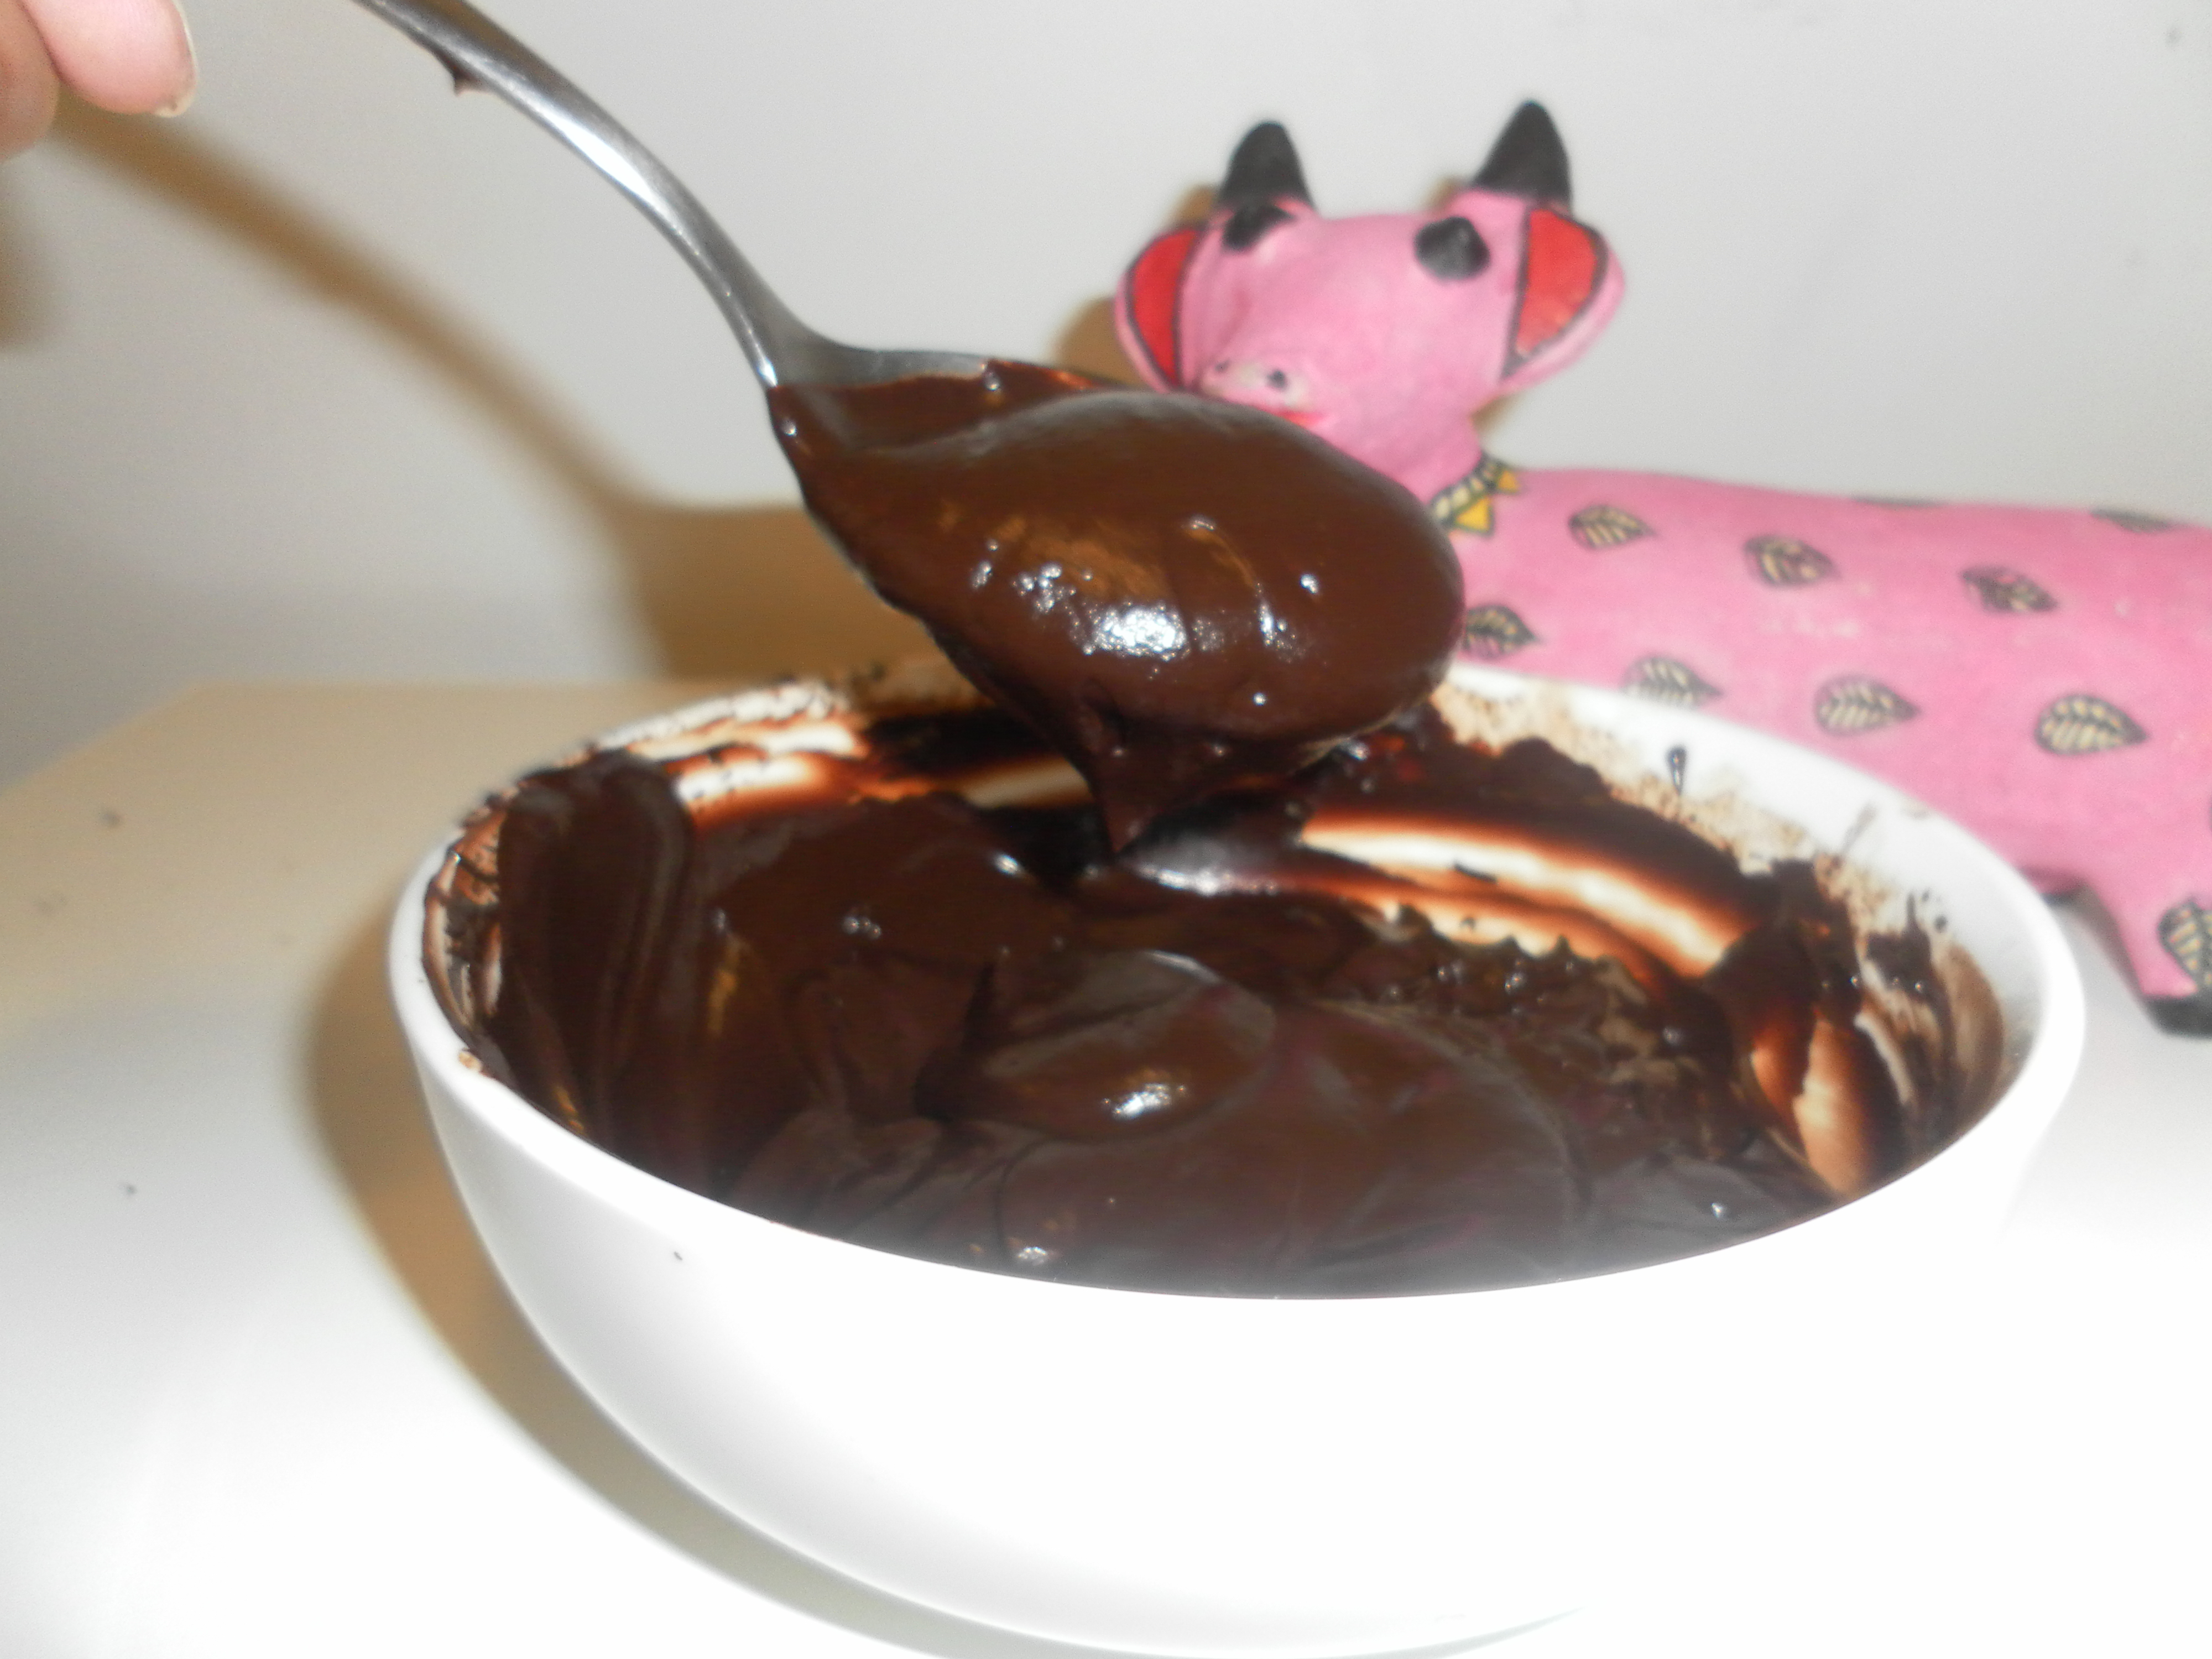
5. Once you have a smooth mixture (this is called chocolate ganache), place the bowl in the fridge for about half an hour, until it firms up. The length of time you will need to leave it in the fridge will depend on the temperature inside your fridge, so keep checking on it. You want the ganache to be just firmed up, but not hard.
(That cow looks like she wants some of that delicious ganache :P)
6. In the meantime, take out the plates and place a sheet of parchment or wax paper on each of them. Once the chocolate mixture is ready, take it out of the fridge and spoon out the chocolate in small portions onto the parcement or wax paper. The portions should be approximately the size you want the truffles to be.
(As you can see, at this stage, things look pretty messy, but that’s ok. You will be able to roll them about in your hands and slowly work them into fairly smooth and nice looking spheres.)
7. Now, roll each scoop/portion of chocolate about in your hand until it is more or less spherical, then place it back on the parchment. I would recommend washing your hands periodically, while you do this, as you will get chocolate all over them, and it will be more difficult to shape the truffles if you’ve got melted chocolate on your hands. Also, the washing will help to cool your hands. The truth is, I have to wash my hands periodically anyway because I can’t resist licking some of the chocolate off every once in a while 😉
8. Once you’ve shaped all the truffles, take another bowl and put about 2 tbsp of cocoa powder in it. Take each truffle in your hand, roll it about for a second or two, just enough to warm the surface and then roll the truffle in the cocoa powder, until it is covered. Finally, place it in a paper cup. Repeat until all the truffles are done. I’ve heard it being said that this process can be messy and/or arduous; I didn’t think it was either. This was the sum-total of the mess I made:
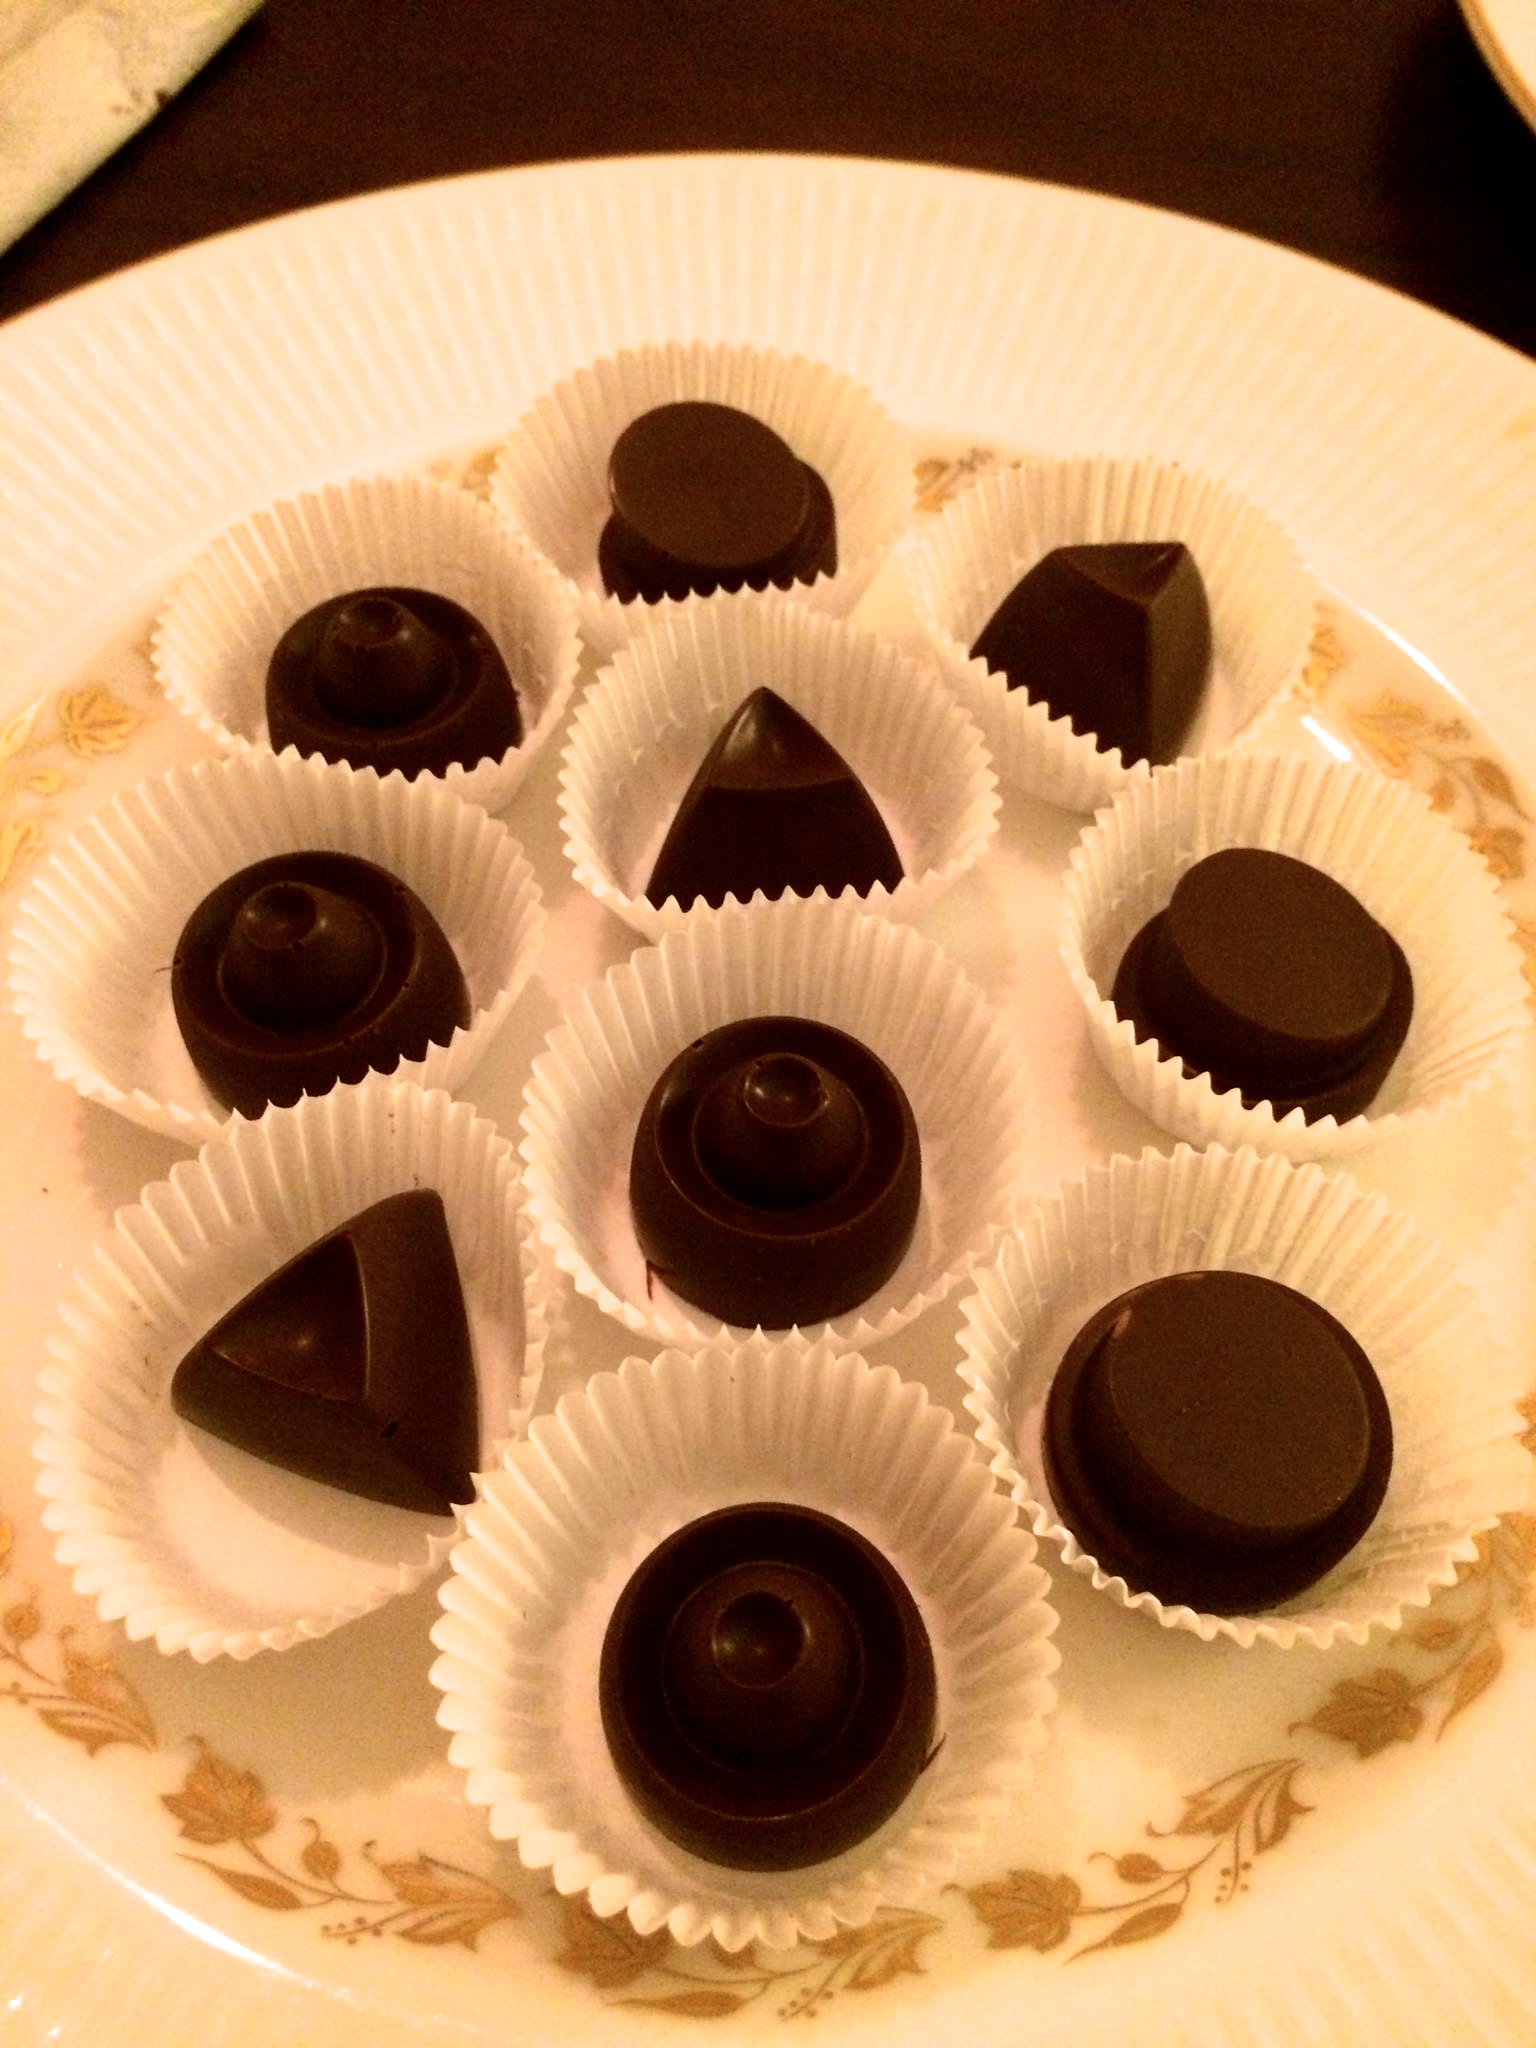
This is how your truffles should look:
9. If you don’t like the slightly rustic look of the cocoa, you can also dip the shaped truffles into melted chocolate. That is, once you’ve shaped the truffles in Step 7, skip Step 8. Instead, place the truffles in the fridge to firm up and, in the meantime, melt some dark chocolate in a double boiler or a fondue pot. Then dip the firmed up truffles in the melted chocolate, and place the truffle on a tray lined with parchment or wax paper. Let the chocolate harden and enjoy!
You could sprinkle some ground almonds on top to compliment the orange-y flavour 🙂
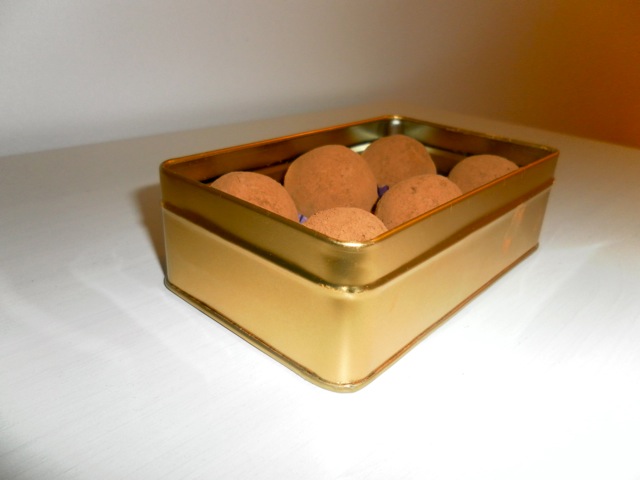
10. You can also make more professional looking truffles if you have a silicone mould, like this one:
All you have to do with a mould like this is pour the ganache directly into it right after Step 4. Then place the mould in the refrigerator or freezer until the chocolate firms up, then pop the chocolates out of the mould.
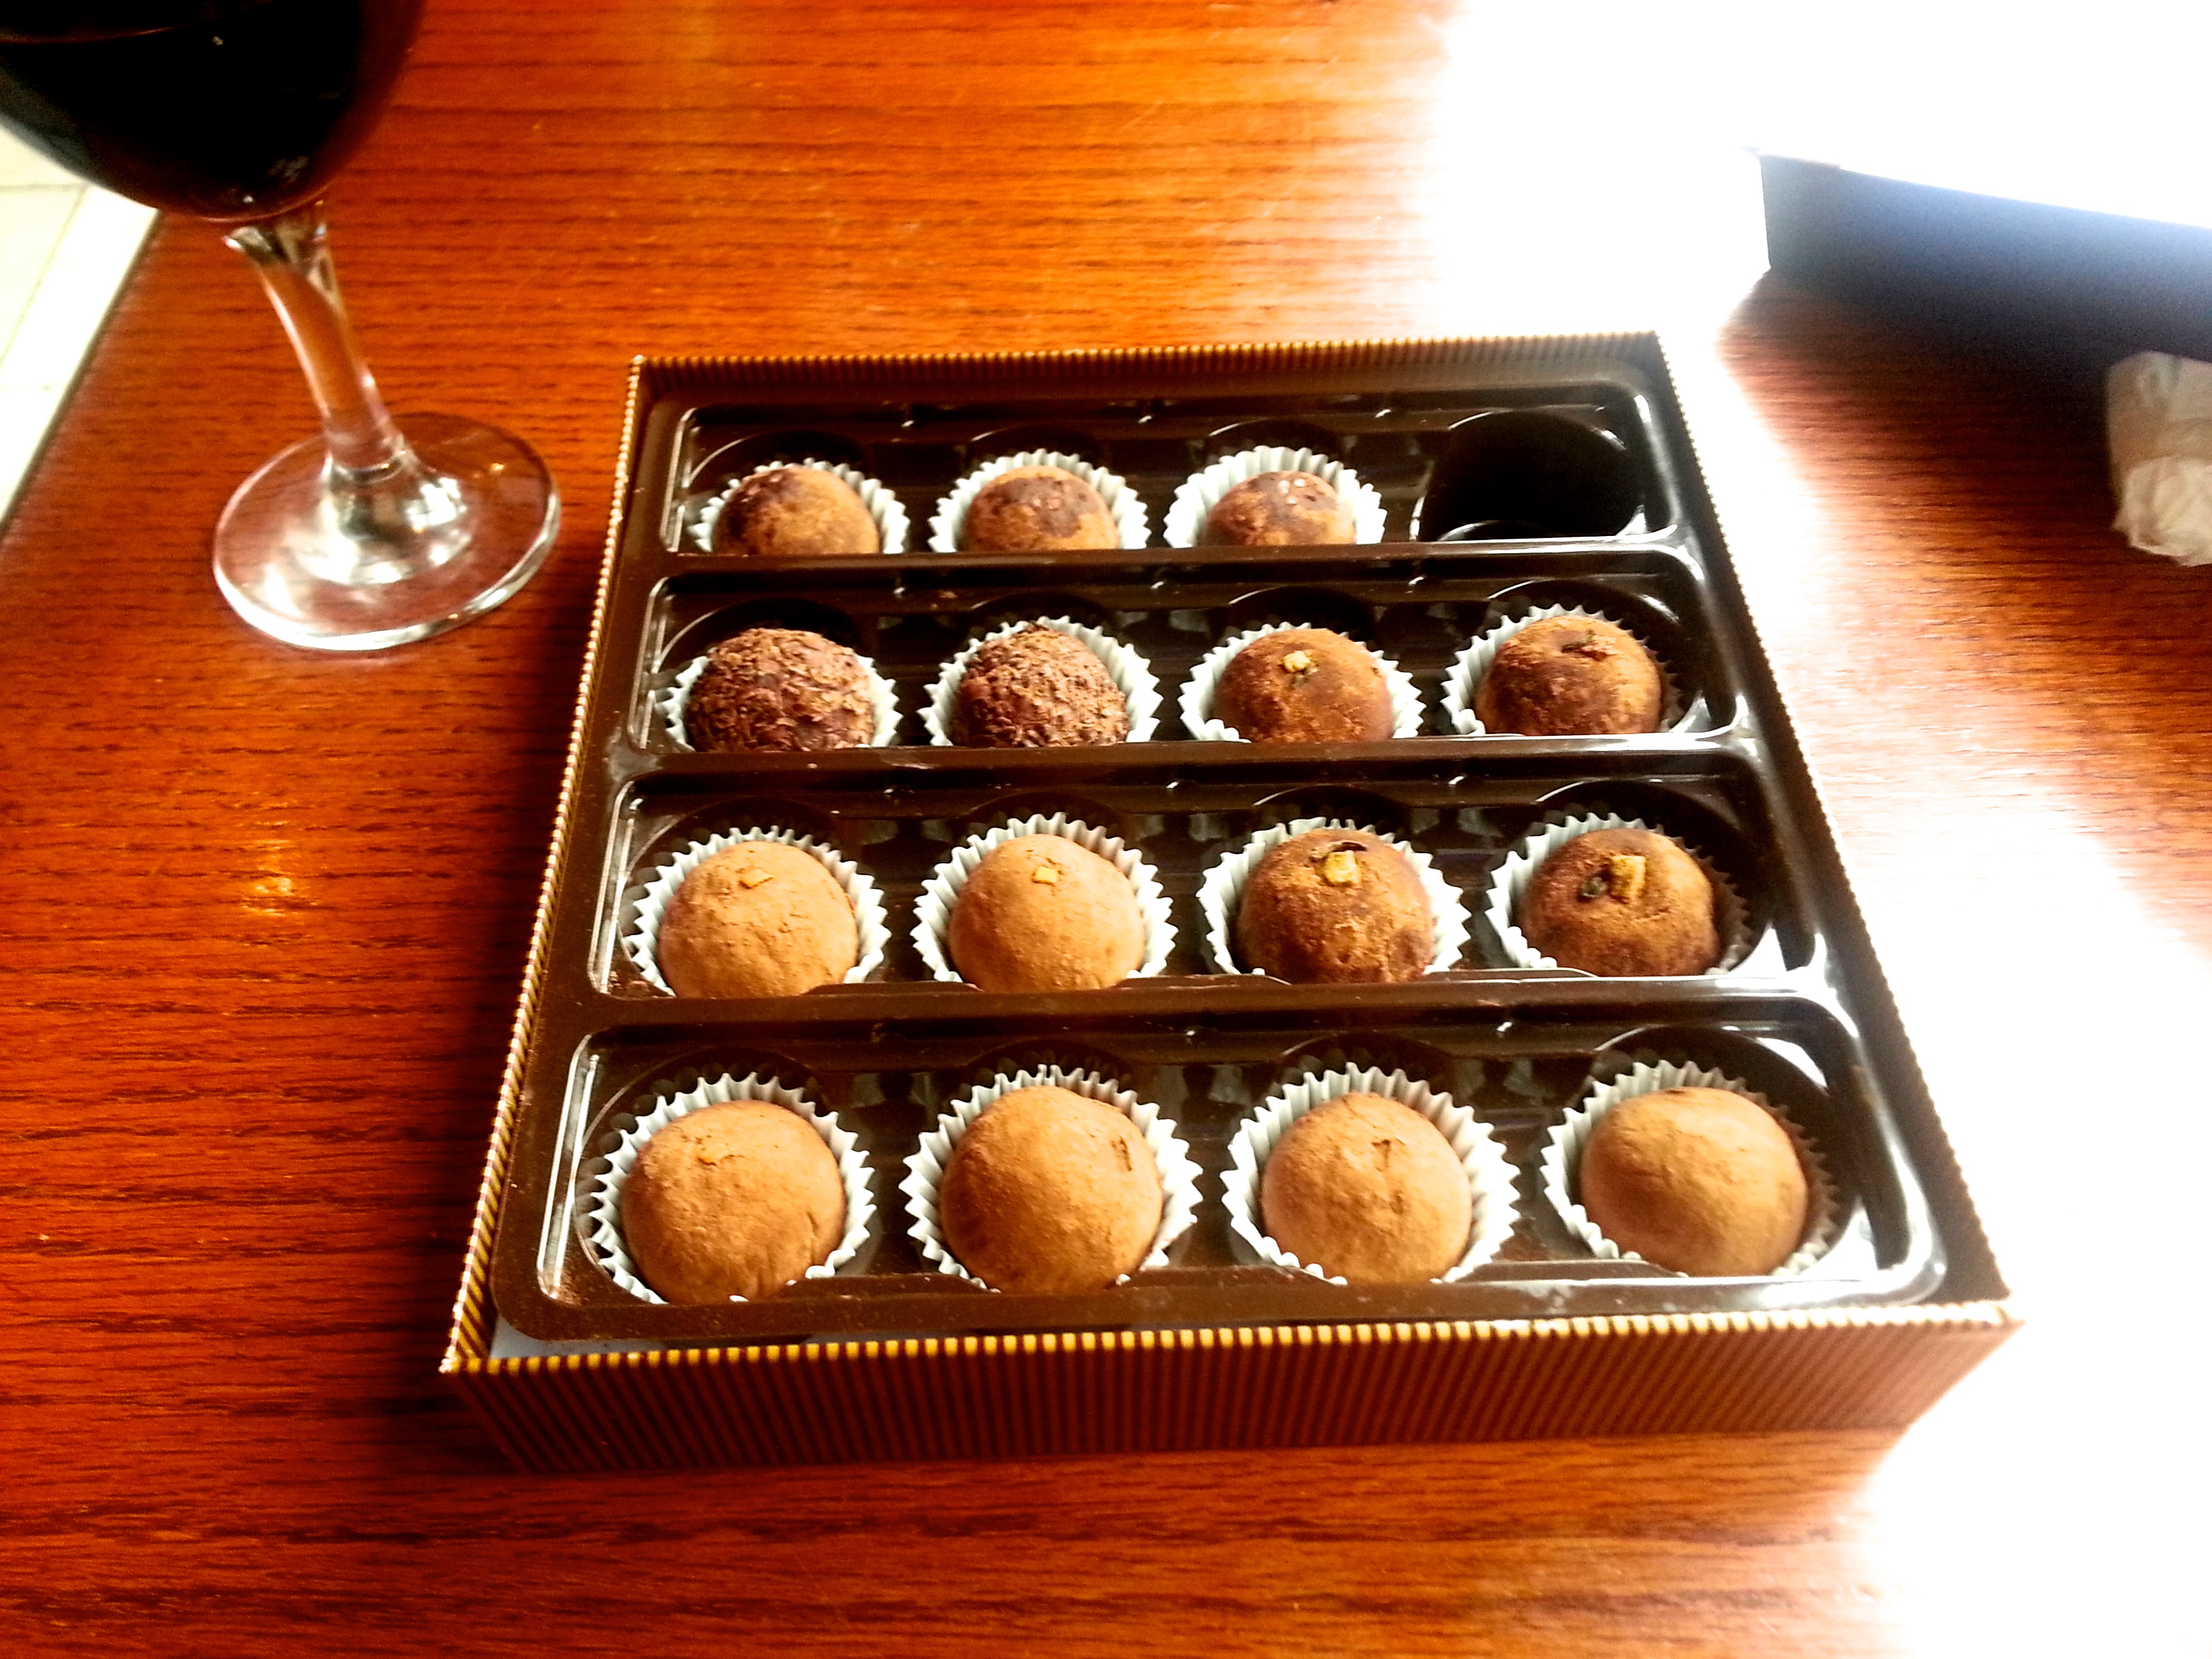
You can put the truffles in the fridge for two to three weeks.
They make for a great present, just put them in a nice box and voilà, you have a handmade personalized present! I, for one, know my mother would love this; if only she and I were in the same country 😦 I will make her a box for when she visits me though 🙂
I also like to make up a box of assorted flavours: